Showing posts with label Valentines. Show all posts

Wednesday, January 27, 2016

Pixelated Hearts


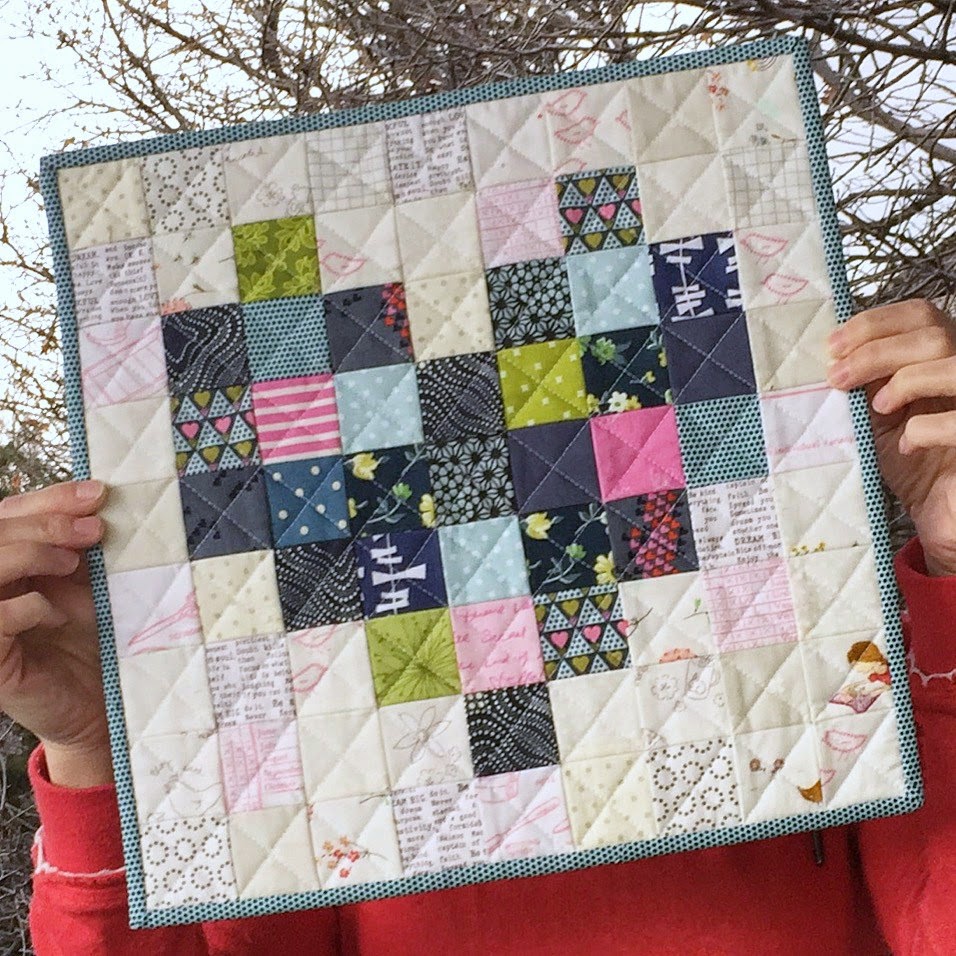
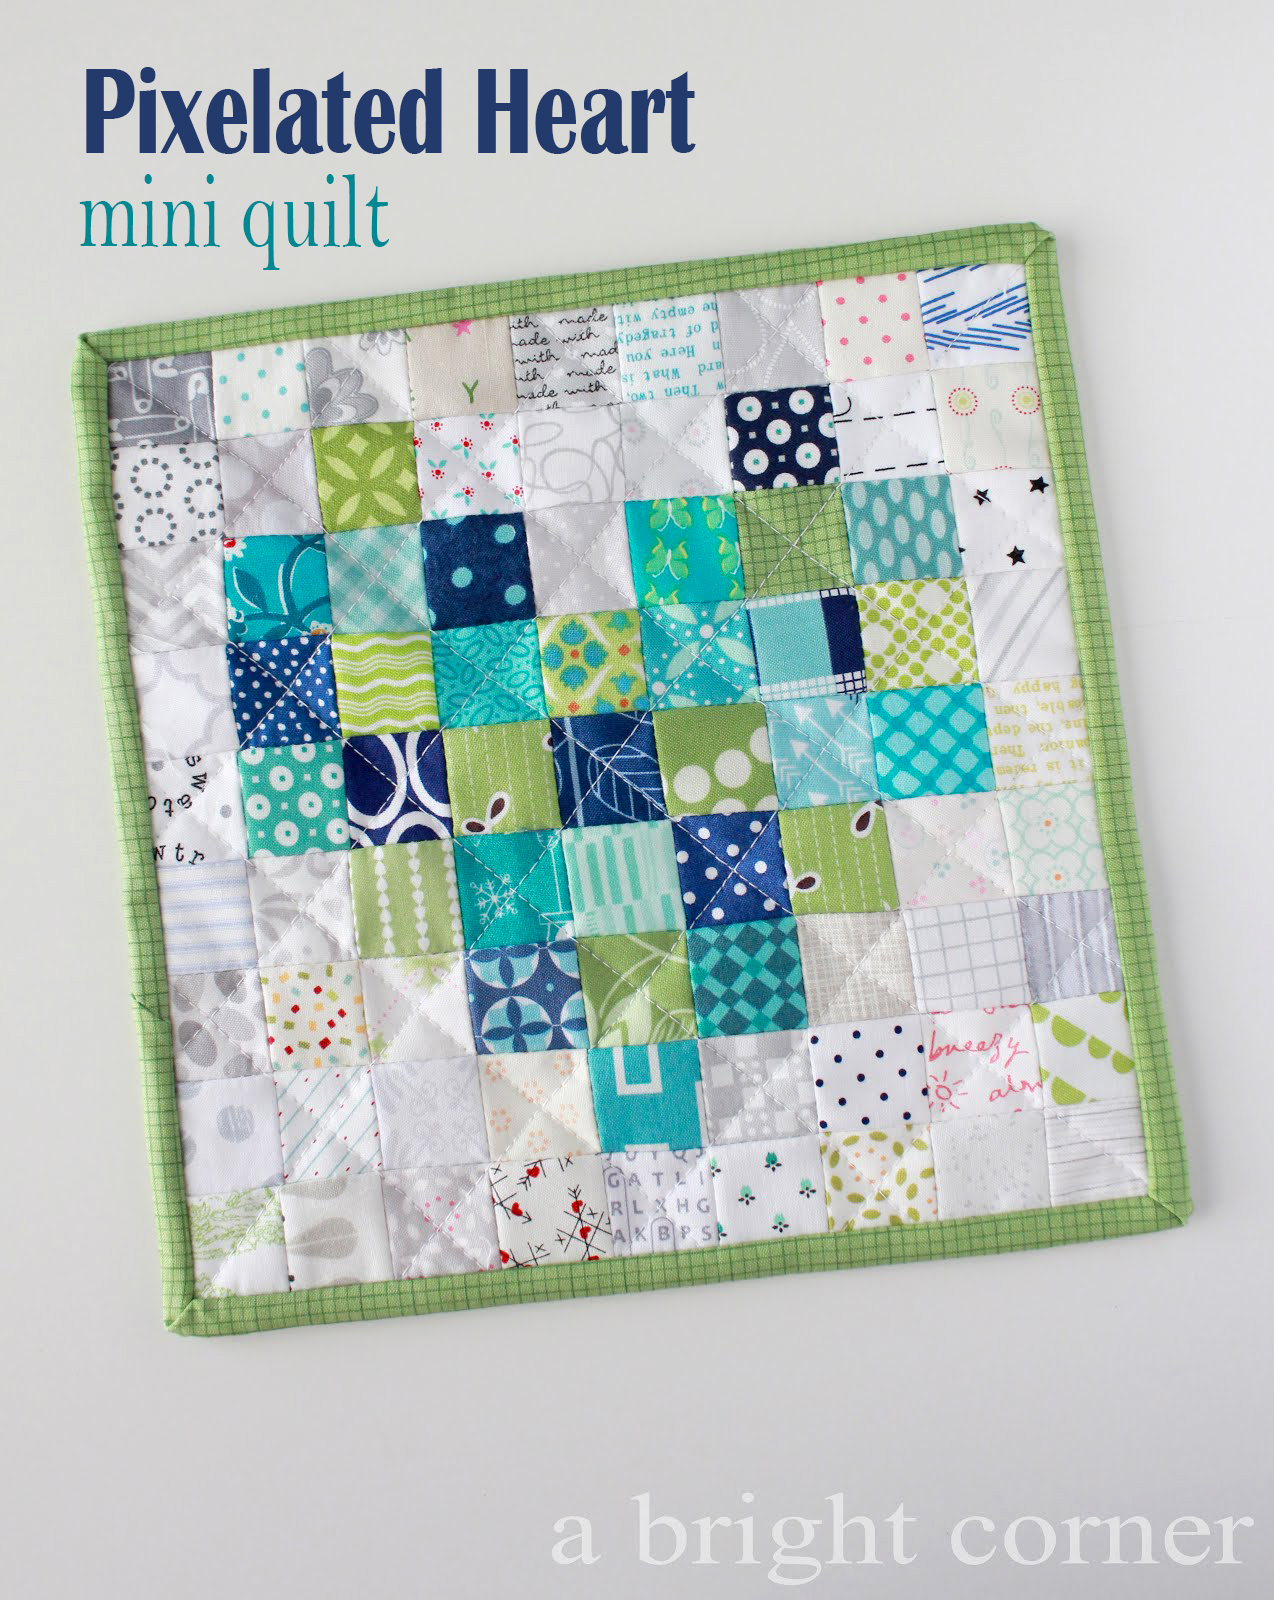
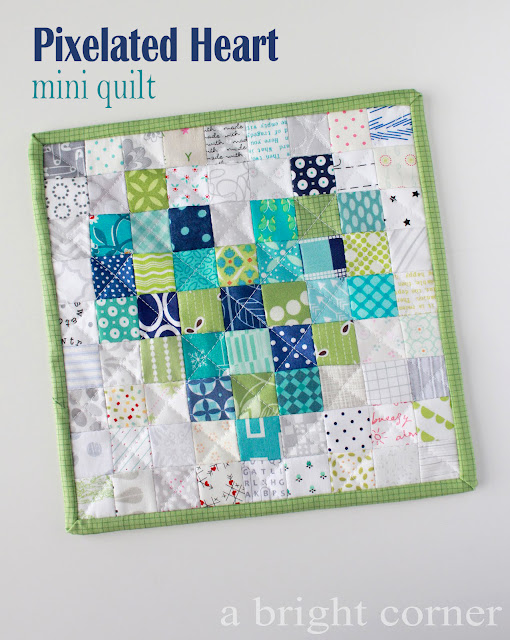
Pixelated Heart mini quilt tutorial from Andy of A Bright Corner

A couple of weeks ago I shared a link to a pixelated heart project - and now I've finally made my own!  You can find the original tutorial here on the Sew Mama Sew blog.

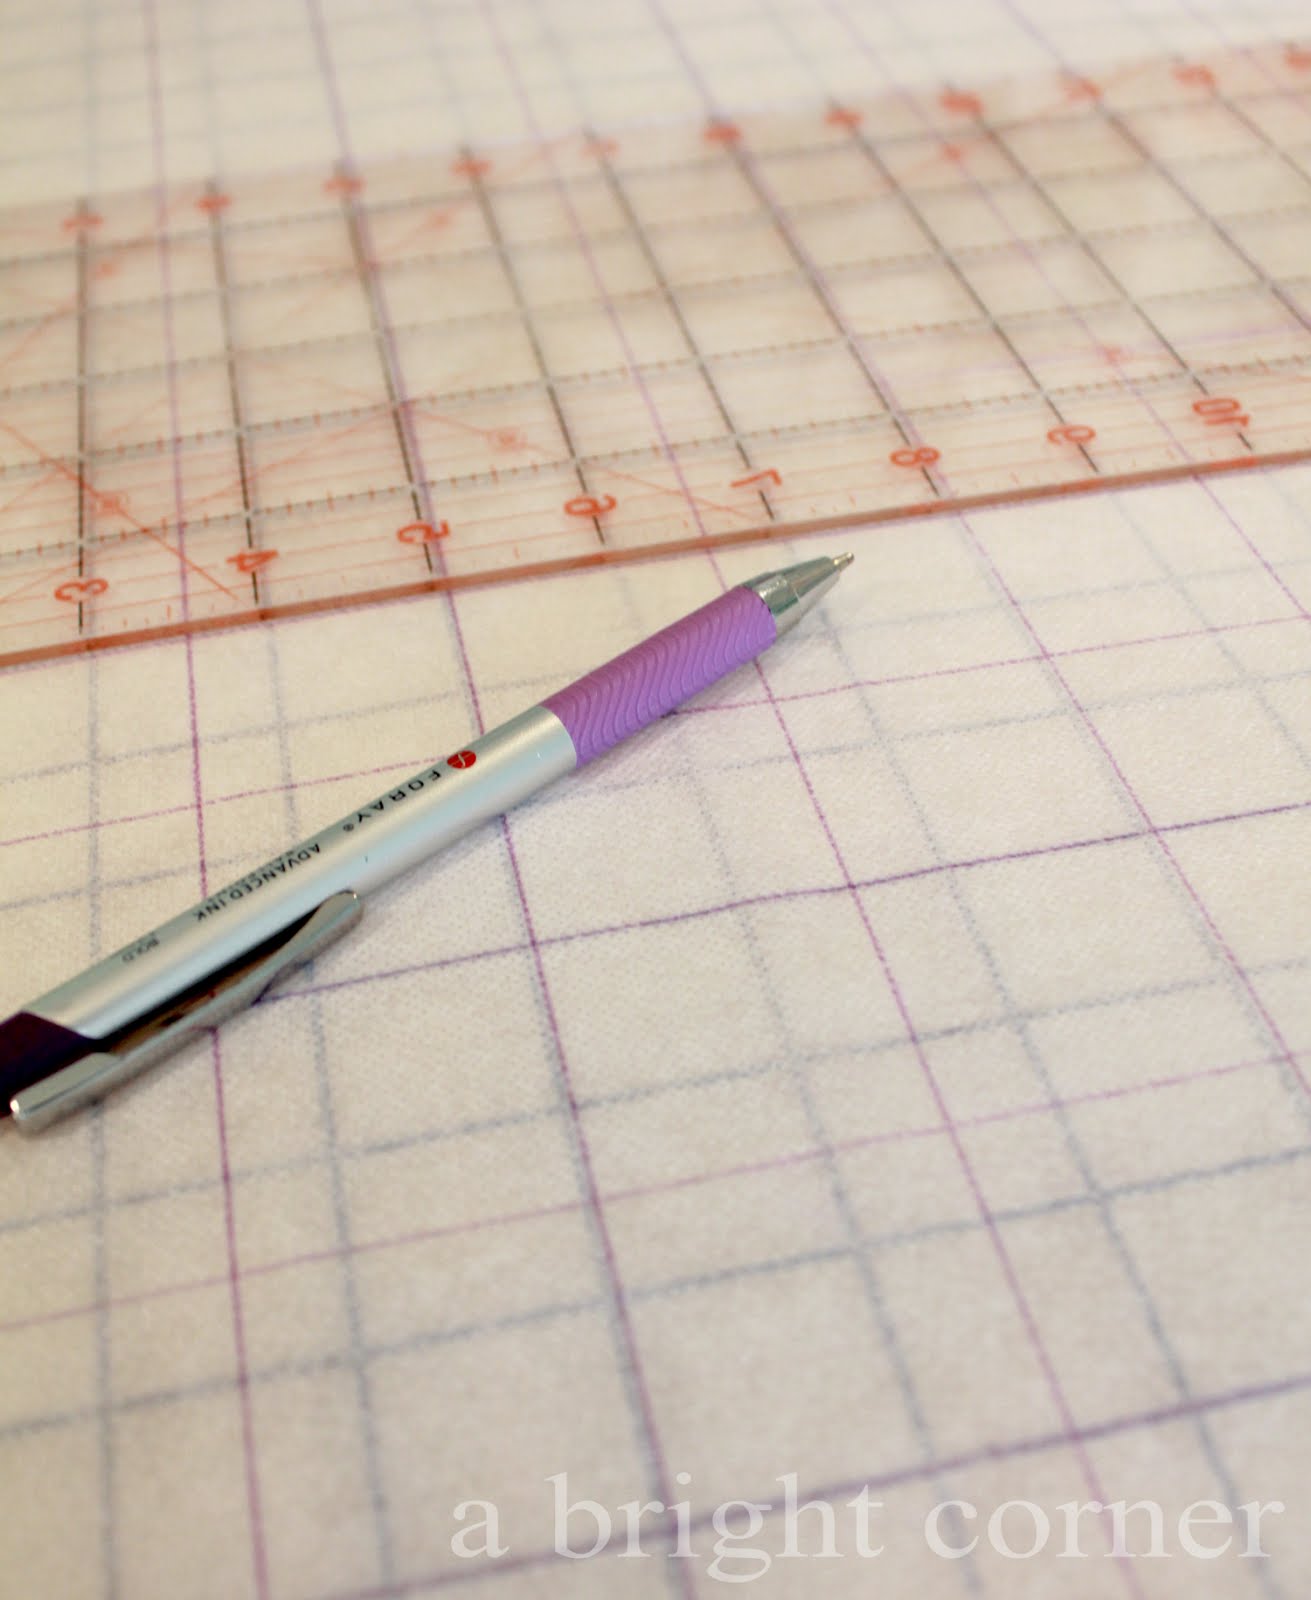
But since mine is a little different from the original tutorial I thought I'd show you how I made mine.  First of all, I didn't have any of that nifty pre-printed grid interfacing.  If you have it, that's great.  If not, it is easy to make your own!  I used the lightest weight fusible interfacing that I had.  
Pixelated Heart Mini Quilt - with a link to the tutorial!

Decide how big you want to cut your squares (mine were 1.5").  Lay the interfacing over your cutting mat and using the lines on your mat and a ruler, just trace the grid.  You'll want to trace onto the smooth (non-fusible) side!  I used any ol' pen I had laying around.  

If you want to make a different sized mini, here's the math for you!
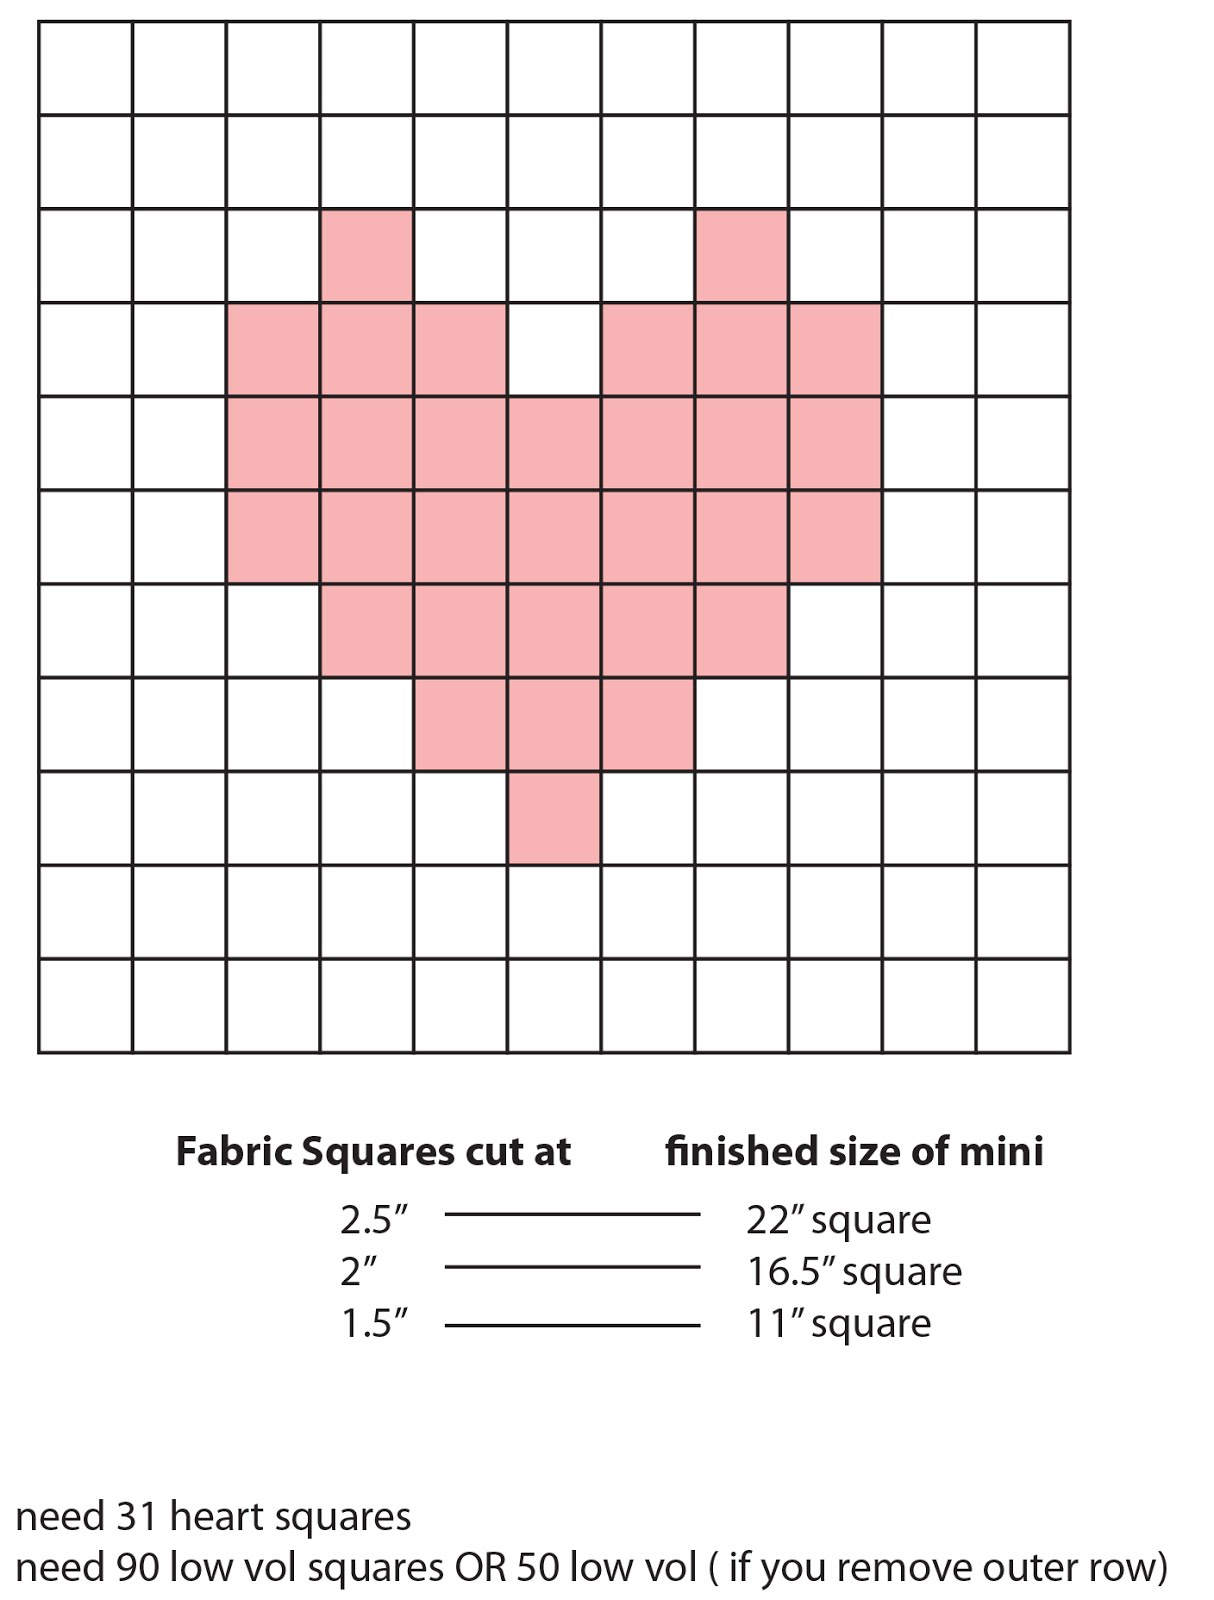

Pixelated Heart Mini Quilt - the math and diagram to make your own


Pixelated Heart Mini Quilt - with a link to the tutorial!


Now that you have figured out what size to make, and how many fabric squares you'll need, time to start cutting!  Cut the fabric squares the SAME SIZE as the grid you traced onto the interfacing. 

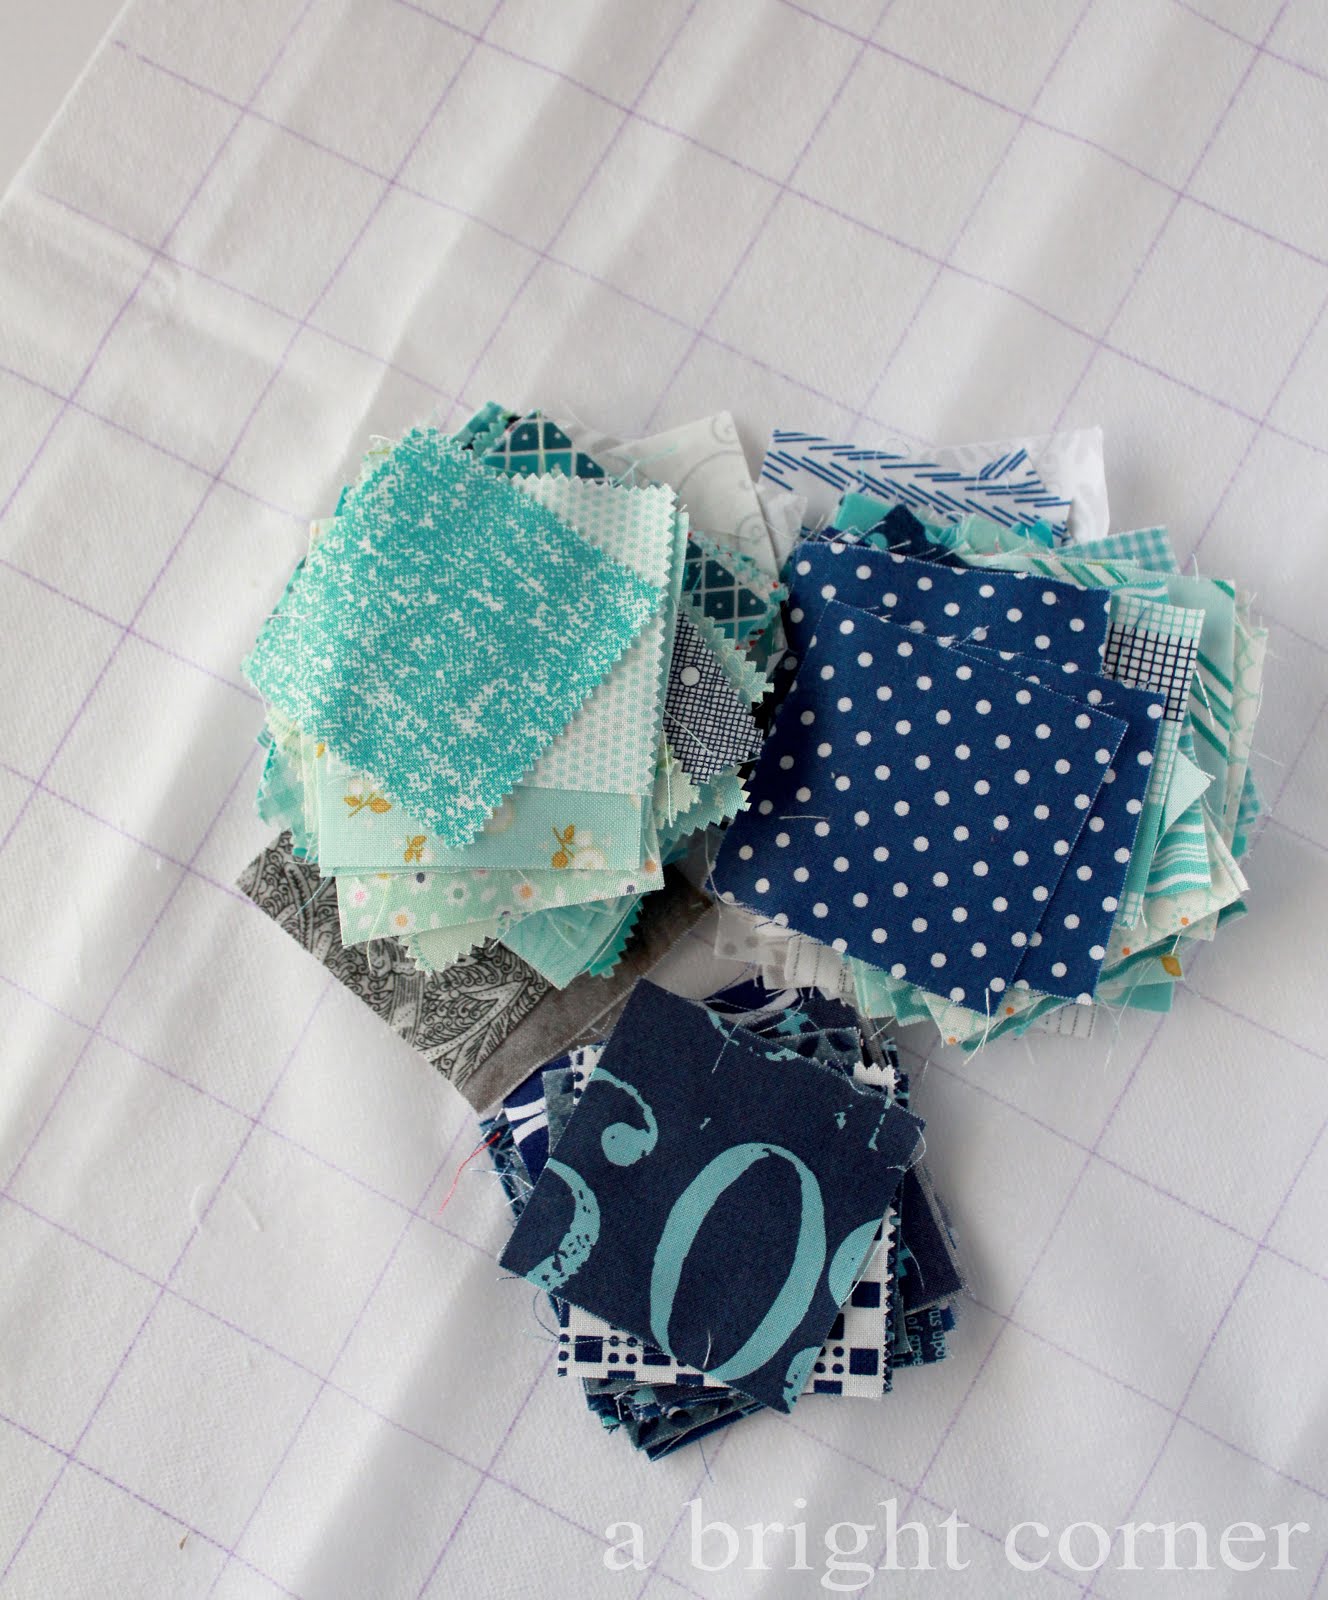
I went with a blue/green/aqua combo so it could stay on my wall all year 'round.  You'll need the most of the low-volume (or background) squares.  I did end up removing the outer row of background squares so I only needed 50.  And I tried to use each print only once, but I think a couple of duplicates slipped in there.

Use the diagram above to lay out your fabric squares in the shape of a heart.  Now just follow the original tutorial (here) to fuse everything down and then to sew your rows and columns together!
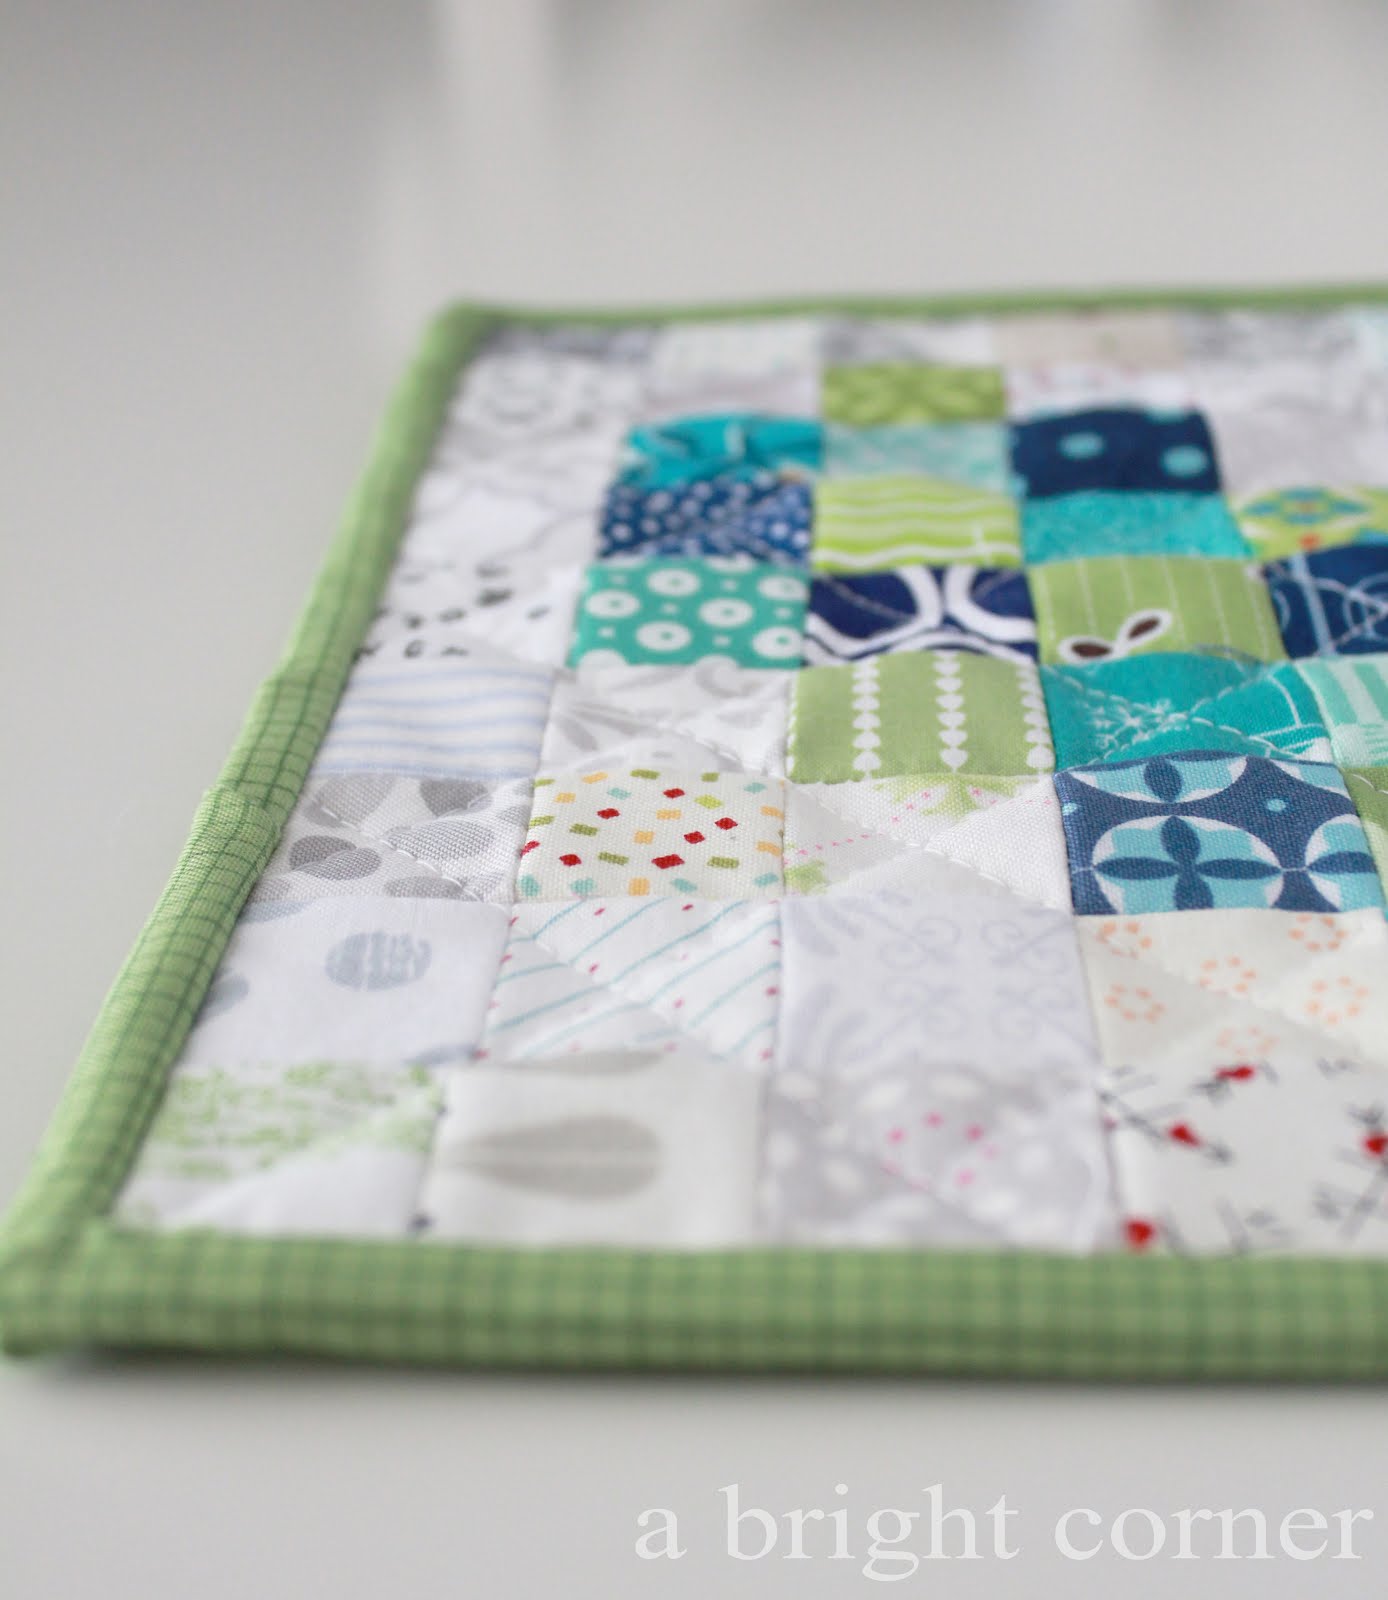
Pixelated Heart Mini Quilt - with a link to the tutorial!


I quilted mine with some simple straight lines- nice and fast!  My new pixelated heart is up on my mini wall!  And my collection is growing - slowly.  What mini should I make next?  Do you have a favorite?
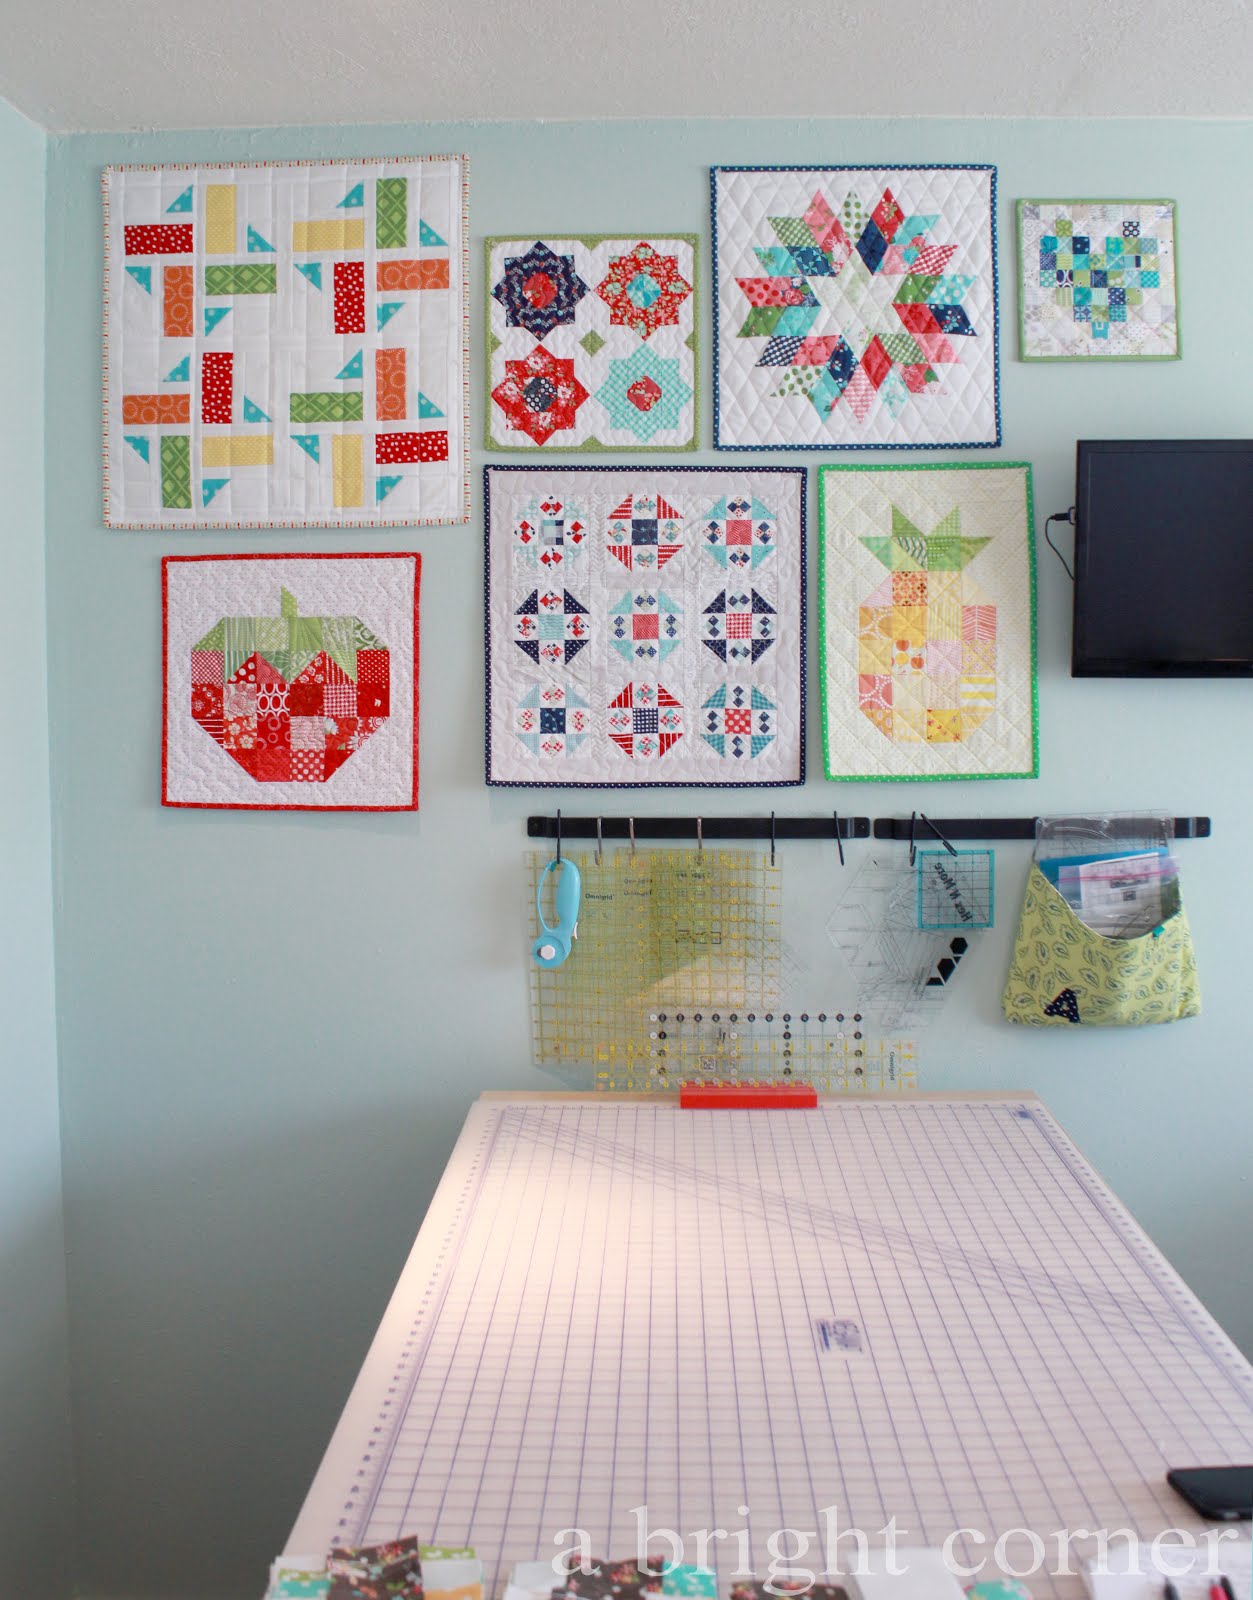
Wall of mini quilts


Friday, January 15, 2016

Five Friday Favorites: Favorite Valentine's Day Projects

Five Friday Favorites

We are on week 2 of Five Friday Favorites!  This week I'm sharing my 5 favorite Valentiny-ish tutorials.  I know the big day is still a month away, but I figure if I start now, I might just get some of these done! 


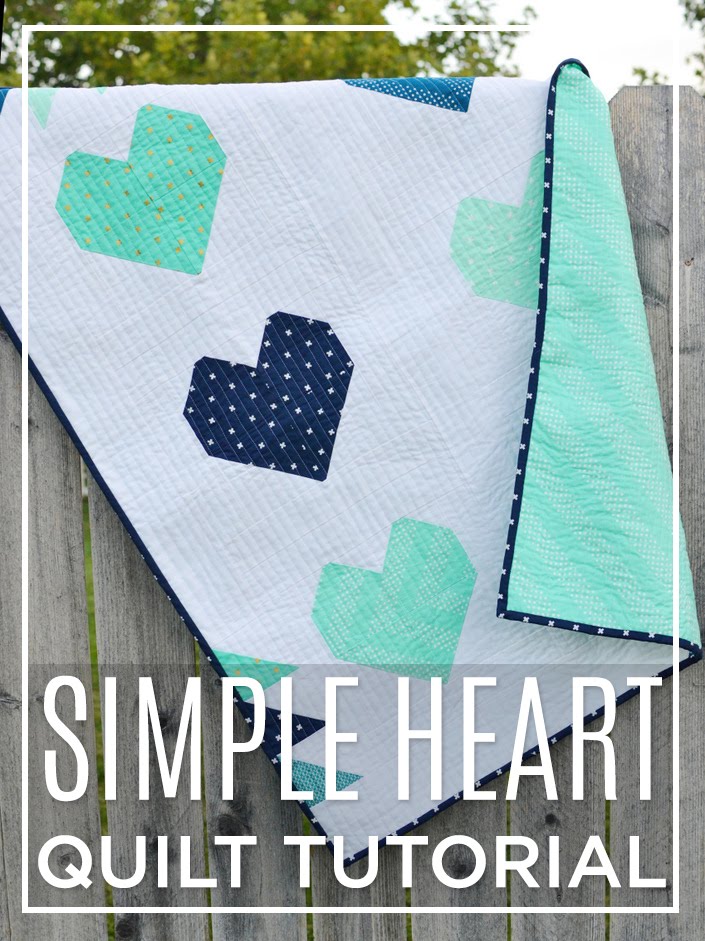
#1:  Heart quilt (uses charm squares!)
I'm always on the lookout for new ways to use charm squares (5" squares), and this one is pretty clever.  The tutorial uses layer cake squares (10" squares) and cuts them down into 4 charm squares.  But how fun would it be to use all charm squares and make the hearts scrappy?


And I love this non-Valentiny version made by Christie Hurst.


Simple Heart Quilt Tutorial found on Missouri Star Quilt Co.
[Photo from Missouri Quilt Co Blog]


#2: Pixelated Heart Mini Quilt 
A local quilt group I attend (as often as I'm able!) made these cute pixelated heart mini quilts last year.  I had to miss that month's meeting, and since then I've been wanting to make my own.  Amber (Gigi's Thimble patterns, A Little Bit Biased Blog) blogged about hers last March.  I love that she used non-Valentines colors on hers. If/when I do get around to making one, I think I'll do the same! 


Pixelated Heart Mini Quilt by Amber Johnson (A Little Bit Biased)
[photo from Amber's blog post] 

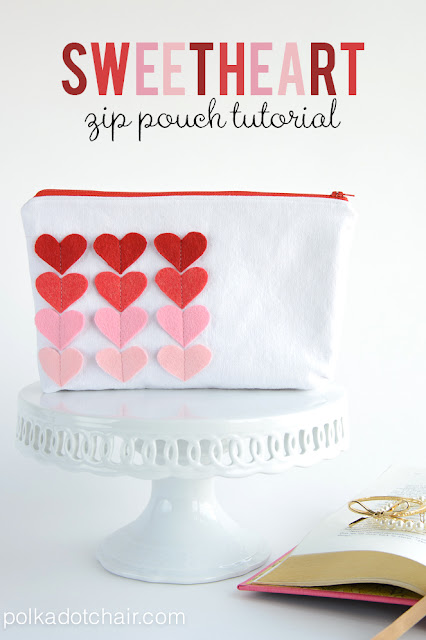
#3:  Sweetheart Zip Pouch
Each year by the time I finish helping my kids work on their valentines, it's too late for me to work on any for me.  I really intend every year to make a couple of thoughtful, handmade gifts to give to a friend or two - just to show my appreciation for their friendship.  Really.  Adults deserve valentines too, right?  Well, I'm hoping to make a couple of these sweet zip pouches this year!  You can find the tutorial here from the super-talented Melissa (polkadotchair.com)

Sweetheart Zip Pouch Tutorial by Melissa Mortenson
[photo from Polkadotchair.com]


#4:  Valentine Pillow
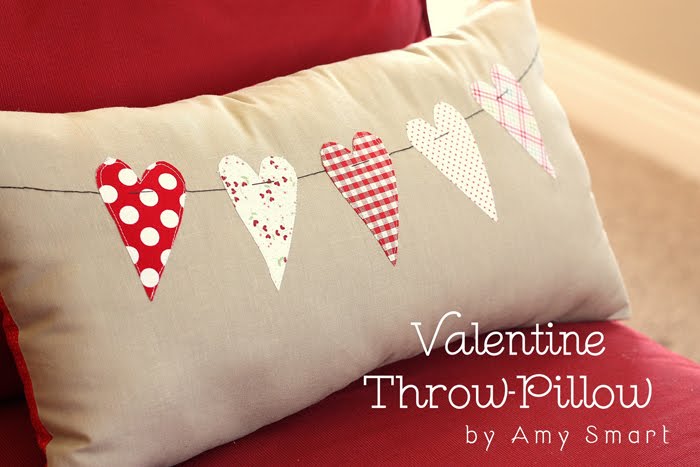
With my house being filled with boys, I don't tend to use a lot of pinks and frills in our decor.  So this Valentine Pillow would work out nicely on our sofa.  I made this one last year as a tutorial for Thermoweb, and I have it on display now but it's a bit lonely.  I think this cute heart bunting pillow would go nicely with it!  Tutorial by Amy Smart (diaryofaquilter.com)

Valentine Throw Pillow tutorial by Amy Smart
[photo from diaryofaquilter.com]


#5:  Valentine Free Printable
Now I know this doesn't really count as a "project" but honestly sometimes I just need a quick way to spruce up a space.  Swapping out a photo for a cute printable like this one is right up my alley.  Follow this link to find the link to the free printable on homeschoolencouragement.com. 

Free Valentine's Day printable
[photo from homeschoolencouragement.com]


So there's my top 5!  I had a hard time choosing just 5 for this week.  I have my other favorites saved here on a Valentine's Day Pinterest board.  What did we ever do before Pinterest??

Valentine's Day Pinterest board


Monday, January 26, 2015

February Quilts

So after mentioning my two Valentine-ish quilts in Friday’s blog post, I thought I would pull them out of the archive and let them have their day in the spotlight again- since February is a measly 5 days away and all.

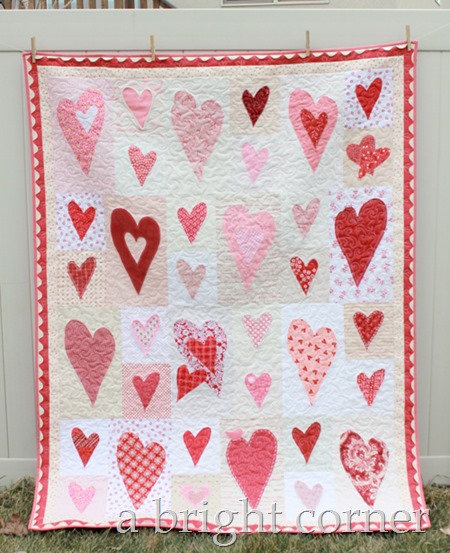
Friendship Heart quilt

This first quilt is one of my favorites because it was mostly made by some friends!  We did a friendship heart block swap last year with a quilt group I attend and this was the result.  I originally blogged about it last February and you can read it here. 

Two of my favorite things about this quilt (besides the personalized hearts made by my friends) are the soft flannel on the back, and the wide ric rac I used as part of the border.  It was so easy to add, and I just love the look of it.  I had never tried that technique before!

Friendship Heart quilt

My second Valentine-ish quilt is this one – called Sweet Talk.  I made it last year in March and blogged about it once but never showed the finished quilt.

  Sweet Talk quilt pattern

This is made using my Sweet Talk pattern (available for purchase here and here.)  It’s my third Sweet Talk quilt that I’ve made, and my most favorite!  For this version I used fabrics from last year’s “Surrounded by Love” line from Moda. 

Sweet Talk quilt pattern

Right now it’s hanging in my local quilt shop for the month of February, but I get to stop by and visit it every now and then.  So now between my Cupid’s Arrow pillow and my friendship heart quilt on the quilt ladder, my home is starting to feel a bit more ready for February!

Friday, January 23, 2015

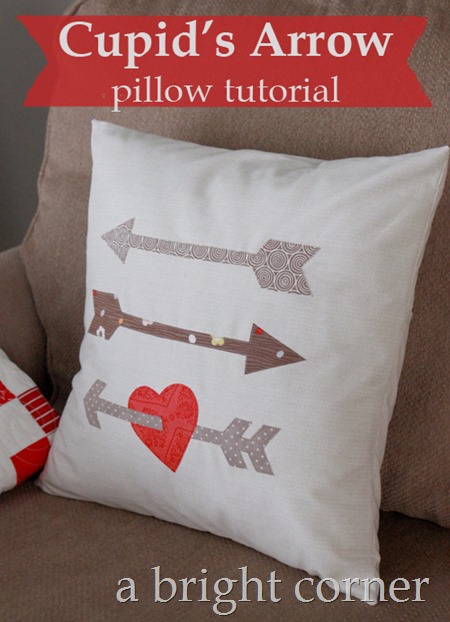
Cupid’s Arrow pillow tutorial

I’m not quite certain why, but for some reason here in my home certain holidays are decorated for and others just aren’t at all.  Christmas? Yep.  Decorations galore.  Halloween?  A few.  Thanksgiving? A few here too.  Valentine’s Day?  Nothing.  Well, I do have two Valentine-ish quilts hanging around during the month of February.  But that’s about it.  

So for my most recent tutorial for the Therm O Web blog, I thought I would make a pillow to add to my (non-existent) Valentine decor!

Heart and Arrow pillow

This pillow is a fast one to put together, with an envelope backing and some simple raw edge applique using Heat n Bond Lite.   

heart and arrow pillow tutorial

It takes just 1/2 yard of fabric for the pillow itself, and brown and red scraps for the applique. 

applique arrows

For the arrows and heart shapes I created a template that you can print out and use.  You can download and print that right from the tutorial itself.

  Cupid's Arrow pillow tutorial

Alright.  Now I have one Valentine pillow.  I think I need a Valentine banner, or a table topper.  Or ???  What do you decorate your home with for Valentine’s Day? 


Friday, March 7, 2014

Sweet Talk


It’s a bit of a blustery day here today. 

When it was time to send my kindergartener to school today he and I peeked out the window, saw the sunshine and decided all he needed was a hoodie.  Well, off he went on his bike to school.  Four minutes later he came running home.  He had gotten all the way to school and THEN decided that he needed his heavy coat.  So he had come all the way back home just to grab another coat and go all the way back to school.  Funny kid.  Glad we live close to the school!

Sweet Talk quilt pattern by A Bright Corner

This week I finished up this quilt top.  This is made from my Sweet Talk pattern (you can find it here or here.)  I’ve made two Sweet Talk quilts before this one (one with Noteworthy and one with Honey Honey) but I didn’t really love either of those.  One was made to be a display quilt for a local quilt shop and the other is my reading quilt (translation: nap quilt). 

A few weeks ago I was playing around in EQ7 and created this using the “Surrounded By Love” line from Moda.  Love.  Instant love. 

Sweet Talk quilt pattern by A Bright Corner

Lucky for me the Valentine’s Day fabric are all on sale right now, AND this is a fast and easy quilt pattern.  I got everything cut out one night while waiting for the kidlets to fall asleep.  The next afternoon I had the HSTs created.  Yesterday I arranged everything on my design wall and by last night I had a finished quilt top. 

This afternoon’s project is to piece together a quilt backing using the scraps. 

surrounded by love fabric stack

Have a wonderful Friday everyone!

Friday, February 21, 2014

Friendship Heart Quilt


  Friendship Heart Quilt by A Bright Corner

A few months ago, one of the quilt guilds I attend did a friendship heart block swap.  We each used the same heart shapes and used white, pink and cream (and low volume) backgrounds with pink and red fabrics for the hearts.

Friendship Heart Quilt by A Bright Corner

We each made one large and two small heart blocks for each member that was swapping.  We could embellish one of the hearts in the set as we chose.  As I made my blocks I loved being able to dig through my scraps and be creative with each set of blocks.  And I loved that everyone embellished their blocks in their own unique way:


applique heart blocks

It was fun to get my stack of blocks back and lay them all out together.  Each block definitely has it's own personality and when they're all sewn together into one quilt the scrappy loveliness is delightful!

For the backing I chose a flannel so it will be nice and snuggly.  I added a wide ric rac with the binding and I LOVE the look.  

Friendship Heart quilt with cute jumbo ric rac on the binding

We all brought our heart quilts to our guild meeting this week and it was fun to see them all together.  You can see Amber’s version of the Friendship Heart Quilt here, and her original quilt that inspired our block swap here.

I'm linking up to Crazy Mom Quilt's Finish it up Friday


Monday, January 27, 2014

How to Add Grommets

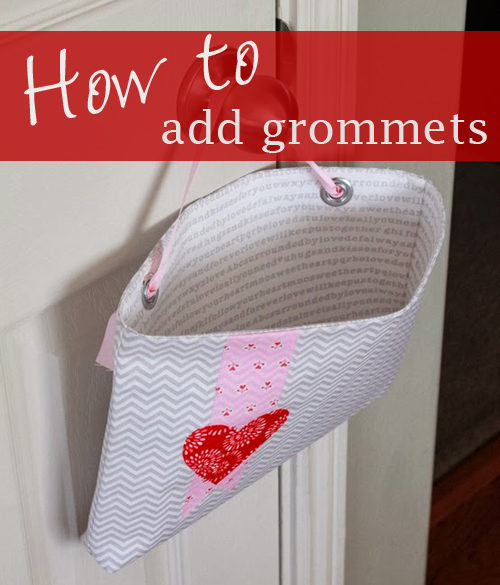
Hey everyone – happy Monday!  I’m making my first appearance over on the Therm O Web blog today with a tutorial for a Valentine Pocket and an Organizer Wall Pocket. 

Valentine Pocket Tutorial

These are both quick projects and use fat quarters and fabric scraps.

You can use the one tutorial to make either style of pocket – I’ve made several of these wall pockets for my family so far and the kids loved choosing their own fabrics.

wall pocket tutorial


I thought the Valentine pocket would be fun for our family to use to leave little notes and treats for each other between now and Valentine’s Day.  Maybe that’s just wishful thinking.  Maybe I’ll just leave notes and treats for myself.  Ha!


valentine pocket tutorial


I used grommets for both the Valentine pocket and the wall pockets.  I love the look of grommets and I appreciate the durability they add as well.  For those of you who have never used grommets, I wanted to show you just how easy they are!

First of all, you need to get a grommet KIT.  The kit will be similar to this and include not just the grommets, but also the tools you need. 

For this project this is what I’ll be using  - two sets of grommet pieces (grommet and washer), and a taller tool (a setter) and a shorter tool (the anvil).  Oh, and a hammer.

How to install a grommet

Using the taller grommet, place it on your fabric and using a pencil trace around the inside of the opening.

How to install a grommet

Using sharp scissors, carefully cut out that circle.  I like to keep just a bit to the inside of the drawn circle. 


How to install a grommet

Push the tall grommet piece through that opening.  It should be nice and snug.

How to install a grommet

Now head outside to a find a nice, hard surface.  I have used the tile in my entry way before, but I was nervous that I would crack a tile.  I prefer to use my front steps – even when it’s cccccoold outside!  Just be sure that the surface you place your fabric on is fairly clean or use a towel to protect it from dirt.

Place the flat grommet tool (anvil) down and set the grommet onto it.  Both are grooved and you’ll feel them sort of lock into place.

How to install a grommet


How to install a grommet

Then place the thinner grommet piece (the washer) on top of that with the spikes pointing toward your fabric.

How to install a grommet

Grab the taller tool piece (the setter) and place it in the center of the grommet – it also sort of locks in place.

How to install a grommet

Now grab your favorite hammer and give the setter a few good whacks.  Check to see that the grommet is fully set and if not, whack it a few more times.  I call this hammer therapy.  Stress relief baby!

How to install a grommet

And there you go!  A couple of lovely grommets!  And this my friends, is what happens when I ask my photographer (a.k.a. husband) to get a “finished” shot.  You get to see way more than just the finished grommets.  At least I’m smiling, right?

How to install a grommet


How to install a grommet

Grommets are great for all sorts of things – bags, curtains, aprons…  I’ve even added grommets to a duvet cover to give it a bit more personality.  They were purely cosmetic, but gave it a great finished look.  What do YOU grommet?

Related Posts Plugin for WordPress, Blogger...