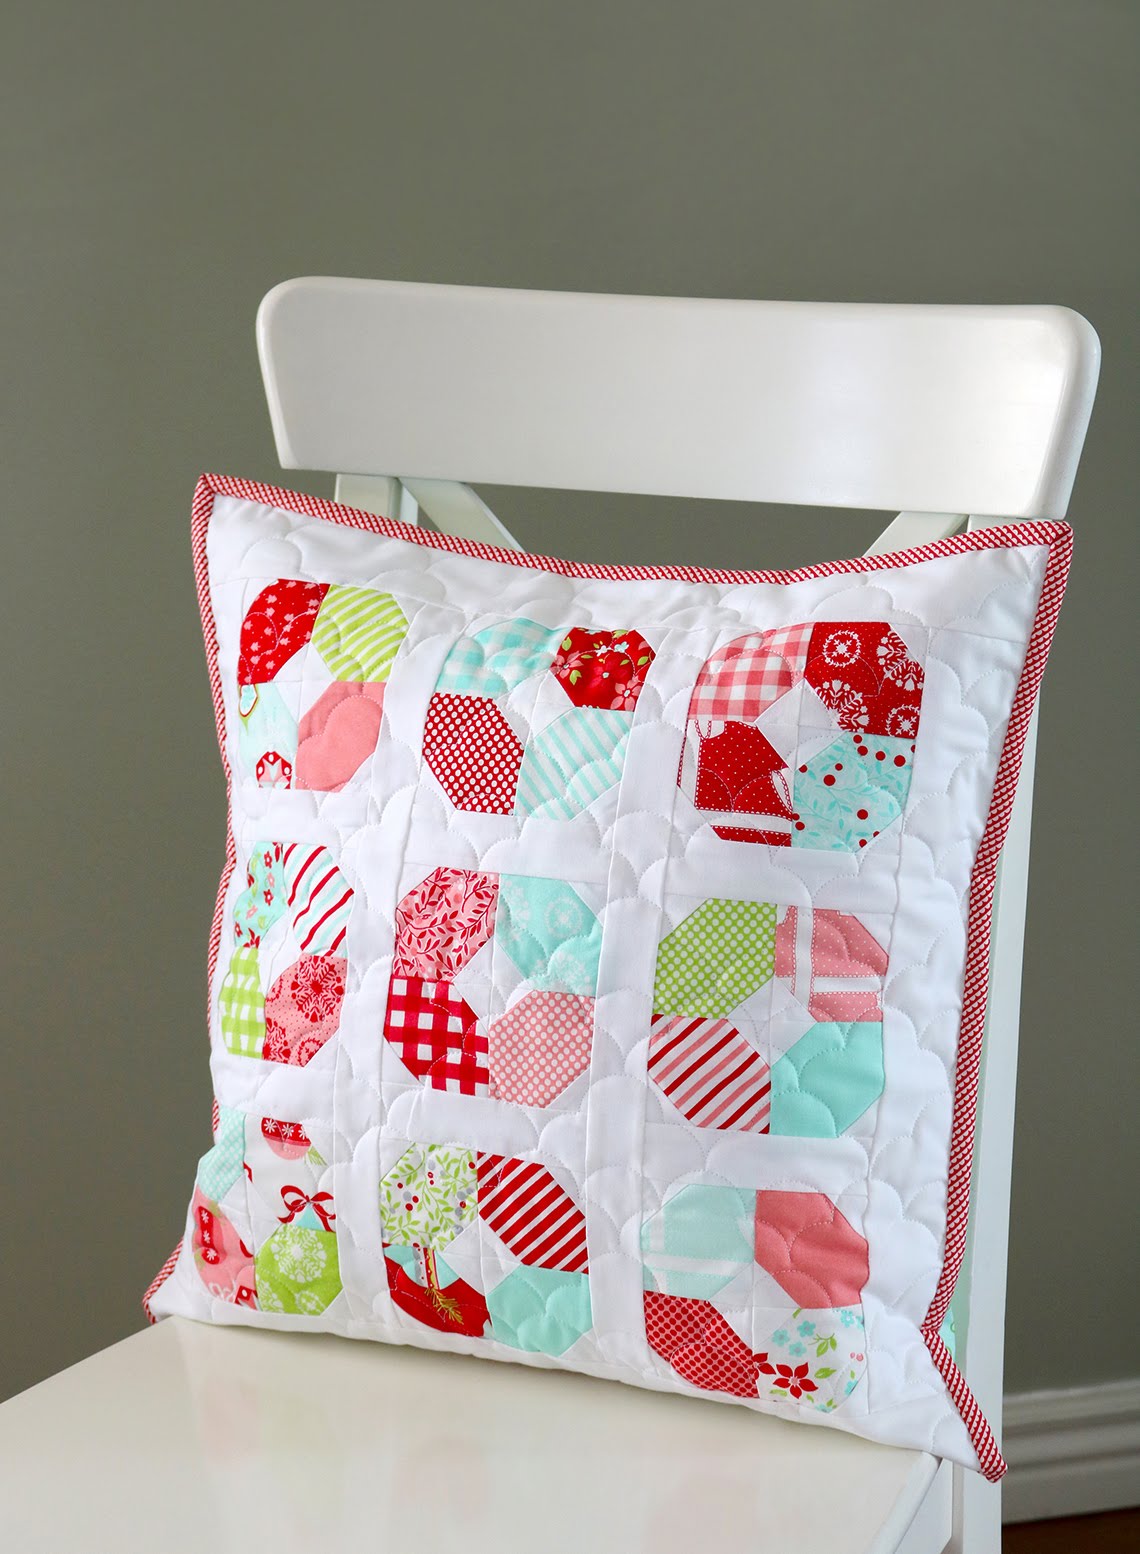
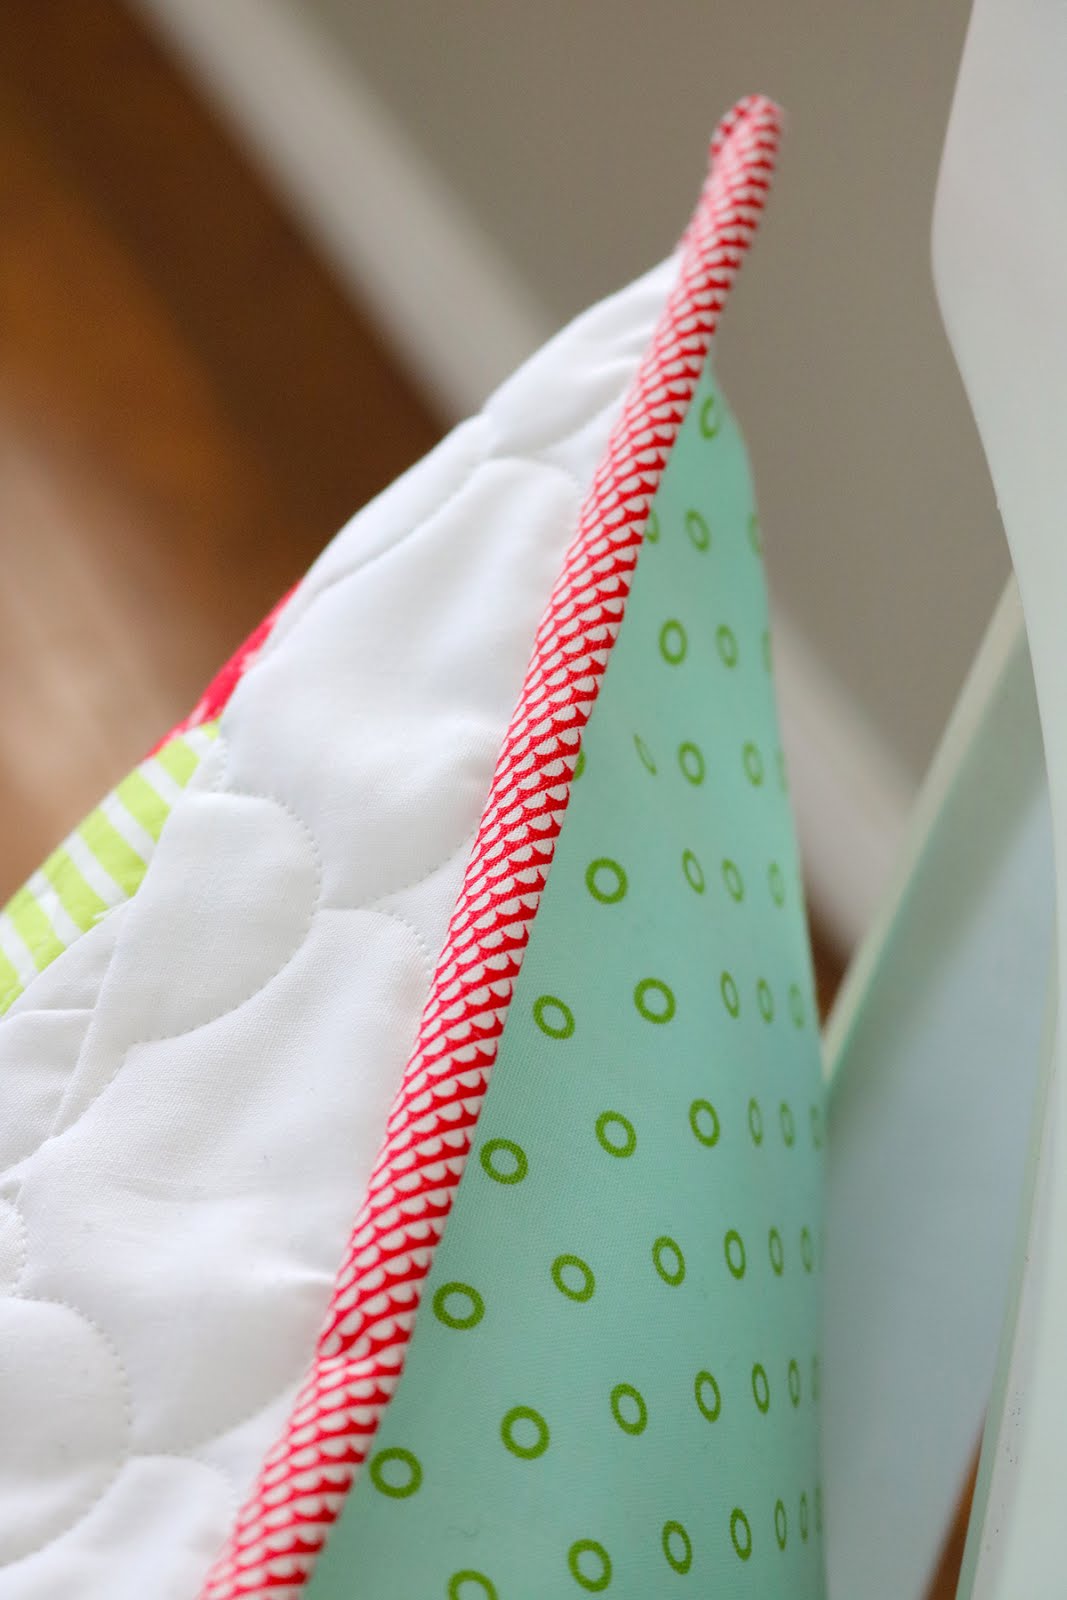
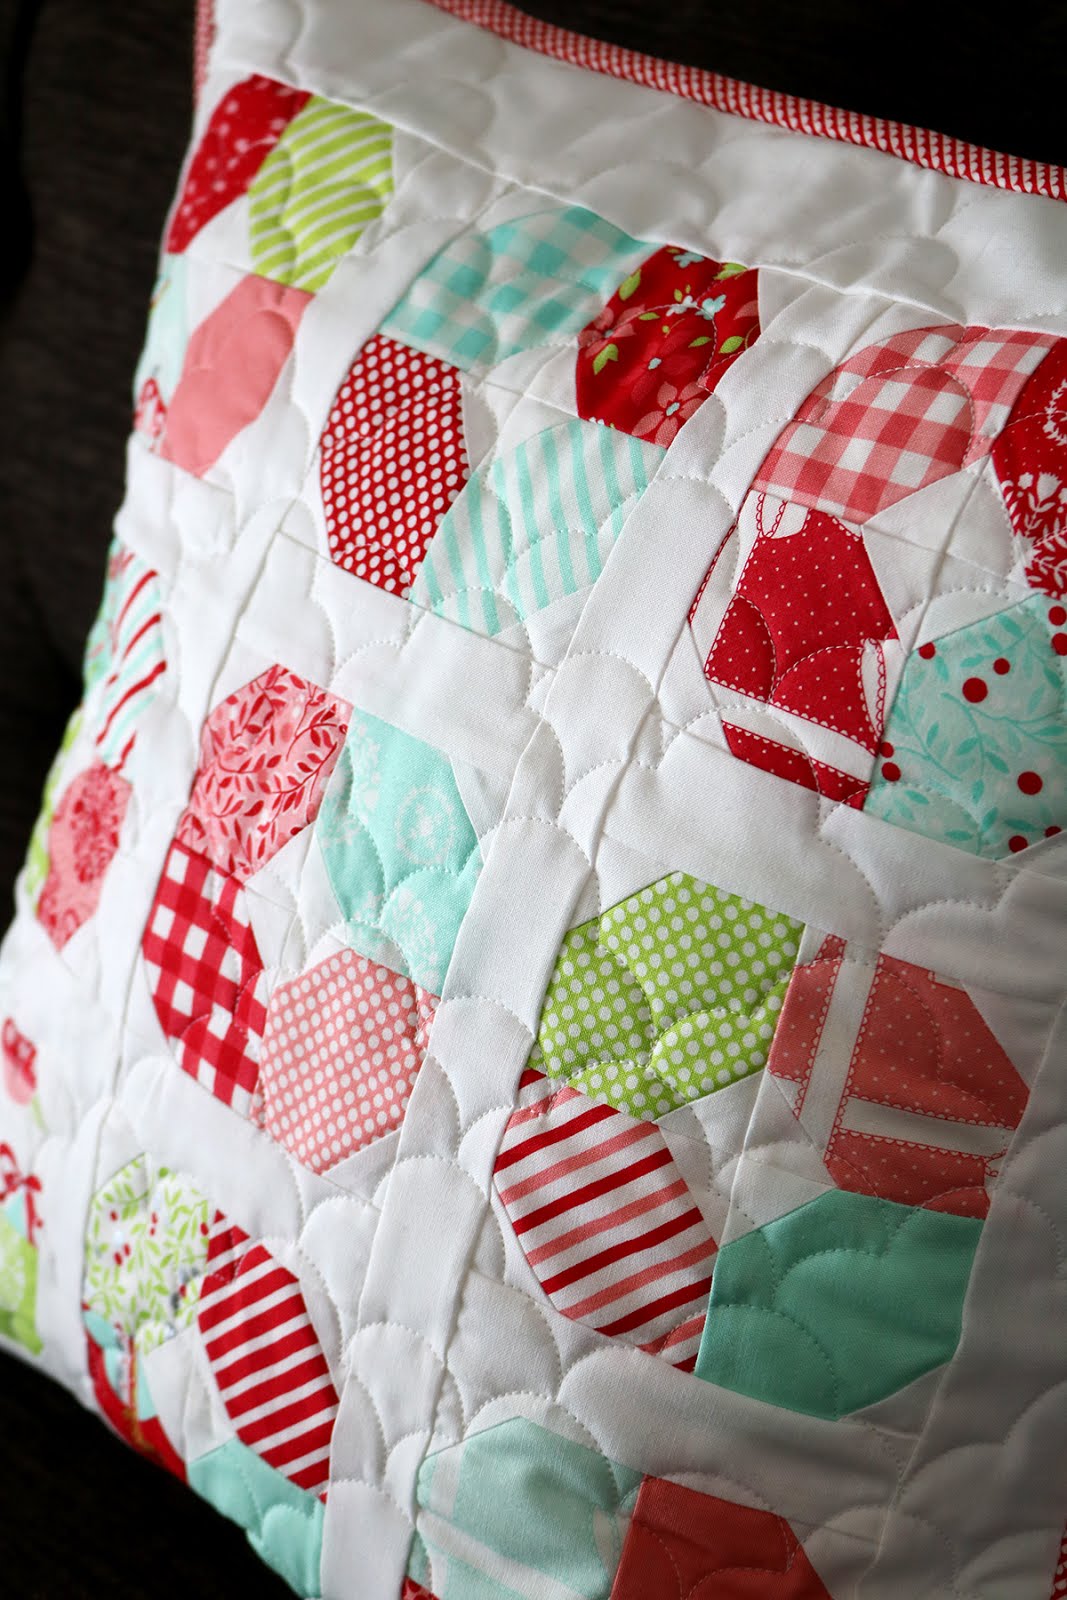
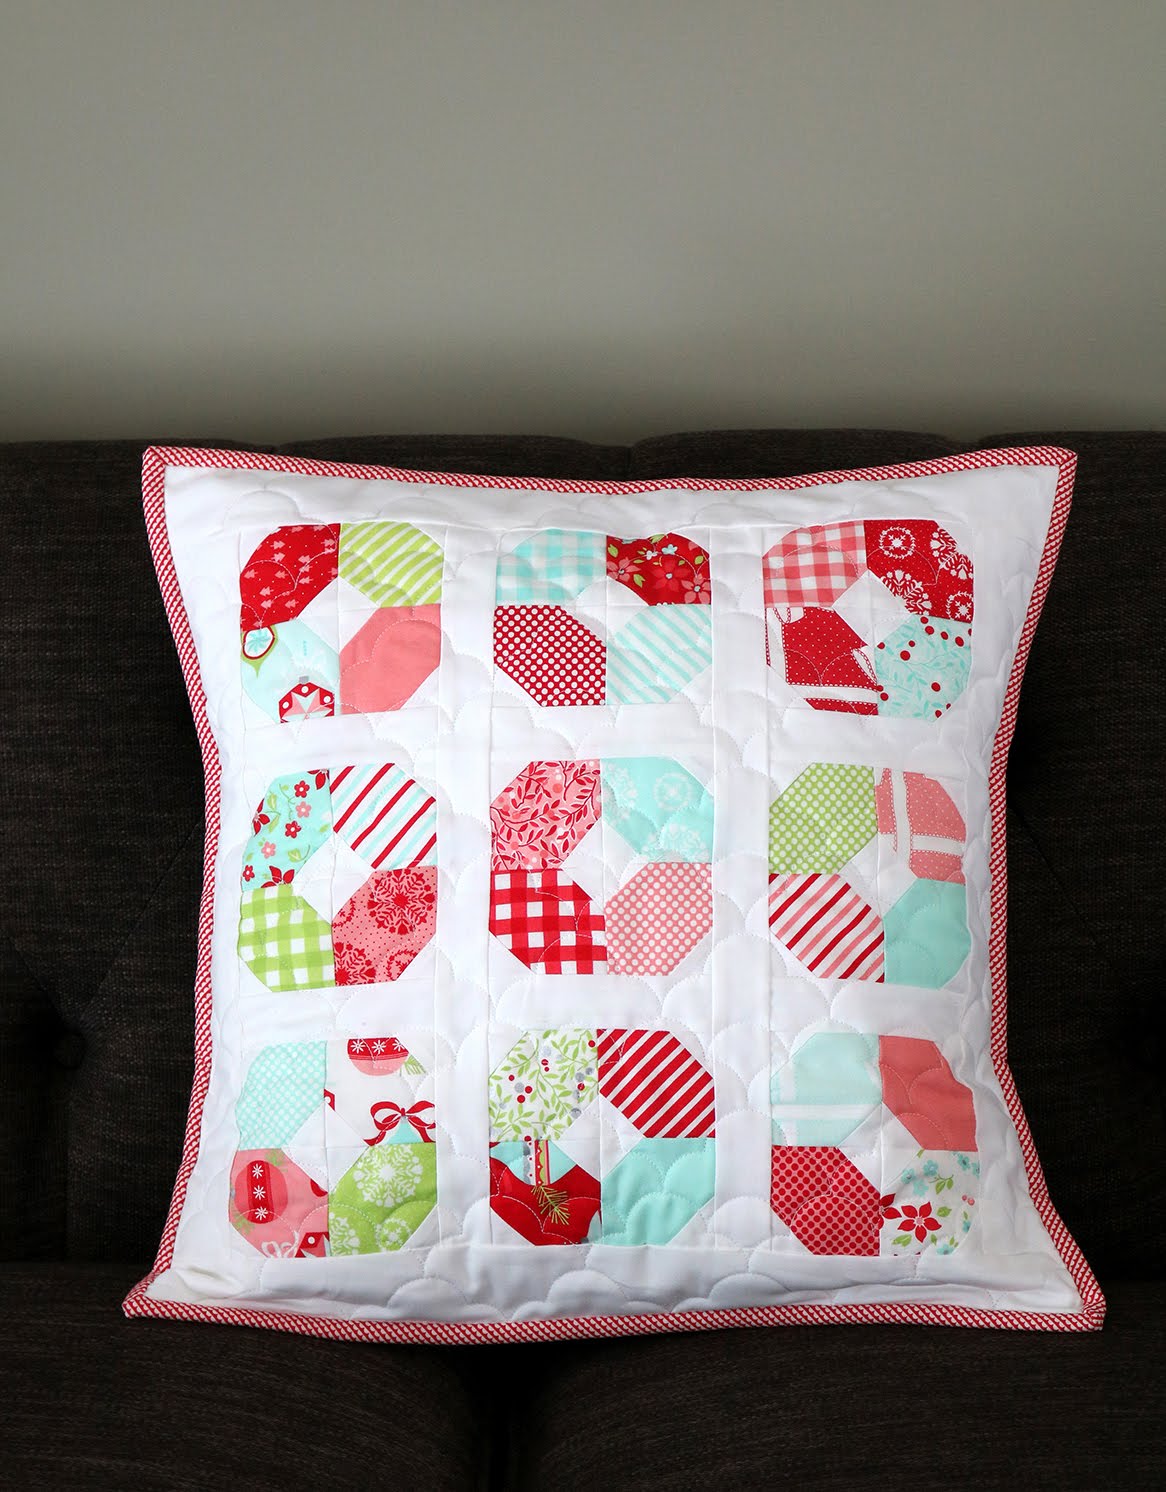
Well hello! I've been working on something just a little different (for me) this past week and I have a fun new book to share with you today.
Showing posts with label Pillows. Show all posts
Wednesday, April 7, 2021
Tuesday, March 12, 2019
Text It! Blog Hop + Two Giveaways
Well hi there! I have a scrappy pillow to share today, and I get to tell you about a new book just released by Sherri Noel (Martingale Publishing). Plus you're going to want to stick around because there's a couple of giveaways at the end of my post, just FYI ;)
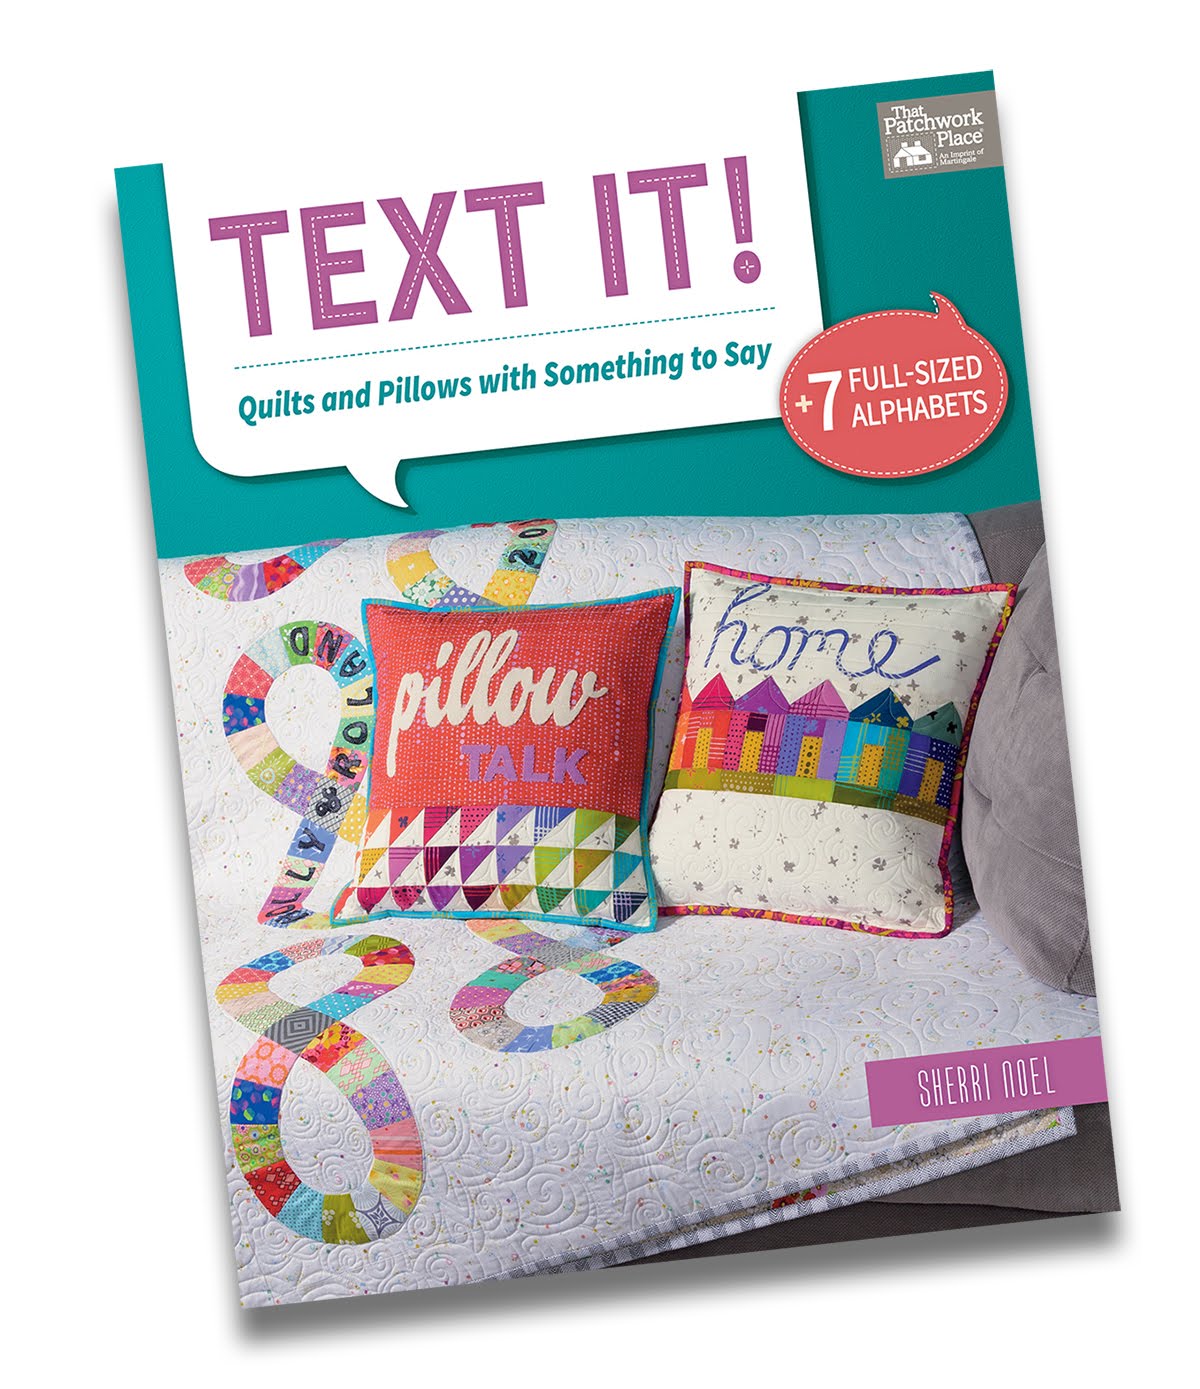
The book is called Text It! and it's filled with projects that each use text in really fun ways. There are 10 total projects and there's quite a variety of techniques --like english paper piecing, fusible applique, wool applique, and needle turn applique. And....it comes with 7 full-sized alphabets.
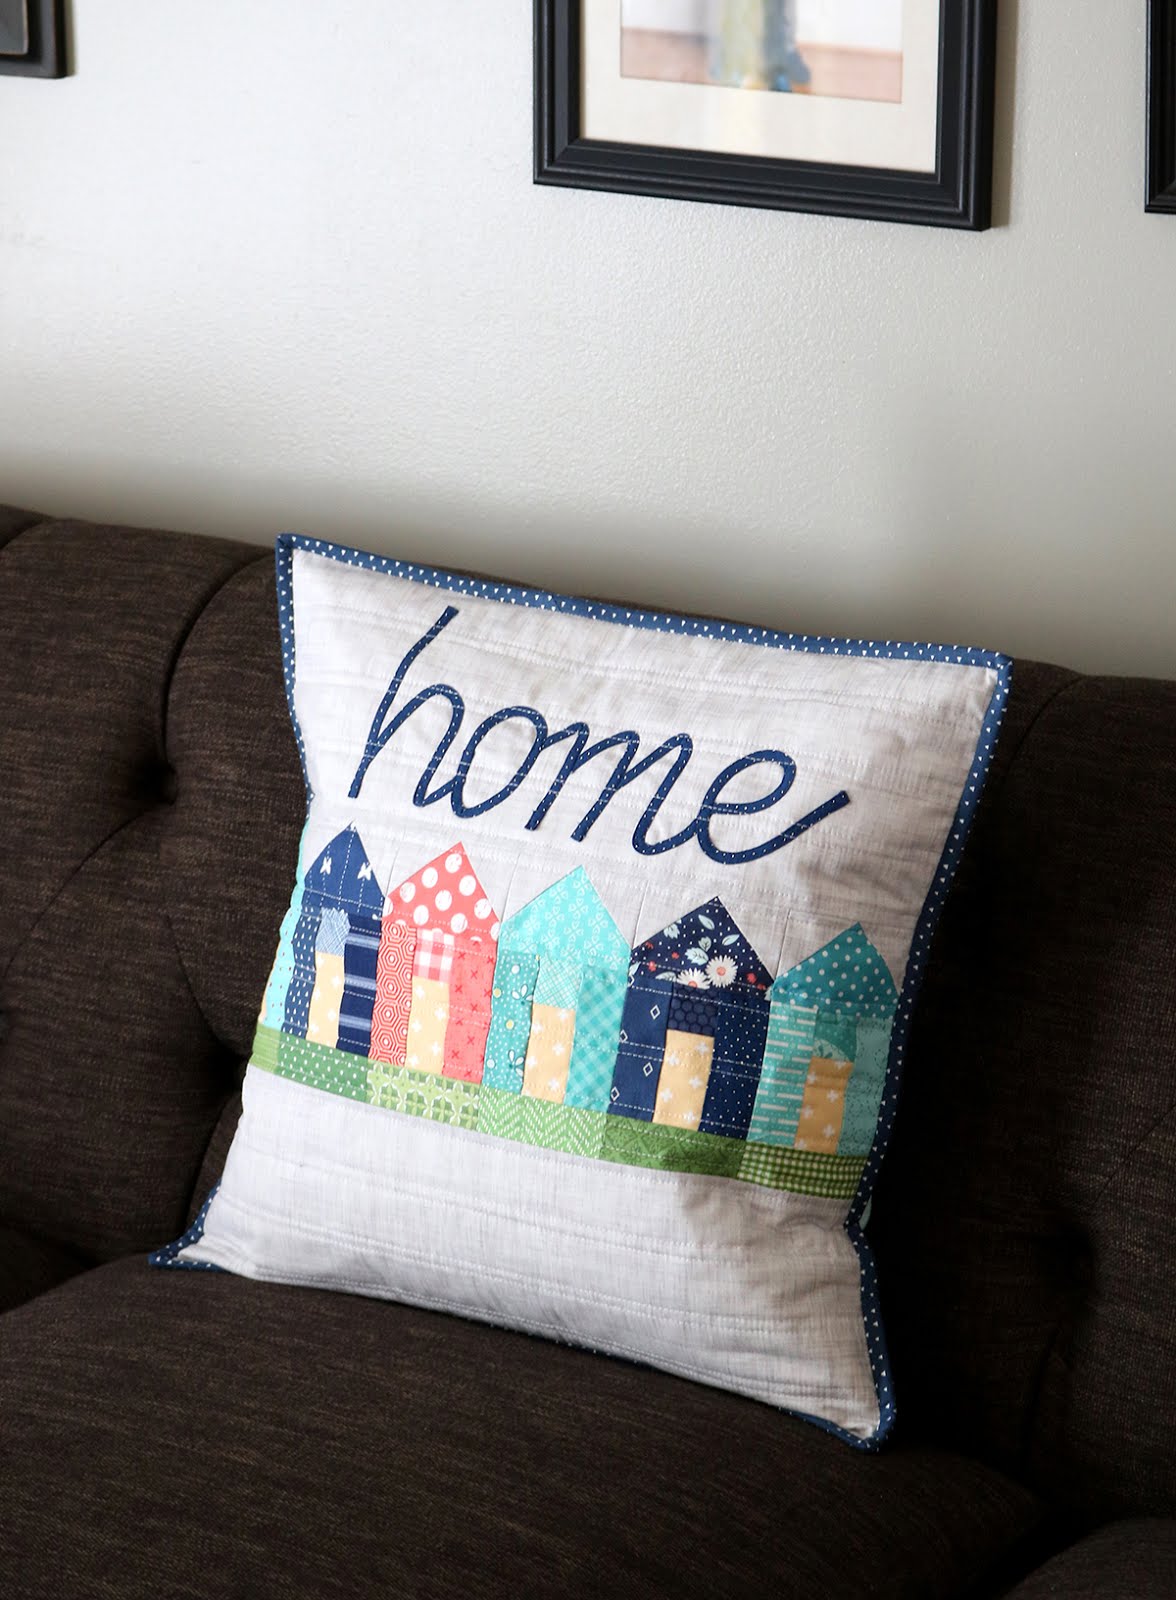
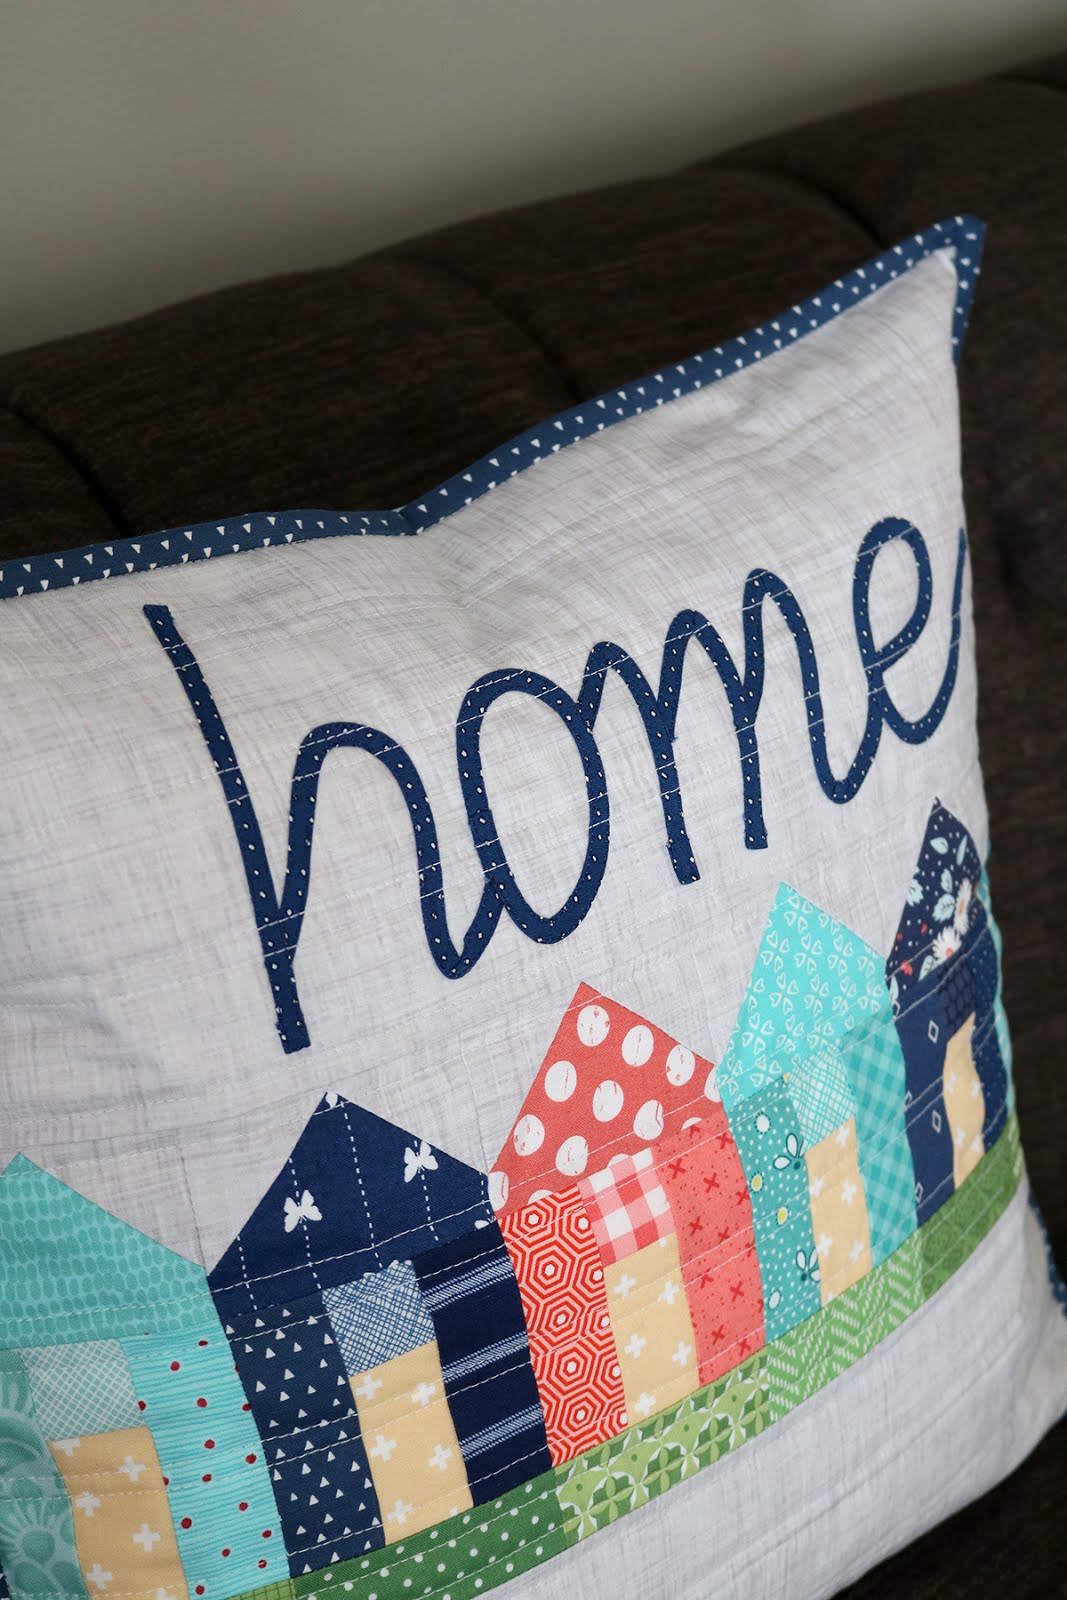
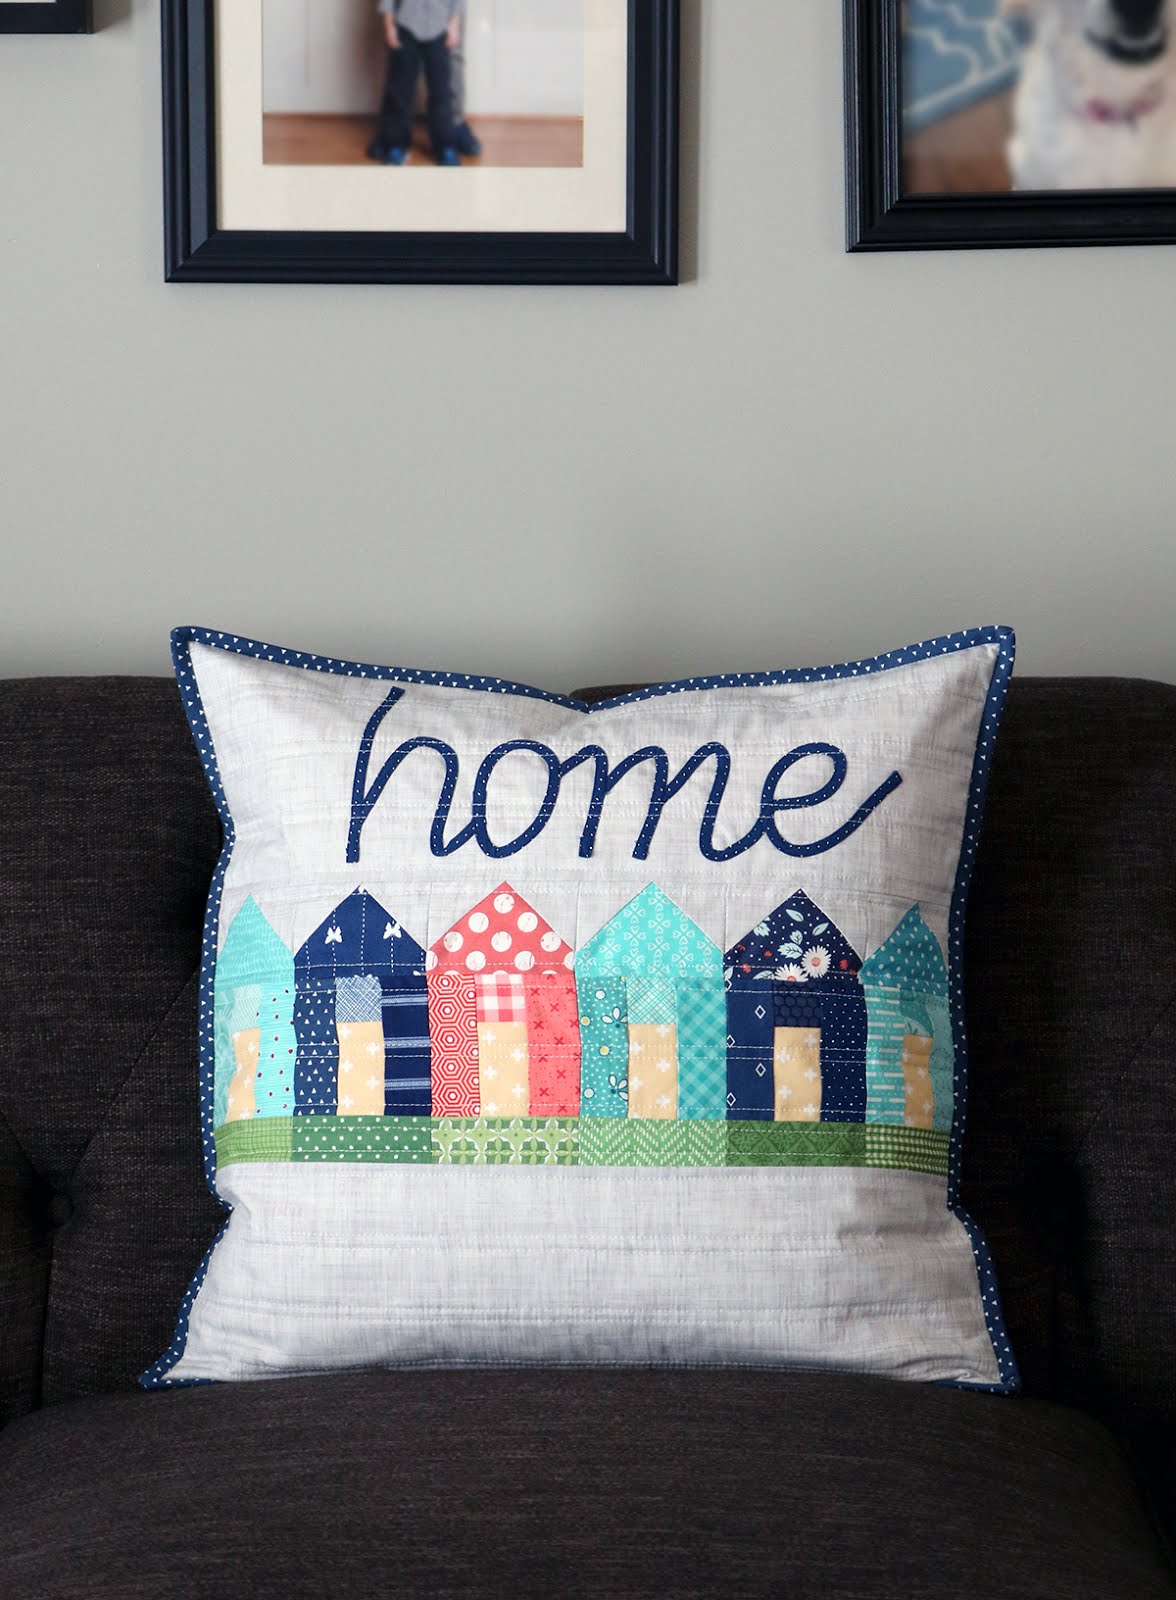
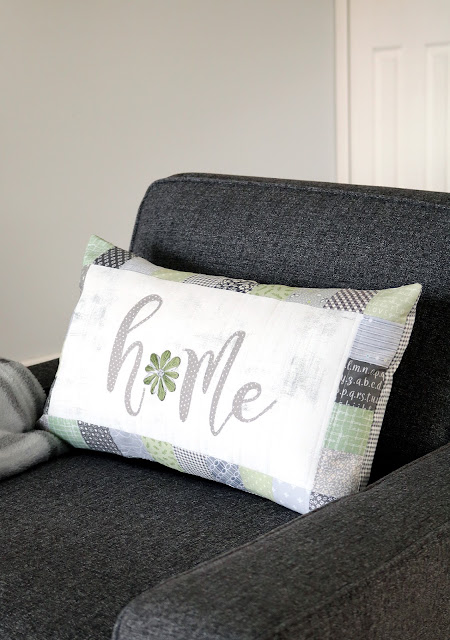
This pillow was a new challenge for me! I've never done text applique quite like this but I LOVE the result. The text is made with thin bias tape and double-sided fusible tape. When I first saw the project I was a wee bit intimidated but Sherri has great instructions in her book!
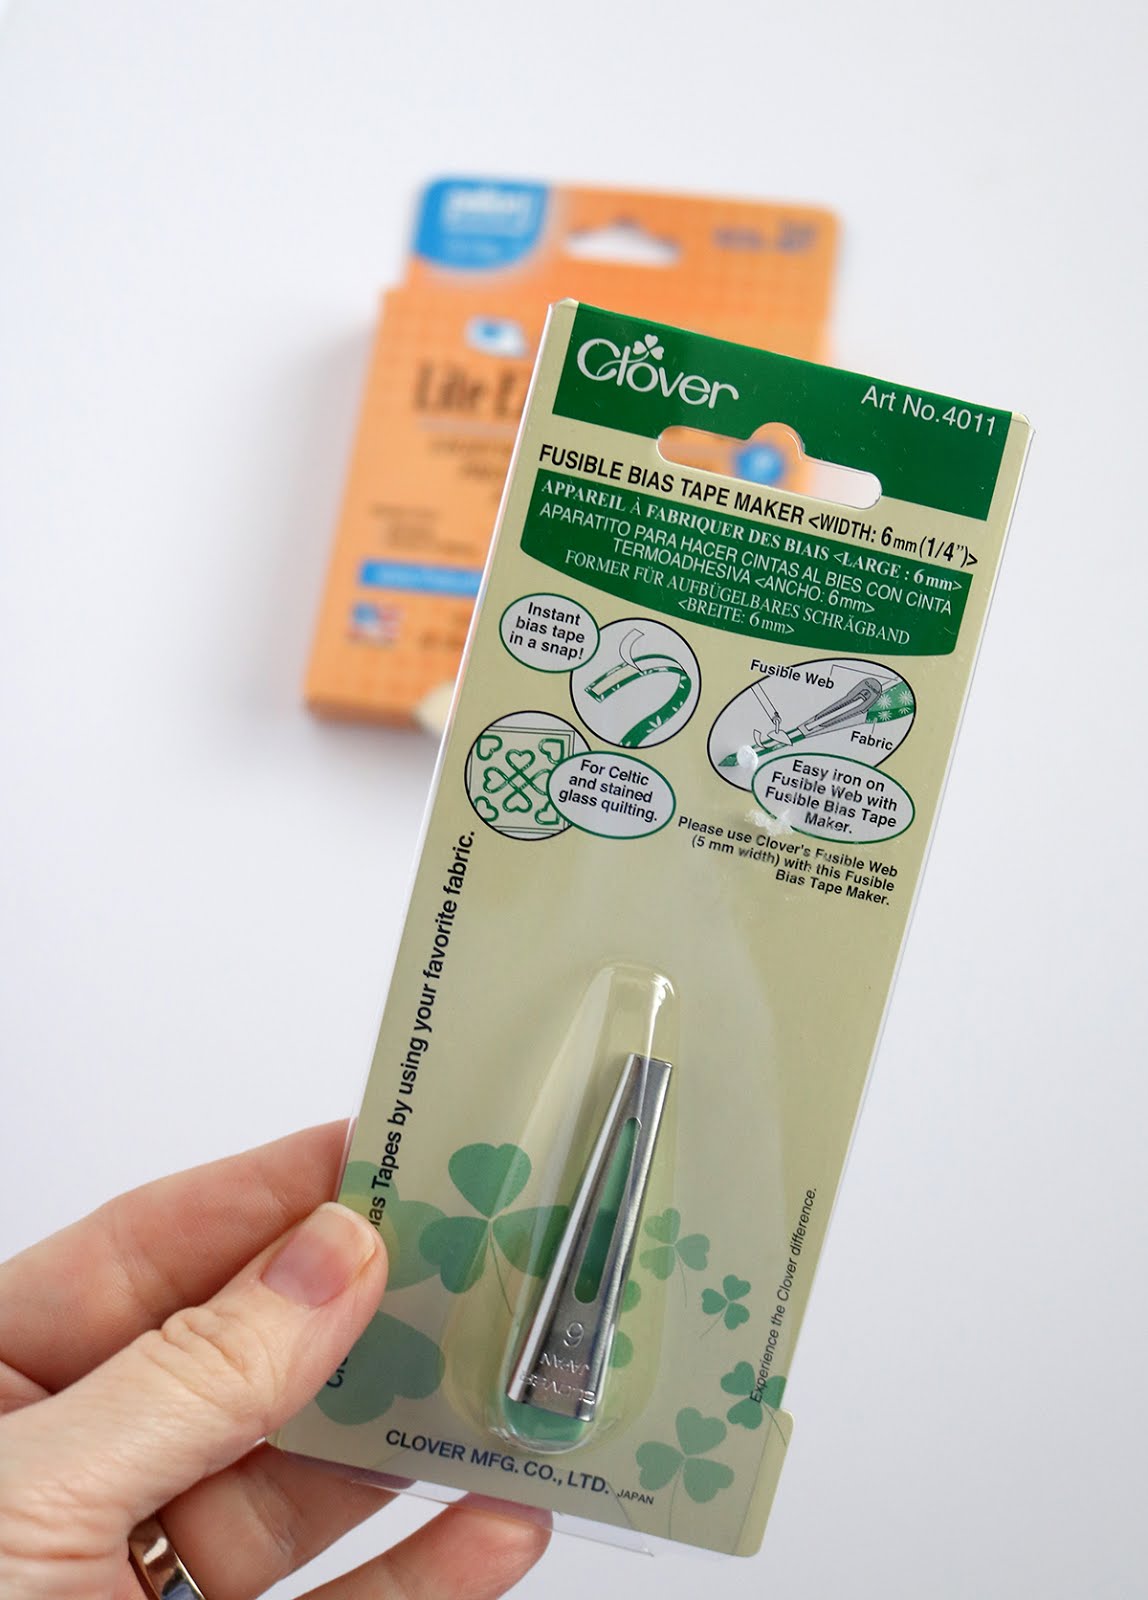
This bias tape maker (1/4") really helped when it came to making the thin bias tape! Honestly, I wouldn't try to make such tiny bias tape without this thing. There were instructions inside the package that helped step me through how to use it. Once the bias tape was made, I used the same little tool to add the fusible adhesive to the back. That adhesive is important - it held the letters in place beautifully until I could stitch them down. (Find the Clover fusible bias tape maker here on Amazon)
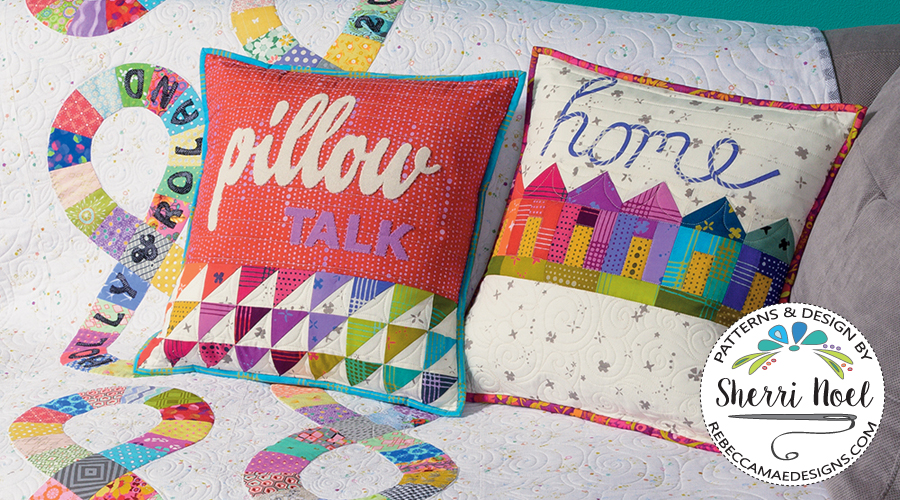
This project plus 9 others can be found in the book. You can see Sherri's version of the Home Pillow in this image from the cover of the book:
Want a signed copy of the Text It book? You can buy that here from Sherri! You can also find the book for sale here on Amazon, and here at the Fat Quarter Shop.
Ready for the giveaways? I have TWO today! First, Martingale is offering one of my readers a copy of Sherri's book, Text It! (US residents only)
The second giveaway is from Aurifil and they are generously offering two large spools of thread to one of you lucky stitchers- open to everyone worldwide.
To enter the giveaway simply leave a comment below letting me know where you live (city & country). It will be interesting to see where everyone resides!
If you're a no-comment blogger, please be sure to leave your email address in your comment so I can contact you. Giveaway is open until this Sunday, March 17, 2019 at midnight MST.
Want to see more fun projects from the book? Here's the full list of participating bloggers:
The book is called Text It! and it's filled with projects that each use text in really fun ways. There are 10 total projects and there's quite a variety of techniques --like english paper piecing, fusible applique, wool applique, and needle turn applique. And....it comes with 7 full-sized alphabets.
This pillow was a new challenge for me! I've never done text applique quite like this but I LOVE the result. The text is made with thin bias tape and double-sided fusible tape. When I first saw the project I was a wee bit intimidated but Sherri has great instructions in her book!
This bias tape maker (1/4") really helped when it came to making the thin bias tape! Honestly, I wouldn't try to make such tiny bias tape without this thing. There were instructions inside the package that helped step me through how to use it. Once the bias tape was made, I used the same little tool to add the fusible adhesive to the back. That adhesive is important - it held the letters in place beautifully until I could stitch them down. (Find the Clover fusible bias tape maker here on Amazon)
This project plus 9 others can be found in the book. You can see Sherri's version of the Home Pillow in this image from the cover of the book:

Want a signed copy of the Text It book? You can buy that here from Sherri! You can also find the book for sale here on Amazon, and here at the Fat Quarter Shop.
The second giveaway is from Aurifil and they are generously offering two large spools of thread to one of you lucky stitchers- open to everyone worldwide.
To enter the giveaway simply leave a comment below letting me know where you live (city & country). It will be interesting to see where everyone resides!
If you're a no-comment blogger, please be sure to leave your email address in your comment so I can contact you. Giveaway is open until this Sunday, March 17, 2019 at midnight MST.
Giveaway is now closed - thank you!
Want to see more fun projects from the book? Here's the full list of participating bloggers:
MONDAY MARCH 4 – BEE HAPPY
PAMELA JANE MORGAN –MYSWEETLITTLESTITCHES
SHARON LILABELLE LANE – LILABELLELANECREATIONS
TUESDAY MARCH 5 – INFINITY Quilt
LAURA PILAND – SLICEOFPIQUILTS
LEANNE PARSONS – DEVOTEDQUILTER
KATIE MUTER STARCHER – KATIEMAEQUILTS
WEDNESDAY MARCH 6 – PILLOW TALK
KATE COLLERAN – SEAMSLIKEADREAM
CHERYL DAINES BROWN – QUILTERCHIC
DORIE HRUSKA – FOREVER-QUILTING
THURSDAY MARCH 7 – FREEDOM Quilt
JEN SHAFFER – PATTERNSBYJEN
TARA MILLER – QUILTDISTRICT
LYNN KANE – PUPPYGIRLDESIGNS
FRIDAY MARCH 8 – LOVING YOU Wall Hanging
ELLEN AULT –HANDMADE3D
SHERRI NOEL – REBECCAMAEDESIGNS
MONDAY MARCH 11 – COUNTING SHEEP Baby Quilt
DEANNE EISENMAN – SNUGGLESQUILTS
RAEWYN BARGE – STITCHINGFARMGIRL
SUSAN PELLAND – SUEPELLANDDESIGNS
TUESDAY MARCH 12 – HOME PILLOW
JOANNE HARRIS – QUILTSBYJOANNE
PATTY DUDEK – ELMSTREETQUILTS
ANDY KNOWLTON – ABRIGHTCORNER
SANDRA STARLEY – UTAHQUILTAPPRAISER
CINDY PIETERS – STITCHINATHOME
WEDNESDAY MARCH 13 – LIFE IS SHORT Wall hanging
BECCA FENSTERMAKER – PRETTYPINEY
KATIE BOCK – SEWINGWITHKATIE
ALLA BLANCA – RAINBOWSBUNNIESCUPCAKES
THURSDAY MARCH 14 – HUSTLE PILLOW
TERRI BANDEN BOSCH – MEANDERINGSALONGLIZARDCREEK
WILLOW OLSON – BEARPAWDESIGNBLOG
ERIN SAMPSON – AURIBUZZ
FRIDAY MARCH 15 – SEWING MACHINE MAT
LAUREN WRIGHT – MOLLYANDMAMA
SANDRA HEALY – SANDRAHEALYDESIGNS
CHERYL KRISEL LYNCH –CHERYLLYNCHQUILTS
SATURDAY MARCH 16 – WRAP UP
SHERRI NOEL – REBECCAMAEDESIGNS
**This post may contain affiliate links, which means I may receive a small commission (at no additional cost to you) when purchases are made through links found in this post.
Friday, December 7, 2018
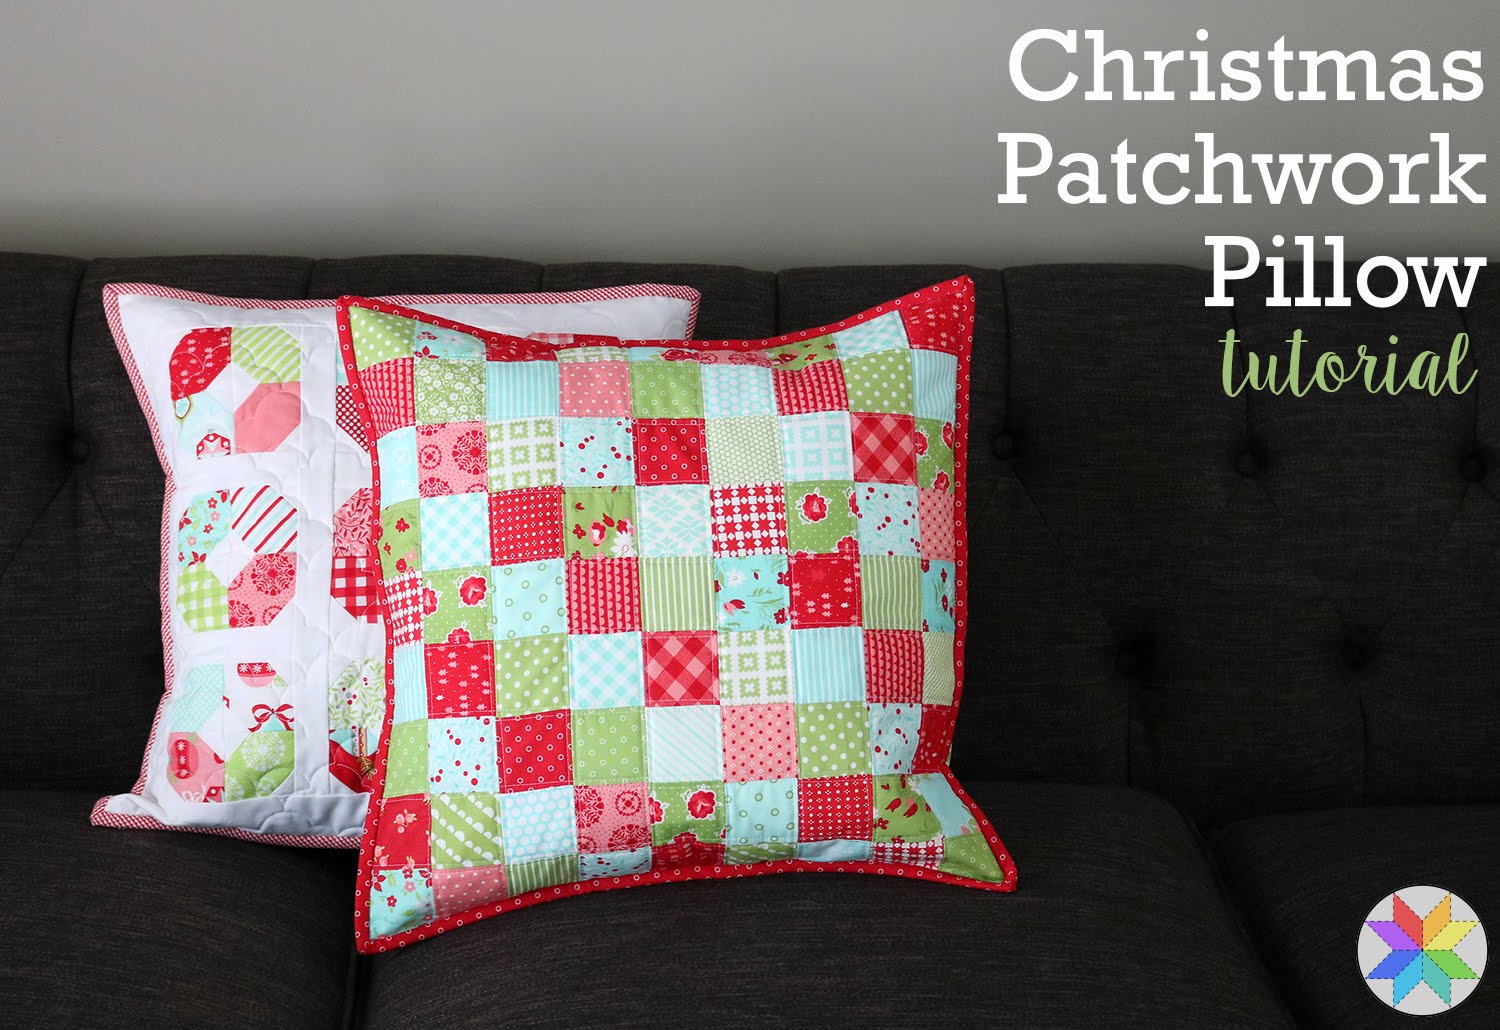
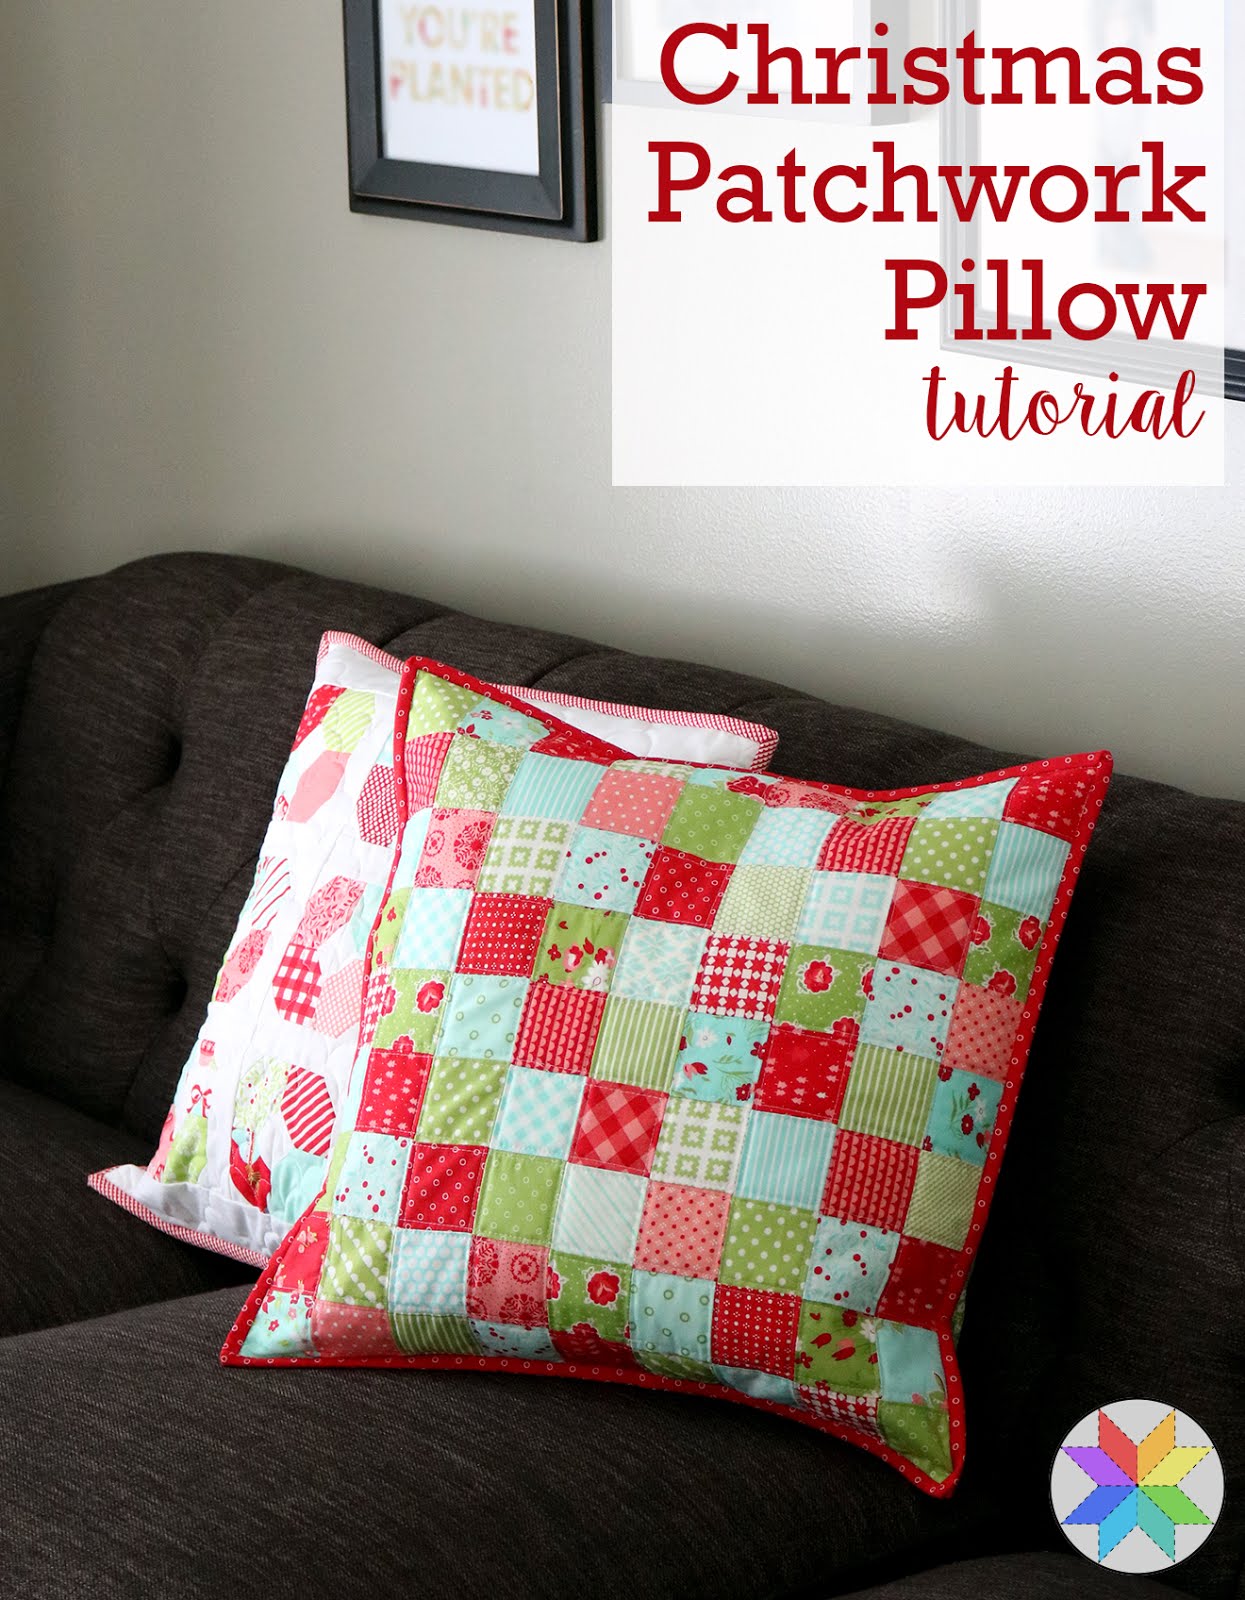
Christmas Patchwork Pillow Tutorial
I can hardly believe it's December already. The days are just flying by and I'm still trying to put up the rest of the Christmas decorations!
This week I pulled out our Advent Calendar and all of our fun Christmas pillows. I wanted to add a new one this year so I grabbed some favorite Christmas-colored scraps and got to work.
I made a similar pillow to this one a couple of years ago but I wanted to update the colors for this new version. And I thought I'd share how I made it! Here's what you'll need for this 18" pillow:
Supplies
81 (2.5") squares
22" x 22" piece of muslin or solid white fabric
22" x 22" piece of thin batting
at least 6" coordinating print for binding
1/3 yard of coordinating print for backing
18" pillow insert
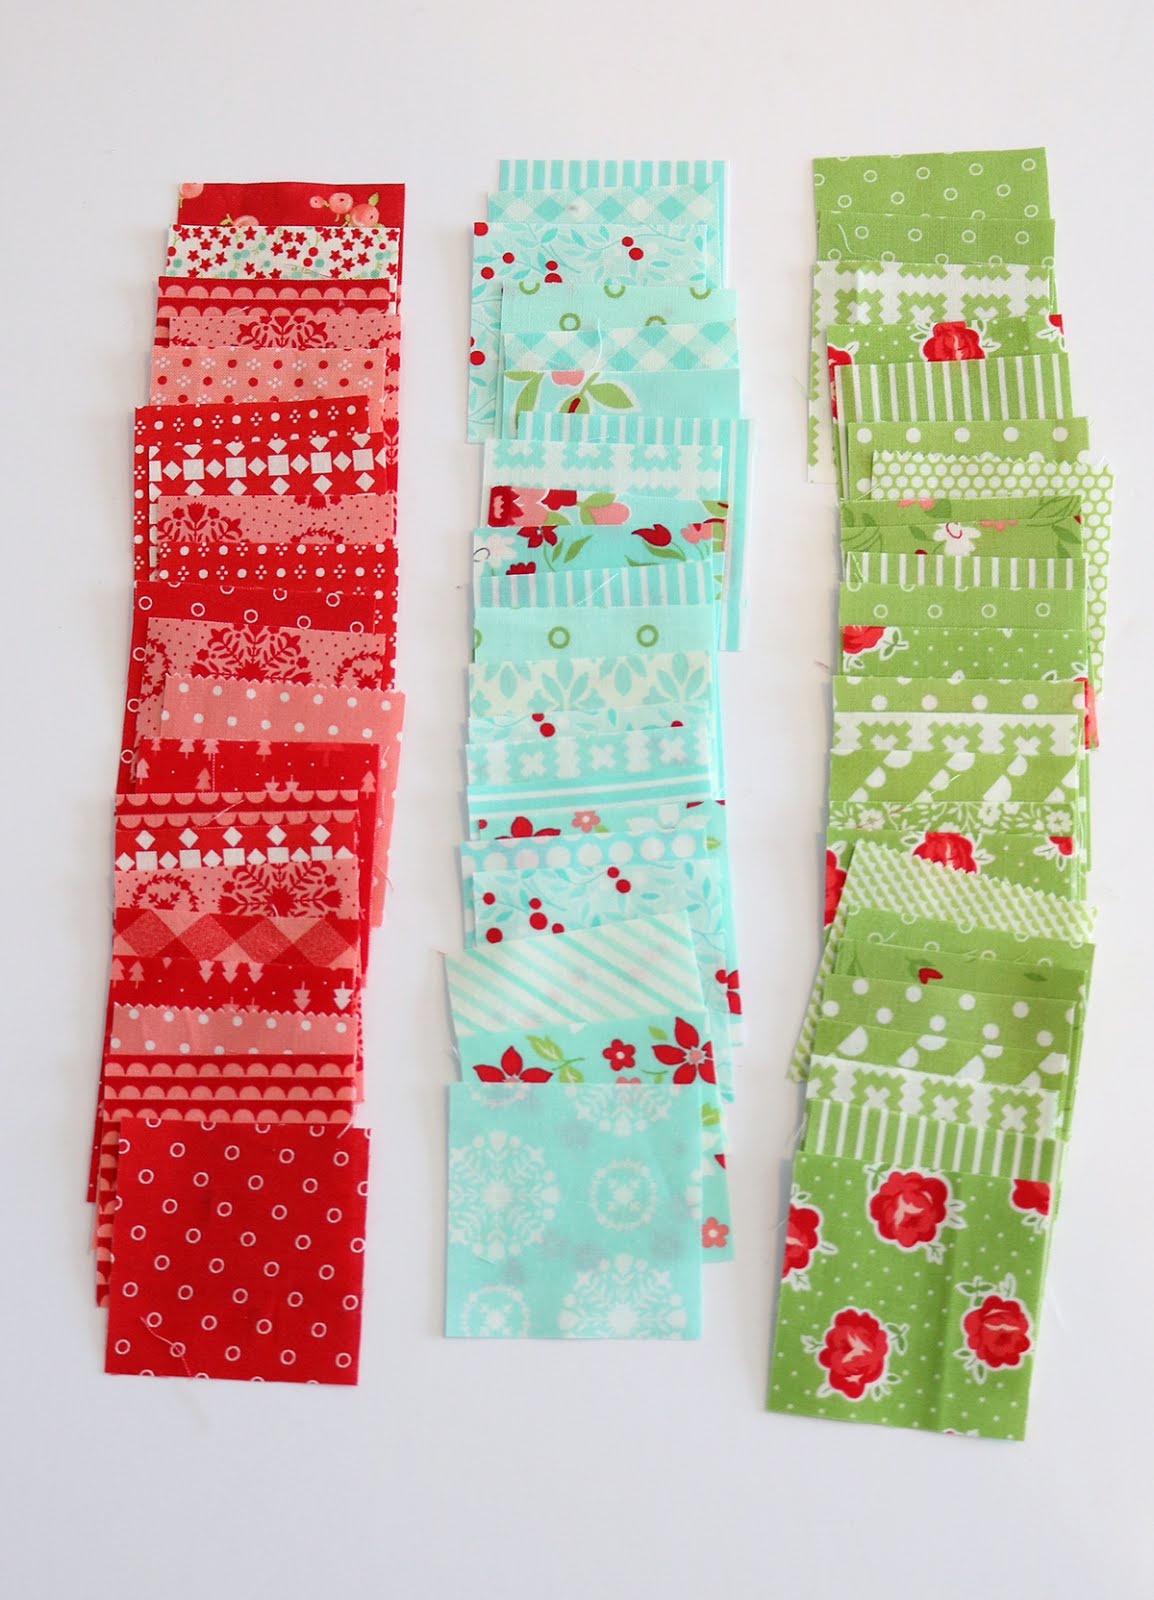
You will need 81 (2.5") squares. I dug through my scrap bin and cut them to size, but an easy way to get these is to cut charm squares into 4 equal pieces, or to cut some squares from left-over jelly roll strips.
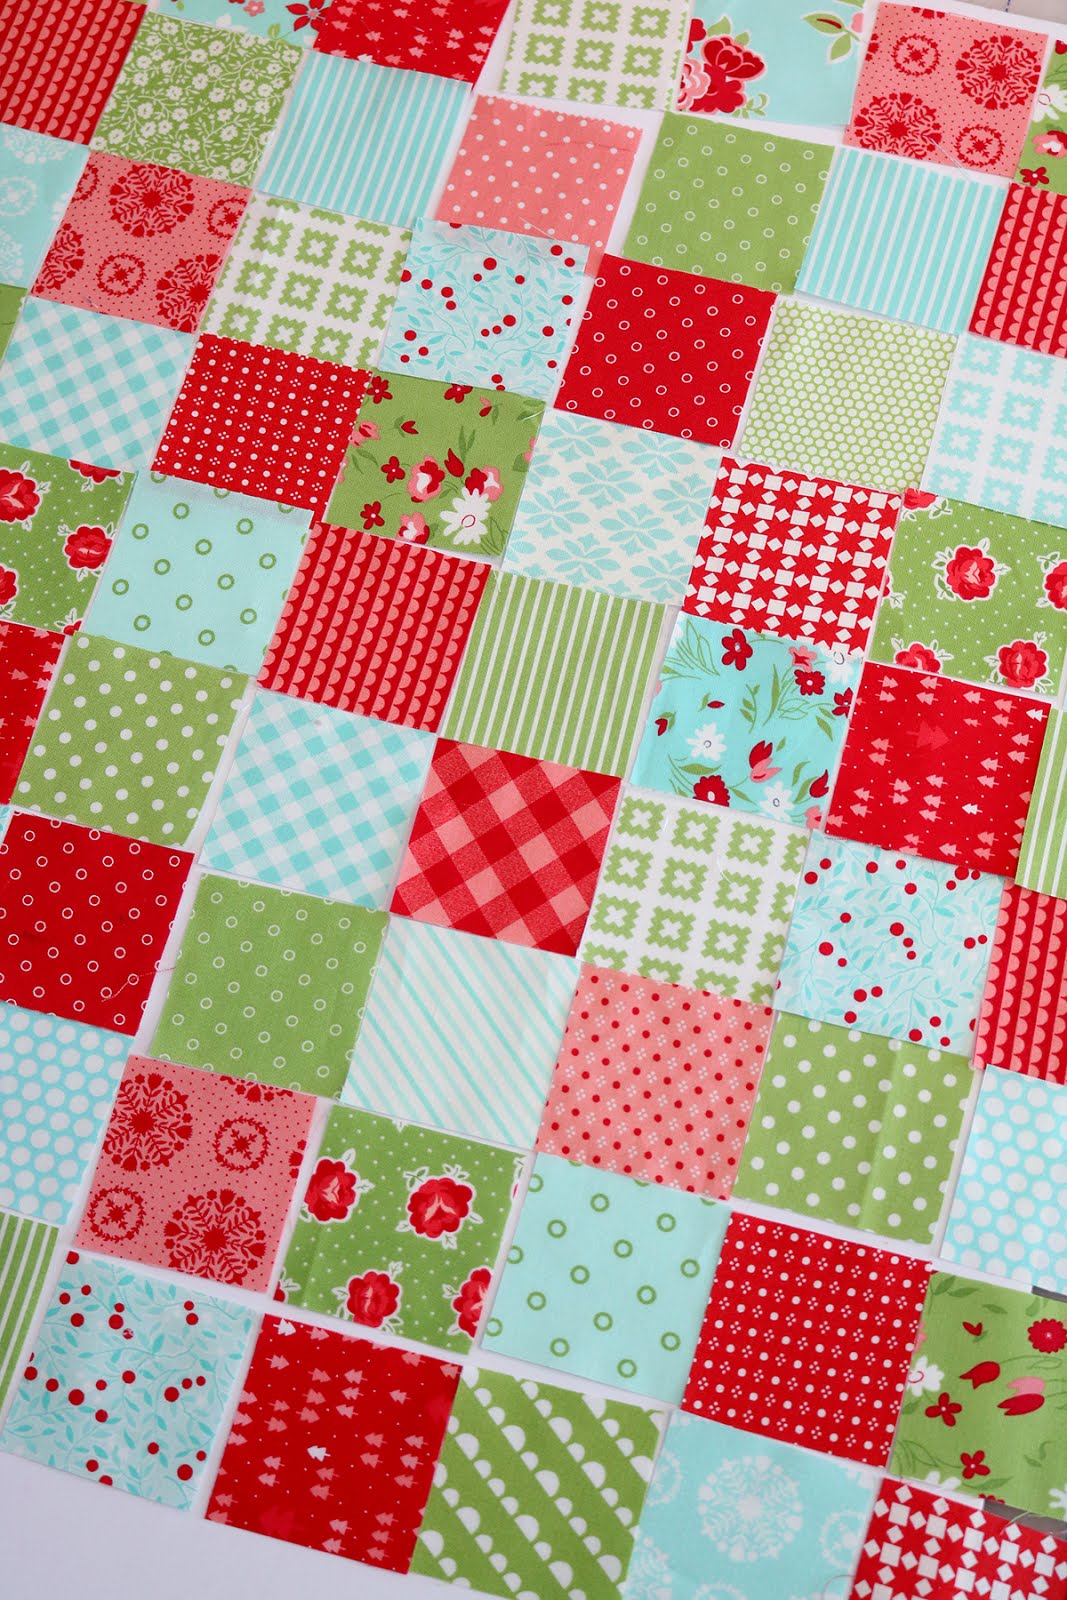
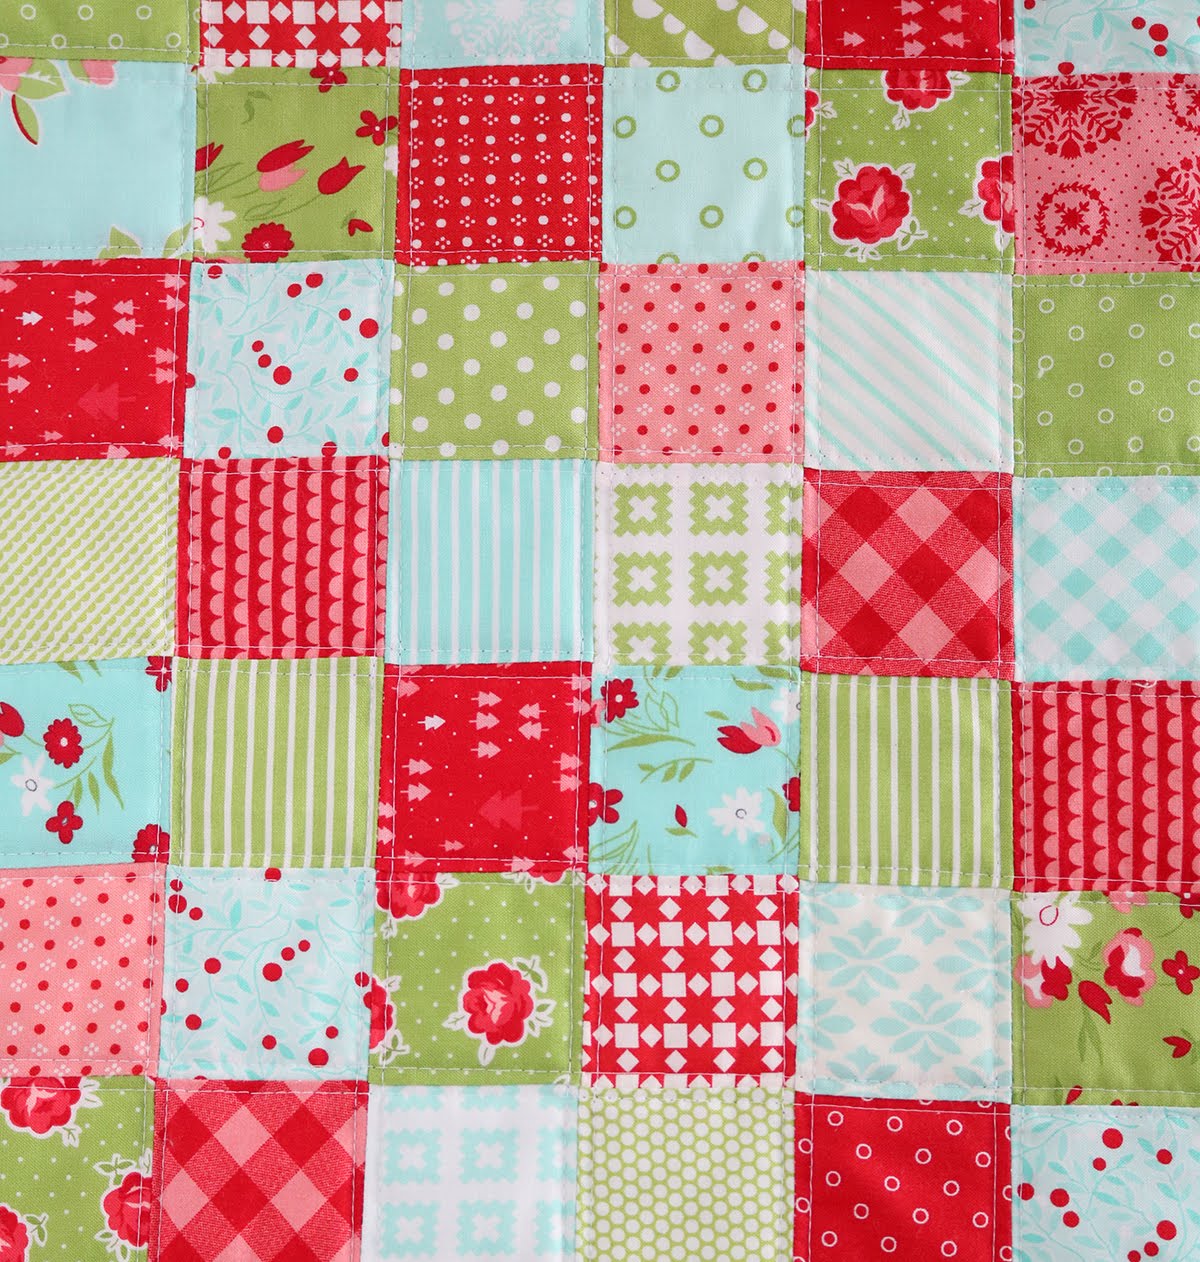
Decide on a layout for your squares. You'll need 9 rows with 9 squares in each for an 18" pillow. I did a diagonal pattern alternating between the three colors (red/pink, aqua, green) but a random, scrappy pattern would be great too.
Sew your squares together into rows, then join rows. I like to press all odd numbered rows to the left and even numbered rows to the right. Then when I join the rows, the intersecting seams will nest beautifully.
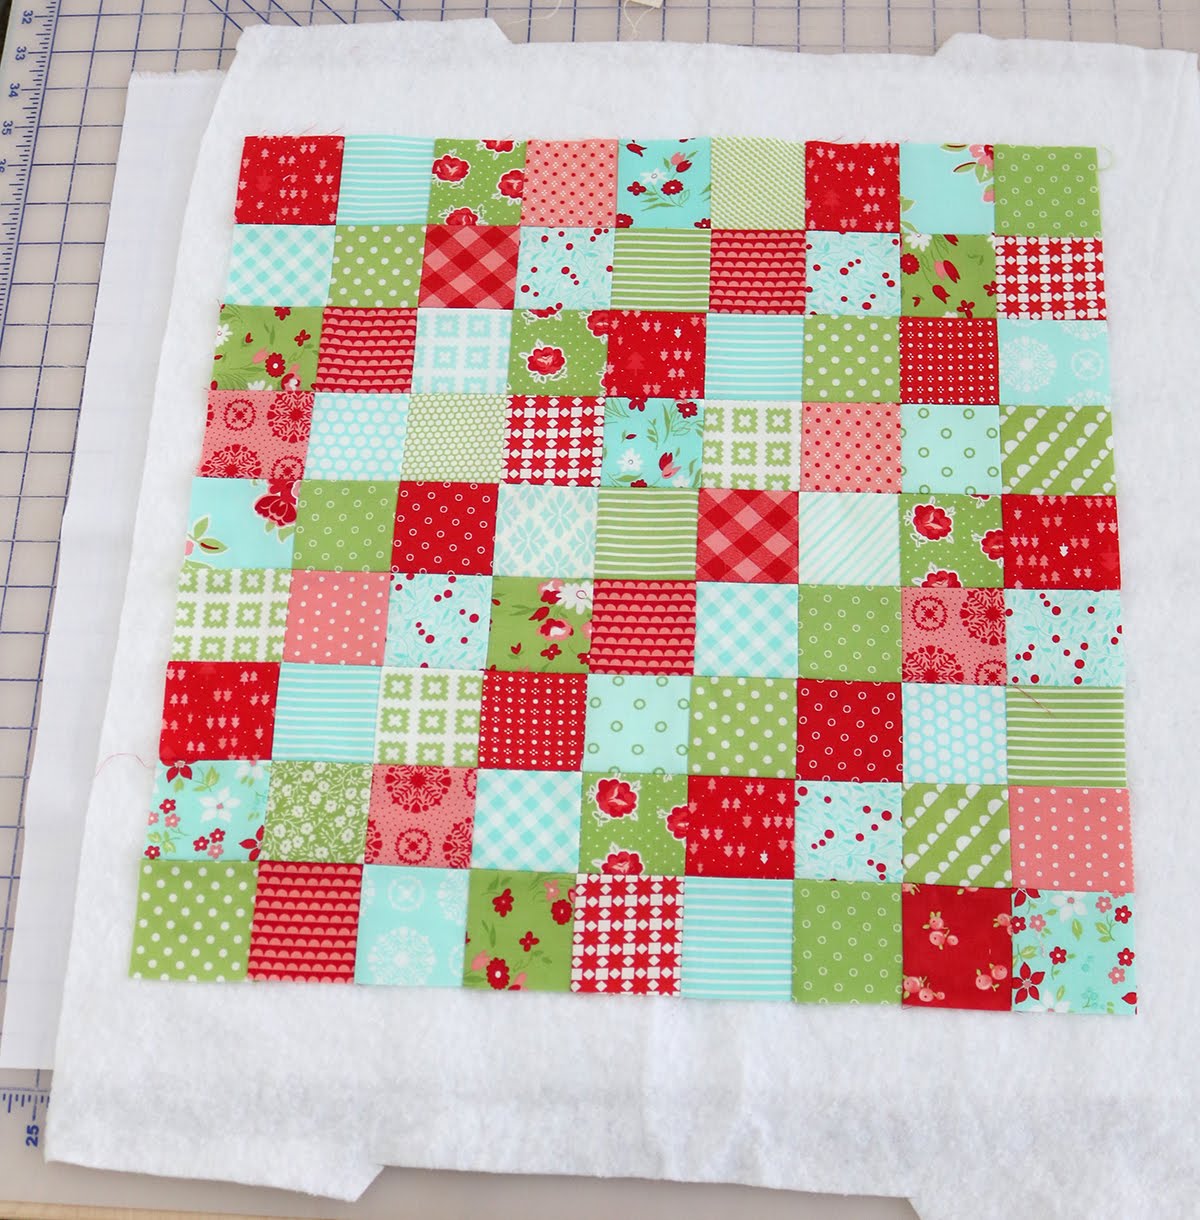
Layer the 22" piece of muslin, the 22" piece of thin batting, and the pillow top. I like to spray baste for this step using some 505 Spray but you could also pin baste.
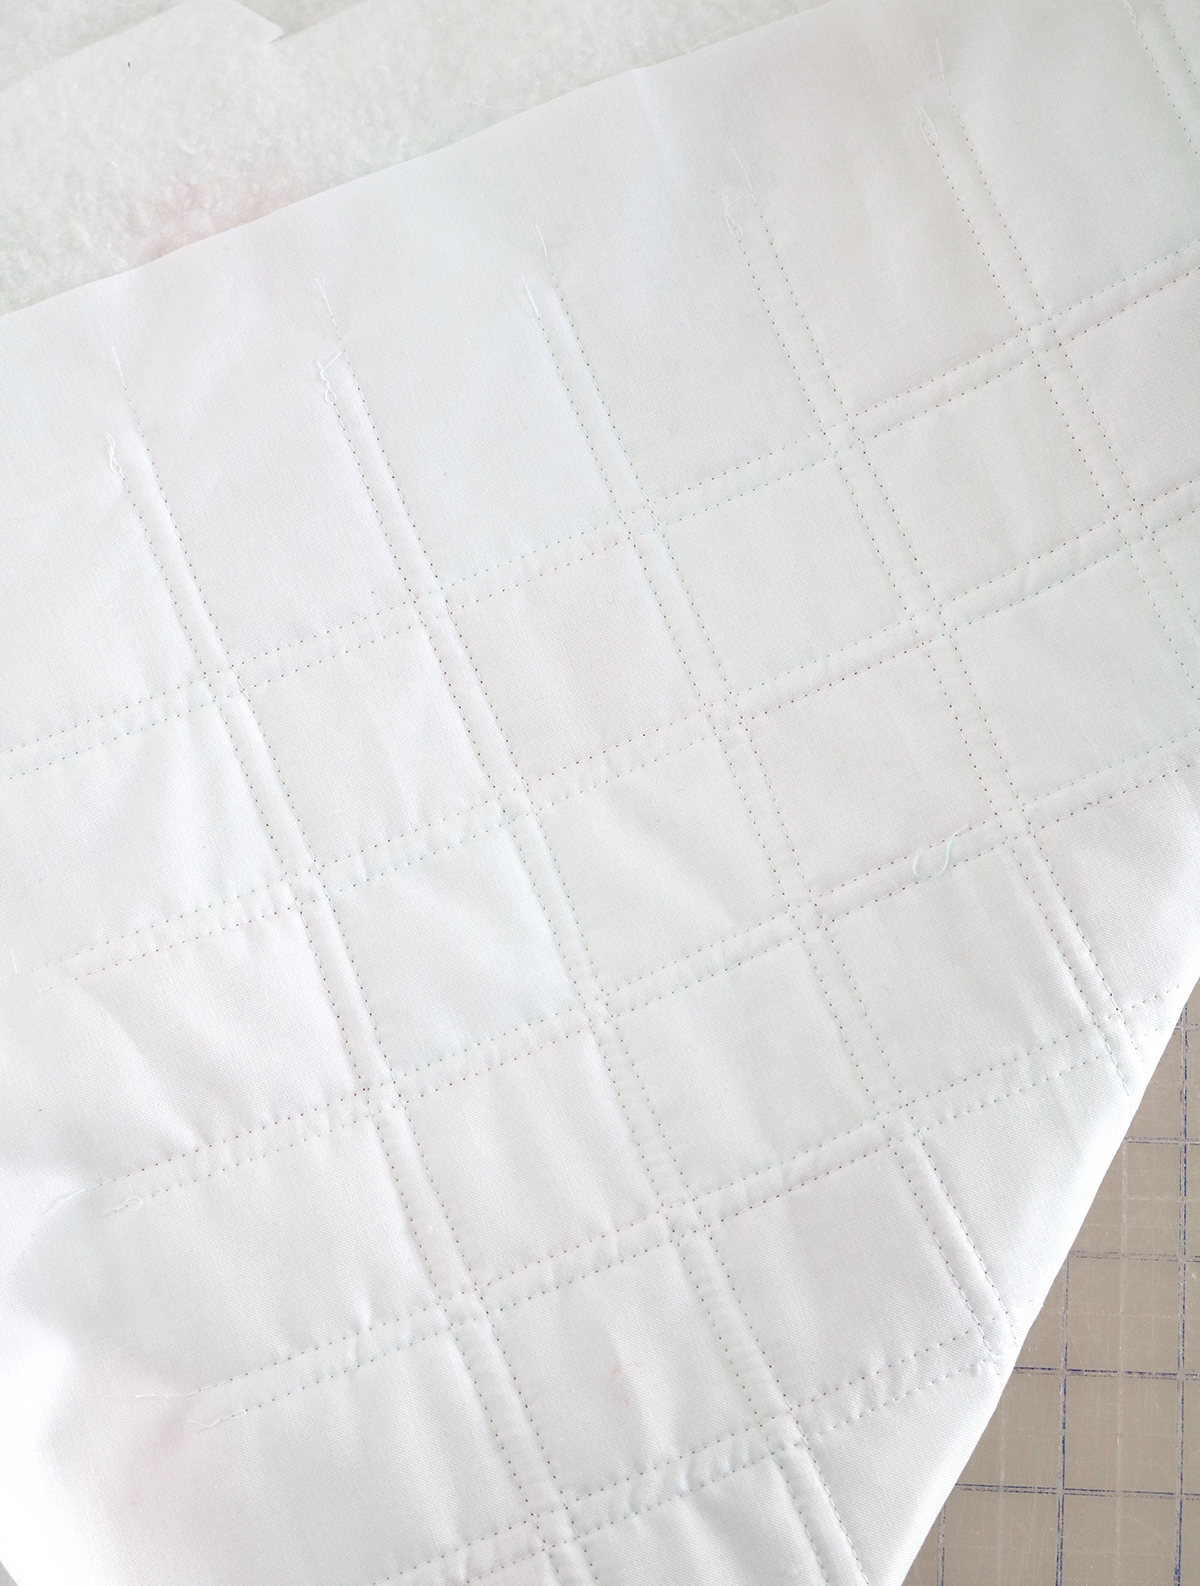
Then quilt your pillow however you'd like. I used my walking foot and did some straight line quilting using the seams as my guides.
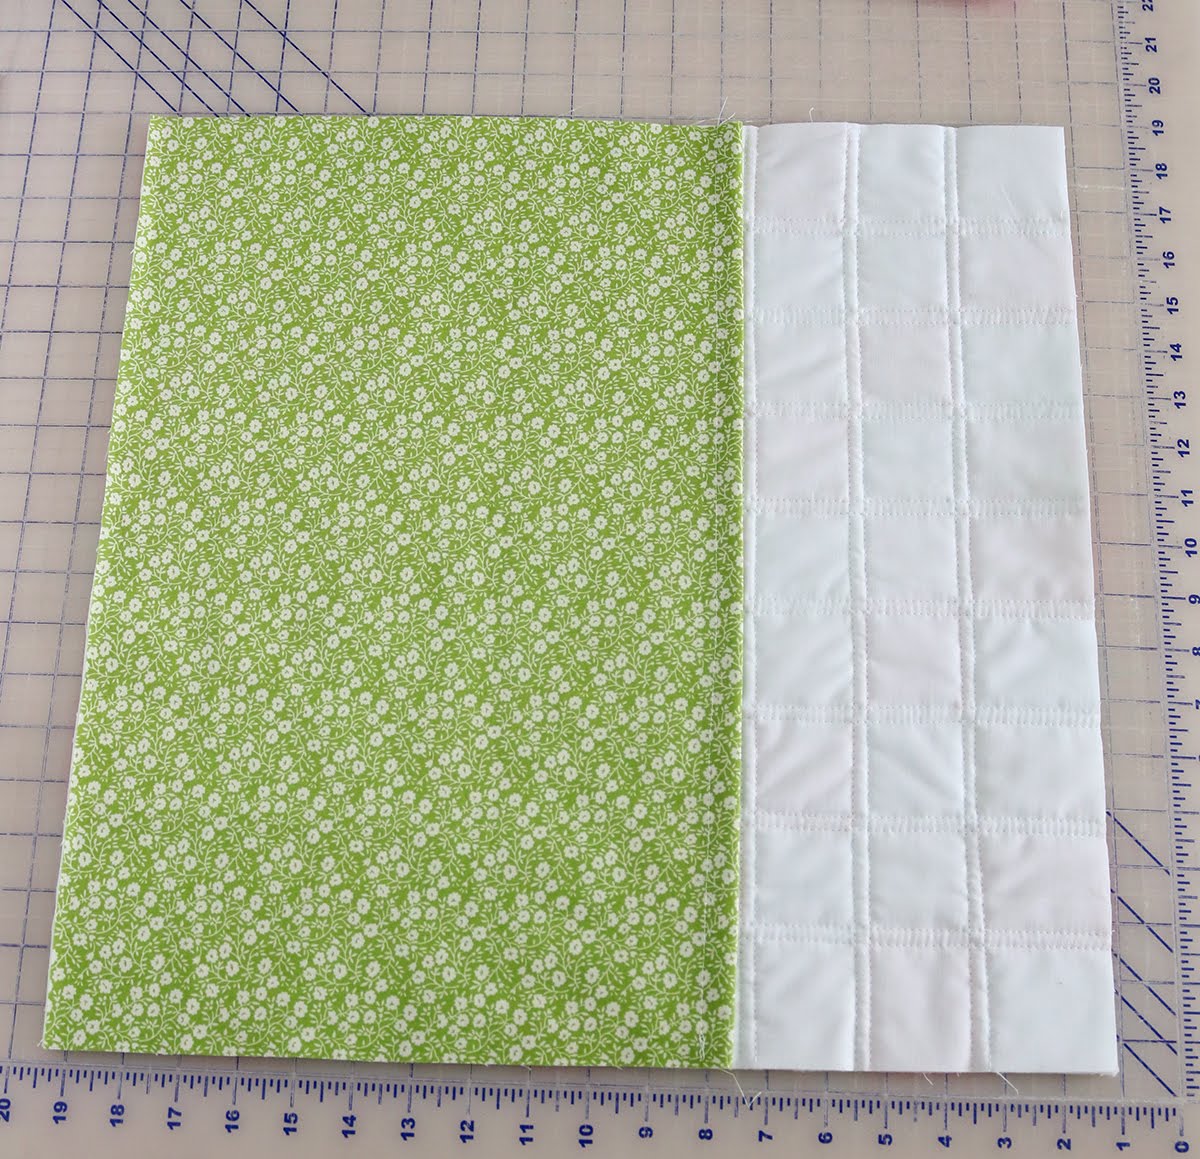
This is what the quilting looks like from the back...
...and from the front. Simple, clean lines helps the fabric really be the star of the show! Trim the extra batting and muslin from the edges of the pillow so that it measures 18.5" x 18.5".
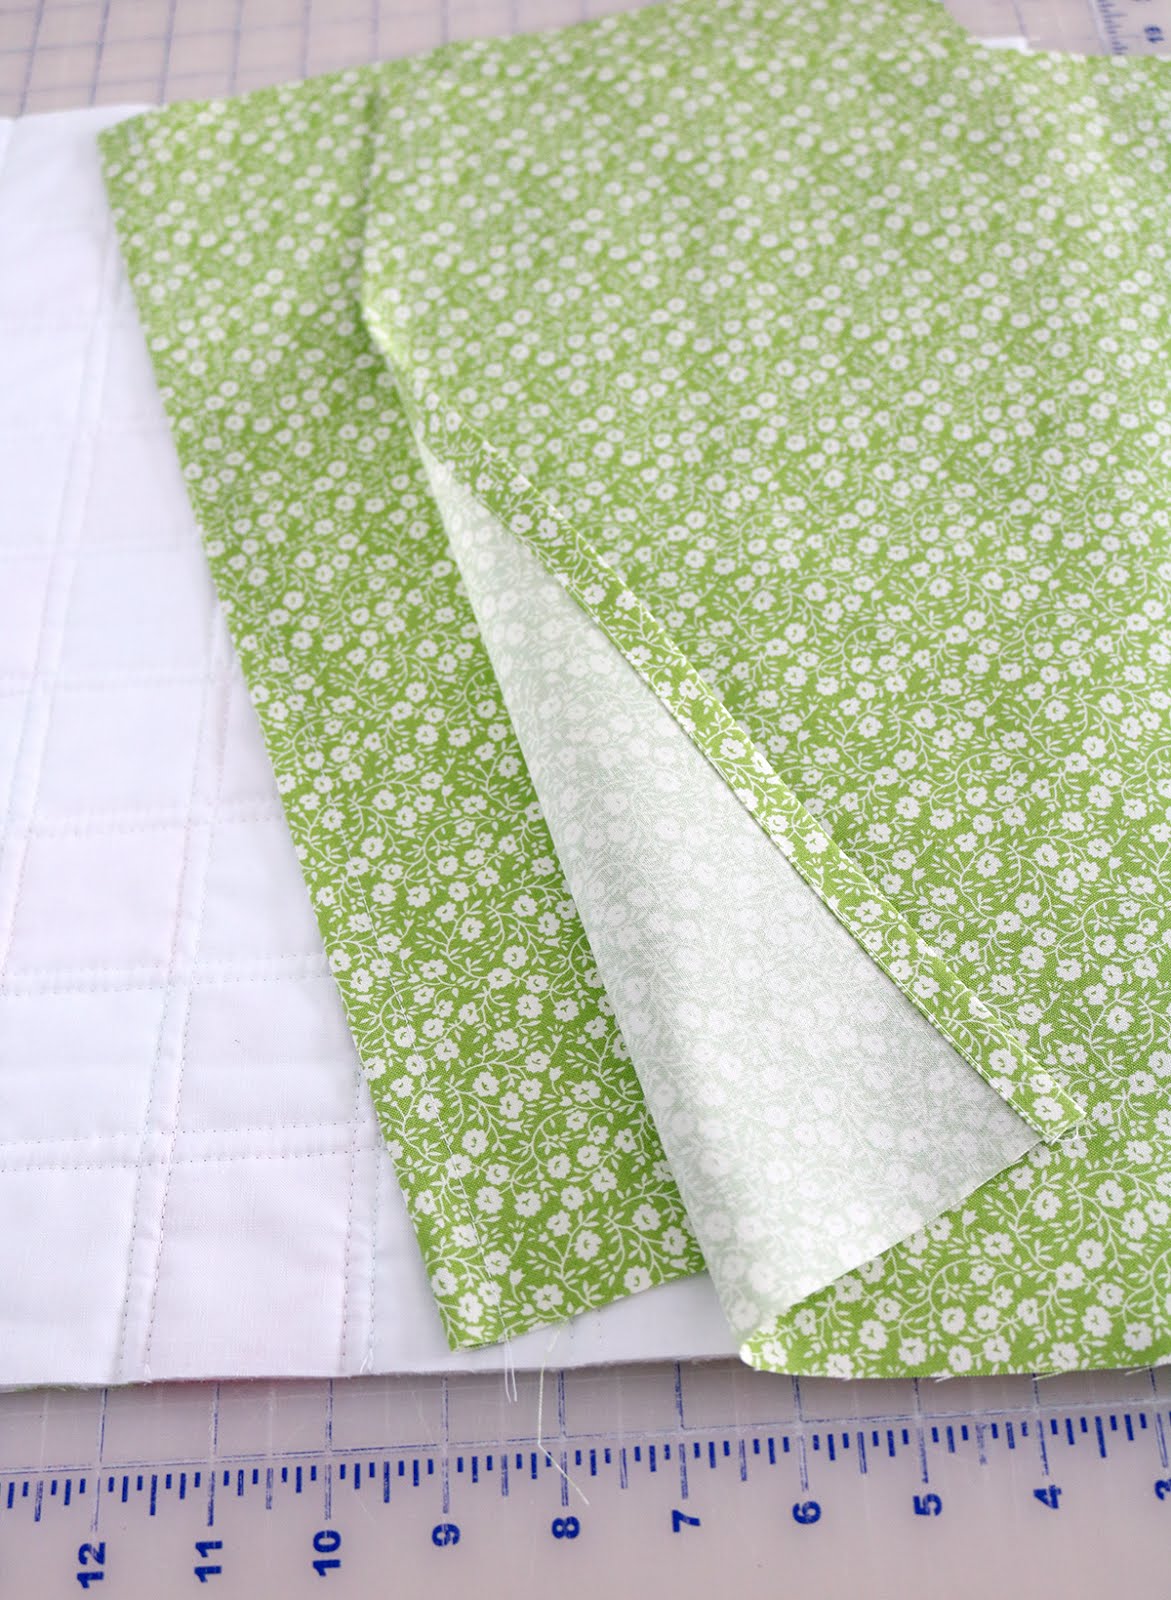
From the backing fabric cut two rectangles that are 12" x 18.5". On one long edge of both backing pieces, fold under 1/2" and press, then fold under again and press. Stitch along the first fold line to hold it in place and create a nice, finished edge.
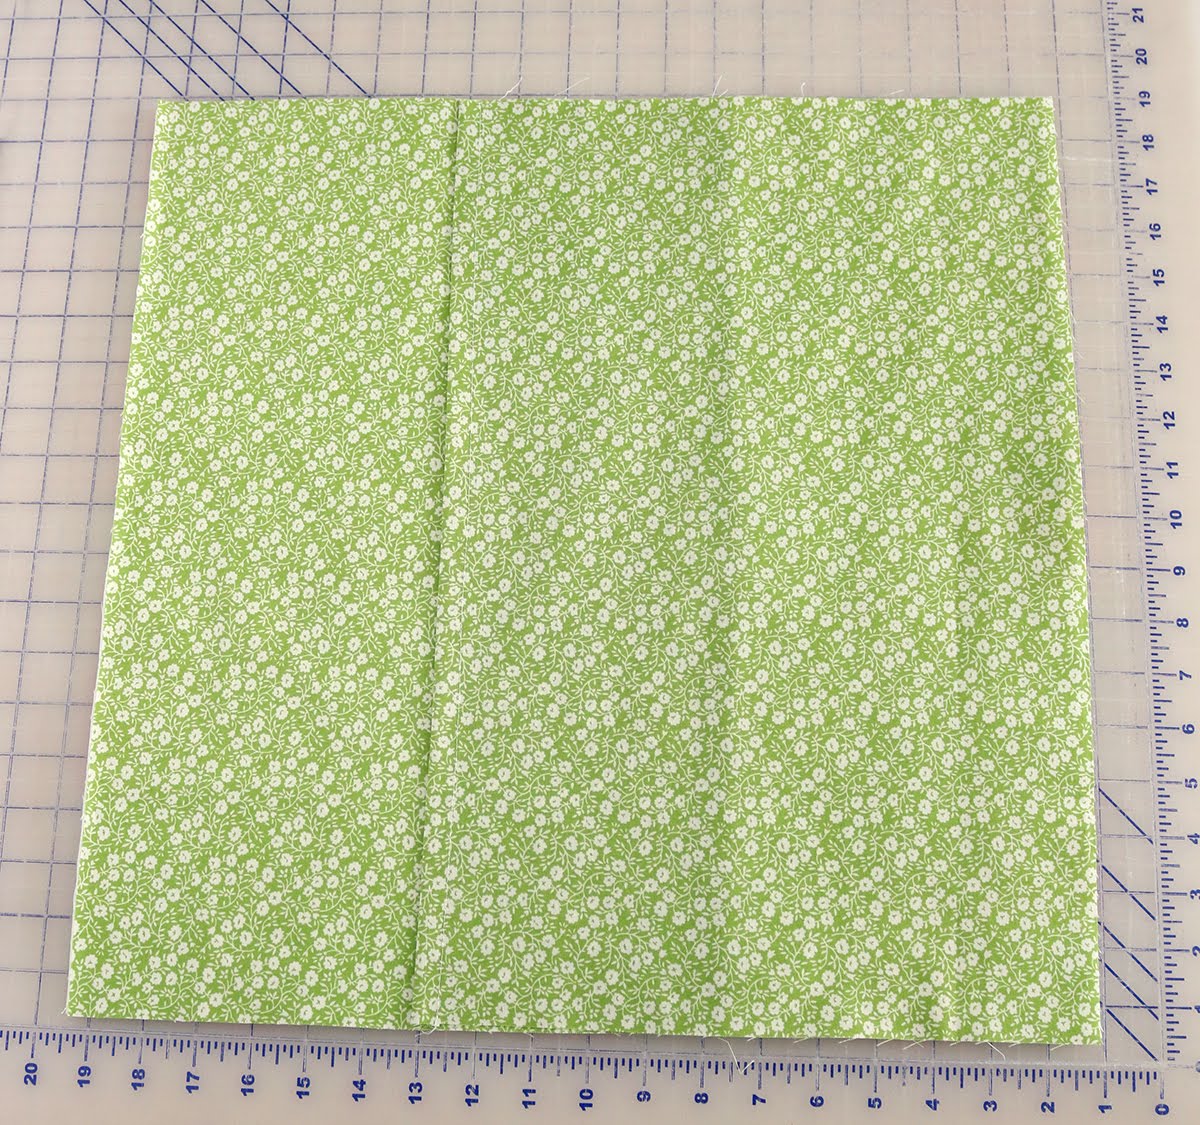
Place the quilted and trimmed pillow front right side down on the table. Then layer the two pillow backing pieces right side up with the finished edges overlapping in the middle of the pillow, and the raw edges lining up with the raw edges of the pillow front.
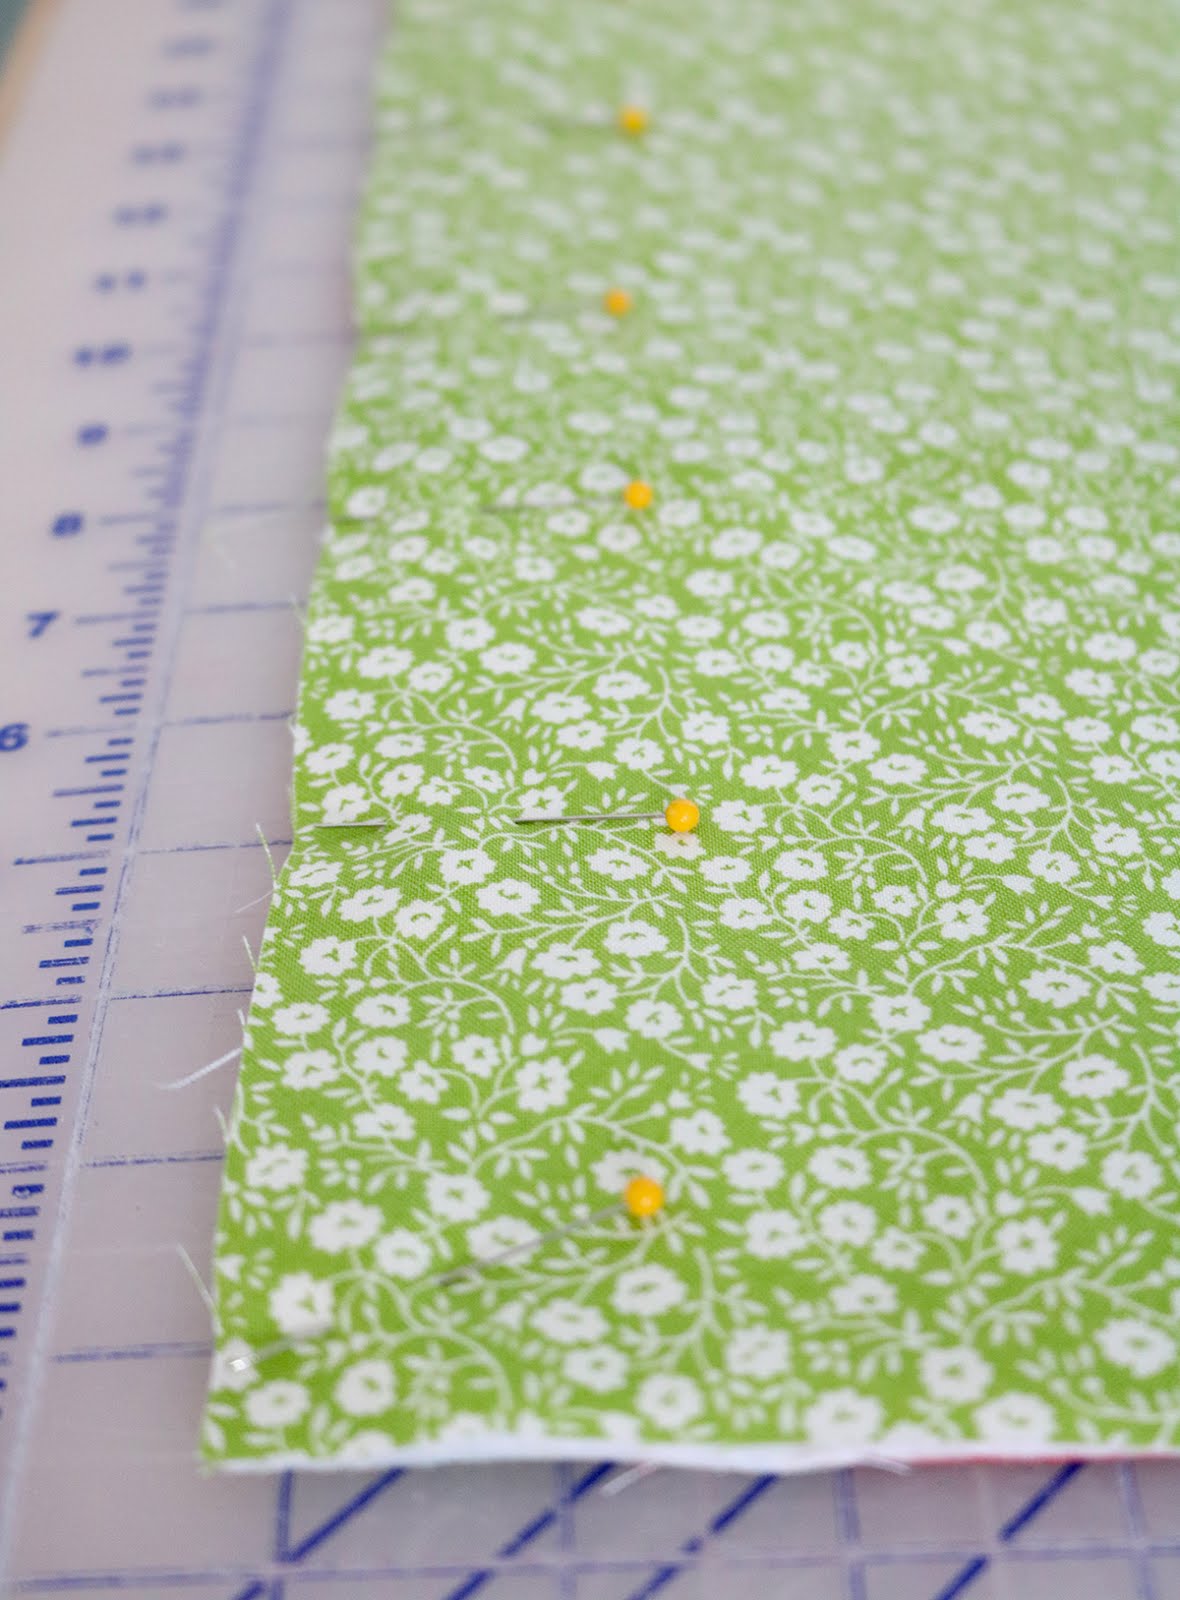
Pin around the outer edges of the entire pillow.
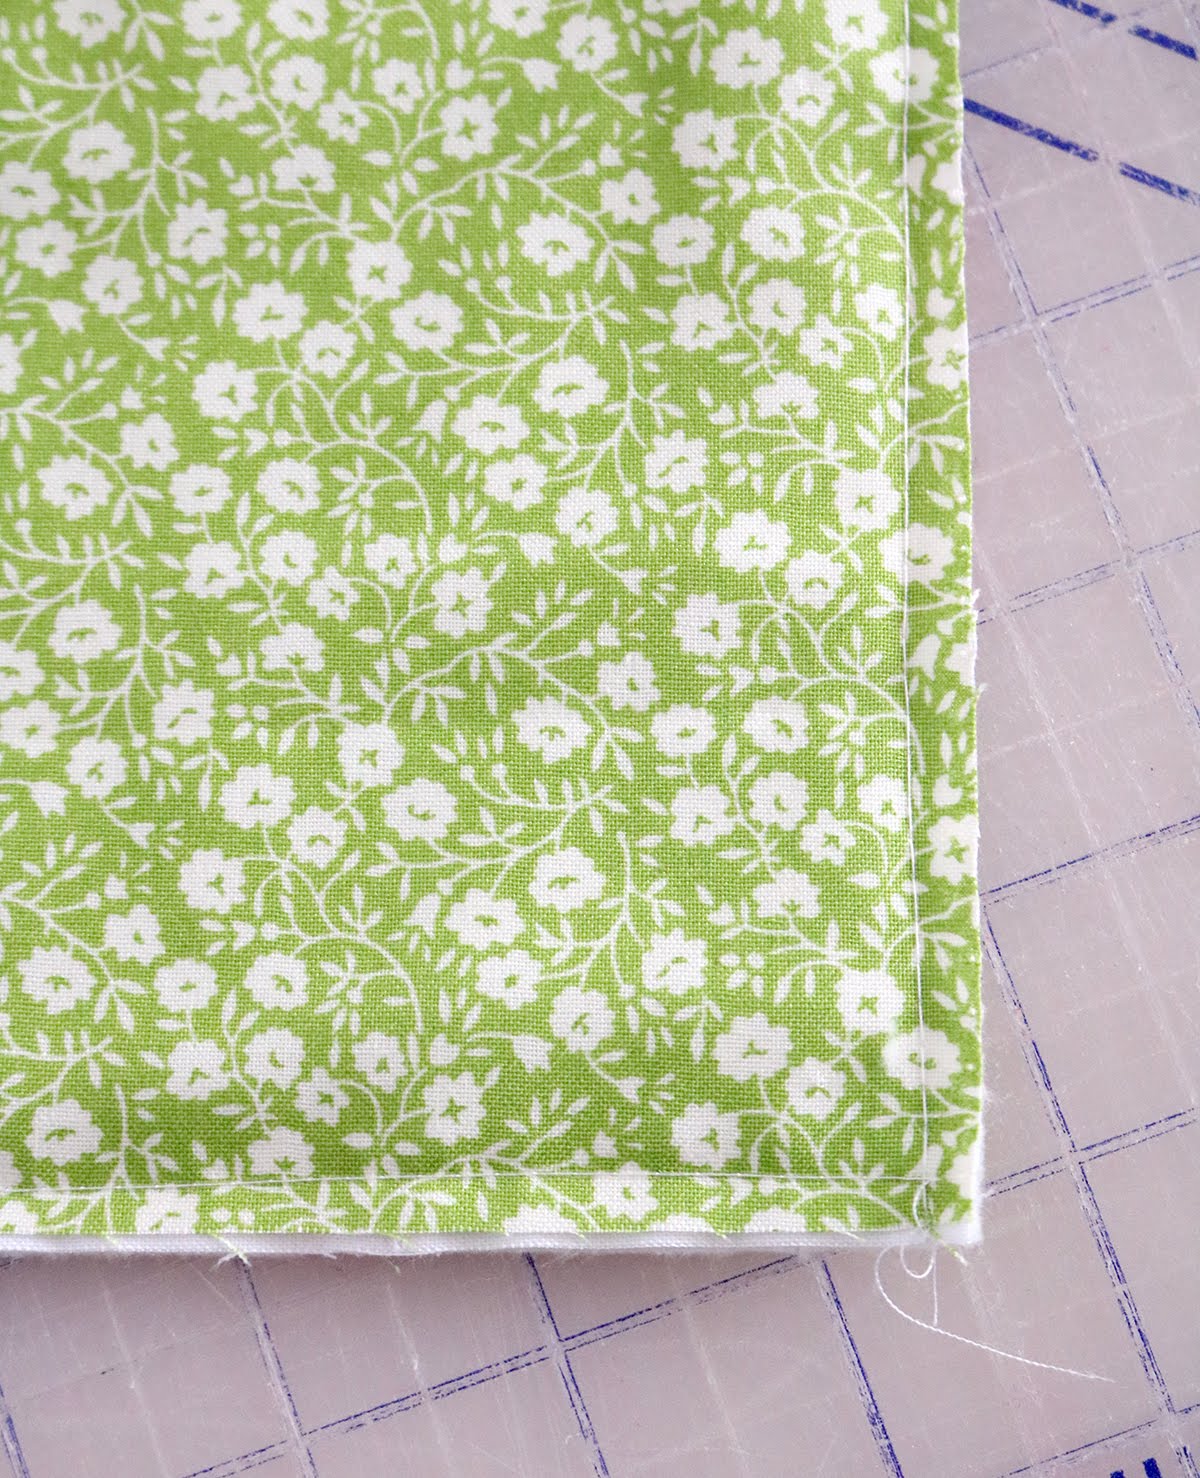
Then using a basting stitch, baste around the entire pillow about 1/8" in from the edge. This will hold all the layers together as you add the binding, and your basting stitches will be hidden under the binding.
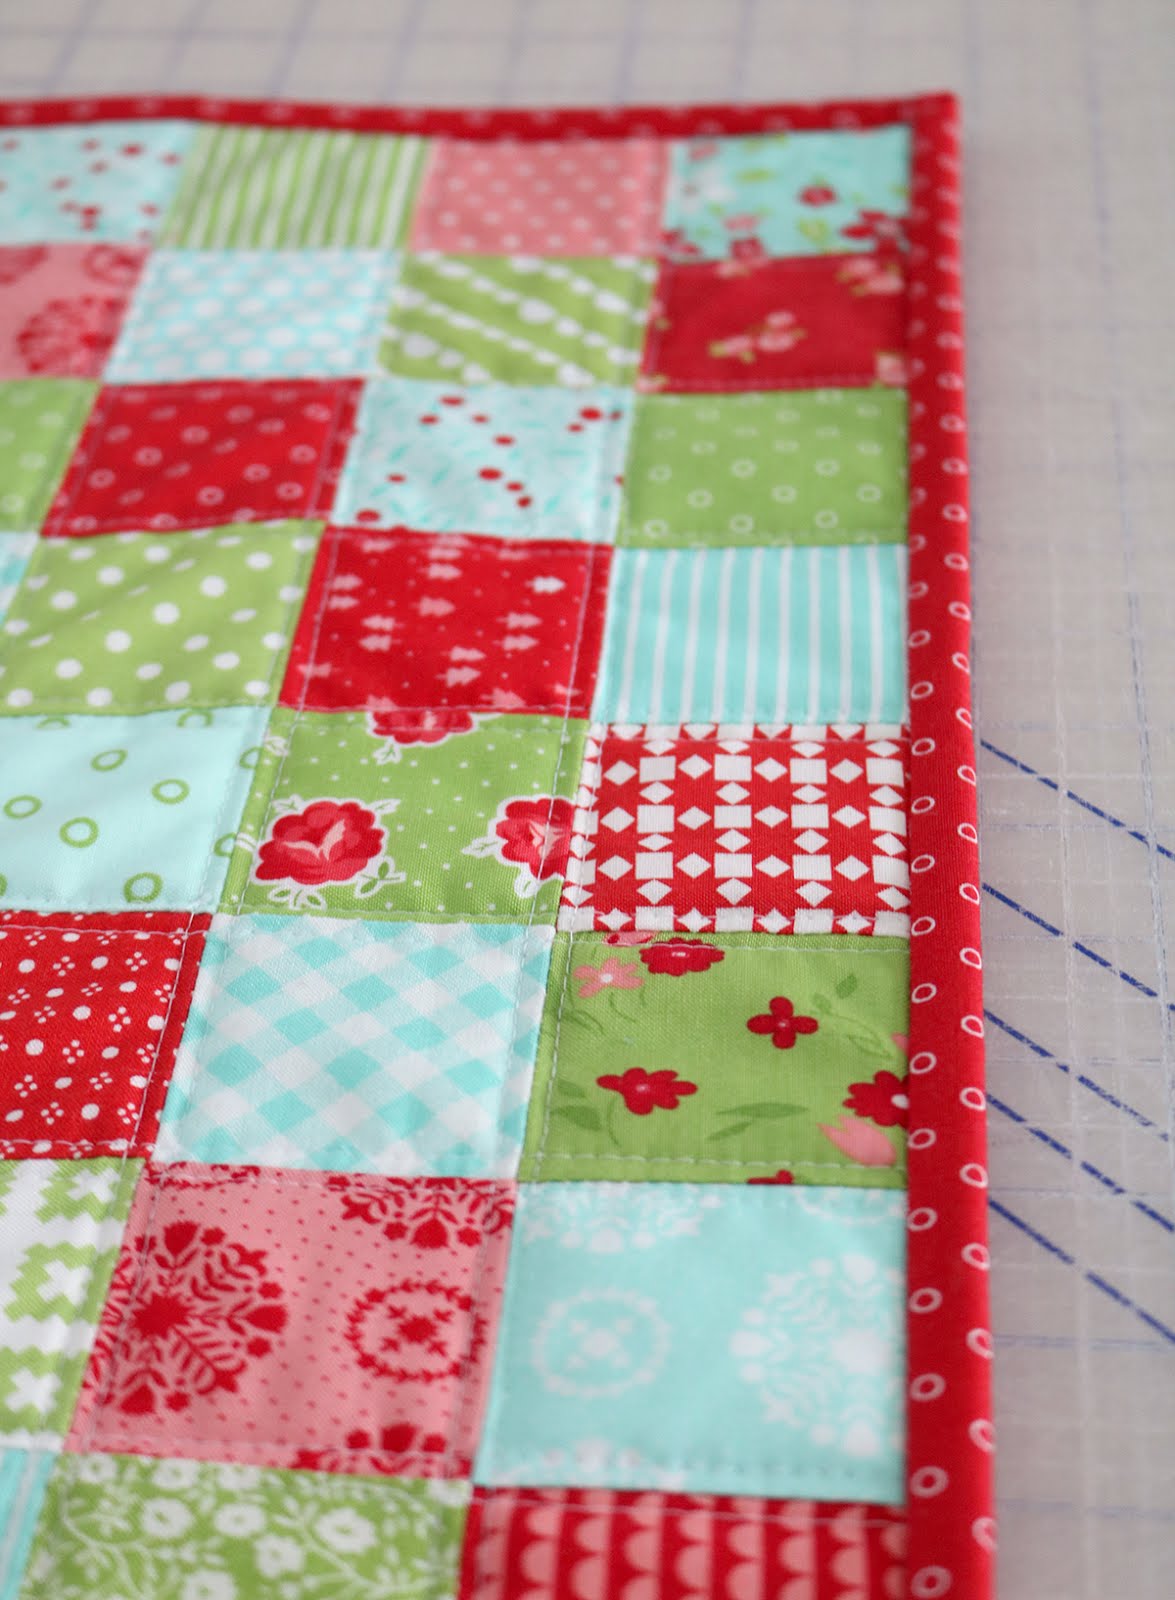
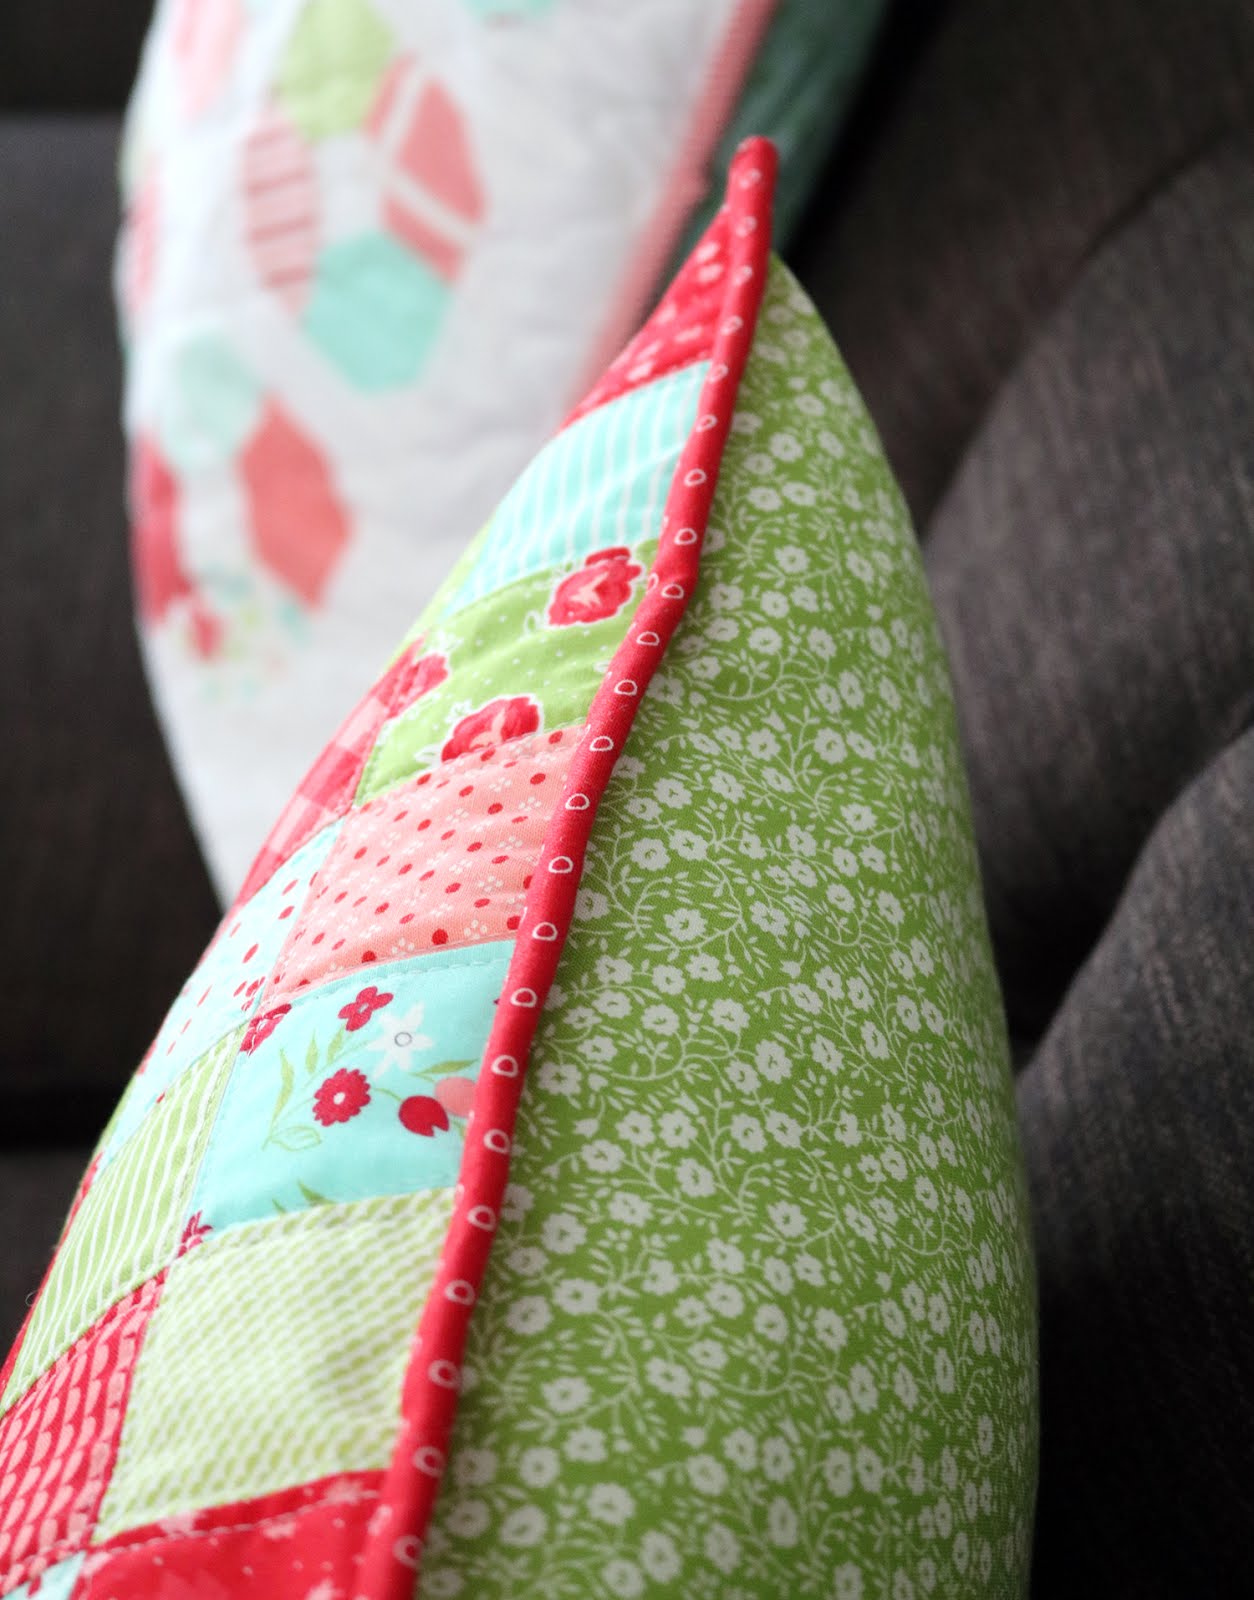
From the binding fabric cut two 2.5" x 42" strips. Sew them together end to end to make a binding and then bind the pillow as you would a quilt. Add the pillow insert and it's ready to use!
Want to make a pillow that's a different size? I have a guest post over at Diary of a Quilter today sharing my easy trick for making an envelope backing for any size pillow. It's an easy-to-remember formula and I use it every time I'm making a pillow.
#christmaspatchworkpillow #abrightcorner
Thanks for stopping by, and happy sewing everyone!
--Andy
This week I pulled out our Advent Calendar and all of our fun Christmas pillows. I wanted to add a new one this year so I grabbed some favorite Christmas-colored scraps and got to work.
I made a similar pillow to this one a couple of years ago but I wanted to update the colors for this new version. And I thought I'd share how I made it! Here's what you'll need for this 18" pillow:
Supplies
81 (2.5") squares
22" x 22" piece of muslin or solid white fabric
22" x 22" piece of thin batting
at least 6" coordinating print for binding
1/3 yard of coordinating print for backing
18" pillow insert
You will need 81 (2.5") squares. I dug through my scrap bin and cut them to size, but an easy way to get these is to cut charm squares into 4 equal pieces, or to cut some squares from left-over jelly roll strips.
Decide on a layout for your squares. You'll need 9 rows with 9 squares in each for an 18" pillow. I did a diagonal pattern alternating between the three colors (red/pink, aqua, green) but a random, scrappy pattern would be great too.
Sew your squares together into rows, then join rows. I like to press all odd numbered rows to the left and even numbered rows to the right. Then when I join the rows, the intersecting seams will nest beautifully.
Layer the 22" piece of muslin, the 22" piece of thin batting, and the pillow top. I like to spray baste for this step using some 505 Spray but you could also pin baste.
Then quilt your pillow however you'd like. I used my walking foot and did some straight line quilting using the seams as my guides.
This is what the quilting looks like from the back...
...and from the front. Simple, clean lines helps the fabric really be the star of the show! Trim the extra batting and muslin from the edges of the pillow so that it measures 18.5" x 18.5".
From the backing fabric cut two rectangles that are 12" x 18.5". On one long edge of both backing pieces, fold under 1/2" and press, then fold under again and press. Stitch along the first fold line to hold it in place and create a nice, finished edge.
Place the quilted and trimmed pillow front right side down on the table. Then layer the two pillow backing pieces right side up with the finished edges overlapping in the middle of the pillow, and the raw edges lining up with the raw edges of the pillow front.
Pin around the outer edges of the entire pillow.
Then using a basting stitch, baste around the entire pillow about 1/8" in from the edge. This will hold all the layers together as you add the binding, and your basting stitches will be hidden under the binding.
From the binding fabric cut two 2.5" x 42" strips. Sew them together end to end to make a binding and then bind the pillow as you would a quilt. Add the pillow insert and it's ready to use!
Want to make a pillow that's a different size? I have a guest post over at Diary of a Quilter today sharing my easy trick for making an envelope backing for any size pillow. It's an easy-to-remember formula and I use it every time I'm making a pillow.
#christmaspatchworkpillow #abrightcorner
Thanks for stopping by, and happy sewing everyone!
--Andy
Monday, August 20, 2018
Pair of Pillows + Trish and Birdie Fabric
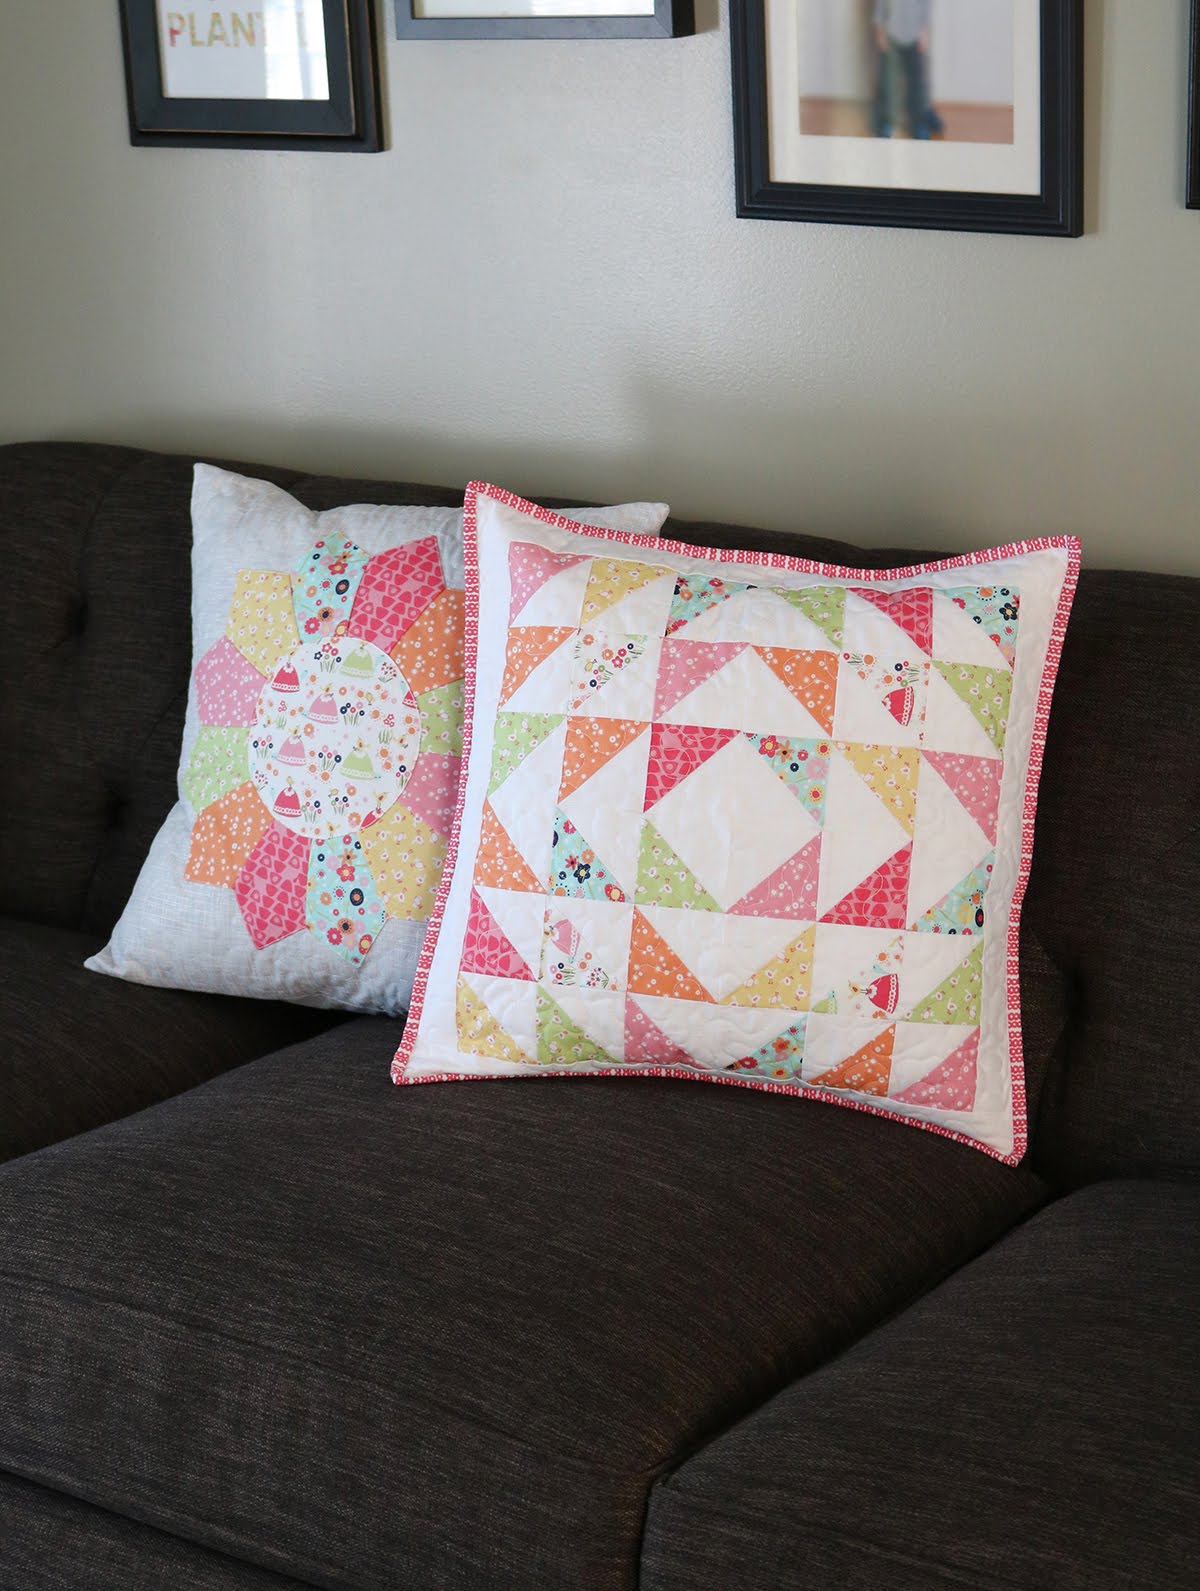
This weekend (in addition to lots of yard work) I stitched up a couple of quilted pillows using a new fabric line called Trish & Birdie.
Sometimes smaller, quicker projects like this are so gratifying! It feels great to start AND finish a project in one weekend. As a bonus, it gives me a little kick in the pants to get some of my other projects finished up as well.
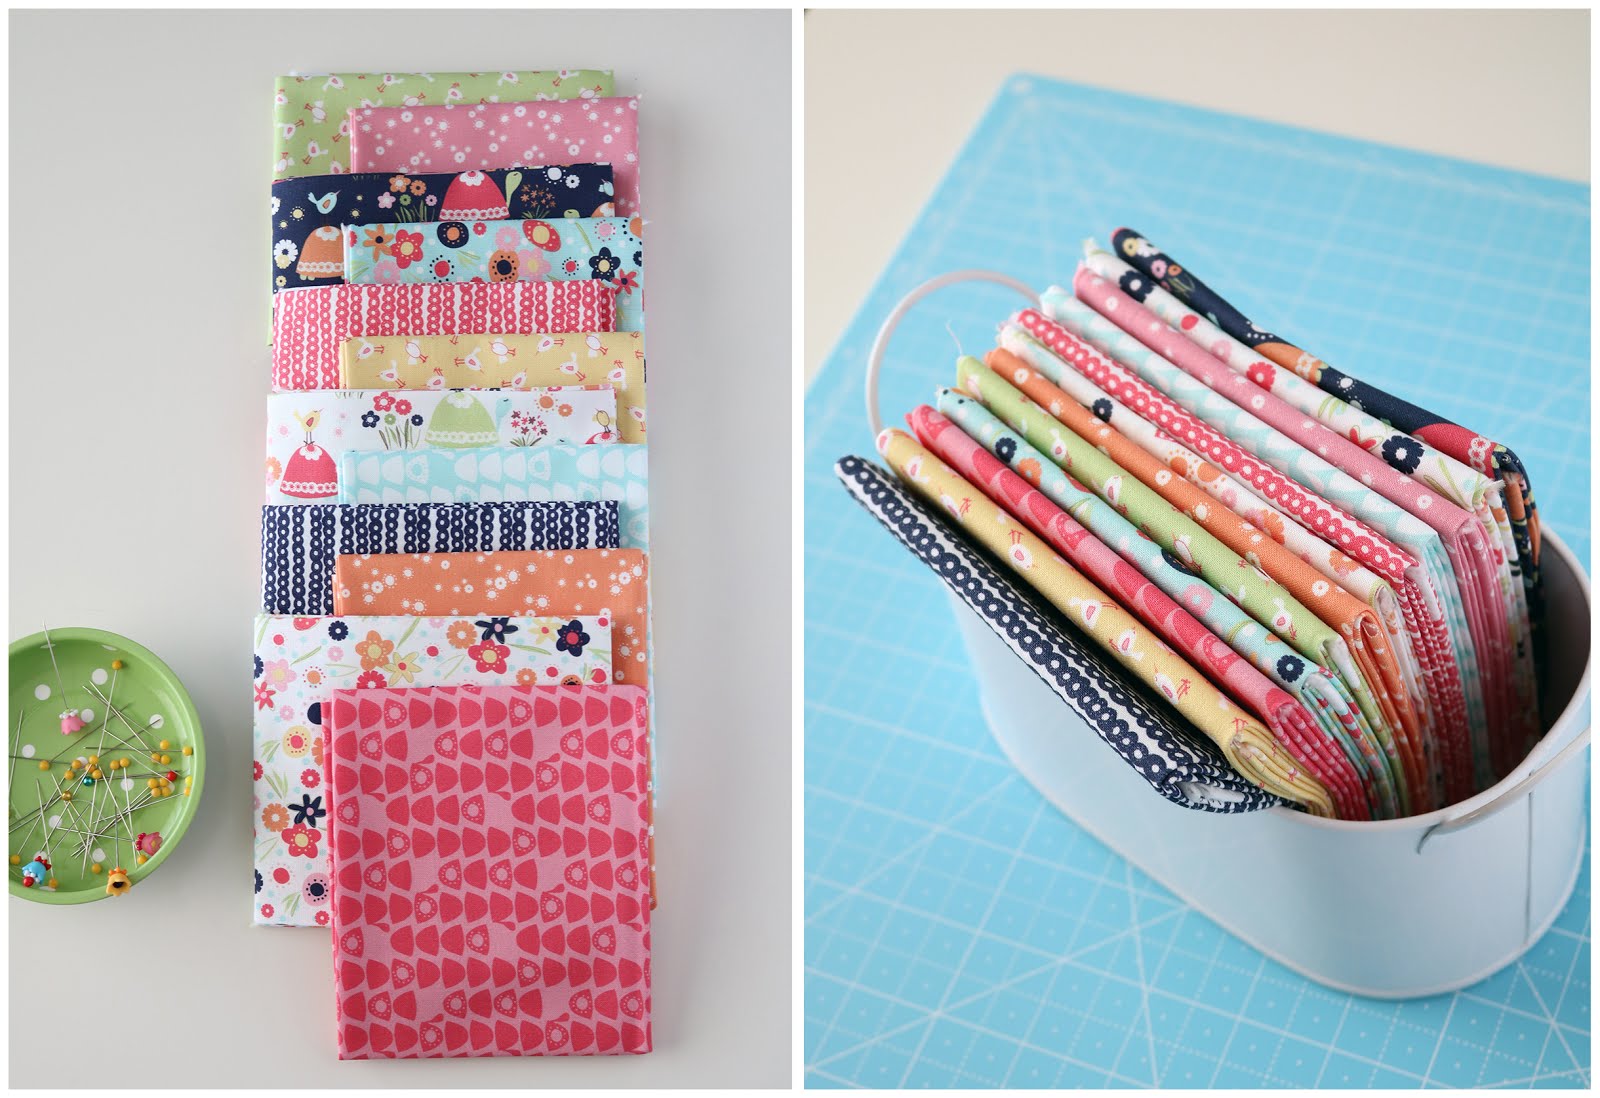
Trish & Birdie is a new fabric line designed by Deane Beesley for Sweet Bee Designs. I love those colors!
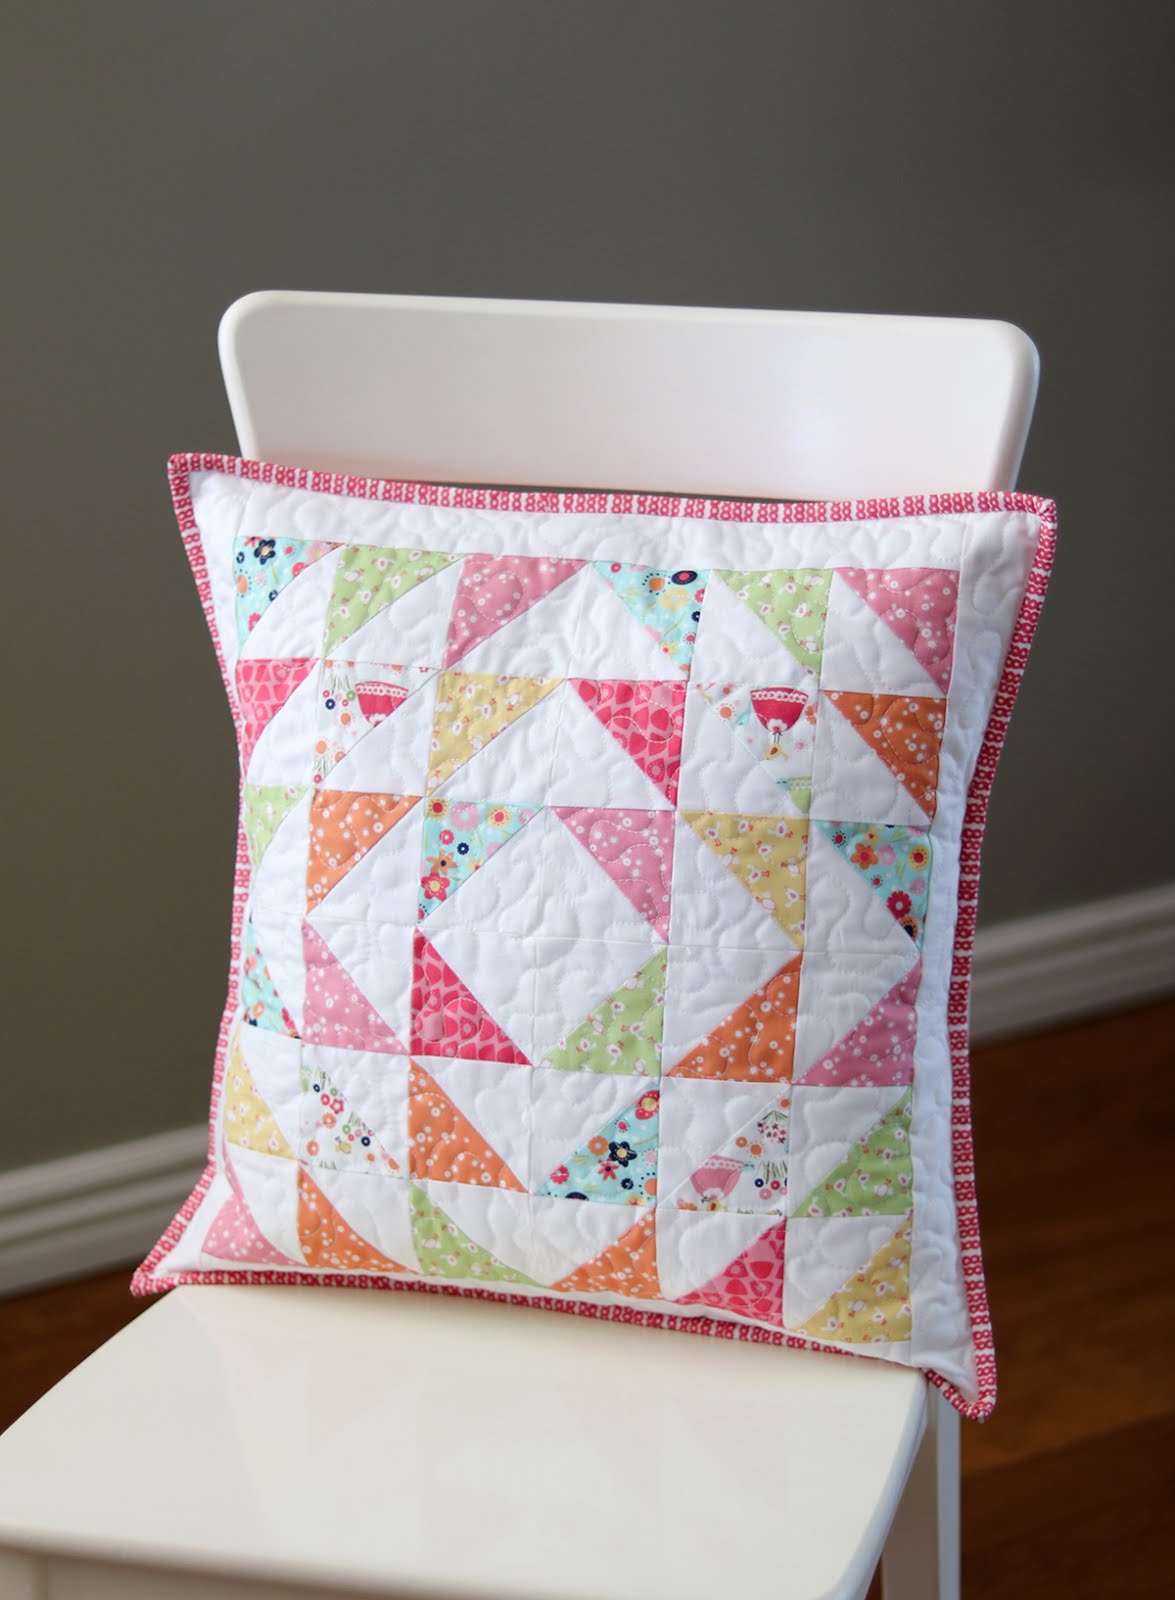
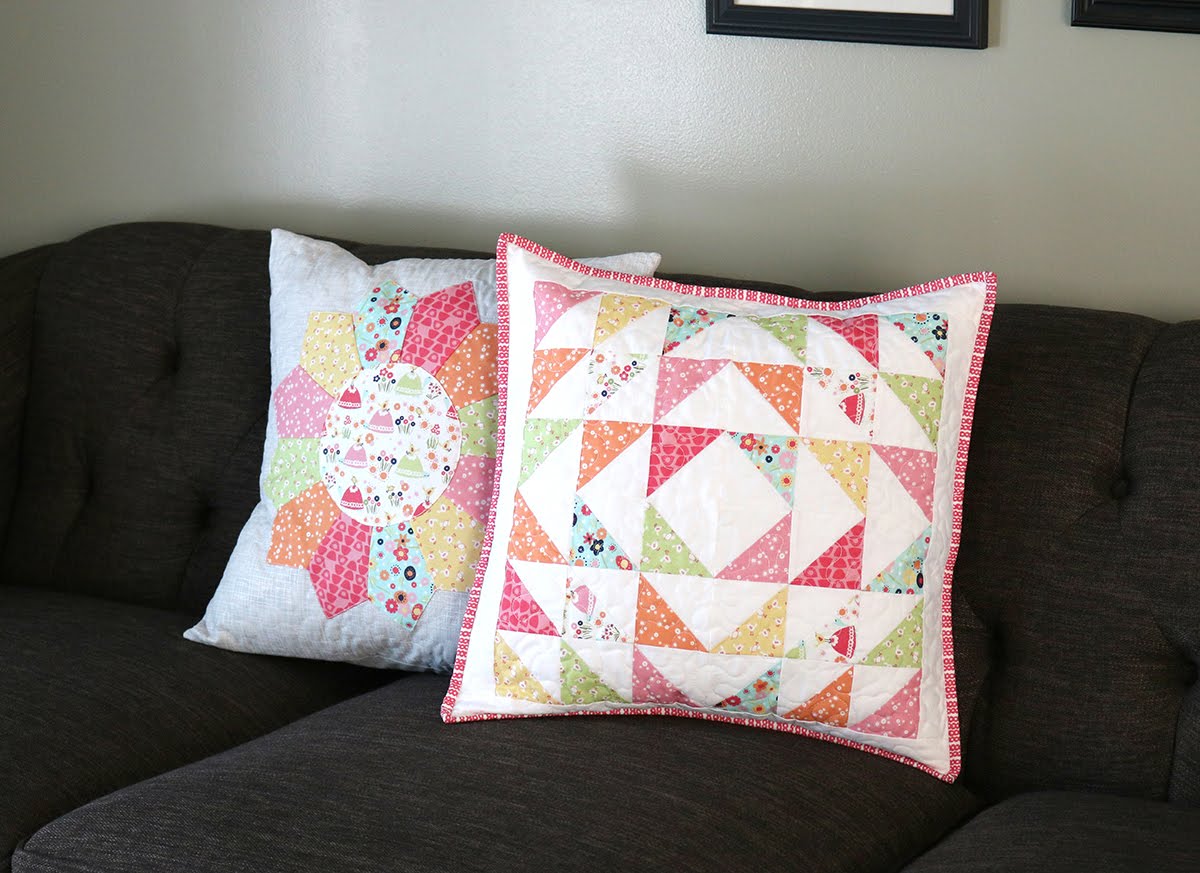
The first pillow I made is a sweet 18" quilted pillow made entirely from half square triangles. I knew the sherbet colors from the line would look so good against a crisp, white background!
After piecing the half square triangles into a block, I felt all that white needed a frame around it. I used one of the pink prints as a binding and it was just what was needed.
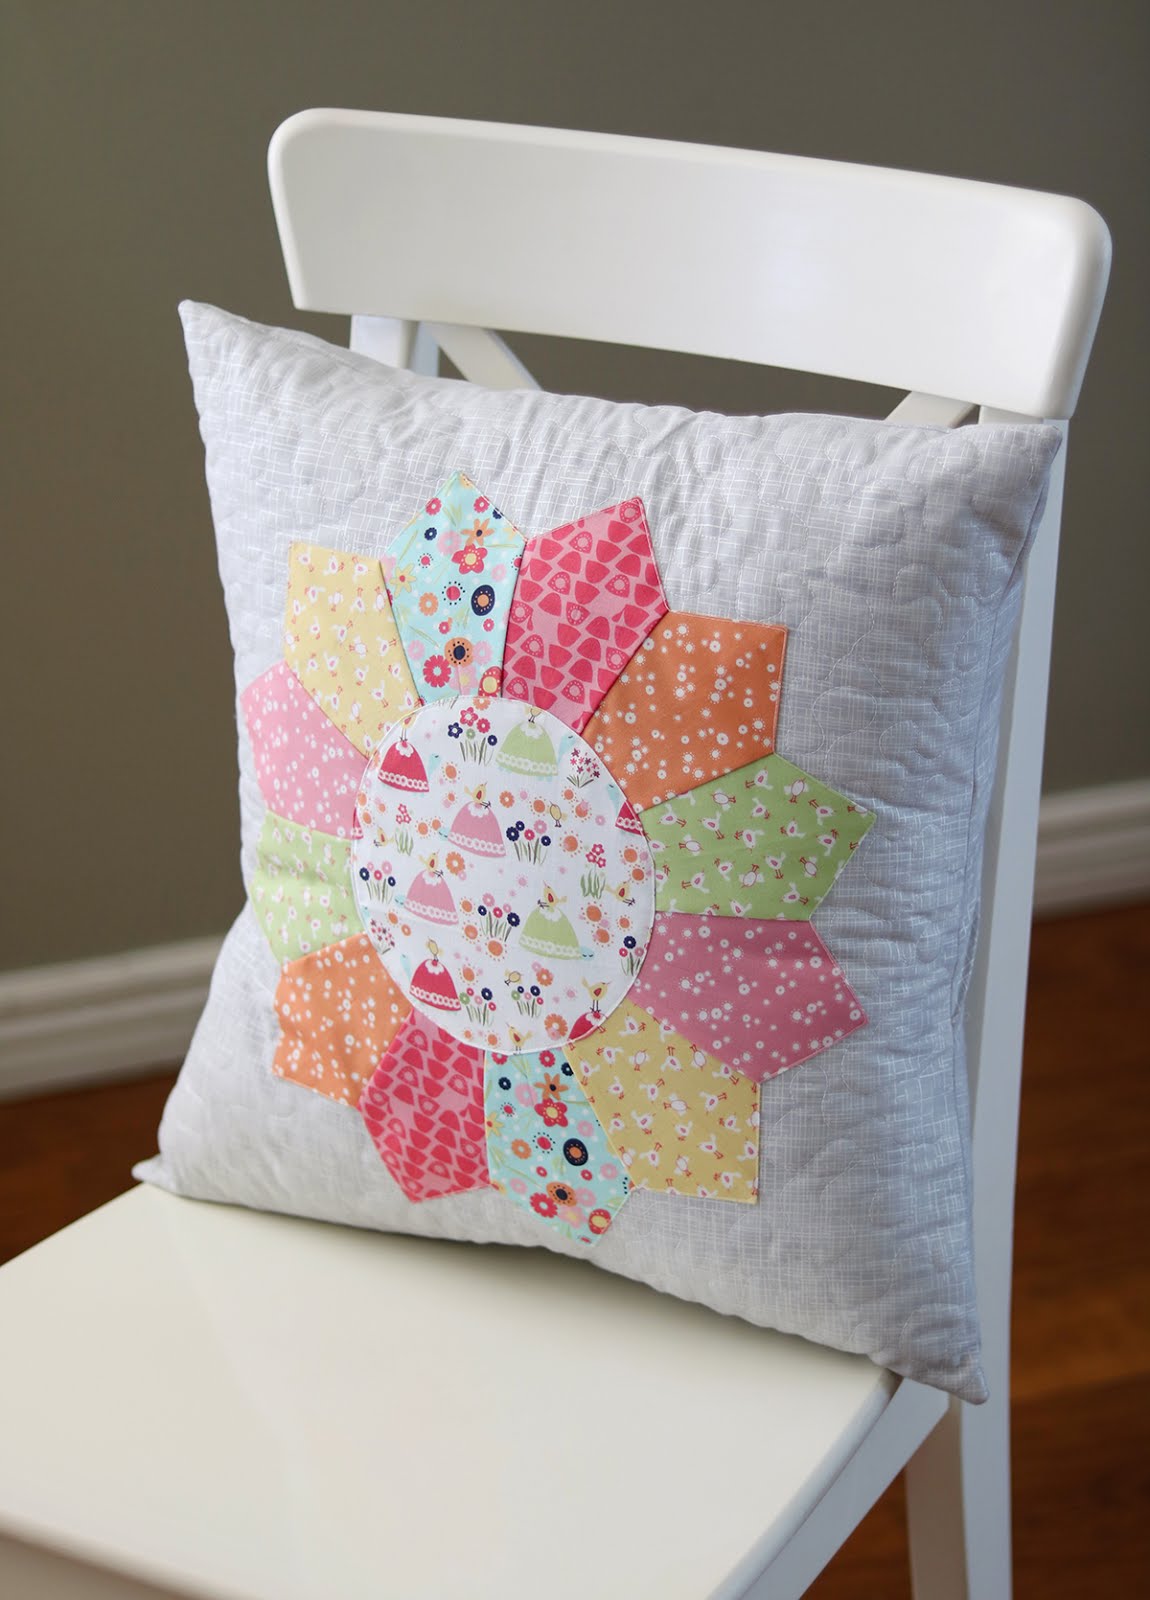
When I got the first pillow done I decided it needed a friend. Plus I wanted to try pairing up the prints with a gray linen-look print, and I love the results!
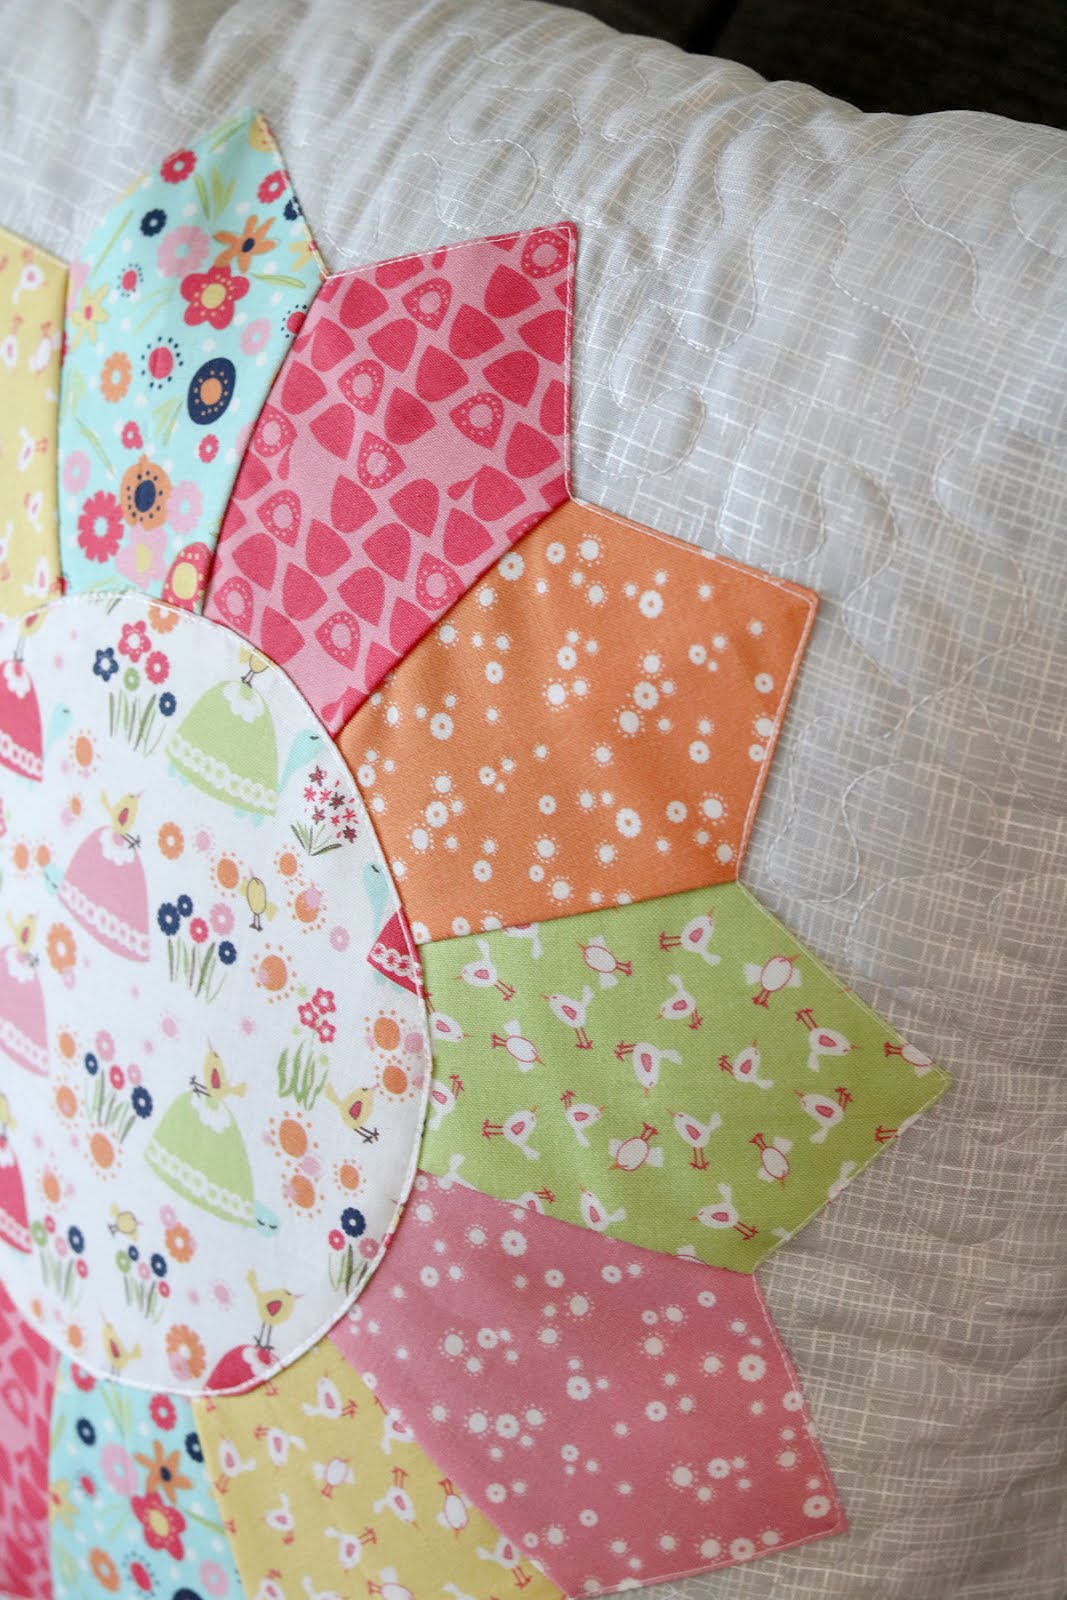
I machine stitched the Dresden block down to the gray background square and then did some simple free motion quilting around the outside of it to add even more texture. I left the Dresden block free of any quilting to help it "pop" a little more against the background.
I think the two pillows pair up nicely without being too matchy-matchy, don't you? And now I need to find a new home for these sweet pillows. My boys decided they're way too pink for this boy-filled home. (Is there really such a thing as too pink?)
Are you looking for some Trish & Birdie fabric for your own projects? Find shops that carry Sweet Bee Designs fabric here on their website.
And to see more inspiration, check out these blogs that will be sharing projects through the end of the month!
August 16 Jina Barney: Jina's World of Quilting
August 17 Becky Vandenberg: Be So Crafty
August 20 Andy Knowlton: A Bright Corner
August 21 Allison Dutton: Allison Sews
August 23 Cassie Massolia: Lily Shine Creates
August 24 Missy Luukkonen: The Little Green Bean
August 27 Erin Hamilton: Piper's Girls
August 28 Sherry Shish: Powered by Quilting
August 29 Stephanie Jacobson: Steph Jacobson Designs
August 30 Lissa LaGreca: Lovingly, Lisa
August 31 Jackie White: Jackie's Art Quilts
Hope you have a fantastic week - happy stitching!
--Andy
Sometimes smaller, quicker projects like this are so gratifying! It feels great to start AND finish a project in one weekend. As a bonus, it gives me a little kick in the pants to get some of my other projects finished up as well.
Trish & Birdie is a new fabric line designed by Deane Beesley for Sweet Bee Designs. I love those colors!
The first pillow I made is a sweet 18" quilted pillow made entirely from half square triangles. I knew the sherbet colors from the line would look so good against a crisp, white background!
After piecing the half square triangles into a block, I felt all that white needed a frame around it. I used one of the pink prints as a binding and it was just what was needed.
When I got the first pillow done I decided it needed a friend. Plus I wanted to try pairing up the prints with a gray linen-look print, and I love the results!
I machine stitched the Dresden block down to the gray background square and then did some simple free motion quilting around the outside of it to add even more texture. I left the Dresden block free of any quilting to help it "pop" a little more against the background.
I think the two pillows pair up nicely without being too matchy-matchy, don't you? And now I need to find a new home for these sweet pillows. My boys decided they're way too pink for this boy-filled home. (Is there really such a thing as too pink?)
Are you looking for some Trish & Birdie fabric for your own projects? Find shops that carry Sweet Bee Designs fabric here on their website.
And to see more inspiration, check out these blogs that will be sharing projects through the end of the month!
August 16 Jina Barney: Jina's World of Quilting
August 17 Becky Vandenberg: Be So Crafty
August 20 Andy Knowlton: A Bright Corner
August 21 Allison Dutton: Allison Sews
August 23 Cassie Massolia: Lily Shine Creates
August 24 Missy Luukkonen: The Little Green Bean
August 27 Erin Hamilton: Piper's Girls
August 28 Sherry Shish: Powered by Quilting
August 29 Stephanie Jacobson: Steph Jacobson Designs
August 30 Lissa LaGreca: Lovingly, Lisa
August 31 Jackie White: Jackie's Art Quilts
Hope you have a fantastic week - happy stitching!
--Andy
Wednesday, May 9, 2018
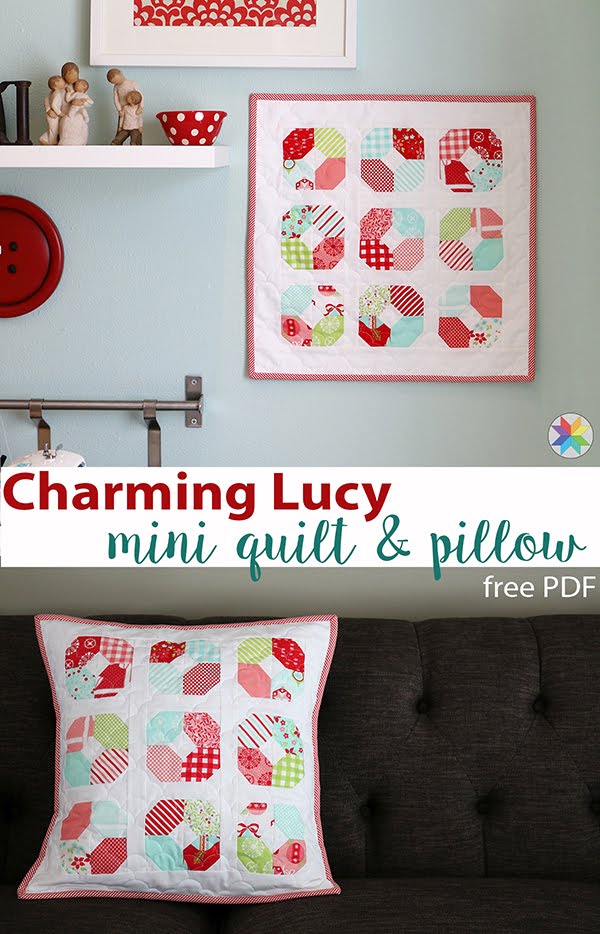
Charming Lucy Mini Quilt + Pillow
Hey everyone! I have a fun little project to share with you today, and I've created a handy PDF download for it as well.
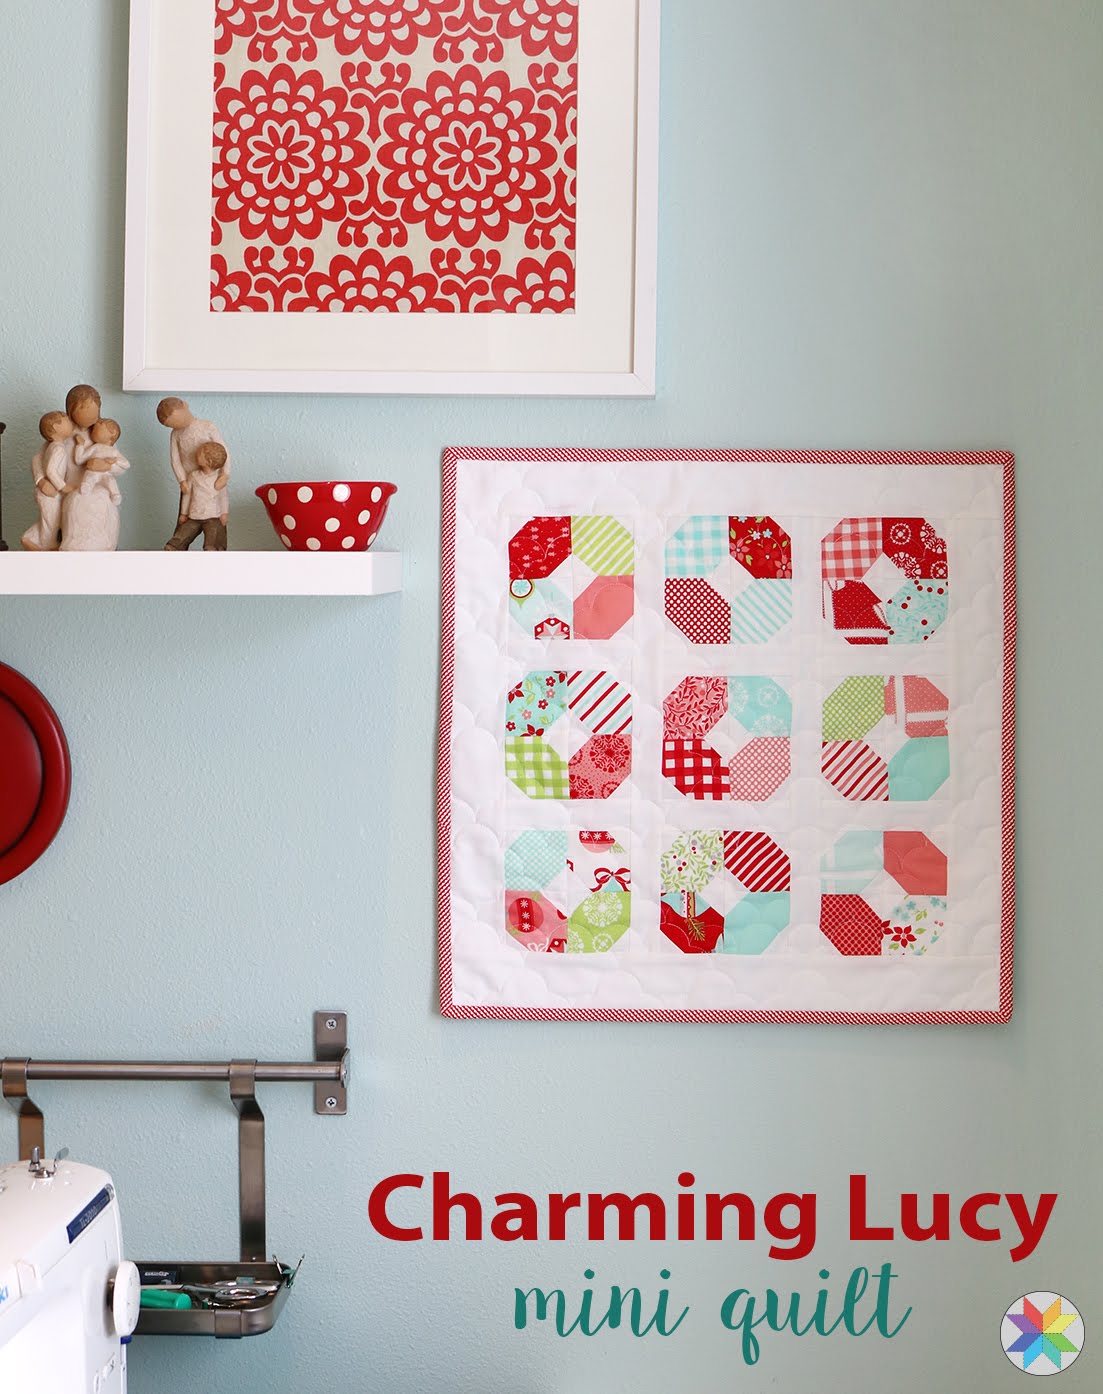
Remember when I shared my Charming Lucy baby quilt pattern? Well ever since then I've wanted to try making a mini quilt version!
The original Charming Lucy uses a charm pack (5" squares), so for this mini I wanted to figure out a way to use a mini charm pack (2.5" squares.) It turns out that one mini charm pack plus a little background and backing will make an 18" mini quilt or pillow.
Since I didn't really want to keep a Christmas mini quilt up on my wall year 'round, I decided to make mine into a pillow. And I've added the instructions for the pillow into the PDF pattern to give you that option as well!
The pillow has an envelope backing (speedy!) with binding on the edges. I just love adding binding to my pillows. It frames them up so nicely, don't you think? Plus it just gives one more opportunity to add some color!
One thing I've started doing with my mini quilts and pillows recently was to make the outer border slightly larger than needed. Then after it's quilted I trim it down to size. Sometimes I find that in the quilting process things can shift a little, and with small projects like this, every 1/4" counts! The extra border space gives me just a little bit of wiggle room and helps to create a nicer finished project.
For my pillow I used a mini charm pack of Vintage Holiday fabrics by Bonnie & Camille for Moda Fabrics.
Remember when I shared my Charming Lucy baby quilt pattern? Well ever since then I've wanted to try making a mini quilt version!
The original Charming Lucy uses a charm pack (5" squares), so for this mini I wanted to figure out a way to use a mini charm pack (2.5" squares.) It turns out that one mini charm pack plus a little background and backing will make an 18" mini quilt or pillow.
Since I didn't really want to keep a Christmas mini quilt up on my wall year 'round, I decided to make mine into a pillow. And I've added the instructions for the pillow into the PDF pattern to give you that option as well!
The pillow has an envelope backing (speedy!) with binding on the edges. I just love adding binding to my pillows. It frames them up so nicely, don't you think? Plus it just gives one more opportunity to add some color!
One thing I've started doing with my mini quilts and pillows recently was to make the outer border slightly larger than needed. Then after it's quilted I trim it down to size. Sometimes I find that in the quilting process things can shift a little, and with small projects like this, every 1/4" counts! The extra border space gives me just a little bit of wiggle room and helps to create a nicer finished project.
For my pillow I used a mini charm pack of Vintage Holiday fabrics by Bonnie & Camille for Moda Fabrics.
If you're wanting a non-Christmas version, you can see other fun mini charm packs here from the Fat Quarter Shop.
Before you go, be sure to grab the free PDF pattern here. The pattern is available as a free download for all A Bright Corner newsletter subscribers.
If you make a Charming Lucy mini quilt or pillow I'd love to see it! Tag me on Instagram (@abrightcorner) or Facebook, and be sure to use the hashtags #charminglucymini and #abrightcornerpatterns.
Happy sewing!
--Andy
**This post may contain affiliate links, which means I may receive a small commission (at no additional cost to you) when purchases are made through links found in this post.
Happy sewing!
--Andy
**This post may contain affiliate links, which means I may receive a small commission (at no additional cost to you) when purchases are made through links found in this post.
Thursday, November 30, 2017
Cabin Cushion - A New Pillow & Pattern Sale
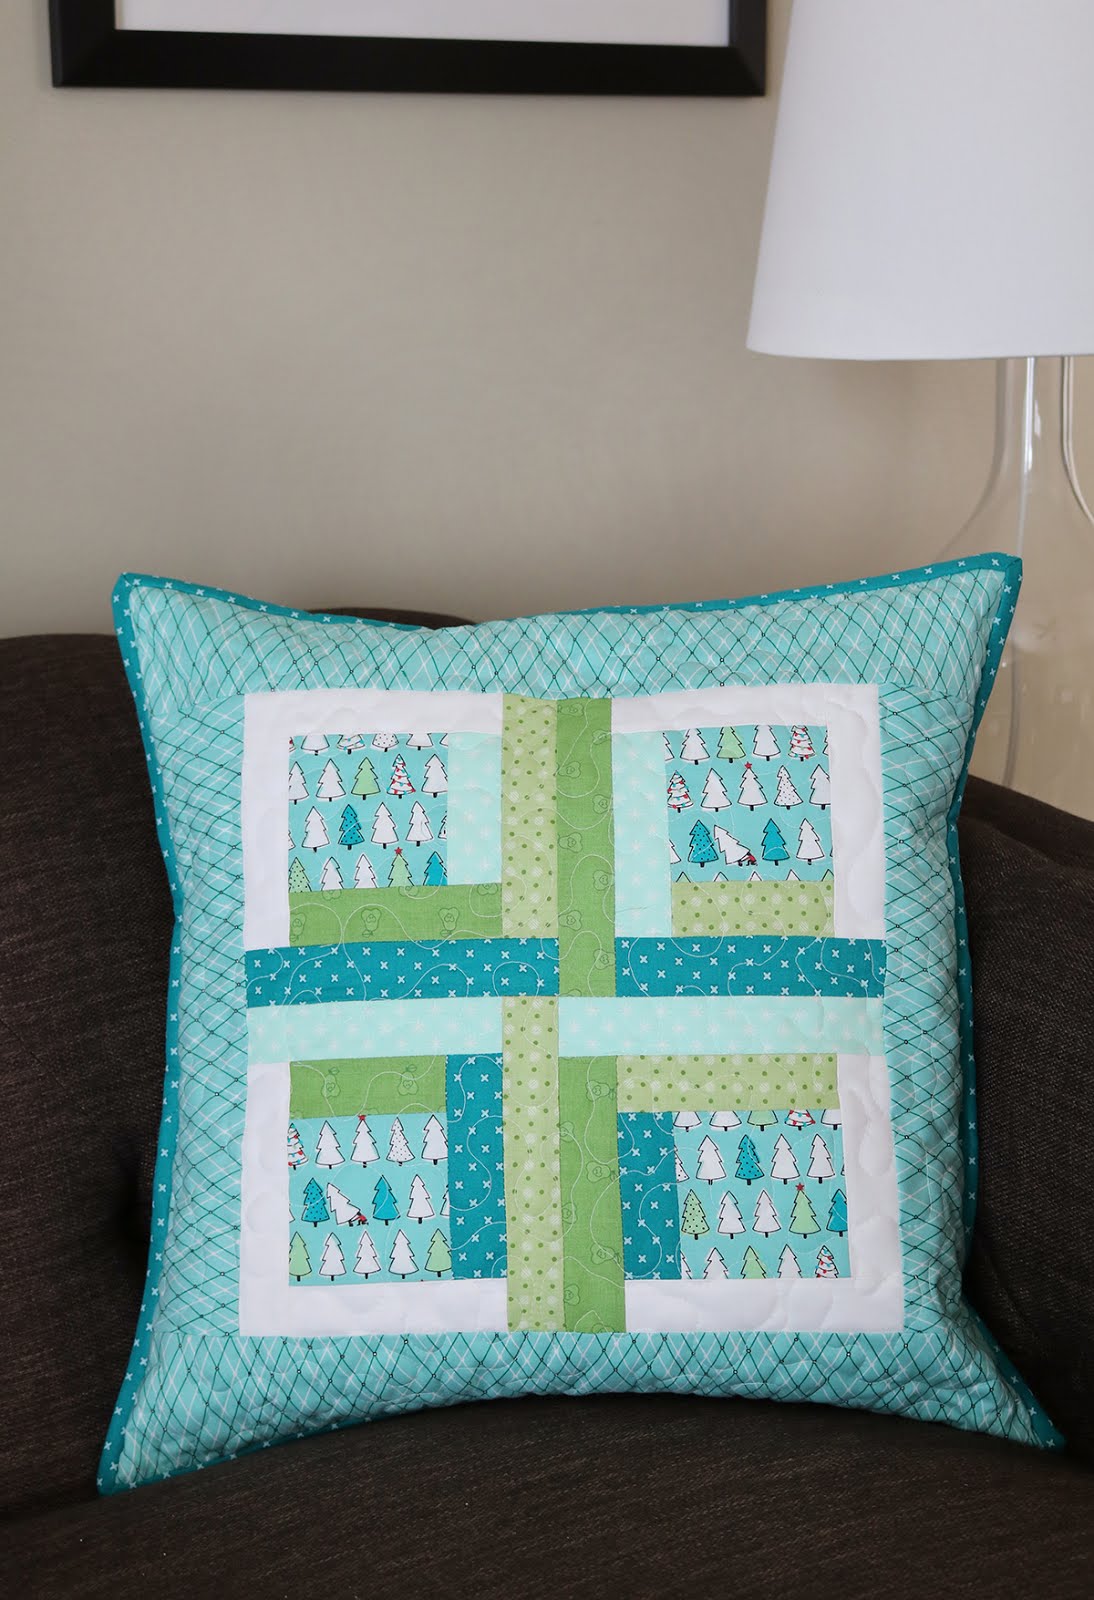
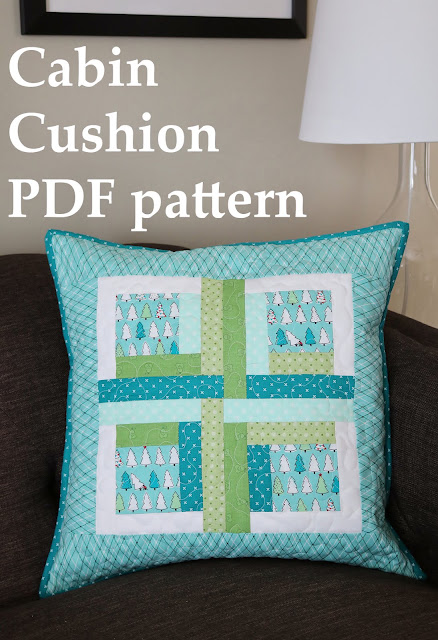
I've been doing a little holiday sewing lately - including this new version of my Cabin Cushion pattern.
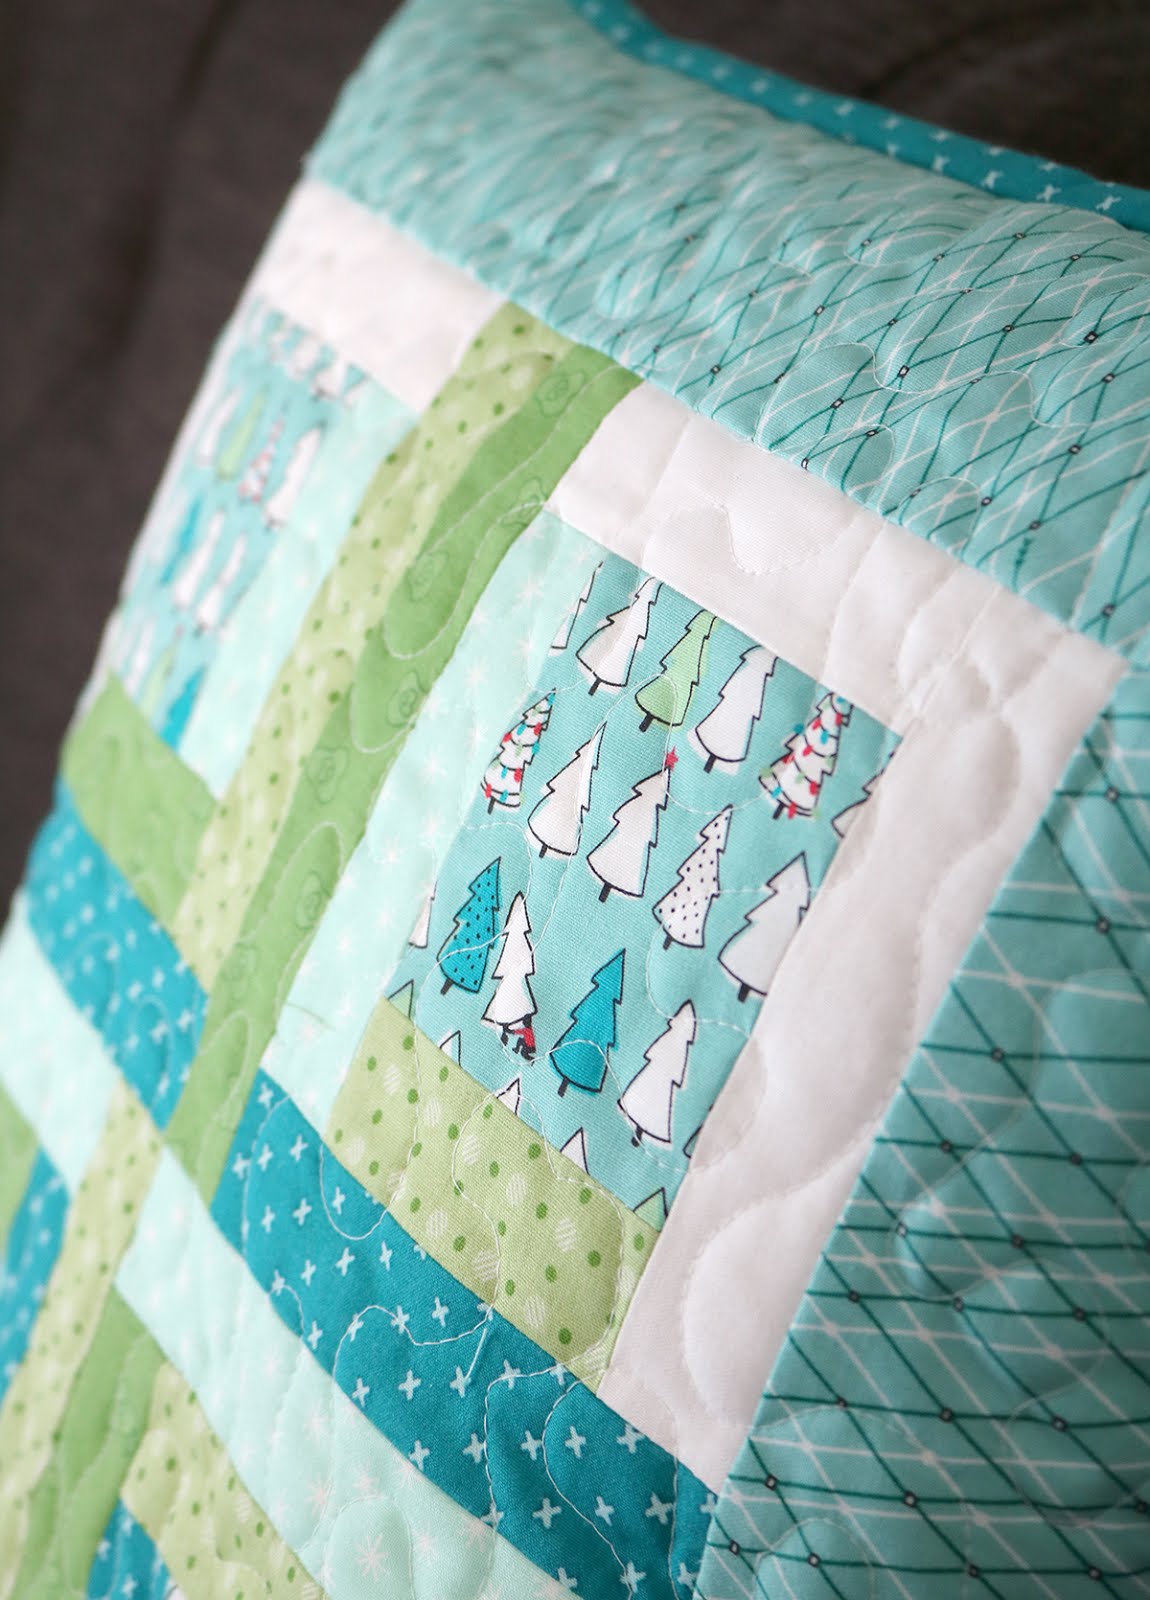
Last week I was visiting a local quilt shop and found this little tree print - and I fell in love. I knew I wanted to use the print as the focal point of this pillow.
Last year's pillow used some fussy cutting, but this year I wanted it to just show off those little trees that I love so much! I chose a few coordinating prints and I was on my way. This pillow sews up quickly - I had this done in an afternoon.
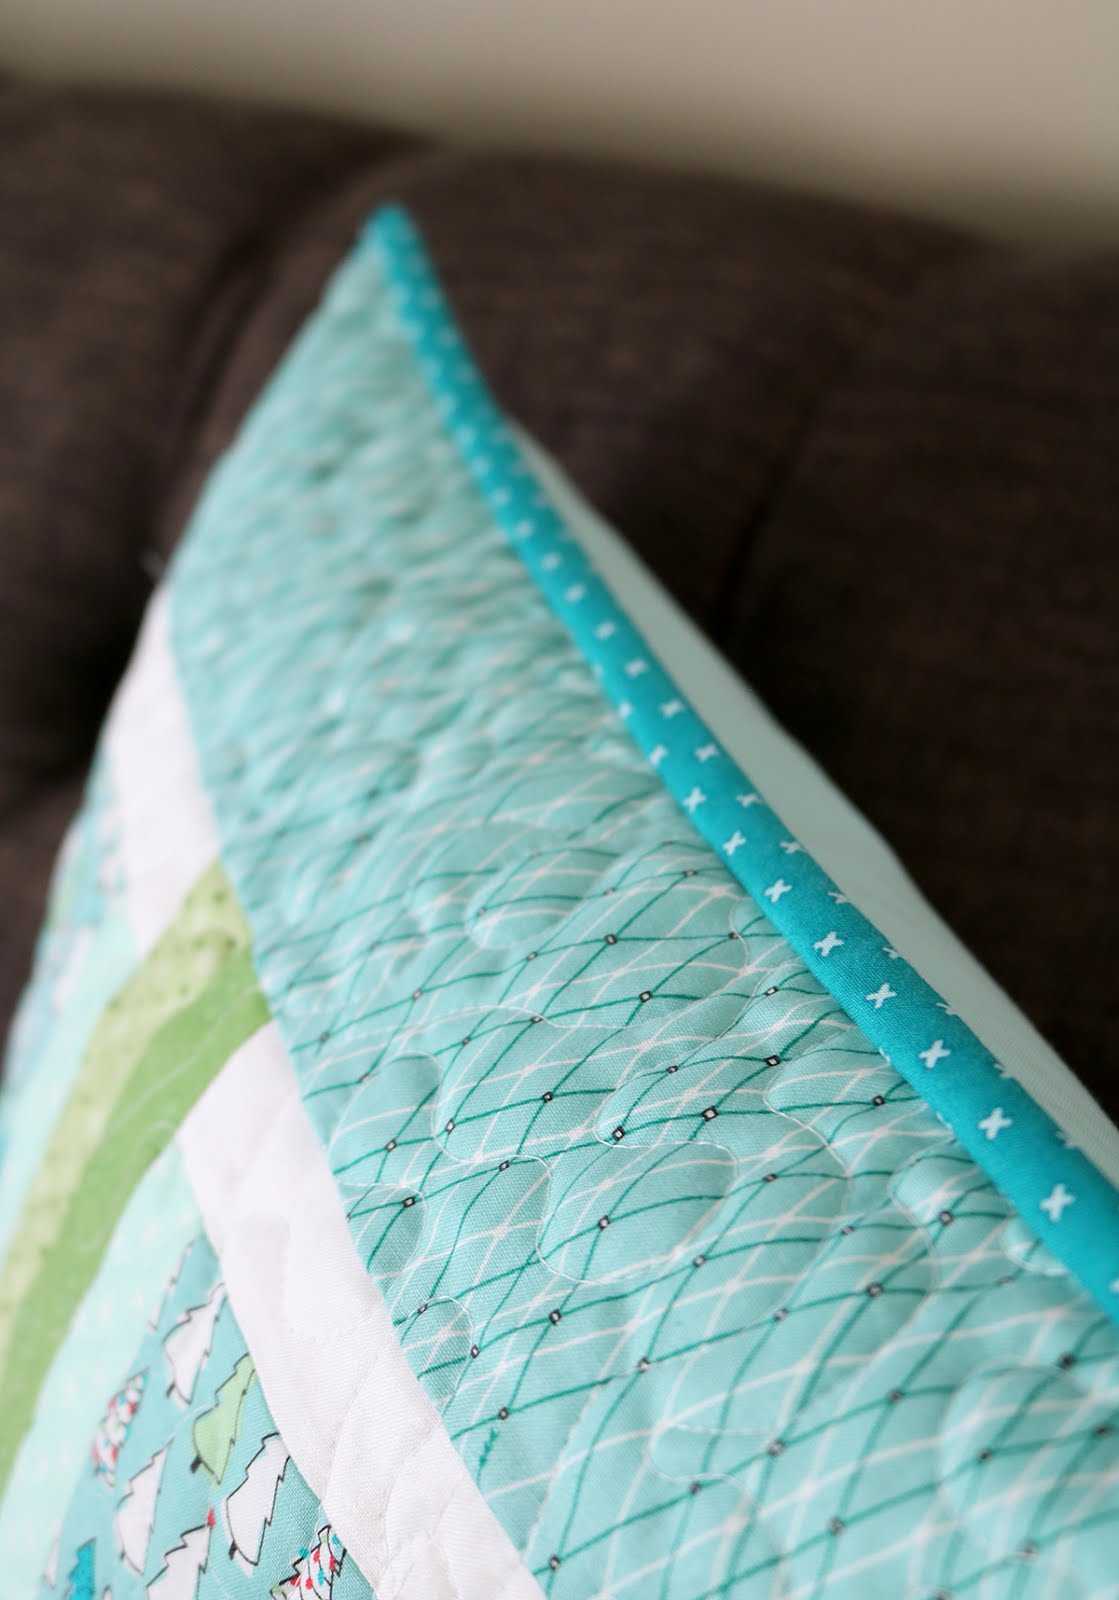
I love adding binding to my pillows - it creates a frame for the pillow and gives it a nice, finished look, don't you think?
The Cabin Cushion pillow PDF pattern is in my shop, and is on sale for only $4 for the month of December. Time to fill your sofa with some new holiday pillows!
Wednesday, July 27, 2016
Pixie Noel Blog Tour + Cabin Cushion Pattern
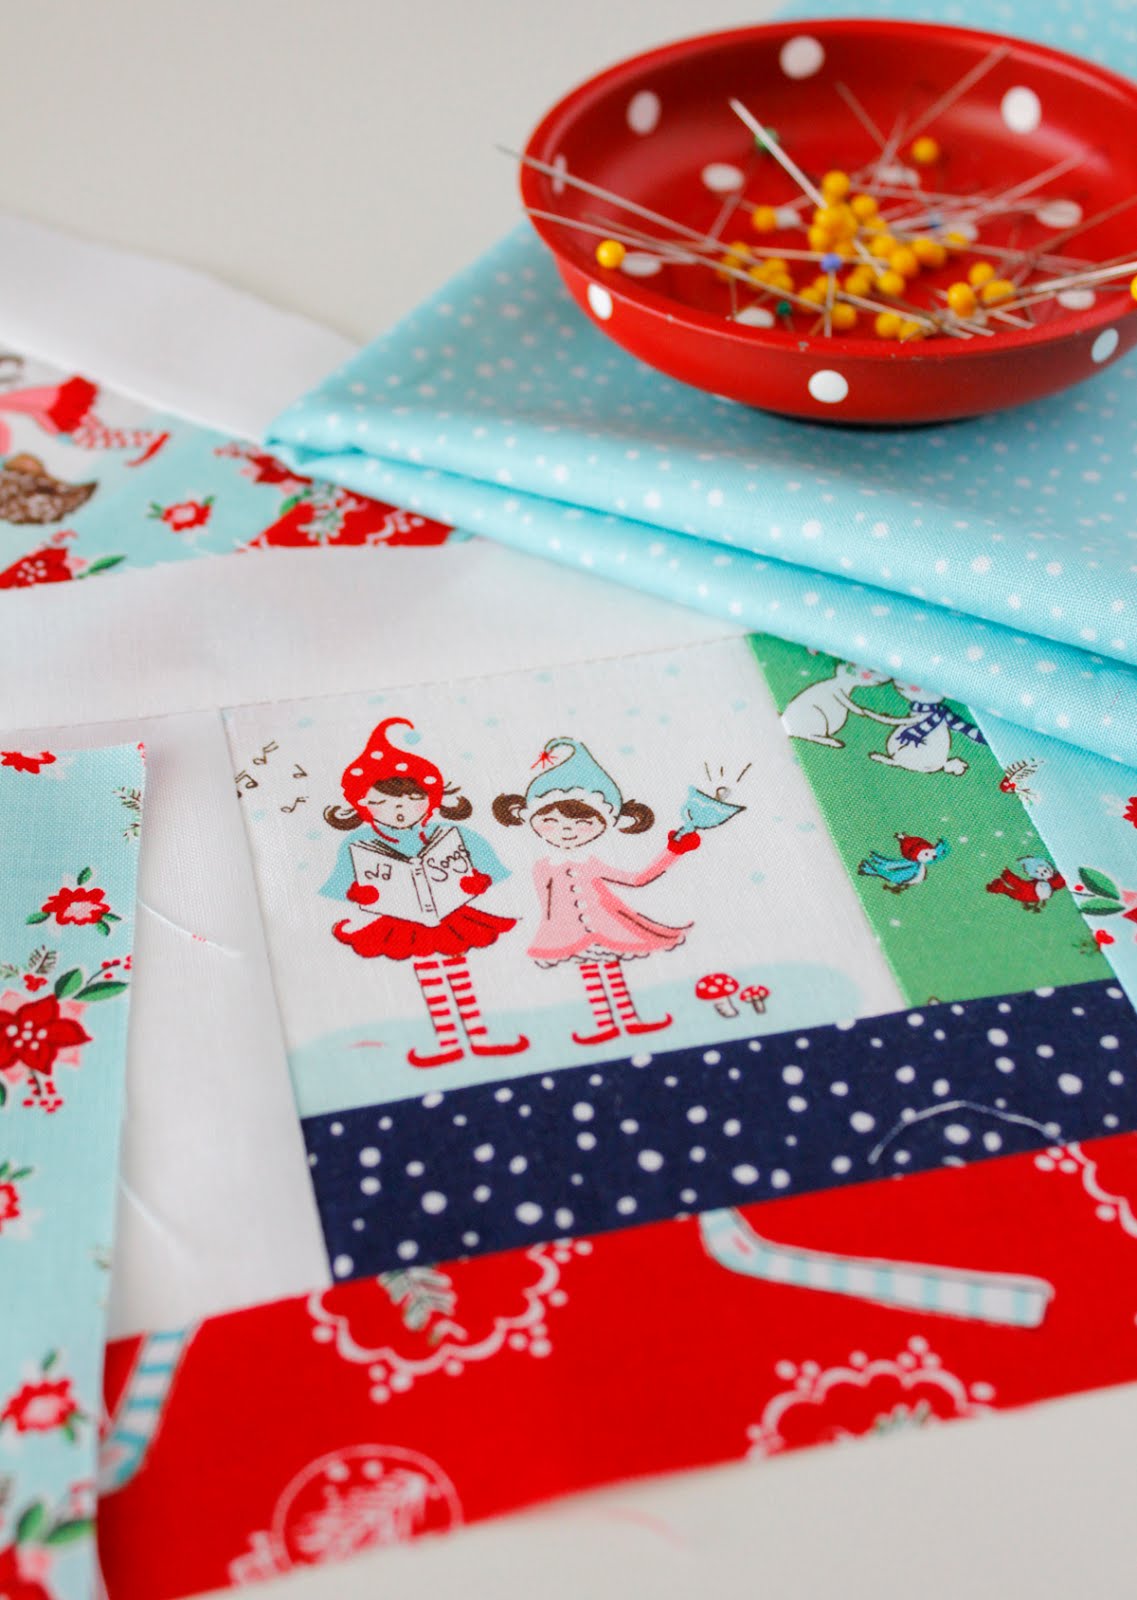
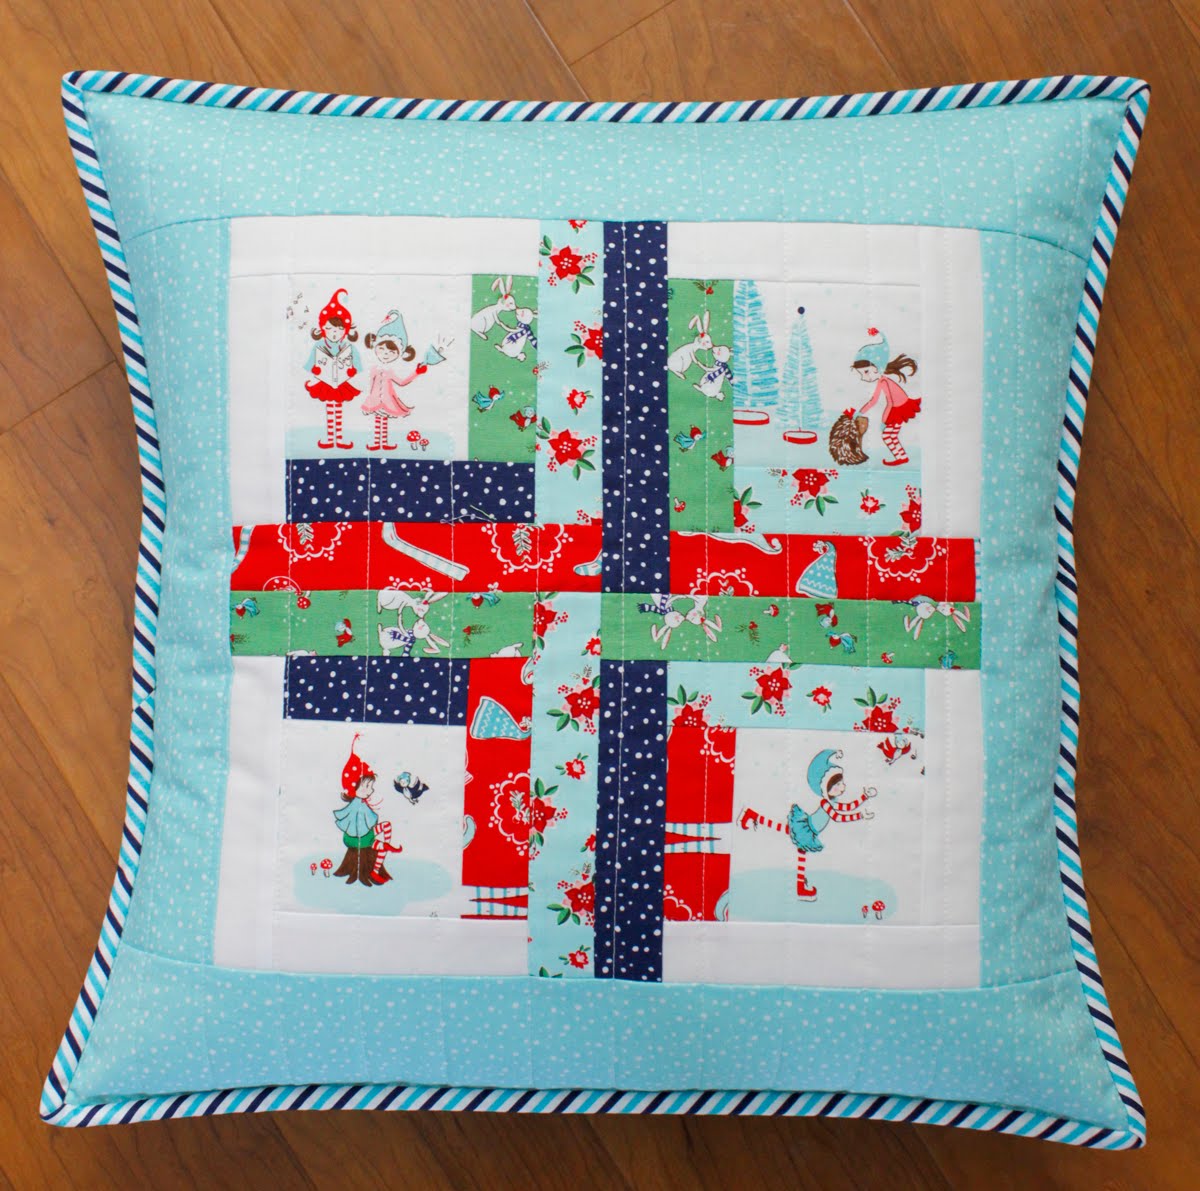
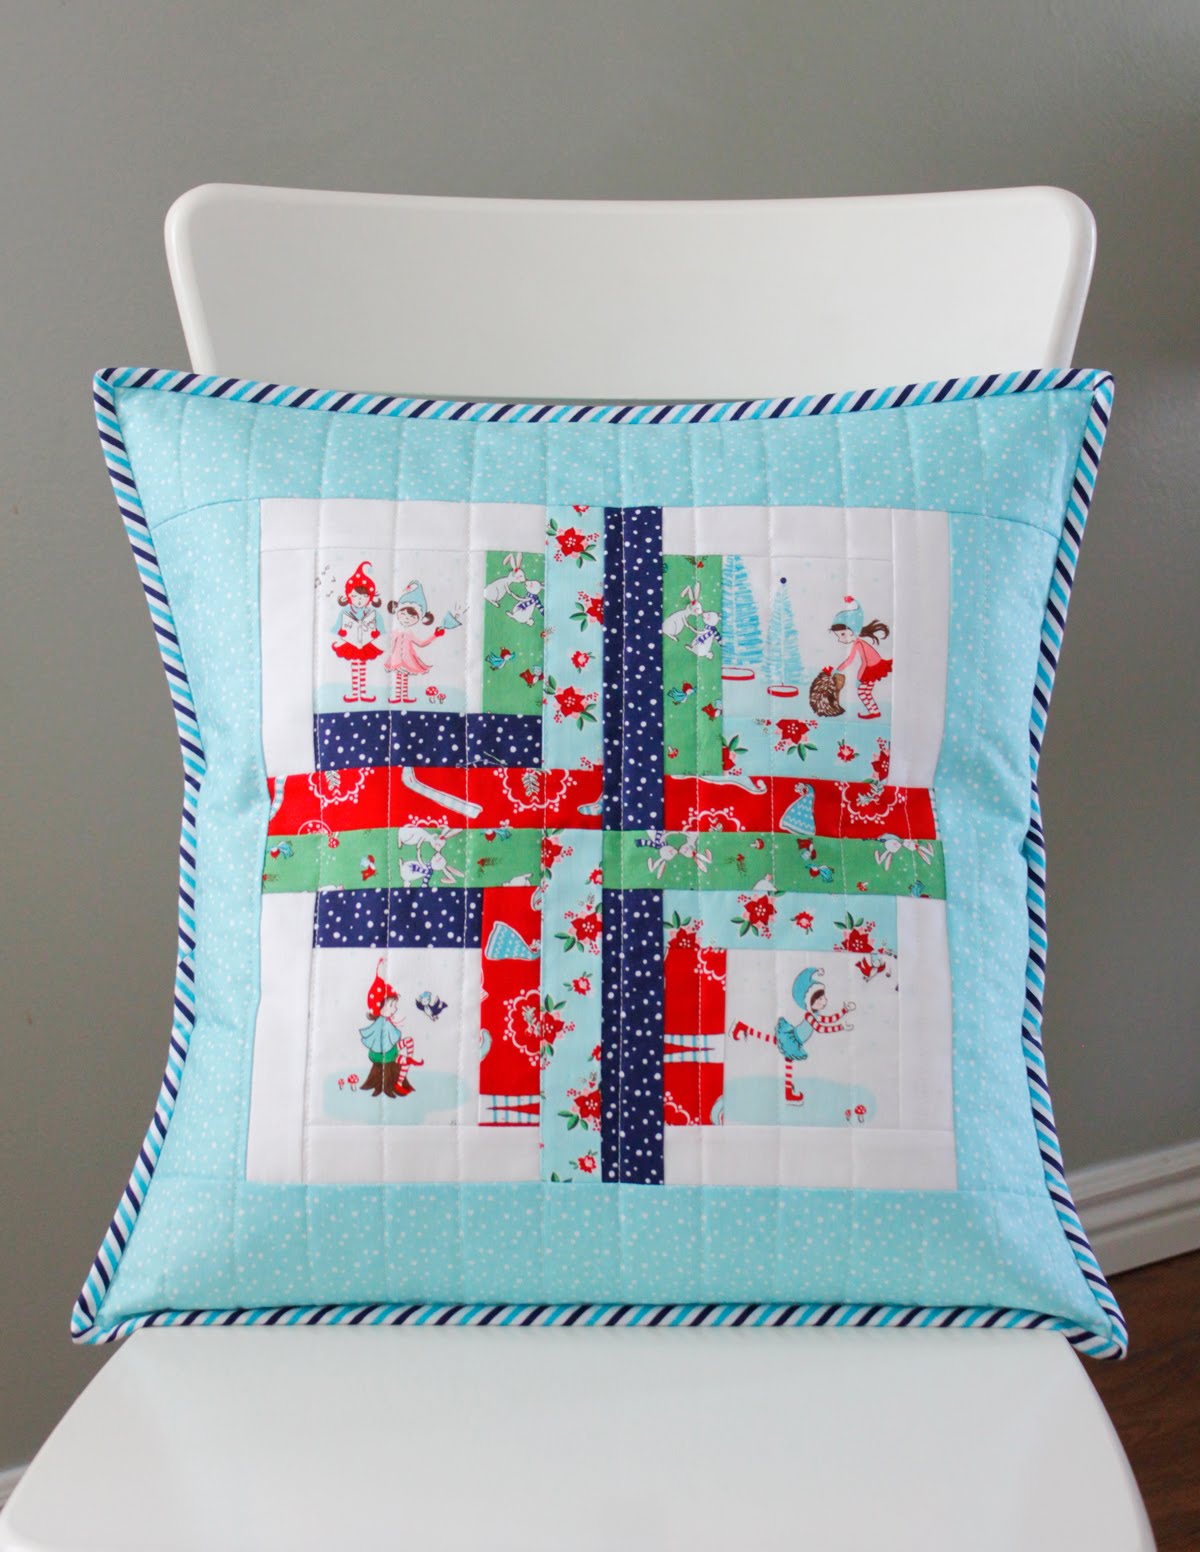
Welcome to my stop on the Pixie Noel blog tour! I'm a big fan of Tasha Noel's fabric (Riley Blake Designs) and her new line, Pixie Noel is sure a fun one. The main print is PERFECT for fussy cutting so I used four of the little vignettes to make this log cabin quilted pillow. (Find a link to the pattern below).
How cute are these little caroling pixies? And the kissing bunnies and birds with scarves?
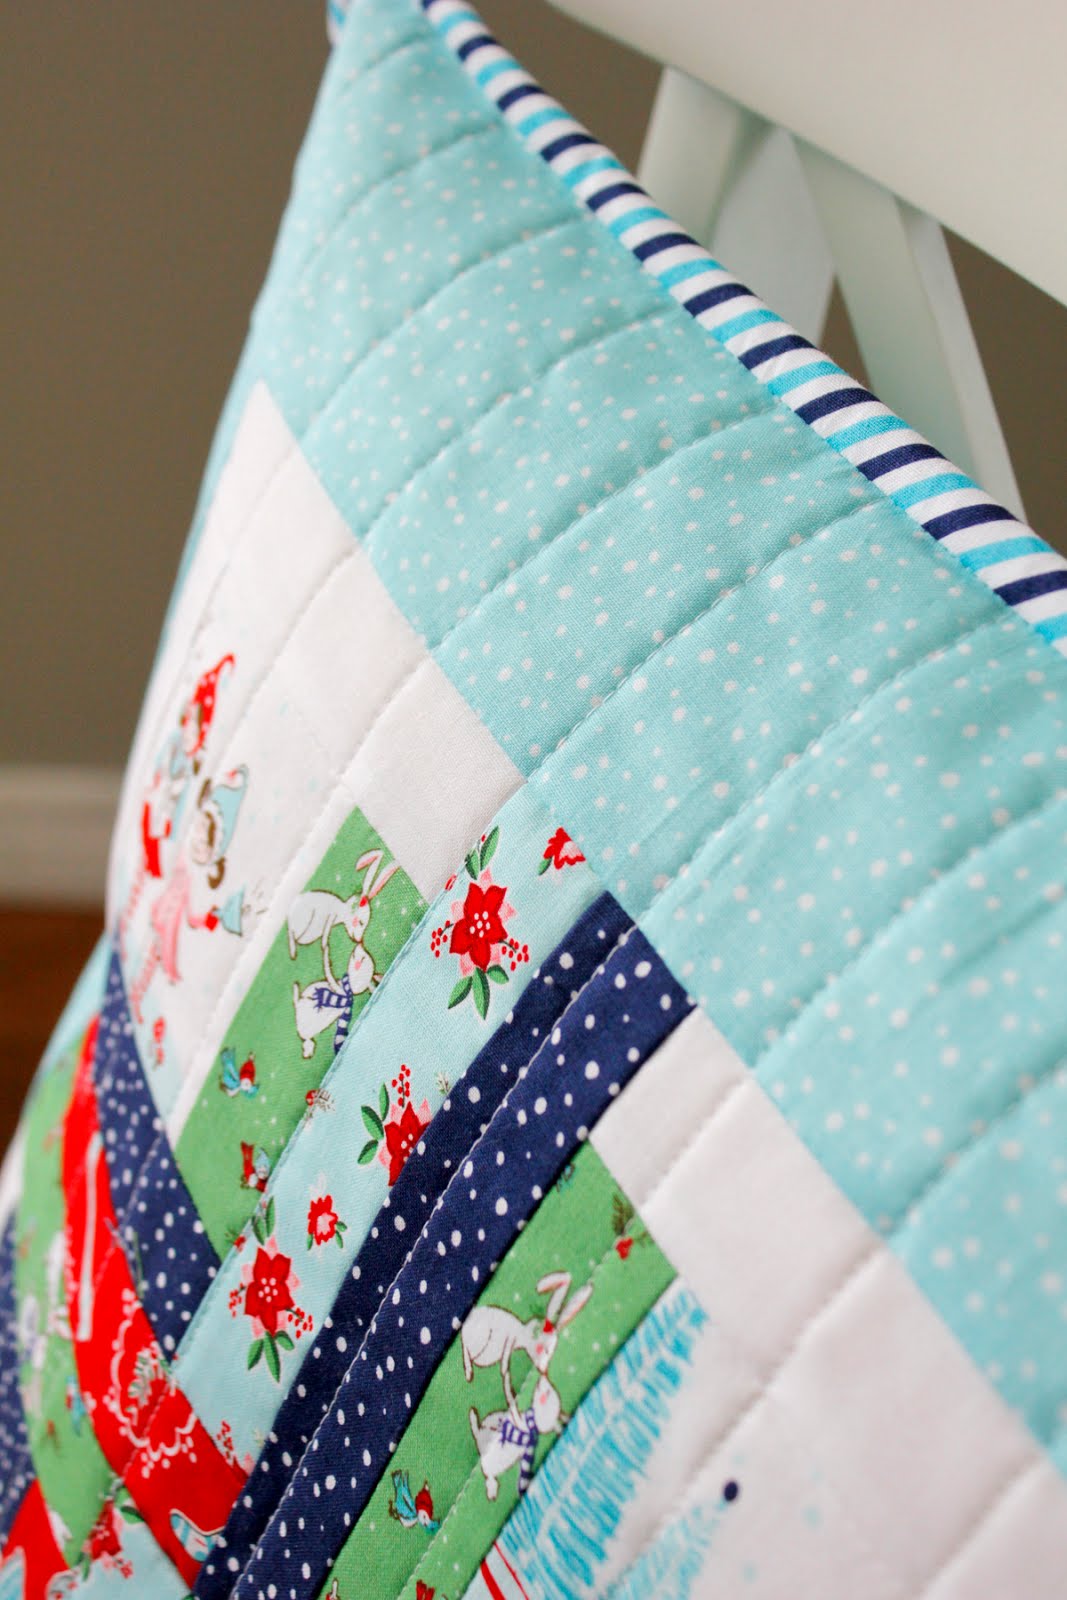
For the quilting, I did some simple, straight lines. And the navy and aqua bias stripe from the line is perfect as the binding. I love adding binding to pillows - it adds such a nice finished look!
The pillow finishes at 18". Want to make your own? You can find the PDF pattern here in my shop. I'm calling it the Cabin Cushion pattern and for a short time it's available for just $5.
Pixie Noel fabrics are available in stores now and you can see the other great Pixie Noel projects from the blog tour by clicking on the links found here. You can also see them on Instagram (#pixienoelfabrics) or by following @TashaNoel1.
Thanks for stopping by!
Saturday, December 5, 2015
Winter Star Pillow Tutorial
Today is my turn on the Riley Blake Designs Stitch’n Kitchen Christmas Blog Tour!
Each day on the tour, a different blogger will be sharing a favorite holiday tutorial - either a Christmas decor item, or something you could make and give as a gift. We're also each sharing our favorite holiday recipes. (It was hard to choose just one!)
Today I'm sharing a tutorial for this frosty-colored Winter Star pillow, using three of my favorite prints from the Modern Minis line by Lori Holt.
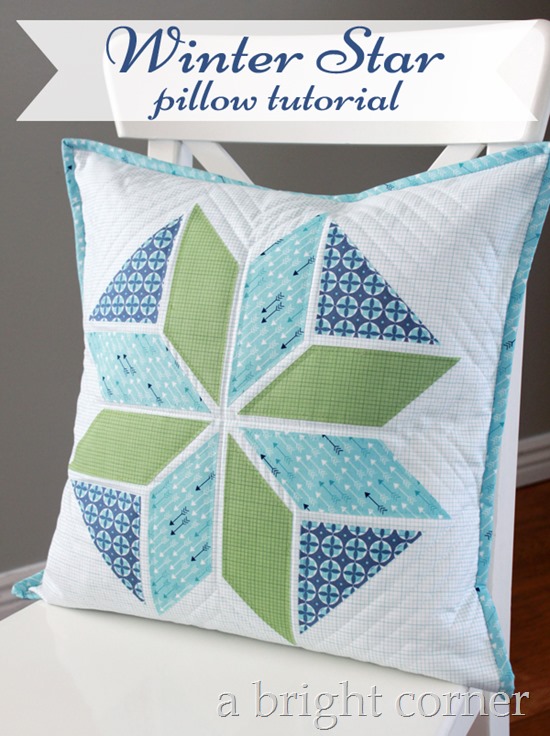
Winter Star Pillow
Prep Time: 10 minutes
Making Time: 2-3 hours
Ingredients:
1 yard background & backing fabric (Modern Graph Paper White)
1/8 yard each of your favorite three Modern Minis Prints (Modern Arrows Aqua, Modern Graph Paper Green, Modern Circles Blue)
1/6 yard binding fabric (Modern Arrows Aqua)
18.5” piece of thin batting
3/8 yard Heat n Bond Lite (or a piece that is at least 14” x 17”)
one 18” pillow form
18-1/2” piece of muslin (optional)
Instructions:
From the 1 yard of background and backing fabric, cut 1 @ 18.5” square, and 2 @ 12” x 18.5”
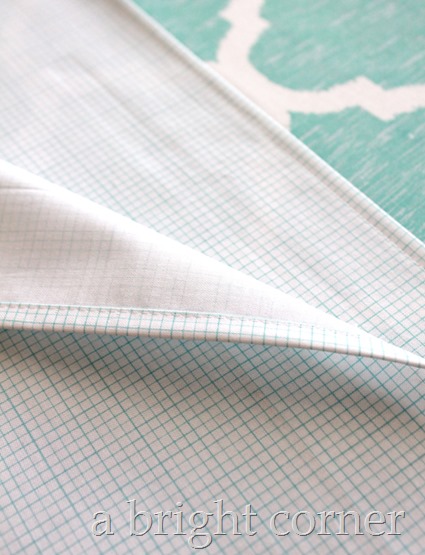
On one long edge of both of the 12” x 18.5” pieces, fold down 1/4” and press. Then fold down again another 1/4” or so and press. Stitch down to finish that edge. Set these pieces aside – they will become the back of the pillow.
Print the Winter Star Templates sheet, and trace four of each shape onto the Heat n Bond Lite. It’s helpful to label the shape 1 and shape 2 pieces -ask me how I know :)
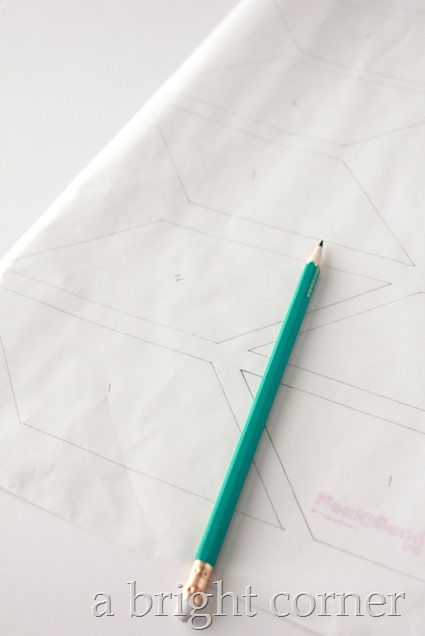
Cut out each shape, leaving about 1/4” space around each one.
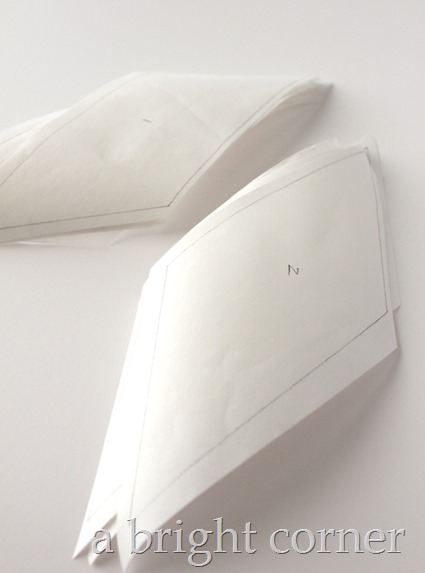
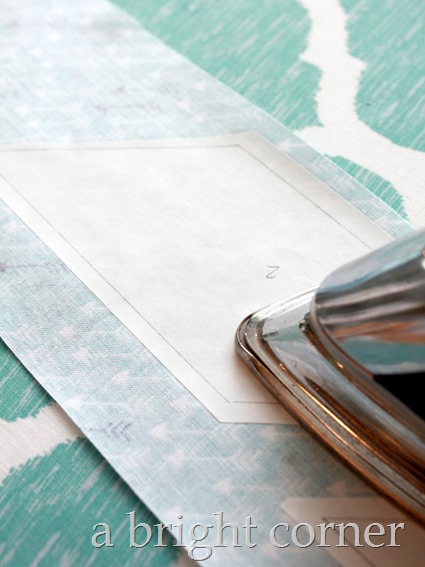
Following the manufacturer’s instructions, iron each shape onto the wrong side of your fabric. Shape 1 will be ironed on to the Green Graph Paper, shape 2 on to the Aqua Arrows, and shape 3 on to the Blue Circles.
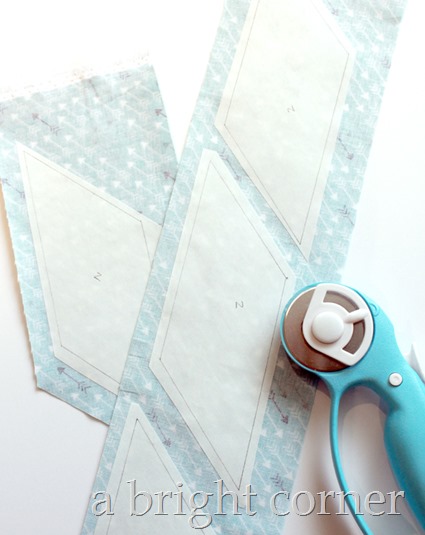
Cut out each shape directly on the lines. Since these pieces all have straight lines, a rotary cutter and ruler makes quick work of this!
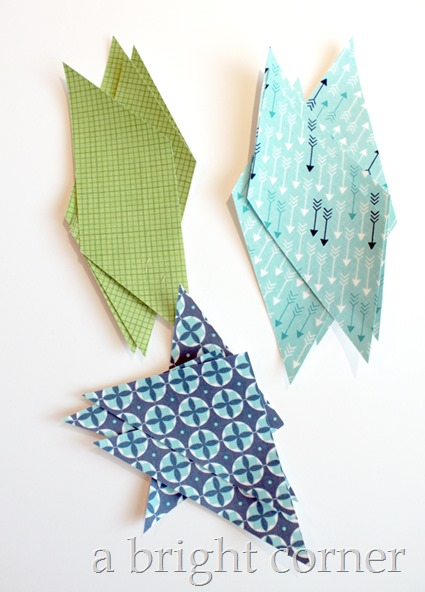
Fold the 18.5” background square in half and then half again and crease to mark. These lines will help you place the shapes.
Remove the paper backing from the shapes, and lay out them out as shown. Make sure the inside points make a nice, even circle, and that there are equal spaces between all of the shapes. But really…don’t go crazy measuring each space – I just eyeballed it.
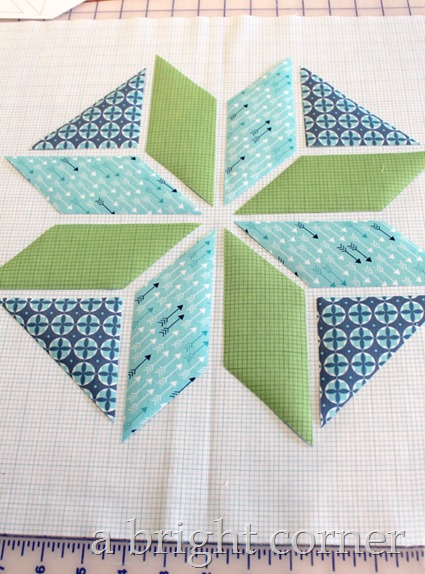
Press shapes in place, being careful not to move any as you press.
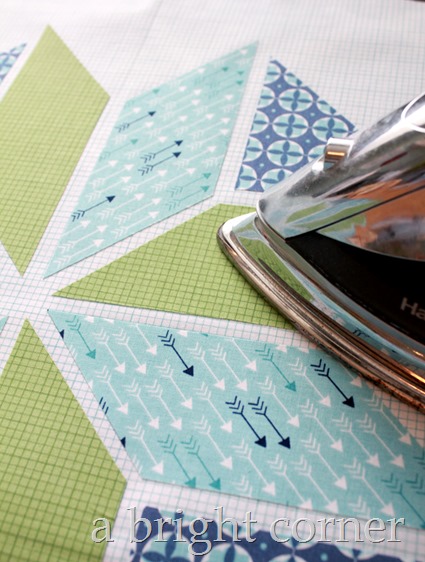
Once all the shapes are secured in place, lay the background square (with shapes pressed in place) on top of the 18.5” piece of thin batting. You can add a piece of muslin underneath the batting at this time if desired. The muslin makes for a nice, finished look, and may help with the quilting. My machine does fine quilting with just the batting on the back, so I left off the muslin.
Using coordinating thread and a straight, blanket or zigzag stitch, sew around the outside edge of each shape.
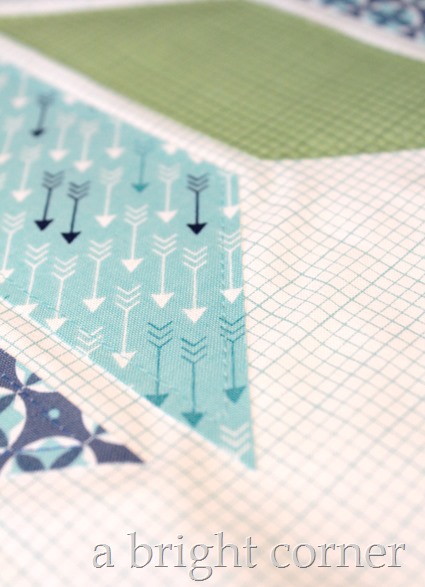
Then do any additional quilting if desired. I chose to do some echo quilting around the star.
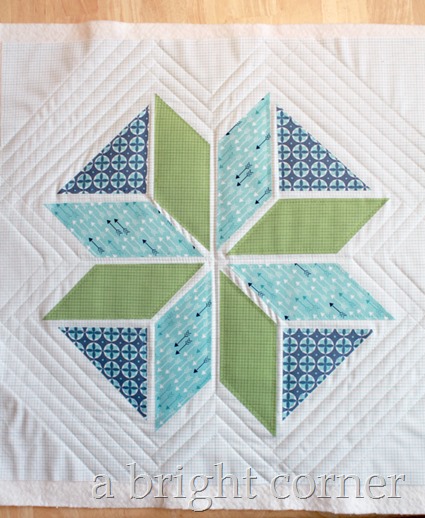
Trim the edges of the batting (and muslin if used) to be even with the pillow top (18.5" square)
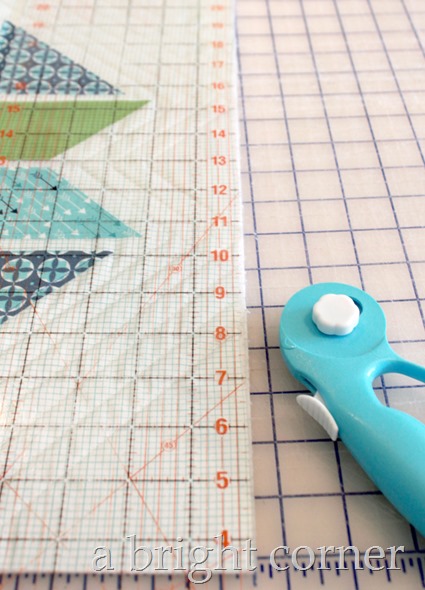
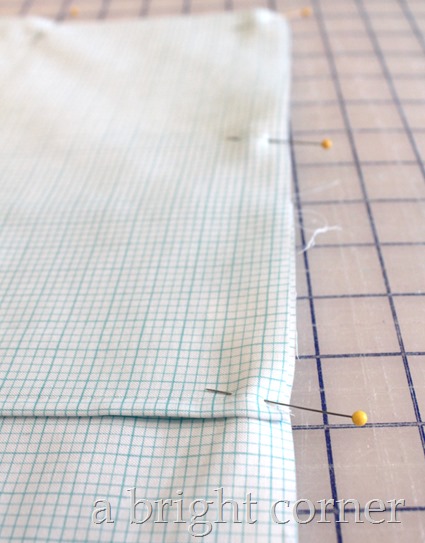
Place the pillow top right side down. Layer the pillow backing pieces right side up with the finished edges overlapping in the middle. Pin around the outer edge of the entire pillow. This creates the envelope backing for the pillow. Baste around the entire pillow about 1/8” in from the edge. This will hold all the layers together as you add the binding, and your basting stitches will be hidden under the binding.
Use the 1/6” yard of binding fabric to cut 2 strips @ 2.5” x width of fabric. Use those to bind the pillow as you would bind a quilt. I love what a binding adds to a pillow!
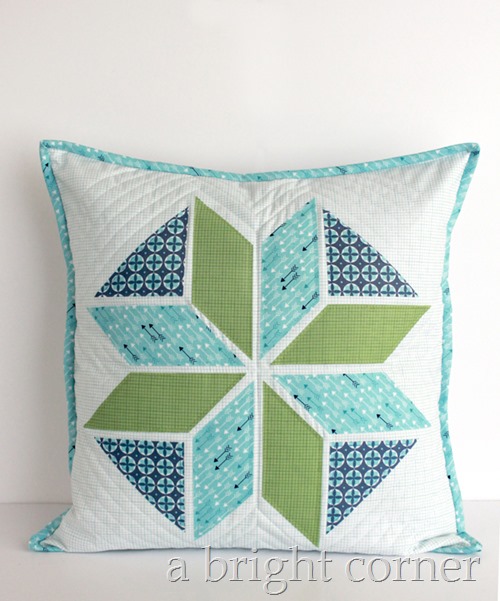
Insert your pillow form and enjoy!
And here’s something else to enjoy – these yummy Lake House Brownies are one of my current favorite treats. With a chewy brownie layer, topped with goey marshmallow followed by a crunchy top layer – these are oh-so-good!
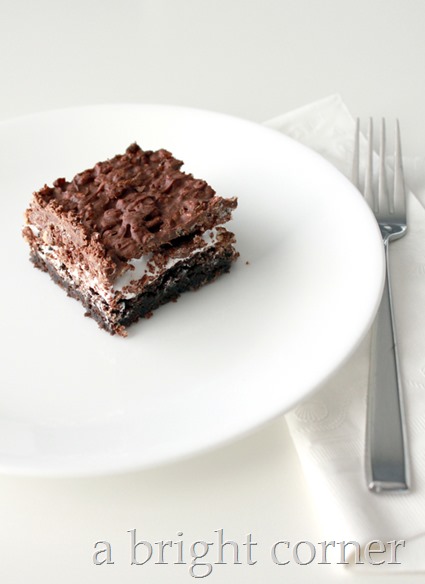
The recipe makes a 9x13 size pan full of chocolaty goodness. The recipe can be found here on the Tasty Kitchen website. You can print the recipe right there and have a pan of these amazing brownies by this afternoon!
Thanks for stopping by! Be sure to check out the last four days of the tour, and follow along with these future dates:
12/1 - Riley Blake Designs
12/2 - Simple Simon
12/3 - Mode de Lis
12/4 - One Little Pooh
12/5 - A Bright Corner
12/7 - Quiltscapes
12/8 - Life After Laundry
12/9 - Crafting Chicks
12/10 - Melly Sews
12/11 - Choo Choo Skadoo
12/12 - Jedi Craft Girl
12/14 - Polka Dot Chair
12/15 - Sew Like My Mom
12/16 - Sugar Bee Crafts
12/17 - Fort Worth Fabric Studio
12/18 - Messy Jesse
12/19 - Leigh Laurel Studios
12/21 - The Happy Housie
12/22 - The Flannel Queen
12/23 - Riley Blake Designs
12/24 - Riley Blake Designs
12/25 - Riley Blake Designs
Subscribe to:
Posts (Atom)