Showing posts with label Tutorials. Show all posts

Wednesday, January 8, 2020

Vinyl Project Bags + Homestead Life Fabrics

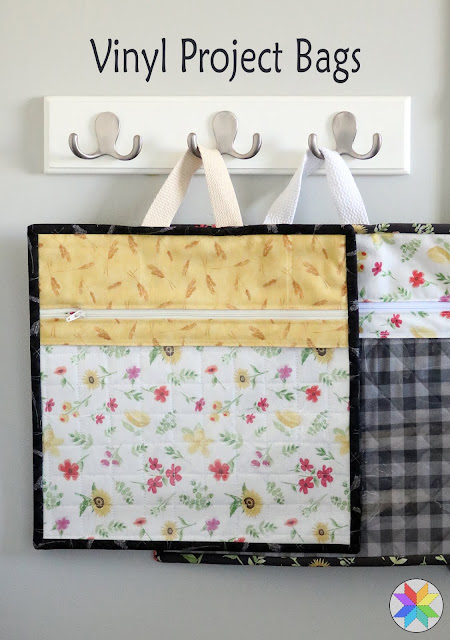
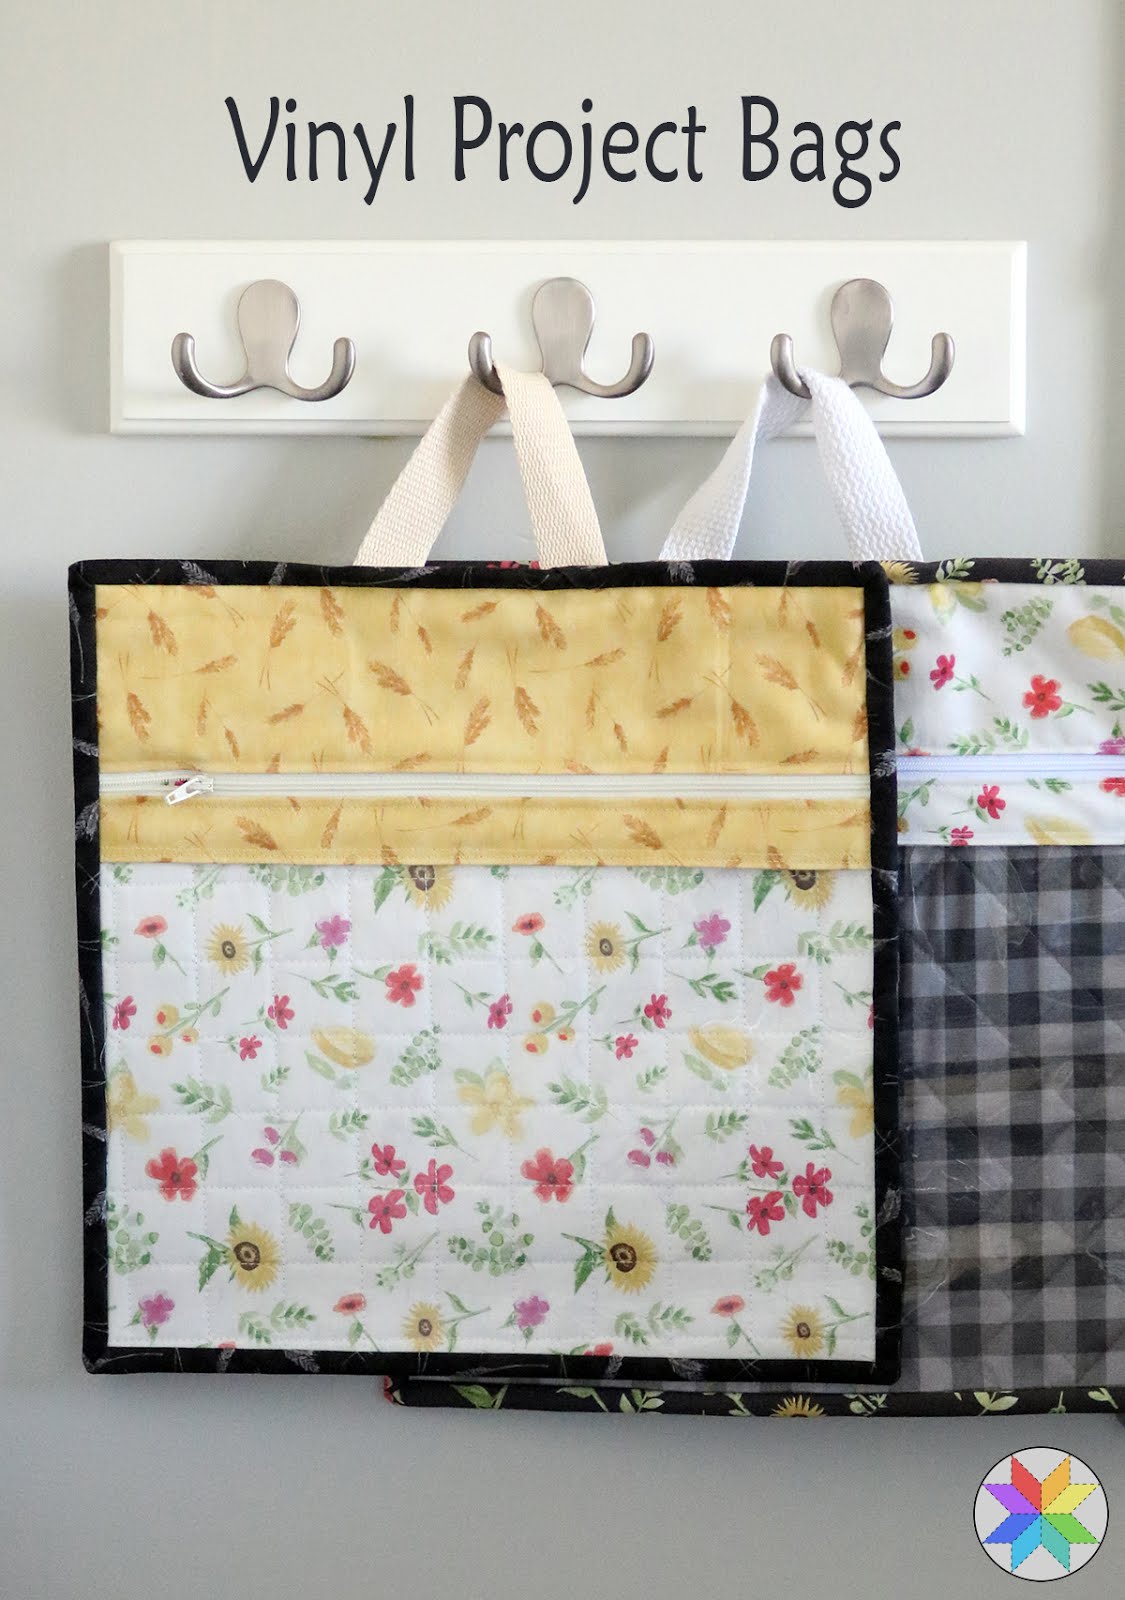
Vinyl project bags by Andy of A Bright Corner - with a link to the tutorial

Well hello everyone!  I'm sharing a quick little project today - one that I've been meaning to make for over a year now - vinyl project bags.  A friend of mine has a set of these and loves them.

She uses them to store her quilt WIPs and kits, and I've also seen people use them for their cross stitch, crochet, and english paper piecing projects.
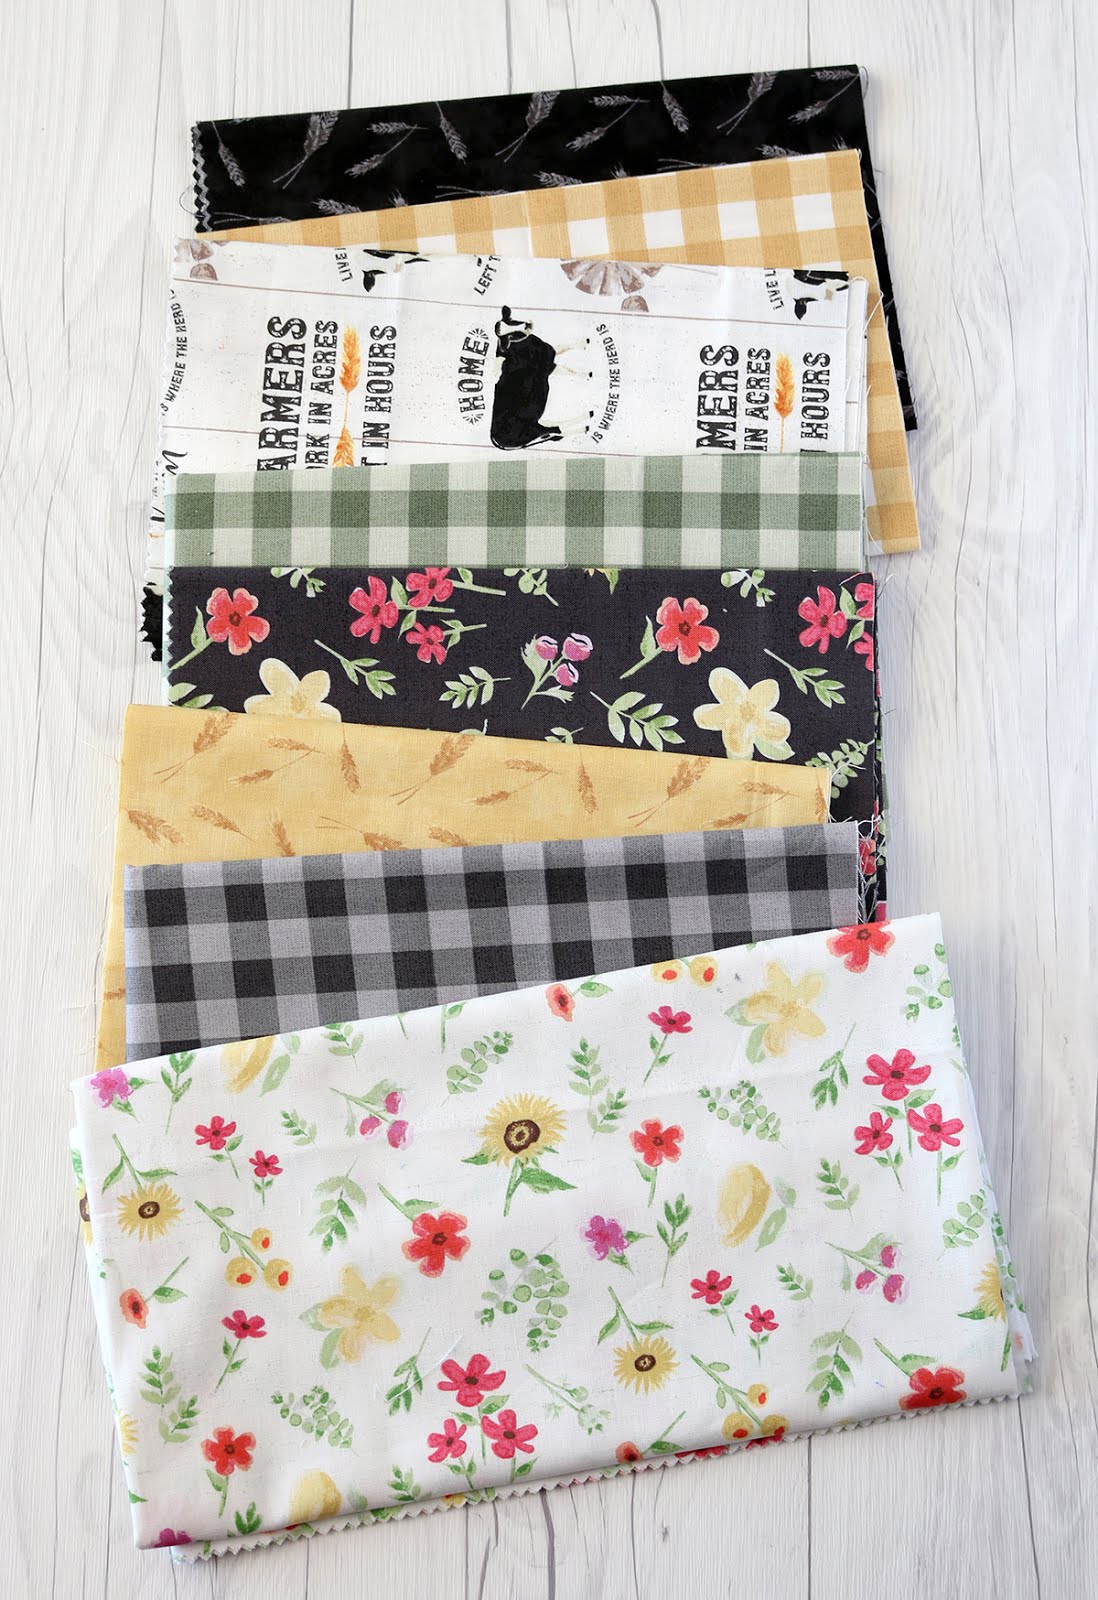
Homestead Life fabrics by Tara Reed and Riley Blake Designs - found on A Bright Corner

The fabrics I used for my bags all come from the new Homestead Life line by Tara Reed (Riley Blake Designs).  You can find Homestead Life in shops now, including here at the Fat Quarter Shop.

I love the sweet florals combined with the chunky gingham prints!
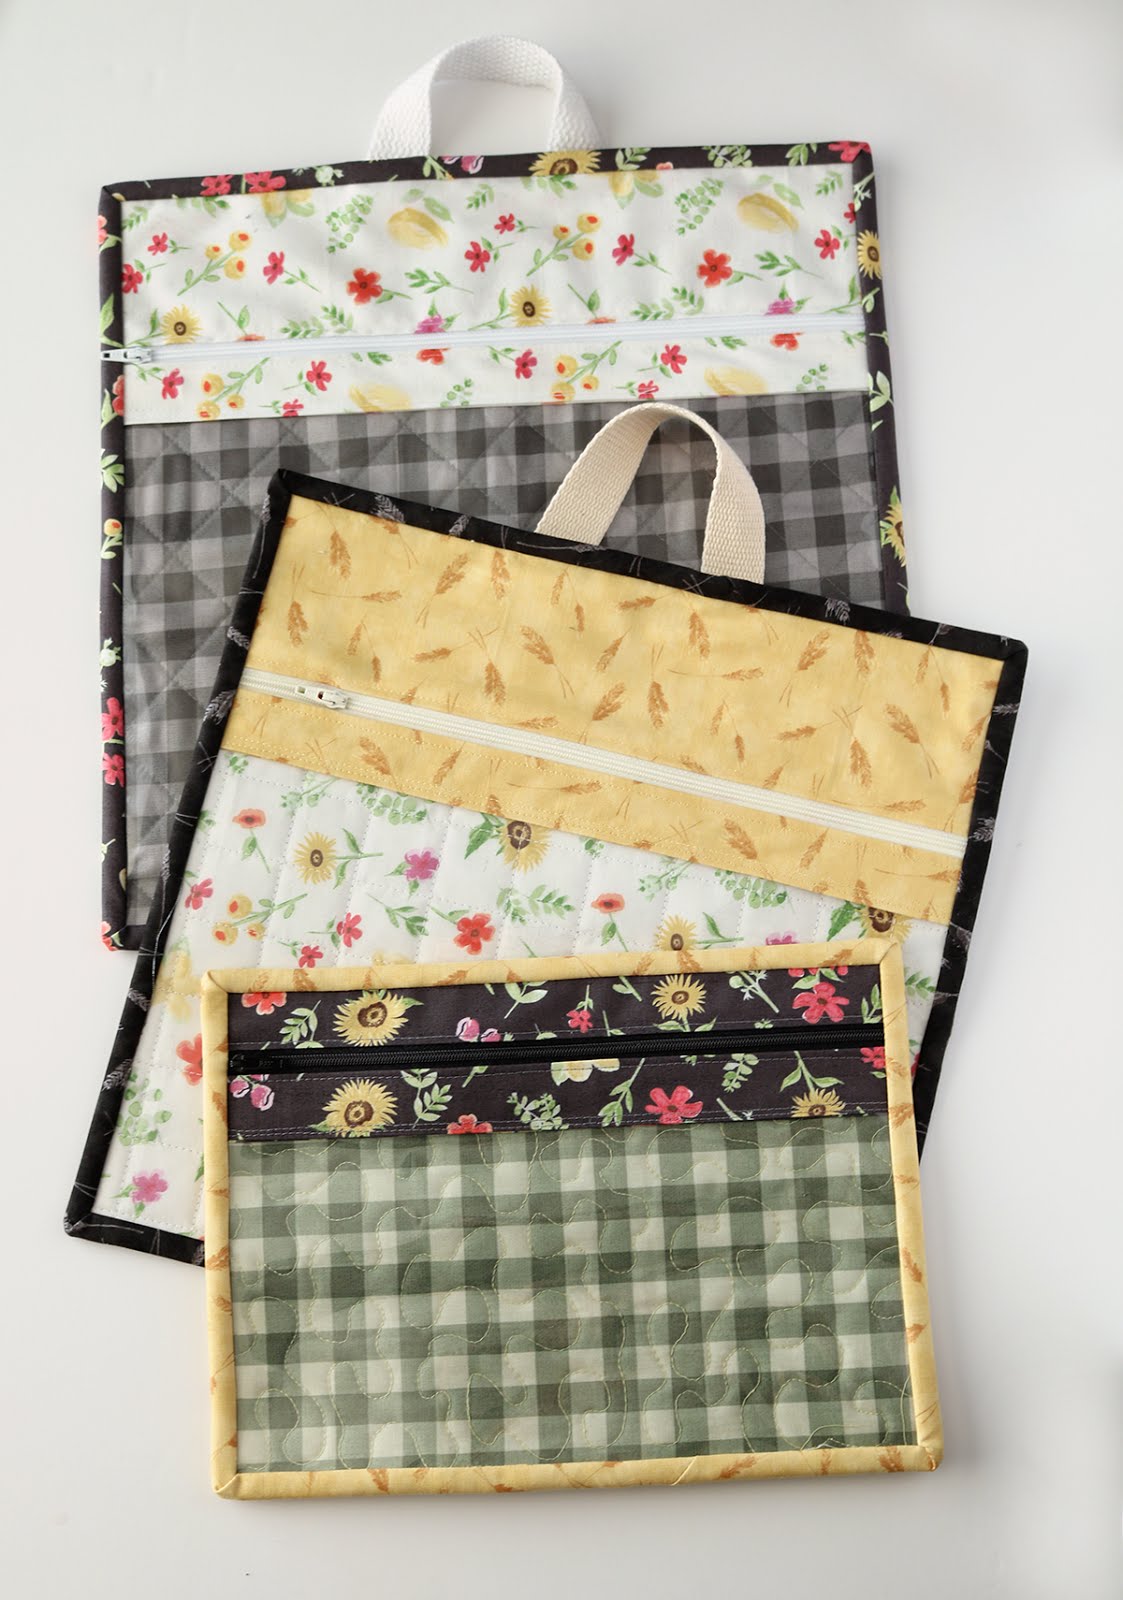

Vinyl project bags by Andy of A Bright Corner - with a link to the tutorial

I made two different sized bags - the large bags are 13" x 13", and the smaller bag is 8" x 11".
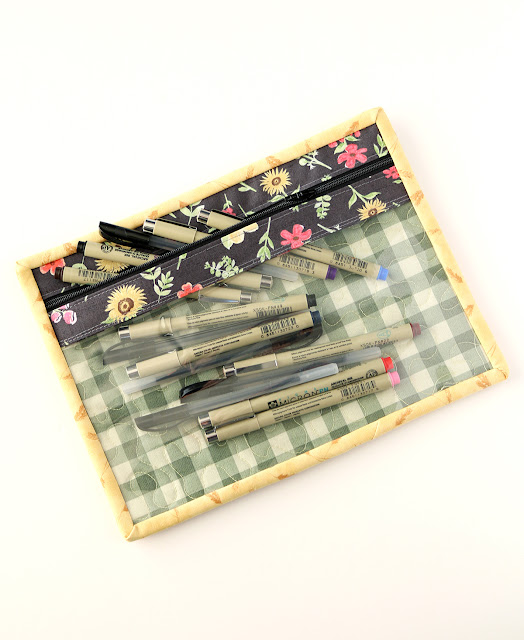
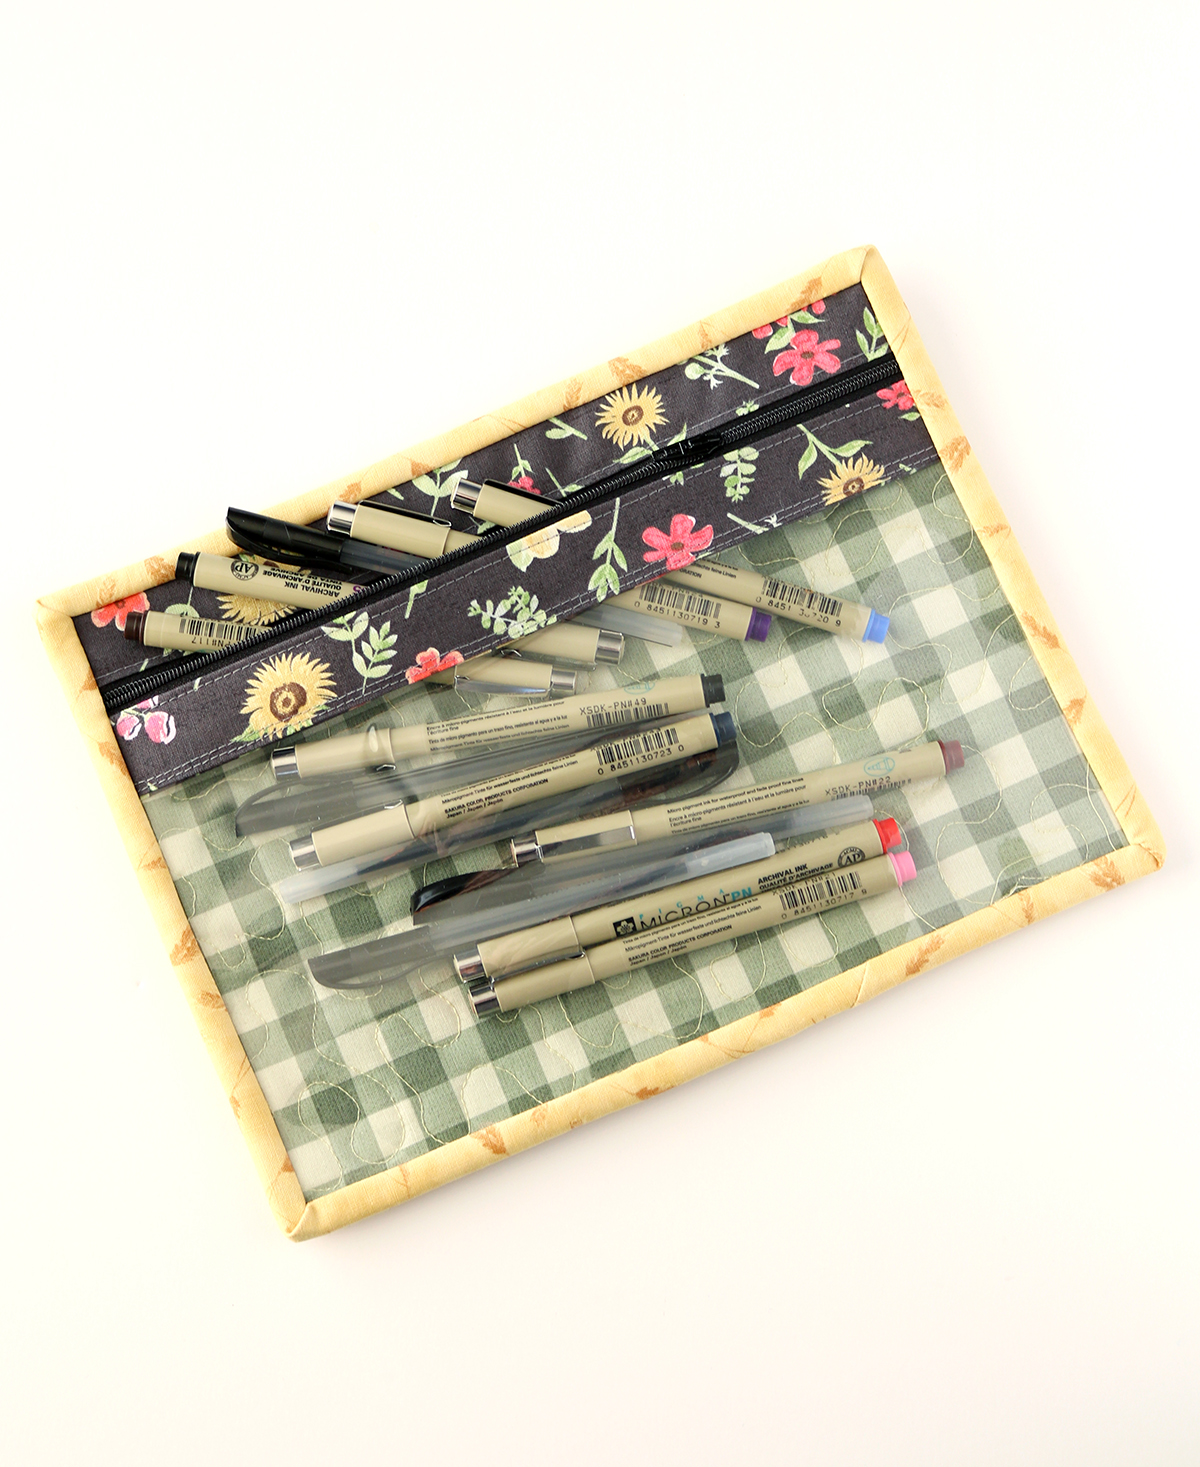
I made this smaller one to hold pens and markers - perfect!
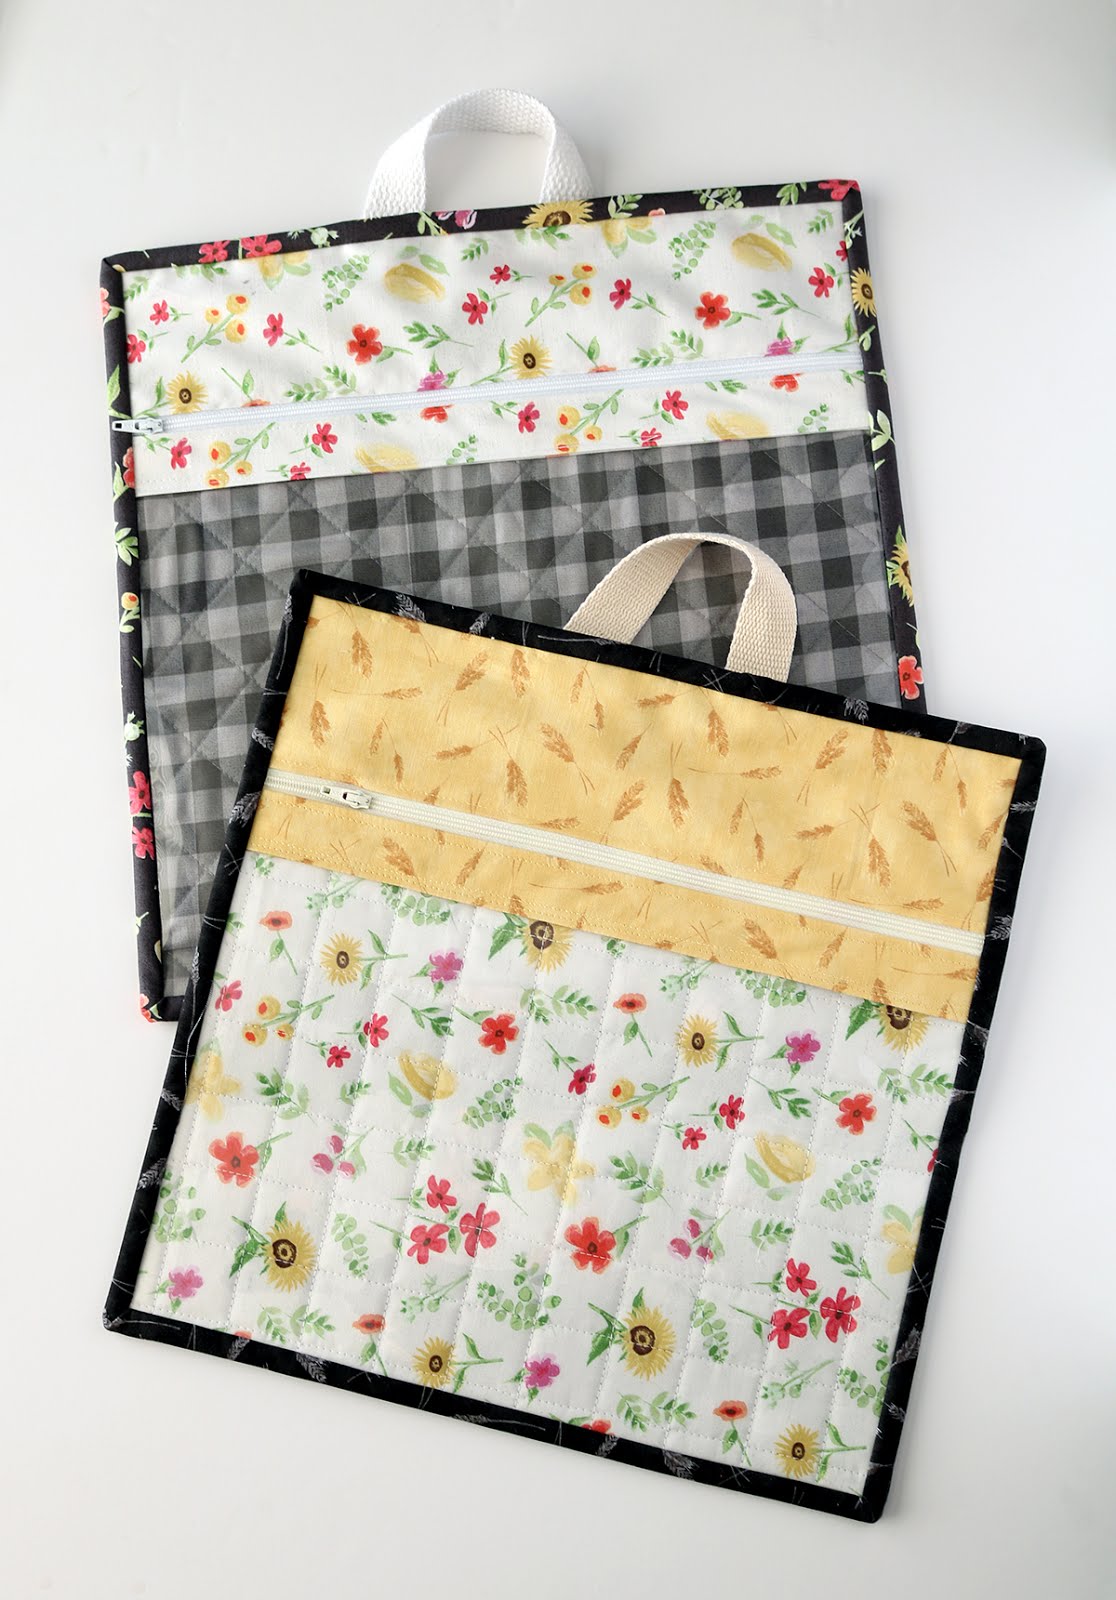
Vinyl quilted project bags by Andy of A Bright Corner - with a link to the tutorial

And I added hanging loops to the two larger bags so they could be stored on a hook or on a hanger in a closet.
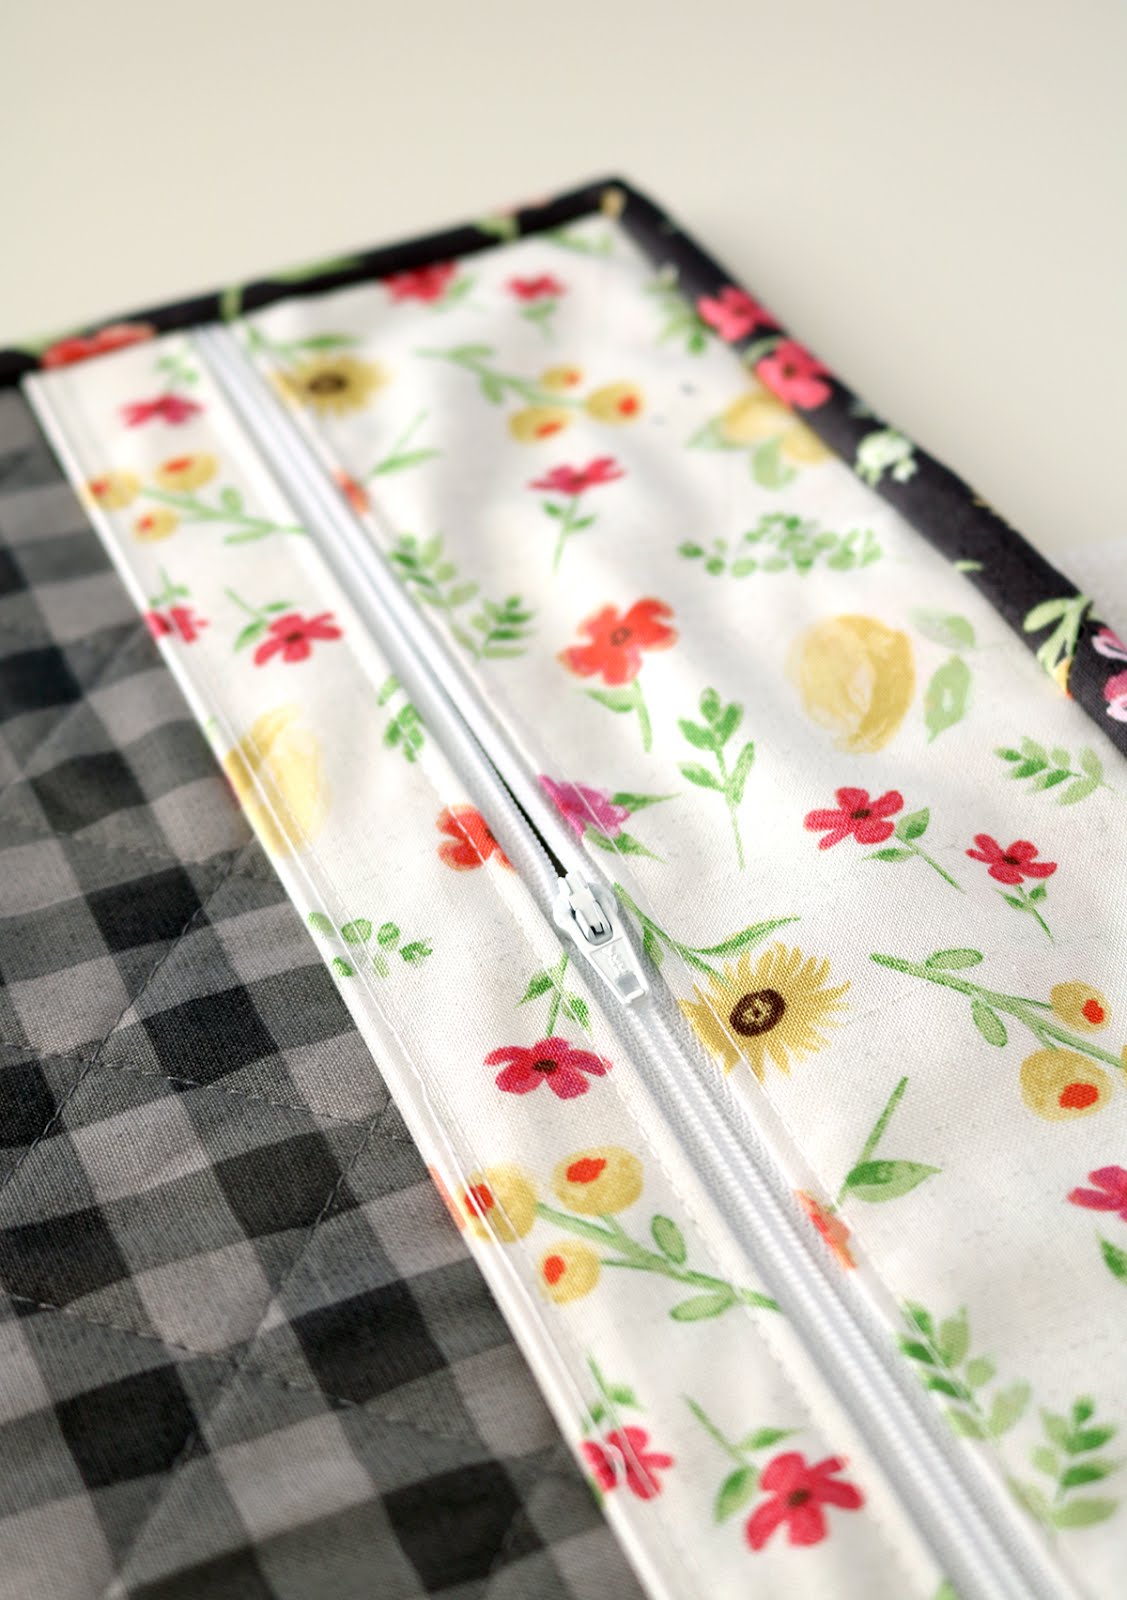
Vinyl quilted project bags by Andy of A Bright Corner - with a link to the tutorial

There are a lot of different tutorials out there for making vinyl bags.  I mostly followed this one by Center Street Quilts.  After looking around at several other tutorials, I decided I liked her method the best.   She also has great photos, and clear instructions.  She pieced her bag backing but I just used a solid piece of fabric for mine.
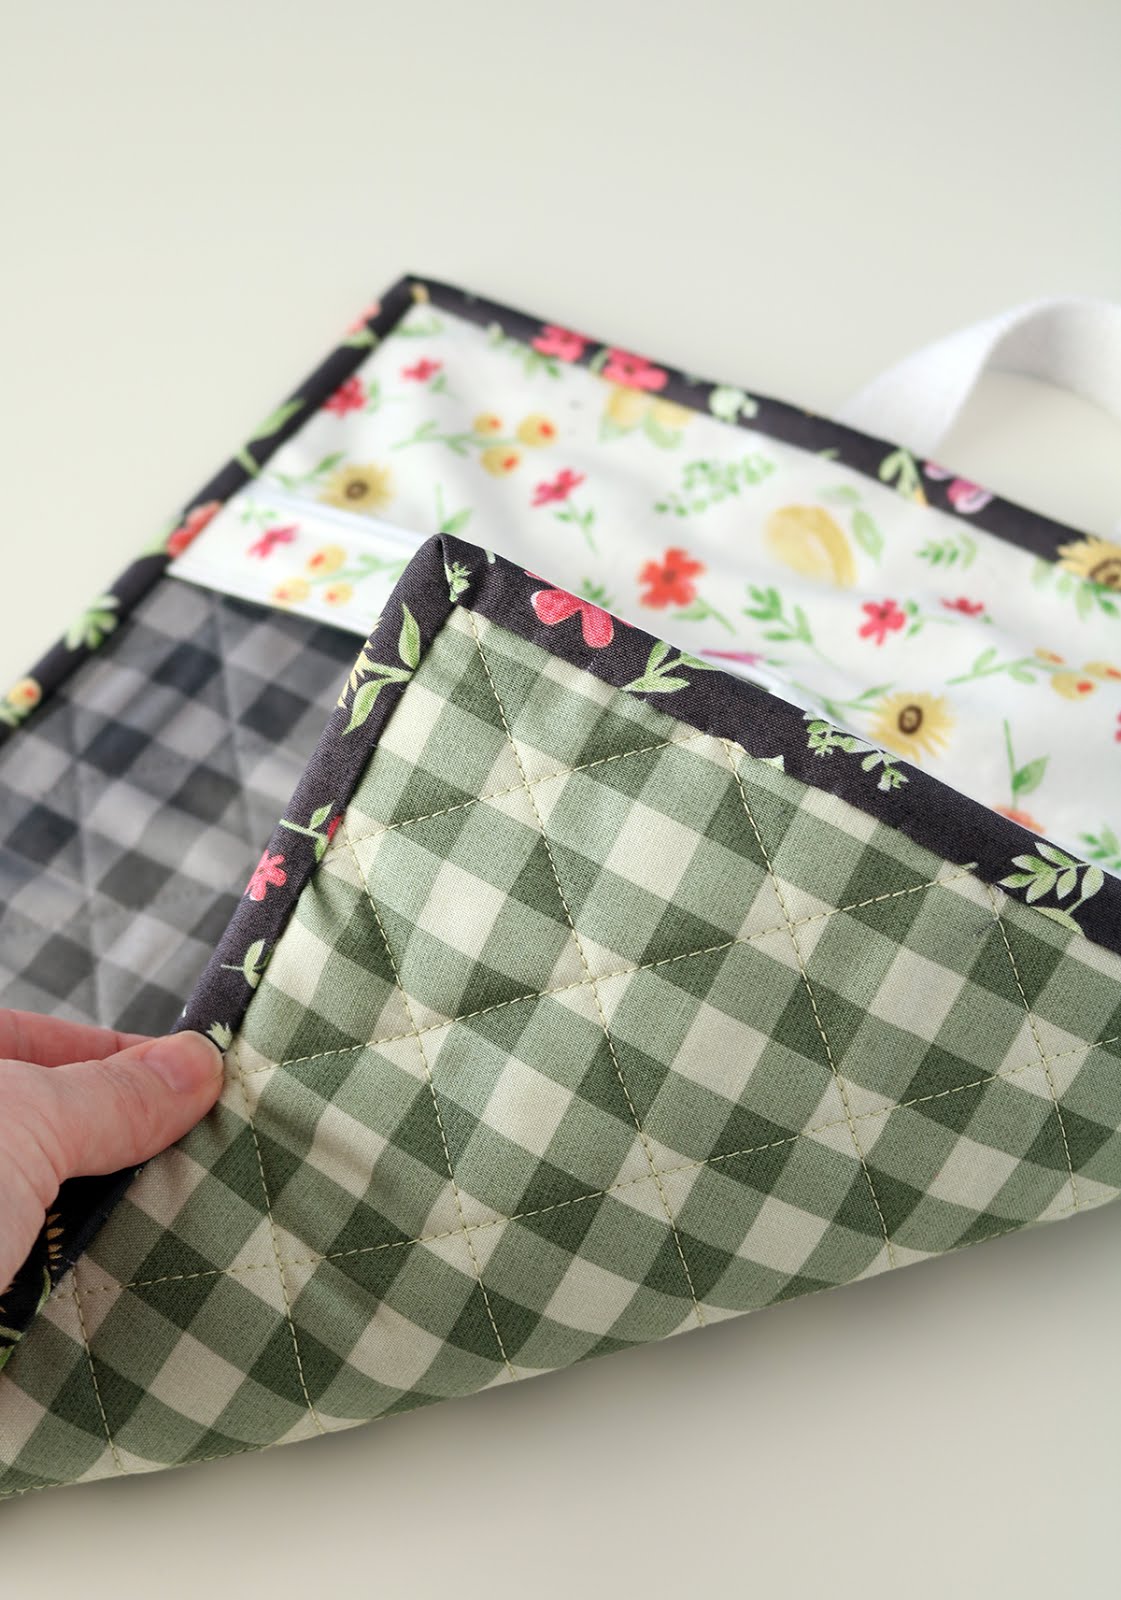
Vinyl quilted project bags by Andy of A Bright Corner - with a link to the tutorial

Once you get the idea of how they're constructed, it's not hard to adjust the bag sizes to fit your needs.
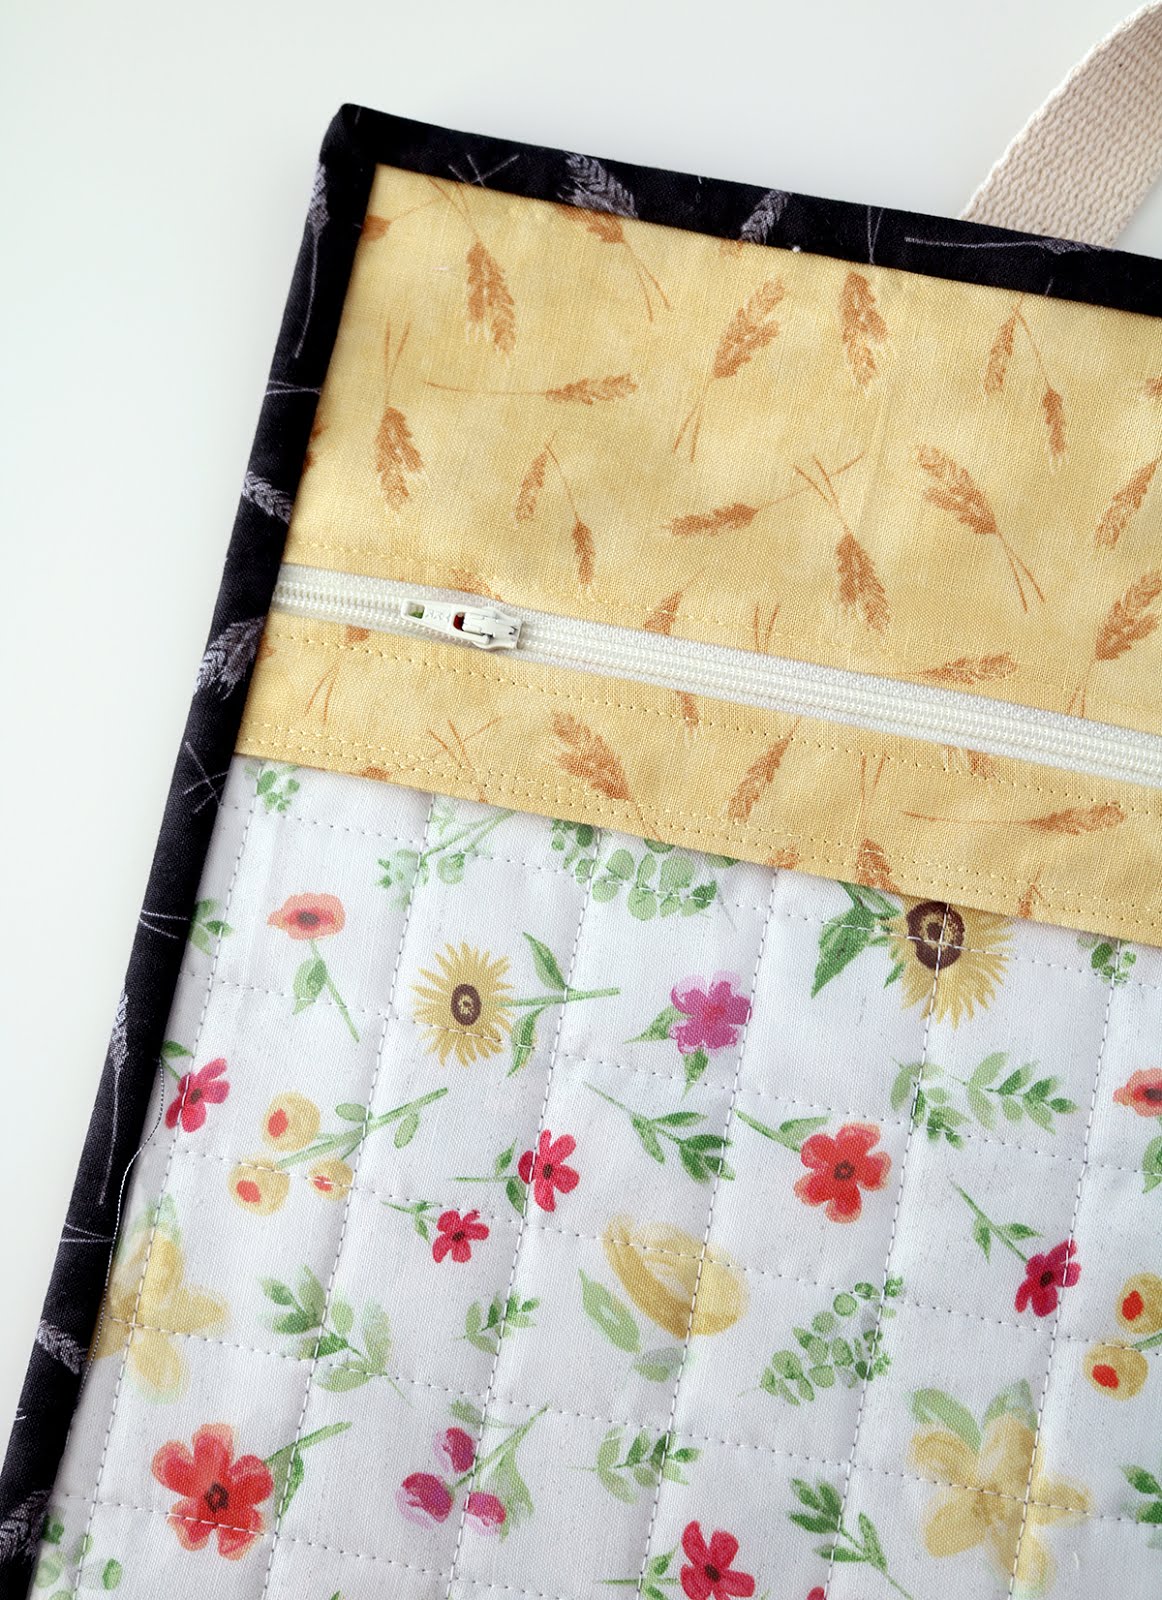
Vinyl quilted project bags by Andy of A Bright Corner - with a link to the tutorial

This set of bags is meant as a gift for someone, but I'll definitely be making more of these for myself!

Vinyl quilted project bags by Andy of A Bright Corner - with a link to the tutorial

Want to see other versions of vinyl project bags?  These were some other helpful tutorials that I found:

Easy WIP Project Bag with Vinyl (YouTube video by The Fat Quarter Shop)
Vinyl Project Bag Tutorial by Thimbleanna
Vinyl Project Bag Tutorial by The Quilting Nook
Vinyl Project Pouch Tutorial by Center Street Quilts
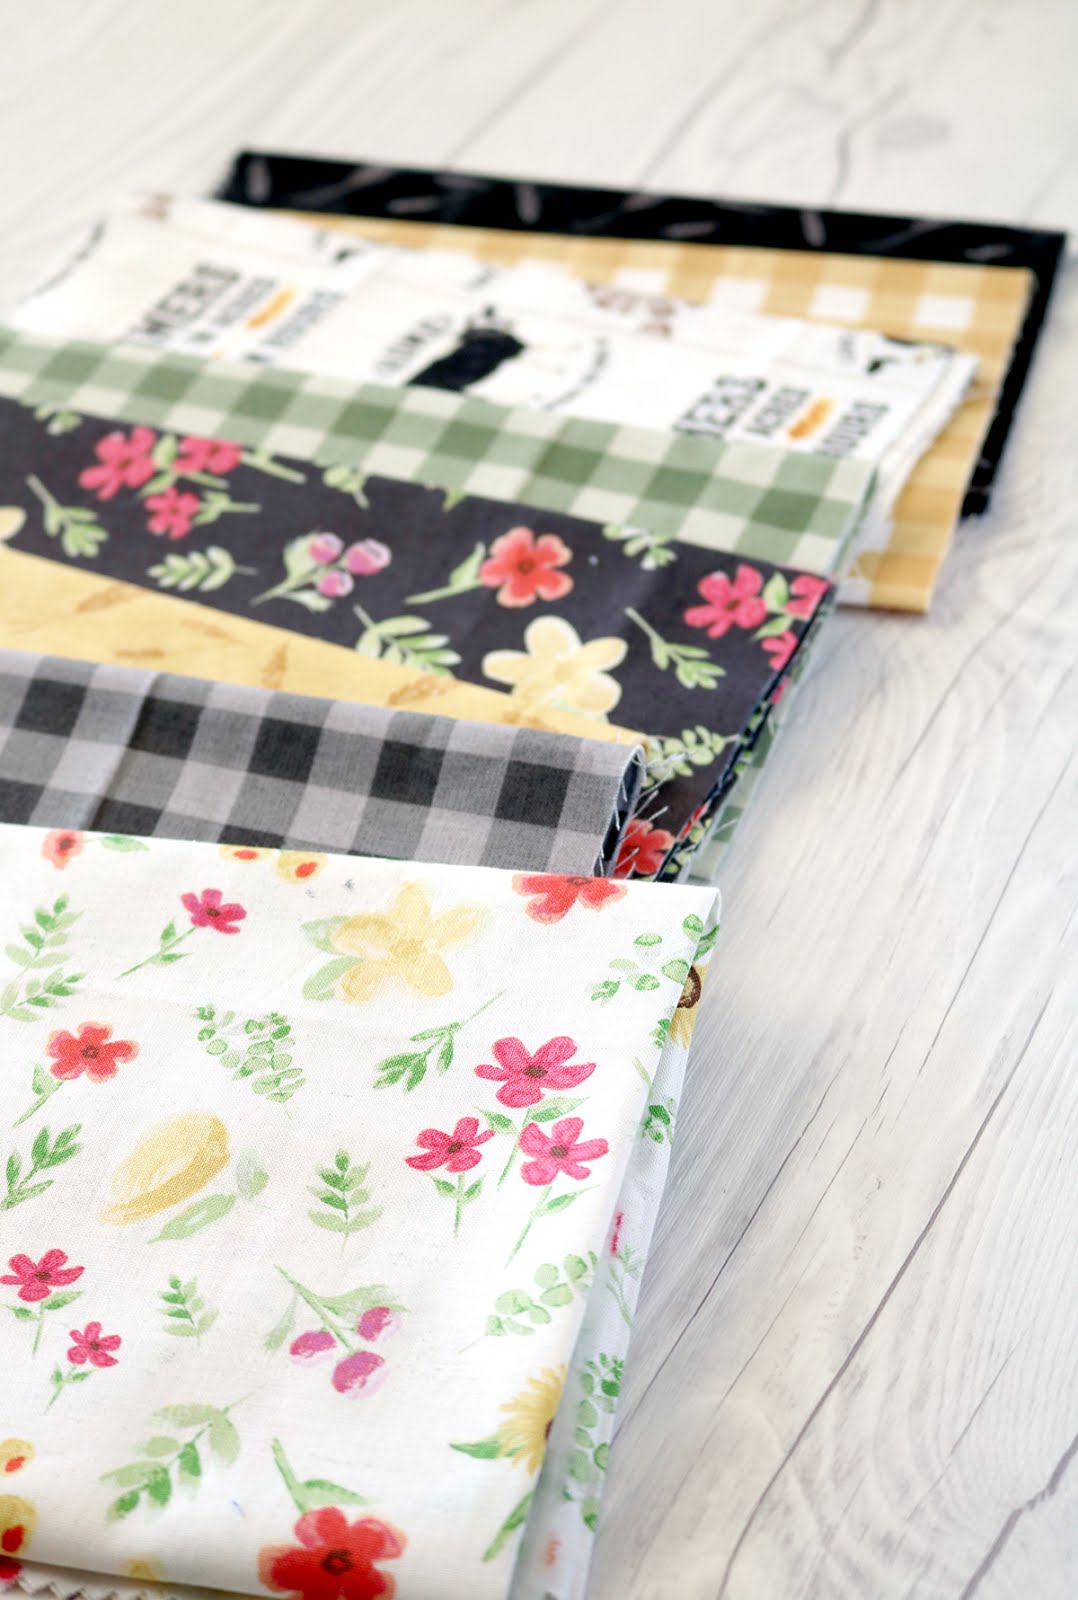

Homestead Life fabrics by Tara Reed and Riley Blake Designs - found on A Bright Corner

And you can see more of the Homestead Life fabrics here on the Riley Blake Designs site, and you can find Tara Reed's blog here.

Happy sewing!


**This post may contain affiliate links, which means I may receive a small commission (at no additional cost to you) when purchases are made through links found in this post.
Tuesday, May 7, 2019

How To Make A Kona Color Board

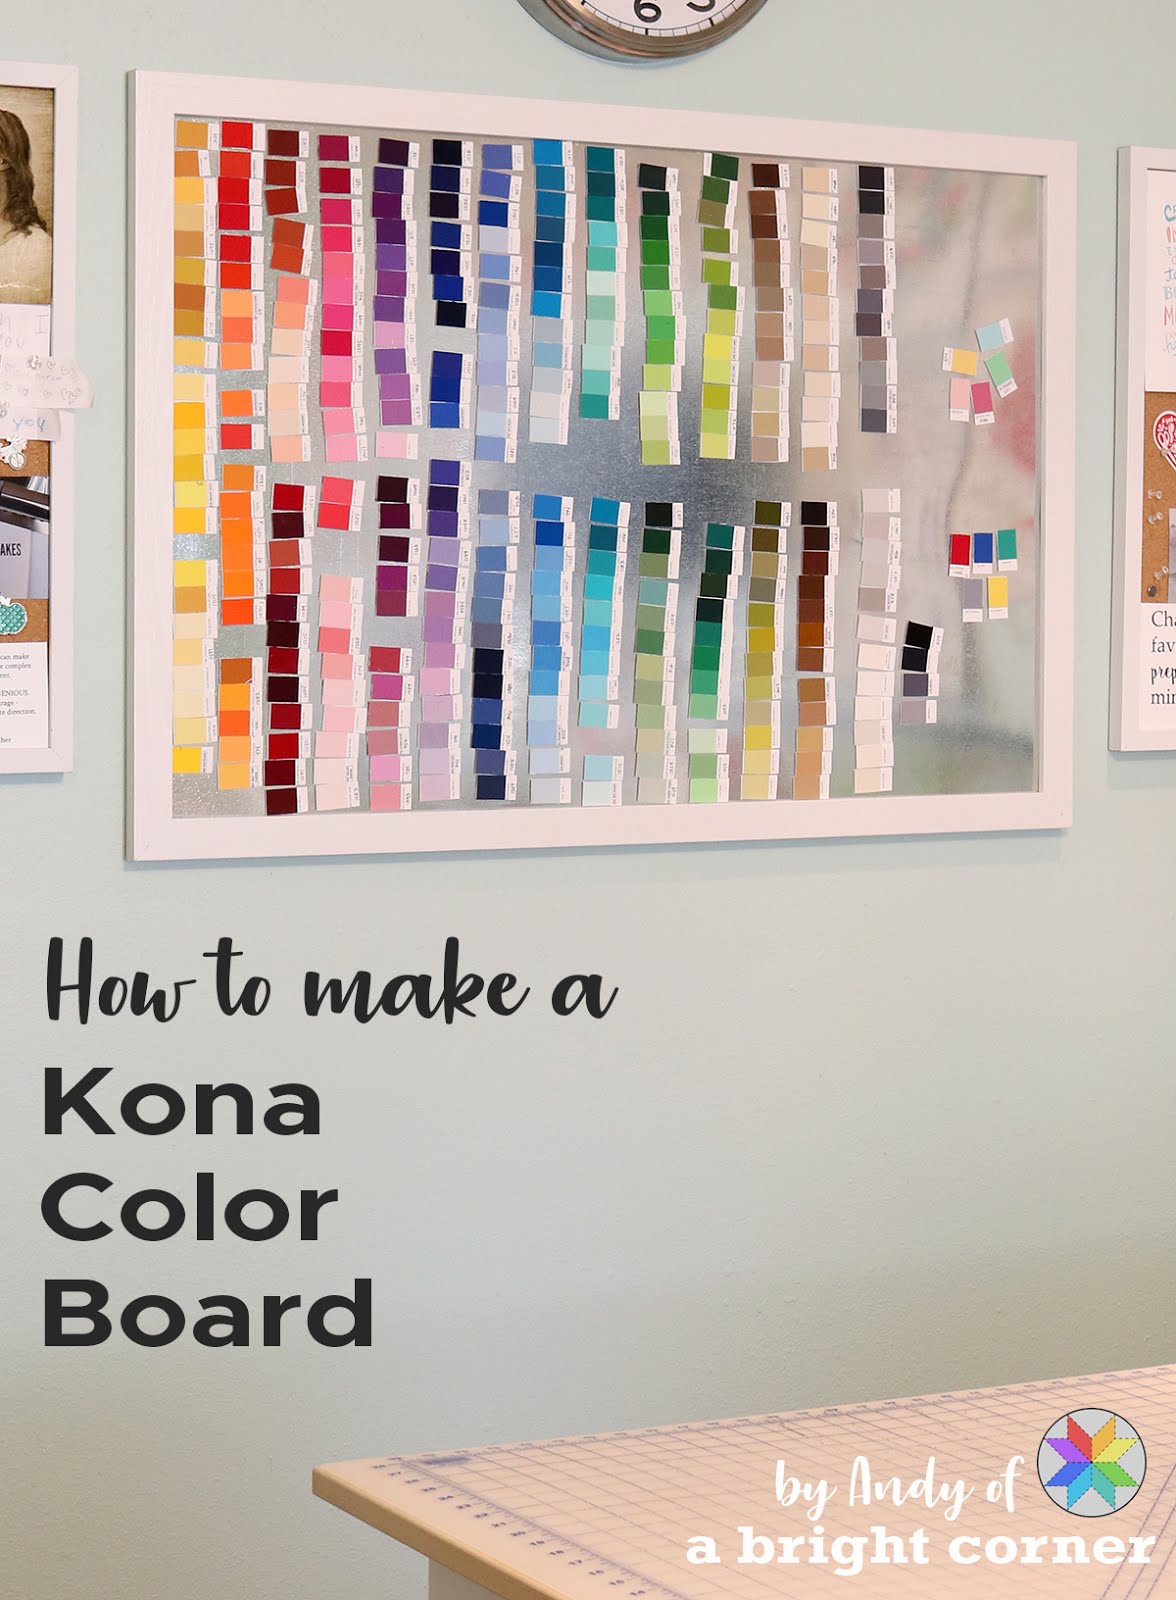
Today I want to share with you one of my most used tools - my Kona color board!


How to make a Kona color board by Andy of A Bright Corner

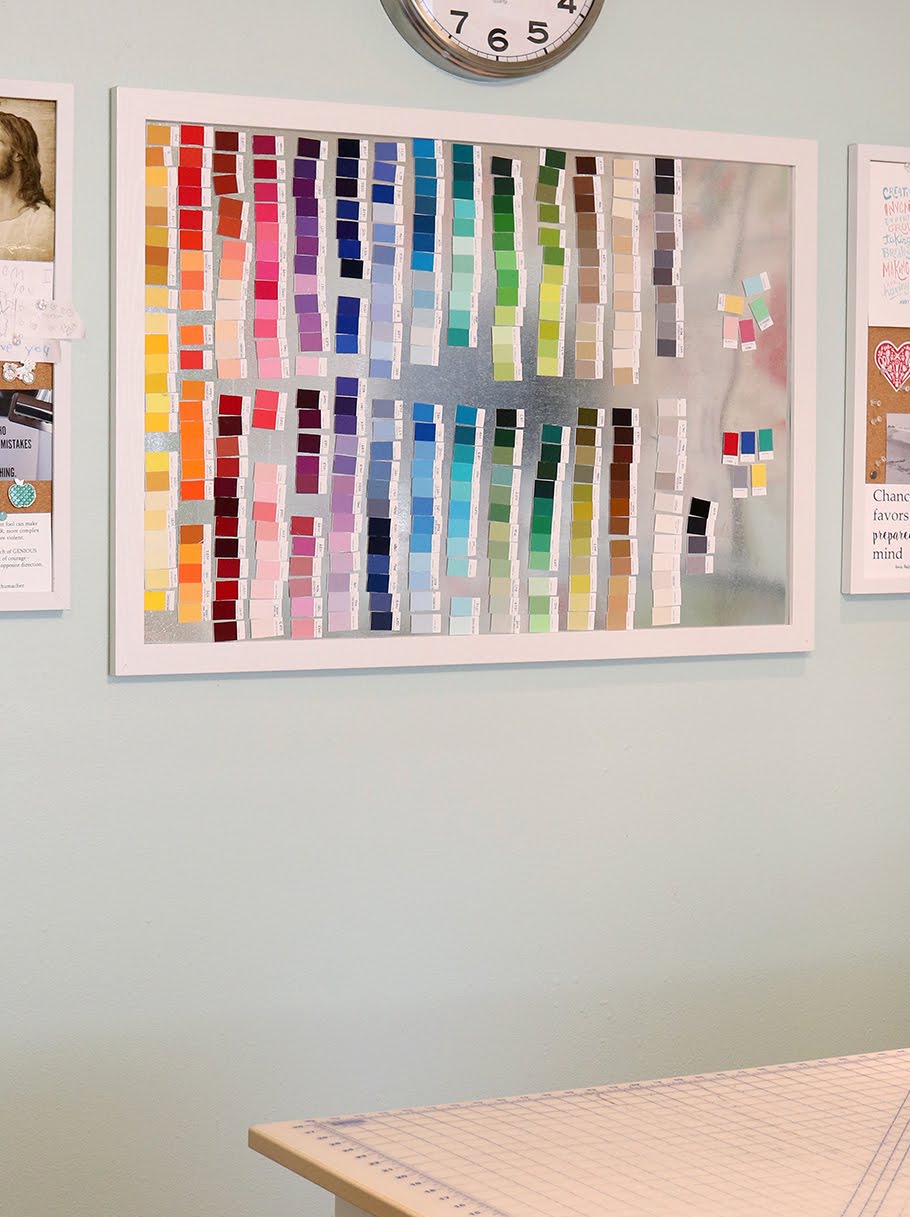
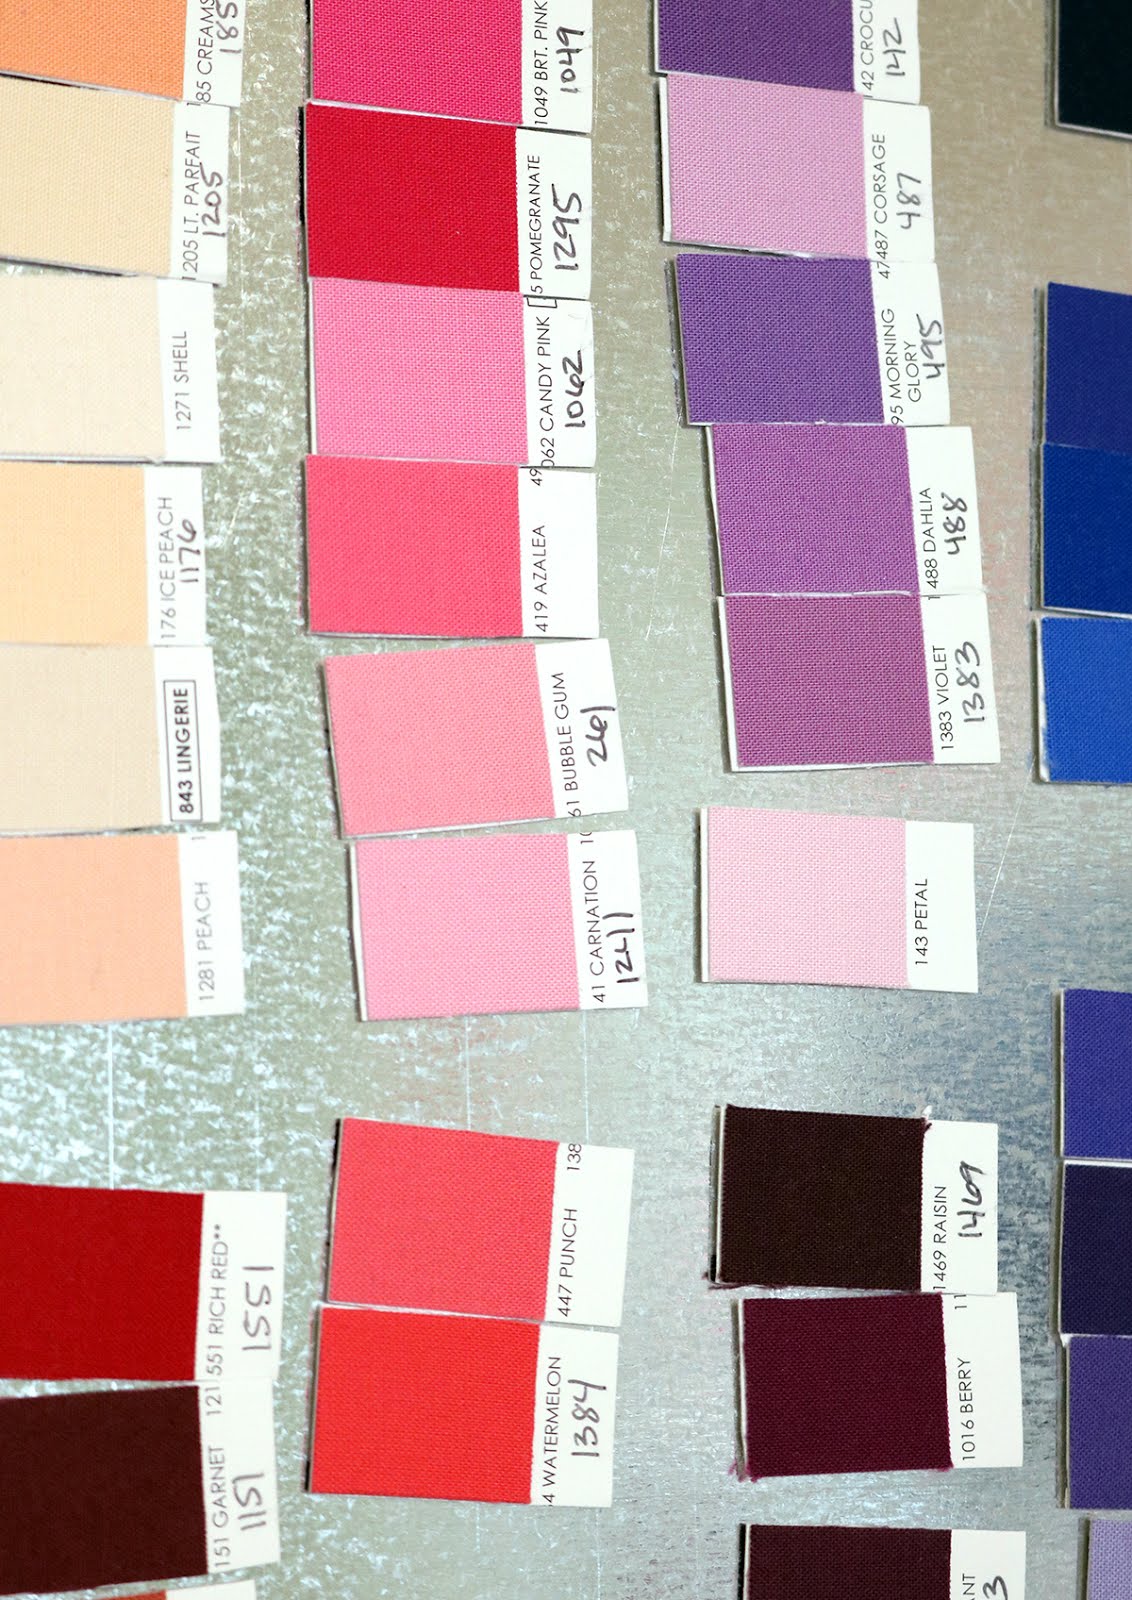
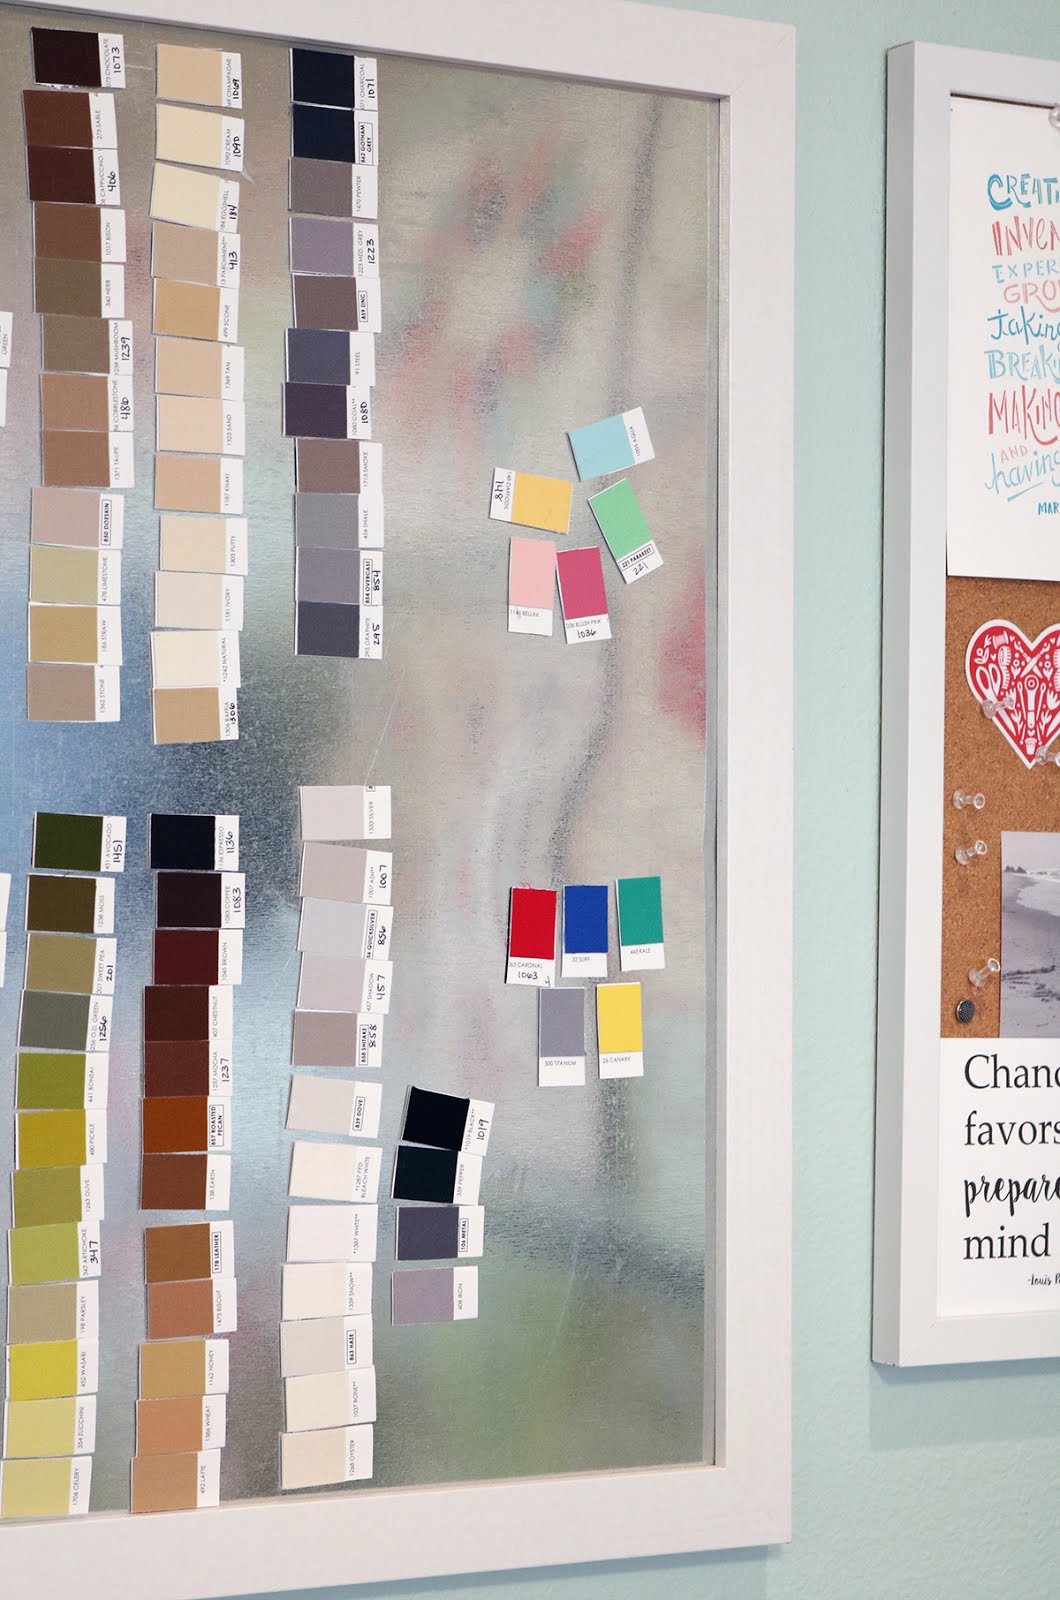
This is a framed piece of steel that has 340 little magnet swatches - one for each of the Kona cotton solids available.  I use this when I'm selecting color palettes for quilts and brainstorming projects, and it is SO helpful! 

Even if I don't plan on using all solid fabrics, these little chips help me narrow down which colors I DO want to use - and then I can use those to find matching prints from my stash or the quilt shop.


How to make a Kona color board by Andy of A Bright Corner

I made my Kona color board last year and I've been surprised at how often I'm using it!  I thought I'd share how I made my board and give a few tips for those of you who would like to make one too.


How to make a Kona color board by Andy of A Bright Corner


Here's what you'll need:


  • 24" x 36" frame (from Michael's or Hobby Lobby - use a coupon!)


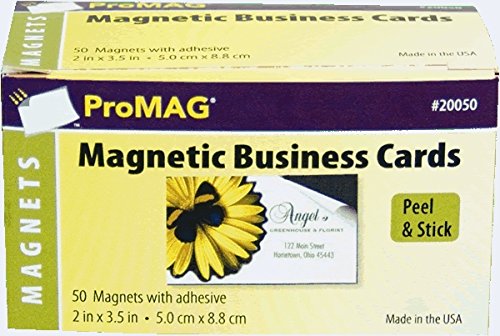
Tip: I used these business card size adhesive magnetic sheets - it was the most economical.  One box of 50 will be enough for all 340 chips, plus a few leftover.  Alternatively, you can also use full sized sheets or rolls of tape, but you'll have to do the math to determine how many you'll need, and you might end up with a lot left over.


1.  Remove the glass from the frame and replace it with the metal sheet. Then replace the cardboard backing on the frame and it's ready to hang.

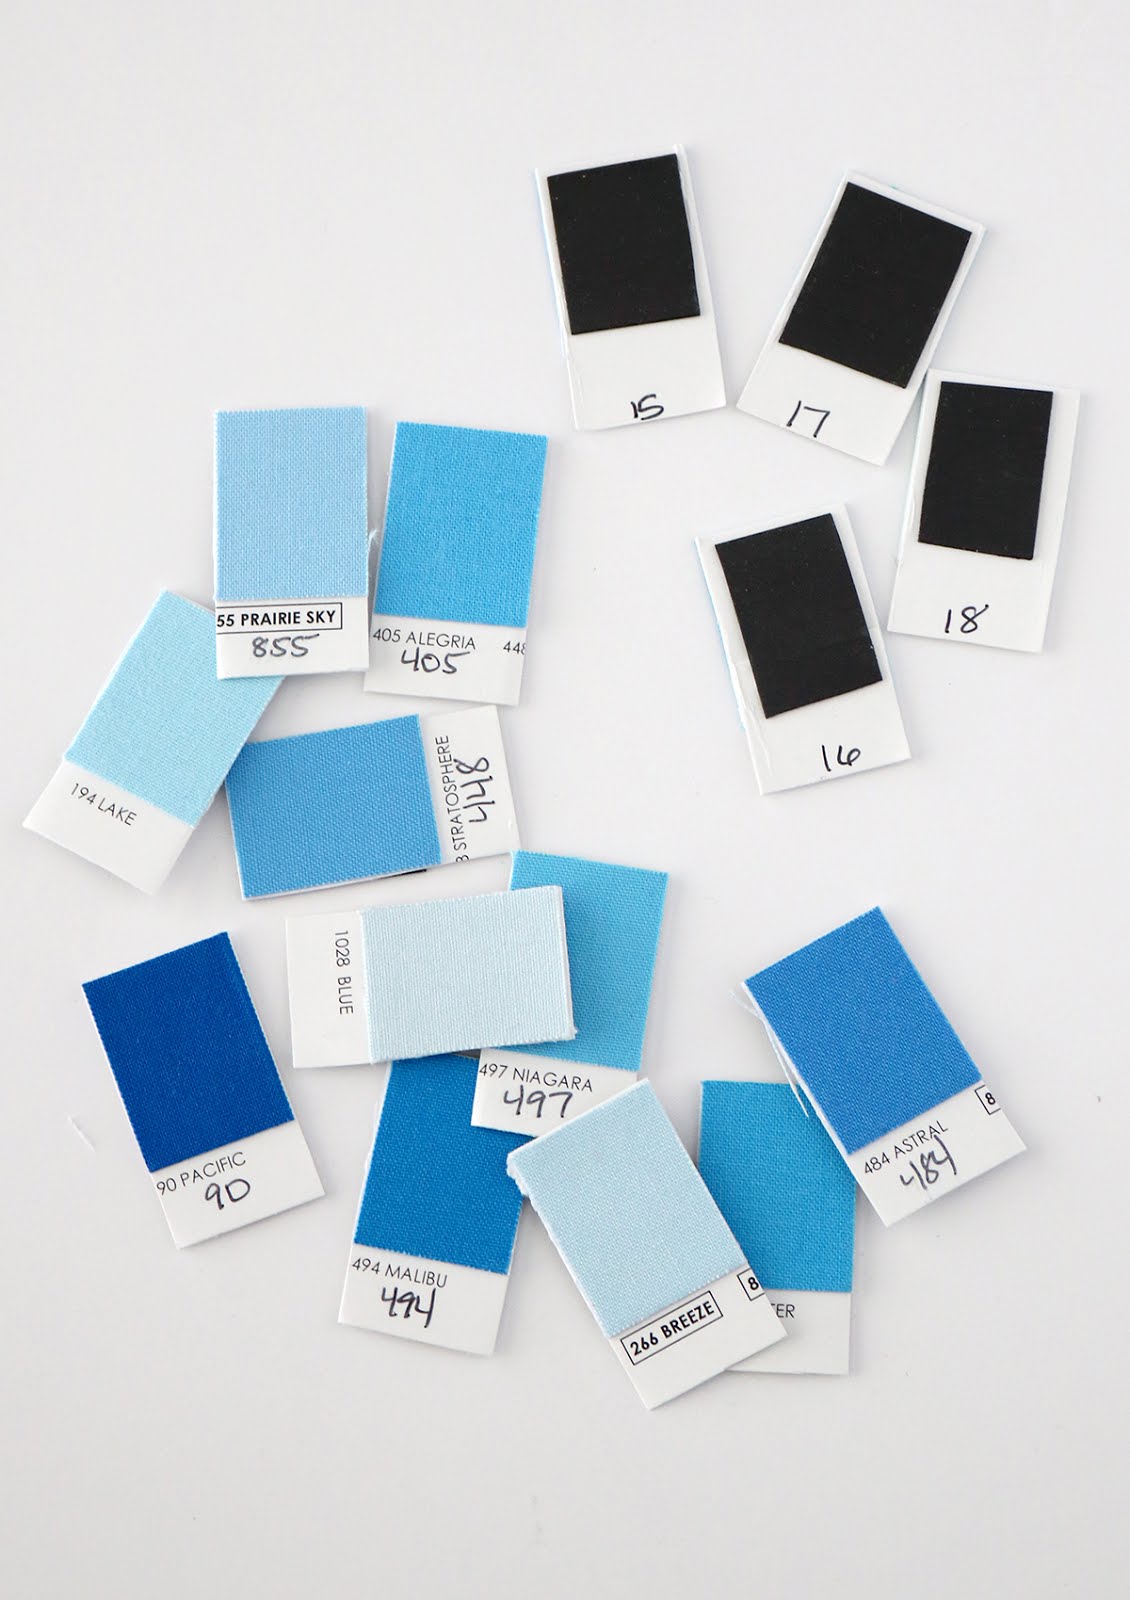
2.  Cut out each color chip with scissors, working a row at a time.  If the numbers or name of each color is cut off, use the fine point sharpie to write it in - you'll want the name and number so you can purchase the right colors!

3.  To help keep the chips in order later, I wrote the row number on the back of each chip, near the bottom where the magnet wouldn't cover it up.  

4.  Cut the magnetic sheets into (about) 3/4" x 1" rectangles.  Remove the paper backing from the magnets and stick a magnet to the back of each chip. Press in place.

5.  Have fun arranging them on your new board! 


How to make a Kona color board by Andy of A Bright Corner


Here are some FAQ that I get asked about my Kona color board:

1.  Why Kona solids?  Why not another brand?

 Yes, there are other solids available, and I do use a variety (usually Kona, Moda Bella solids, and Riley Blake Confetti Cottons) but for my board I chose to use just Kona chips.  Here's why:


  • They have 340 different colors.  I can ALWAYS find the colors I need.
  •  Kona solids are the easiest for me to find & purchase locally
  • The Kona color card is backed with cardstock and is ready for cutting.  


You CAN make a similar board out of a Confetti Cotton color card or a Moda Bella color card, but you'll have to first mount each little fabric square onto cardstock and then add the magnet.  


2.  Can't I just use a magnetized white board? 

Yep you can!  I have a magnetized white board in another room and I tested it out - works great!  I went with the metal because I wanted it to coordinate with the two white-framed cork boards I already had on that wall.  

If you use a white board, I suggest this one on Amazon but any magnetic dry erase / white board will work.  There's definite benefits to using a white board - it might be cheaper, it will weigh less, won't reflect the light as much as the metal, and you can re-purpose it later to keep track of WIPs or other to-do items. 


3.  Can I use a smaller size frame?

I recommend 24" x 36" , but smaller size would probably work.  I think the chips would all fit on a 24" x 24" board but you'll have less space between rows and no space on the end for saving favorite color combos like in the photo below.  I use that open space all.the.time.


How to make a Kona color board by Andy of A Bright Corner


3.  I don't have the wall space for a board like this.  What else can I use?

Not a problem! Store the chips in a tray like this one, and then keep a smaller magnetic white board on hand for arranging and playing with the chips.  I do recommend using a magnetized surface when you're playing with color combos.  It helps to keep the chips in place there on your board for as long as you like.

I've also seen other quilters punch a hole in each chip and put them all on a large ring. But I knew I would want to be able to see all of the chips at once so this board version works best for my needs. 


So there you go!  Leave any questions below and I'll answer them as best I can.  


How to make a Kona color board by Andy of A Bright Corner


**This post may contain affiliate links, which means I may receive a small commission (at no additional cost to you) when purchases are made through links found in this post.


Thursday, March 7, 2019

Making A Stitch Catalog + My Sewing Circle Block

Hello to any new friends visiting this week from the Splendid Sampler sew along!  

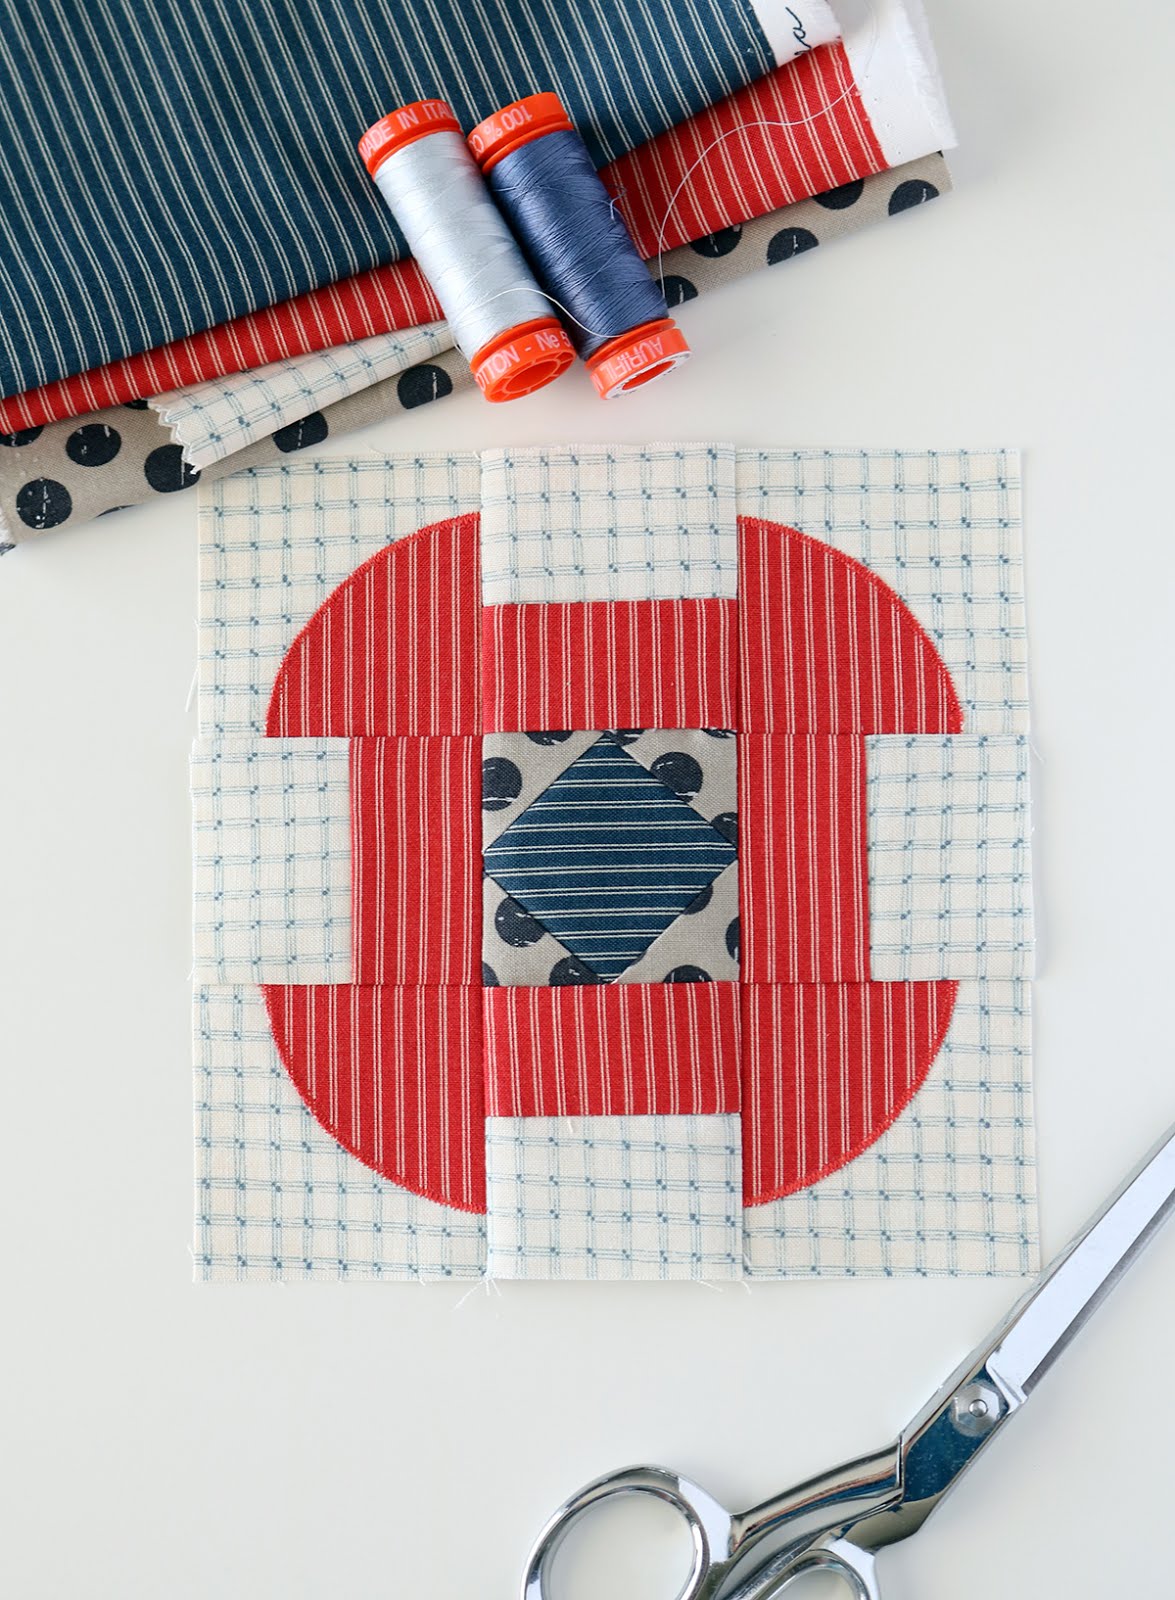
It was an honor to design a block for the Splendid Sampler II book, and today I get to share my block along with some details about something I call my stitch catalog.  More about that in a minute!

Splendid Sampler block by Andy of A Bright Corner

My name is Andy Knowlton and I'm a pattern designer and quilter who loves color, sewing with scraps, trying new techniques and sharing them with you.  I blog here at A Bright Corner and you can also find me on Instagram (@abrightcorner),  Facebook and Pinterest.

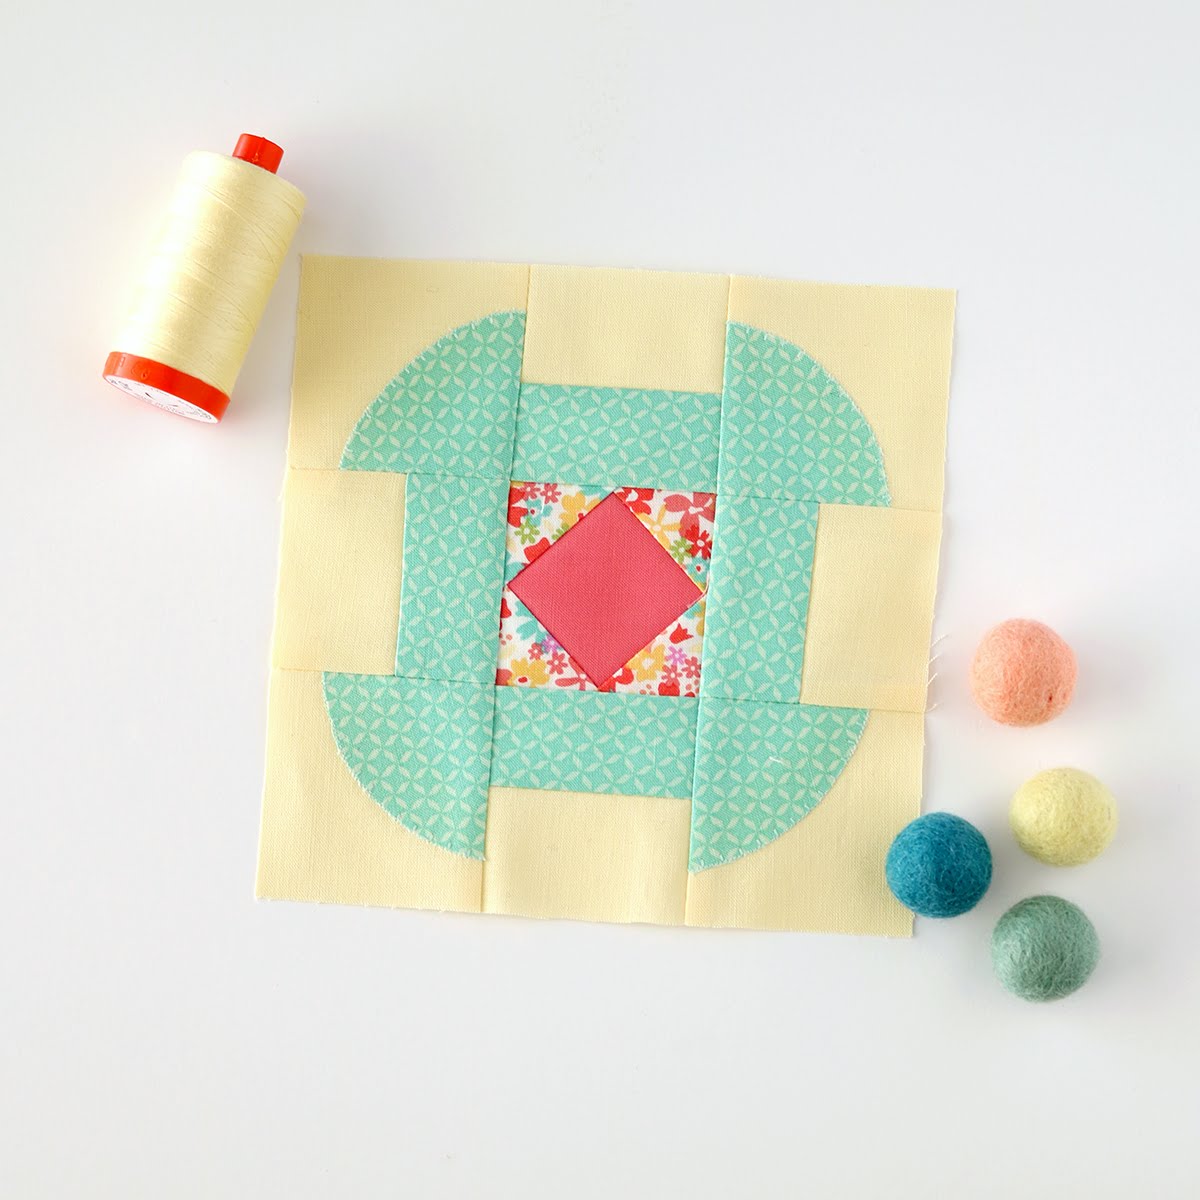
The block I designed for the Splendid Sampler is called Sewing Circle and can be found on page 86 of the Splendid Sampler book. 

Splendid Sampler block by Andy of A Bright Corner

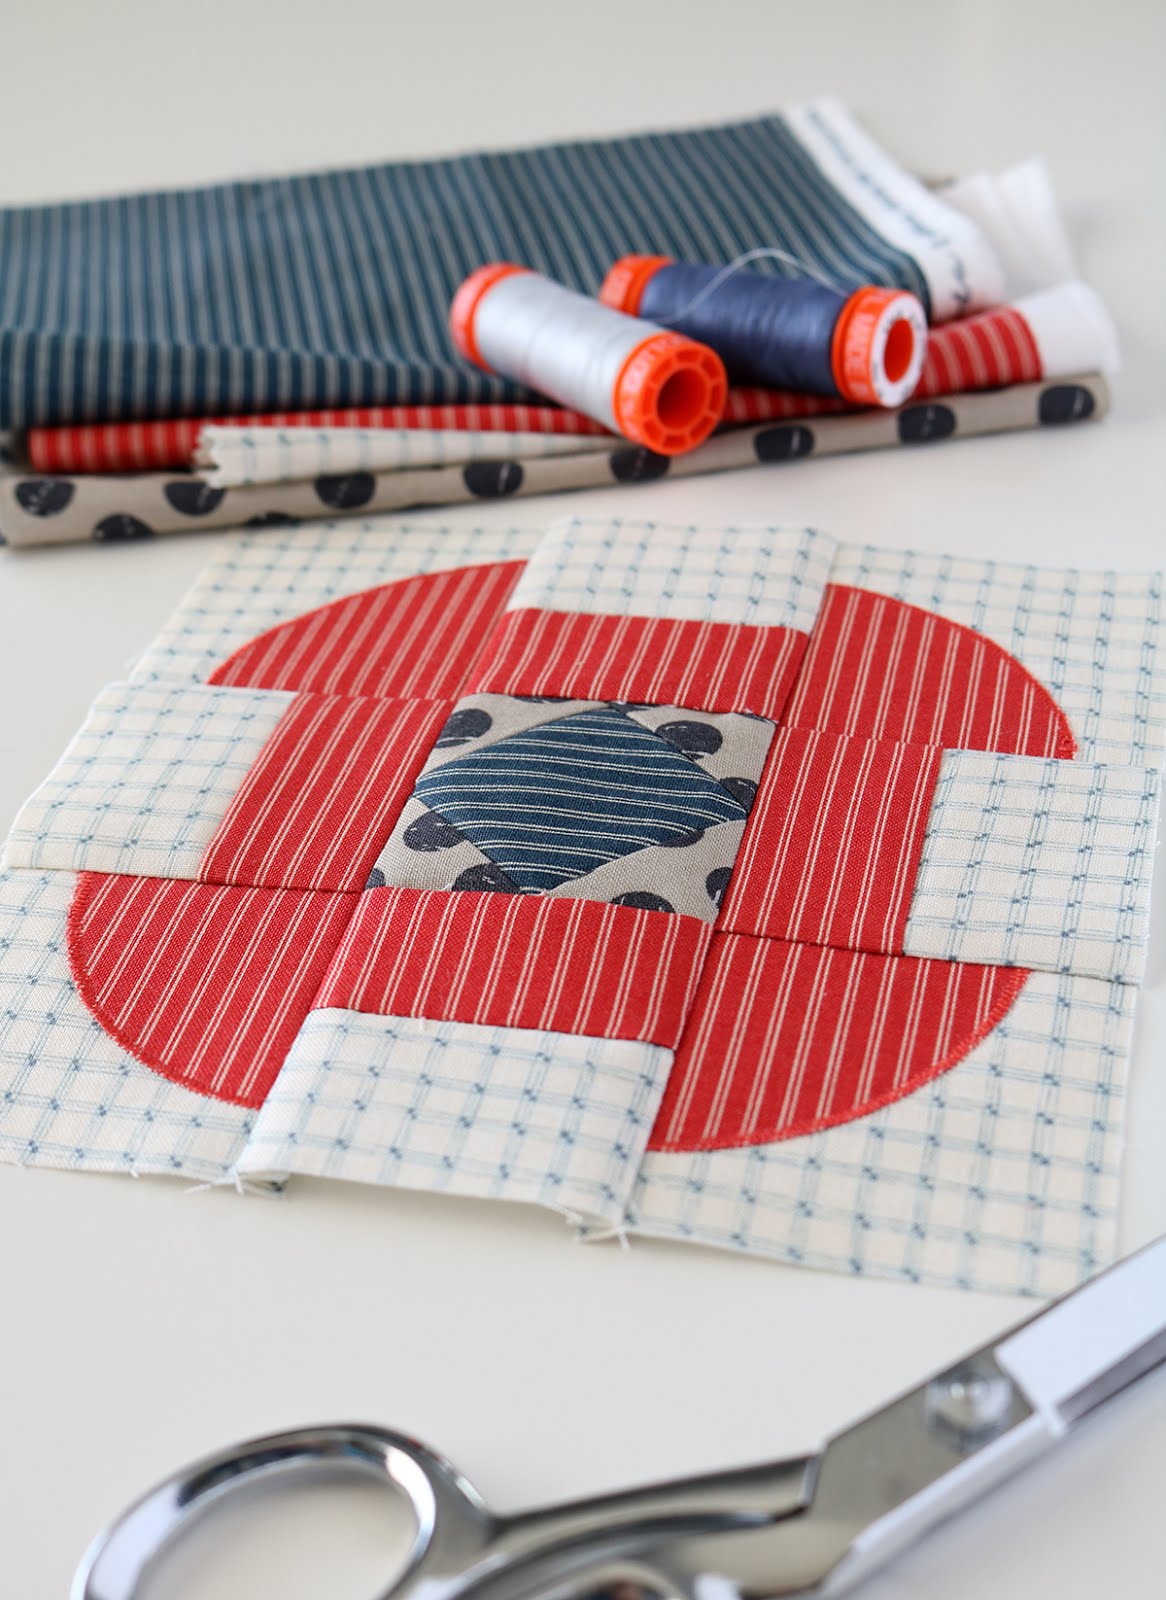
I often like to mix traditional piecing techniques with some shortcut techniques - like machine applique - and this block is a great example of that!  No curved piecing here thank you very much.  

In the block above I used a narrow zigzag stitch for the machine applique, and in the block below I used a blanket stitch. This pretty pastel block is the one I'll be adding to my own sampler quilt.  

Splendid Sampler block by Andy of A Bright Corner

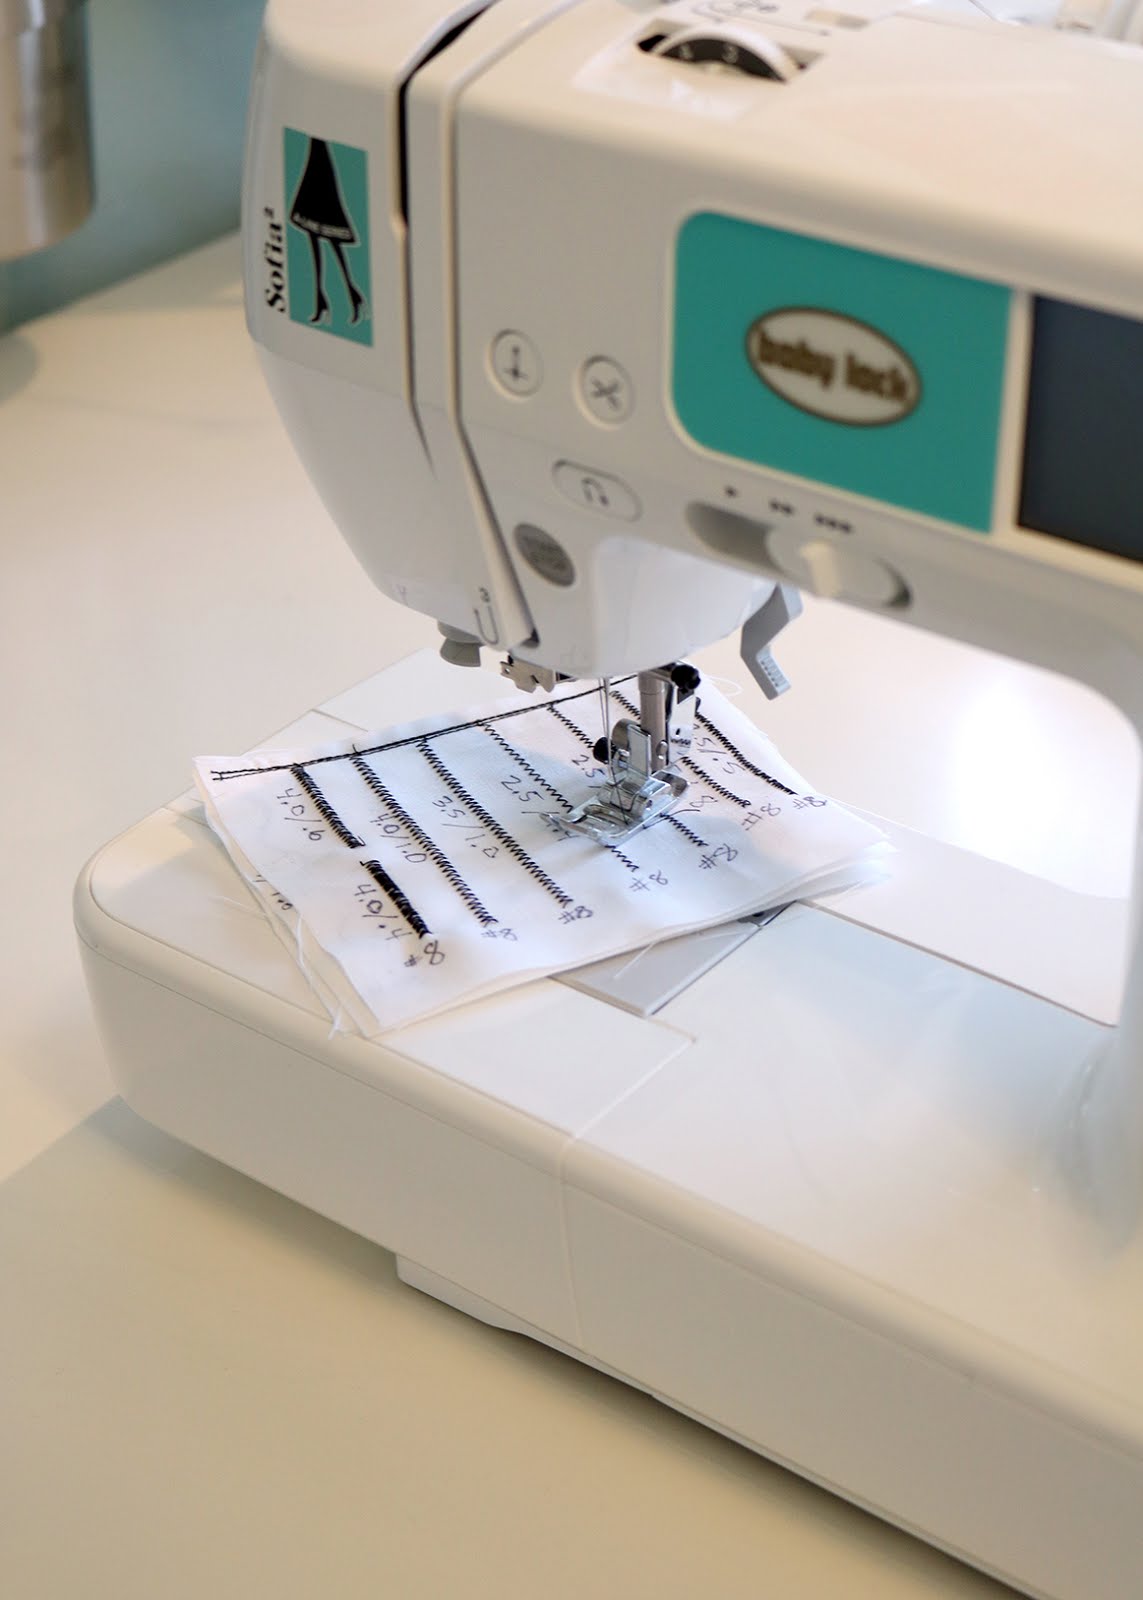
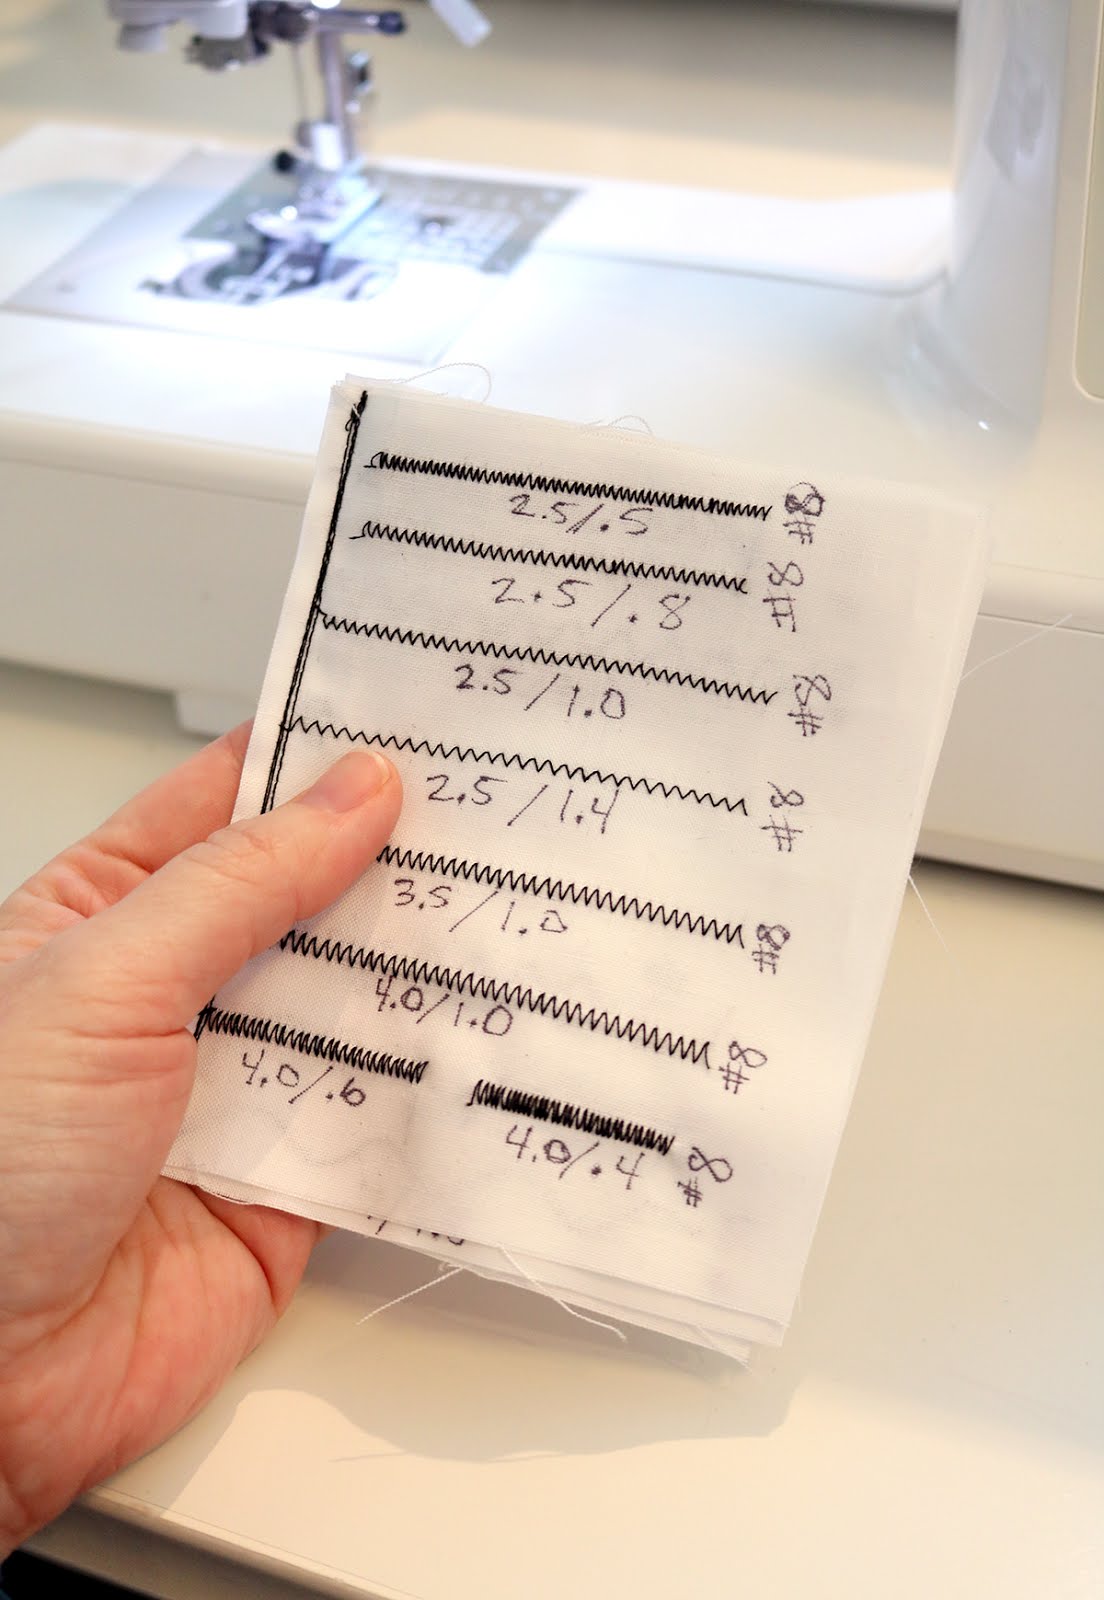
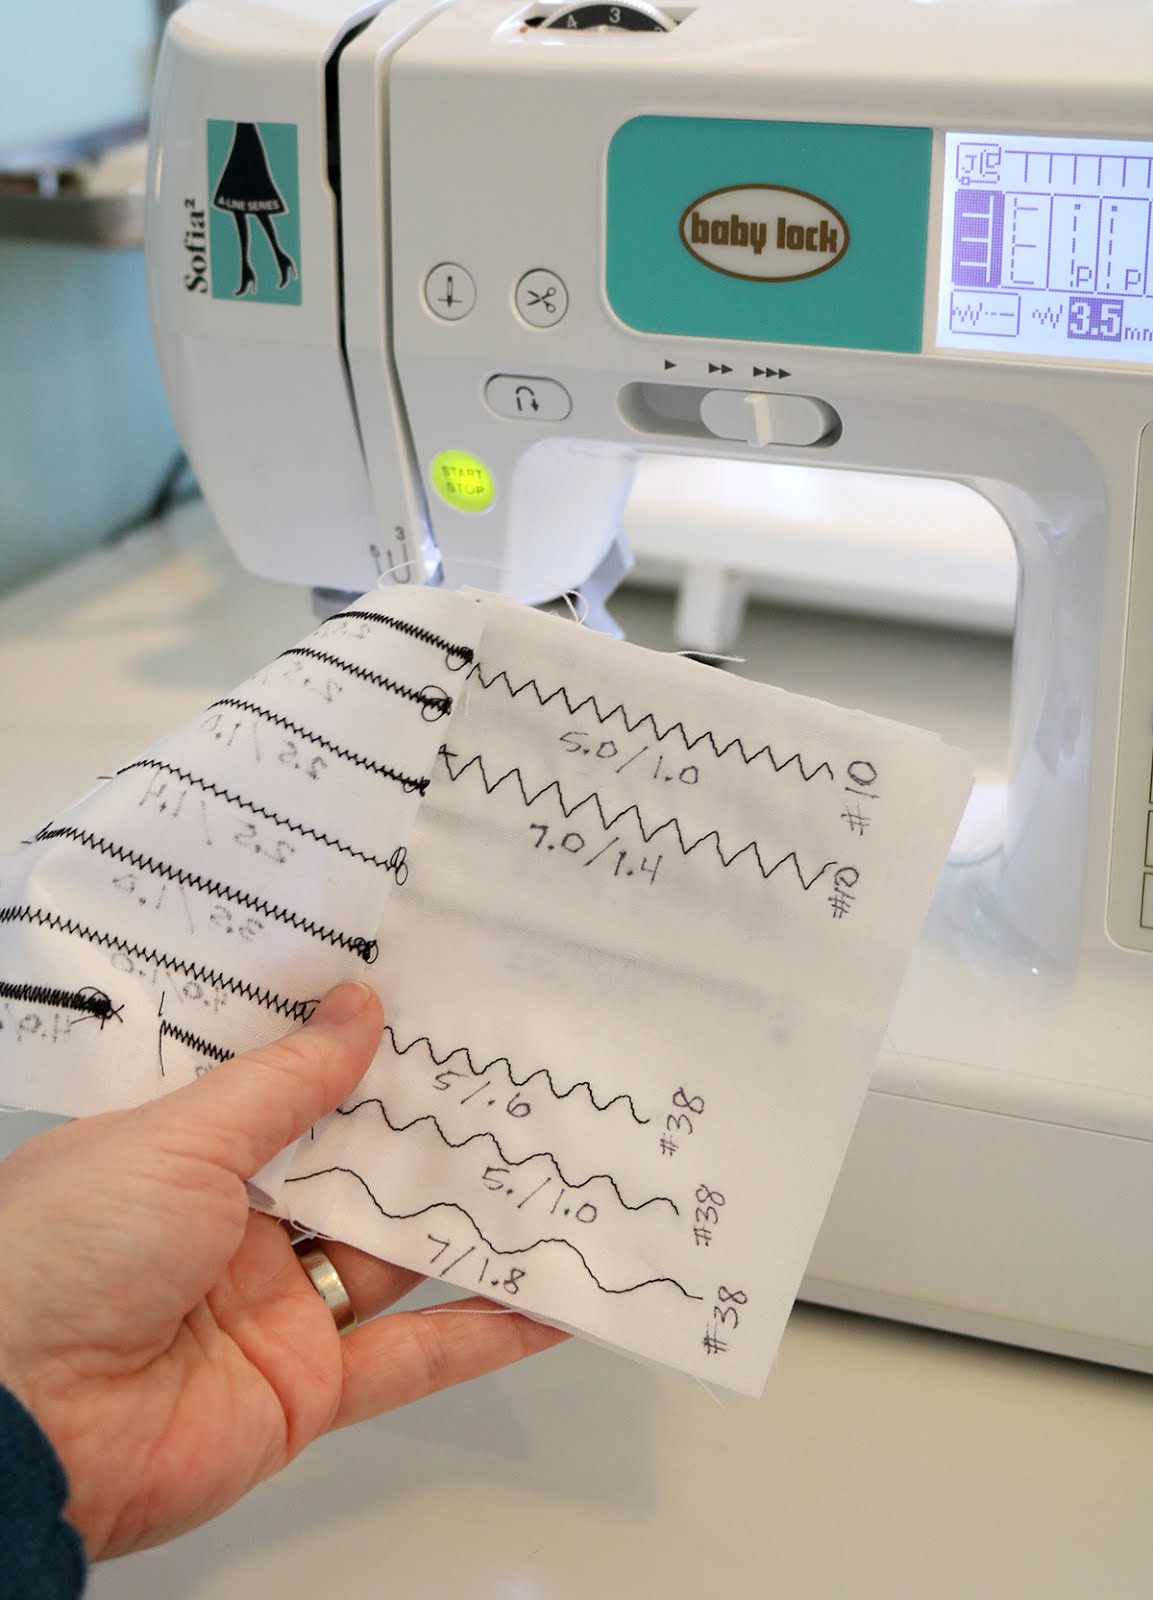
Now if you're like me, you might not use what I call "fancy stitches" often enough to remember what settings you prefer.  Years ago I created a little stitch catalog of my favorite stitches.  I keep my stitch catalog under my presser foot so I always know where to find it.  

Make a stitch catalog to remember the settings for your favorite stitches!  From Andy of A Bright Corner

In this little catalog I have examples of my most-used stitches along with the stitch number, the stitch width and the stitch length.  When I'm needing to do a bit of machine applique, I can refer to this to decide which one I'd like to use.  It's super handy!

Make a stitch catalog to remember the settings for your favorite stitches!  From Andy of A Bright Corner

Want to make one?  Here's how! Cut 5 or 6 fabric rectangles that are 4" x 5".  Stack them together and secure them like a book by stitching down the left side with a straight stitch.  

Time to add your favorite stitches.  I used a black Aurifil thread that would contrast with the white fabric.  Stitch one line, then use an ultra fine point sharpie or fabric marker to write the stitch number and settings.  I write the stitch width / stitch length underneath the row, and the stitch number at the end of each row.

Make a stitch catalog to remember the settings for your favorite stitches!  From Andy of A Bright Corner

It's okay if you don't completely fill your catalog right now - leave some space or even add a blank page or two at the back for adding in other stitches later.  

And there you go - your own stitch catalog to refer to!  

Thanks for stopping by!  Be sure to add your blocks to the Splendid Sampler website so you'll be entered to win this week's giveaway.  And I love seeing everyone's blocks in the Facebook Group so check in there this week too! 


A few more things:


You might also like:

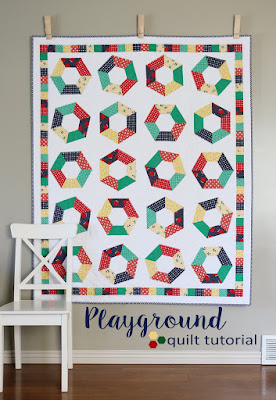
Playground quilt tutorial from Andy of A Bright Corner

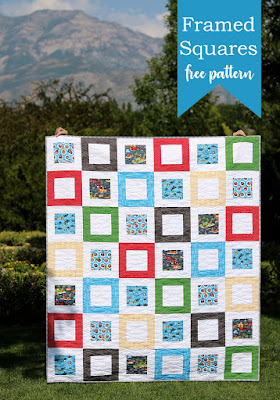
Framed Squares free quilt pattern from Andy of A Bright Corner


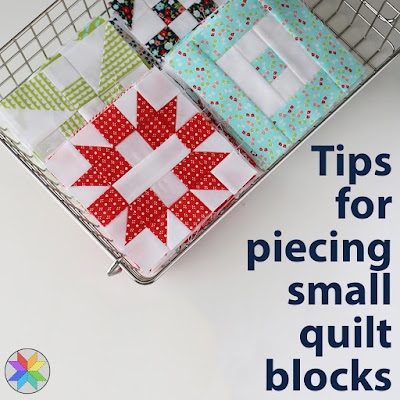
Tips for piecing small quilt blocks from Andy of A Bright Corner

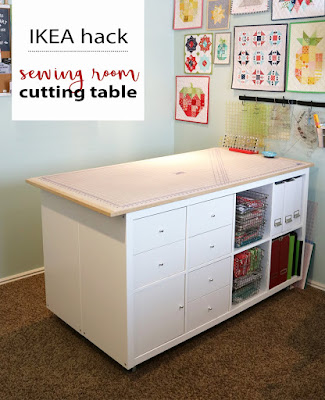
Sewing Room Cutting Table IKEA hack from Andy of A Bright Corner


**This post may contain affiliate links, which means I may receive a small commission (at no additional cost to you) when purchases are made through links found in this post.


Friday, February 22, 2019

Spring Stars Quilt in Progress

This post is sponsored by Cricut.  All thoughts and opinions are my own.  Post may also contain affiliate links.

Today I thought I'd share some behind the scenes of a quilt that I've been working on lately.  I'm calling this one Spring Stars.  

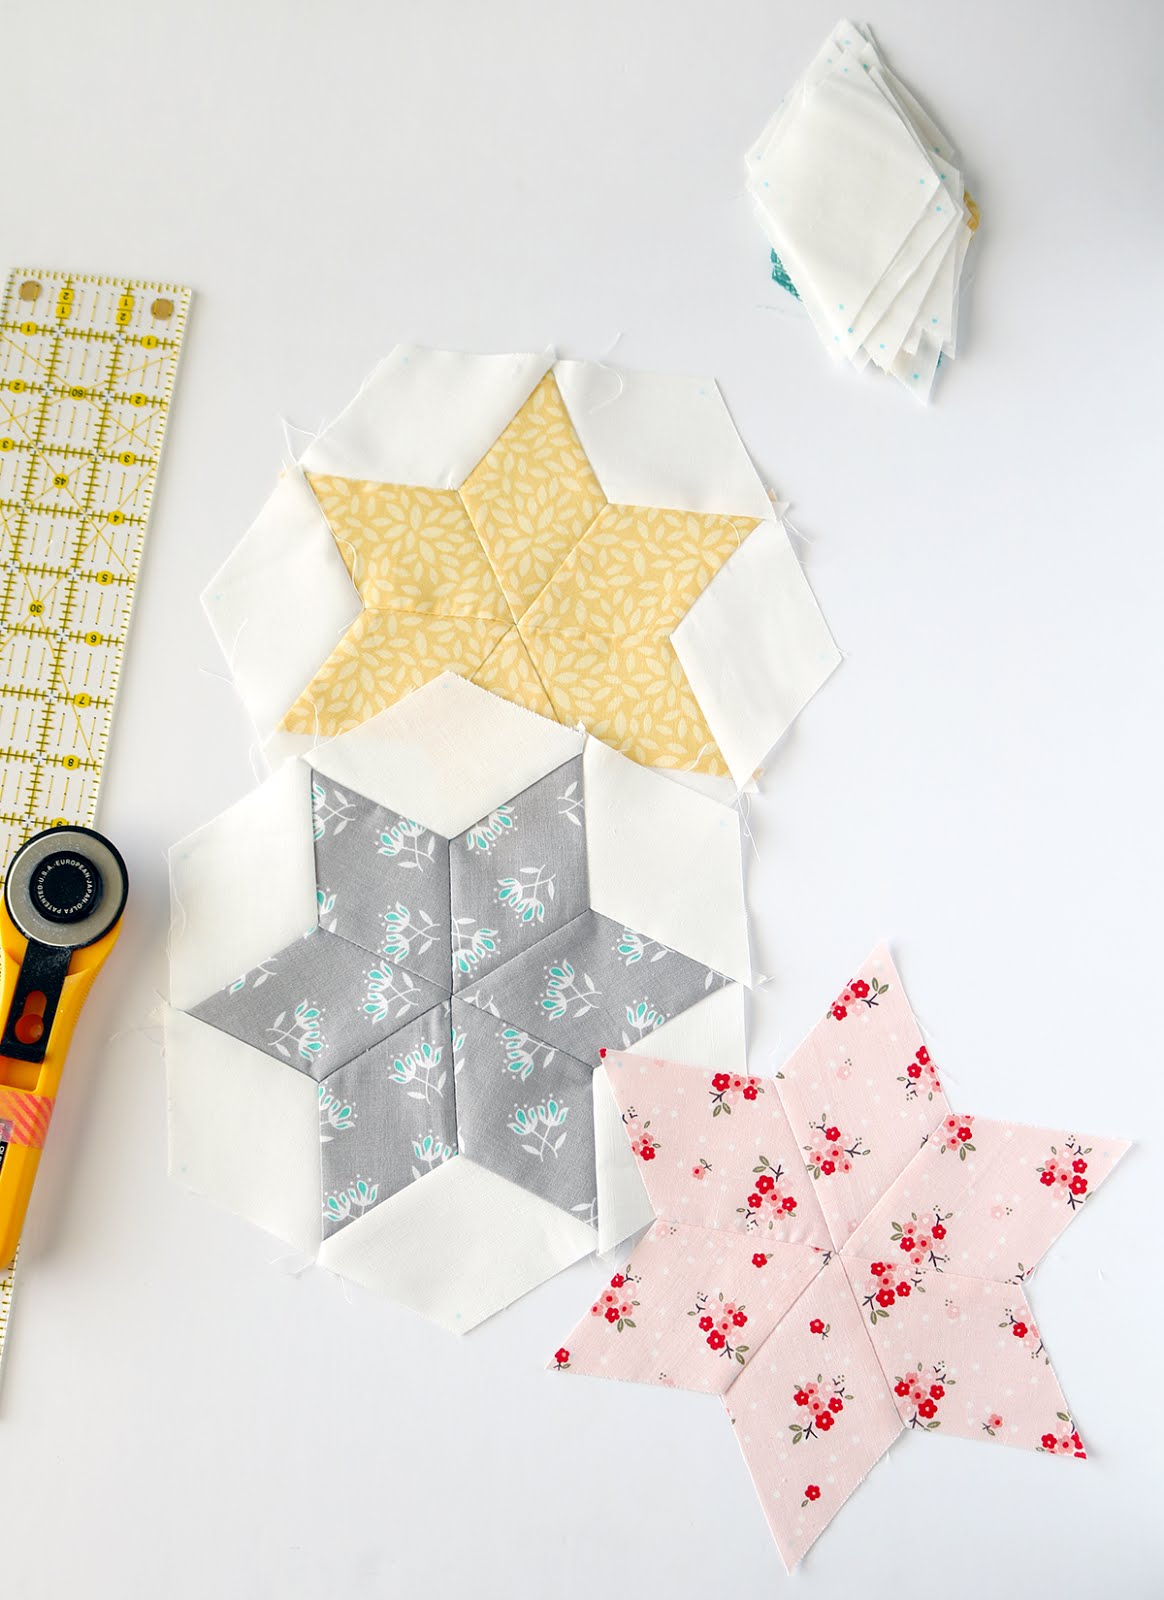
Six Pointed Star block using the Cricut Maker by Andy of A Bright Corner

The soft, pastel colors are just what I'm needing right now.  I'm getting really tired of gray, snowy days and starting to look forward to daffodils and tulips!

Six Pointed Star block using the Cricut Maker by Andy of A Bright Corner

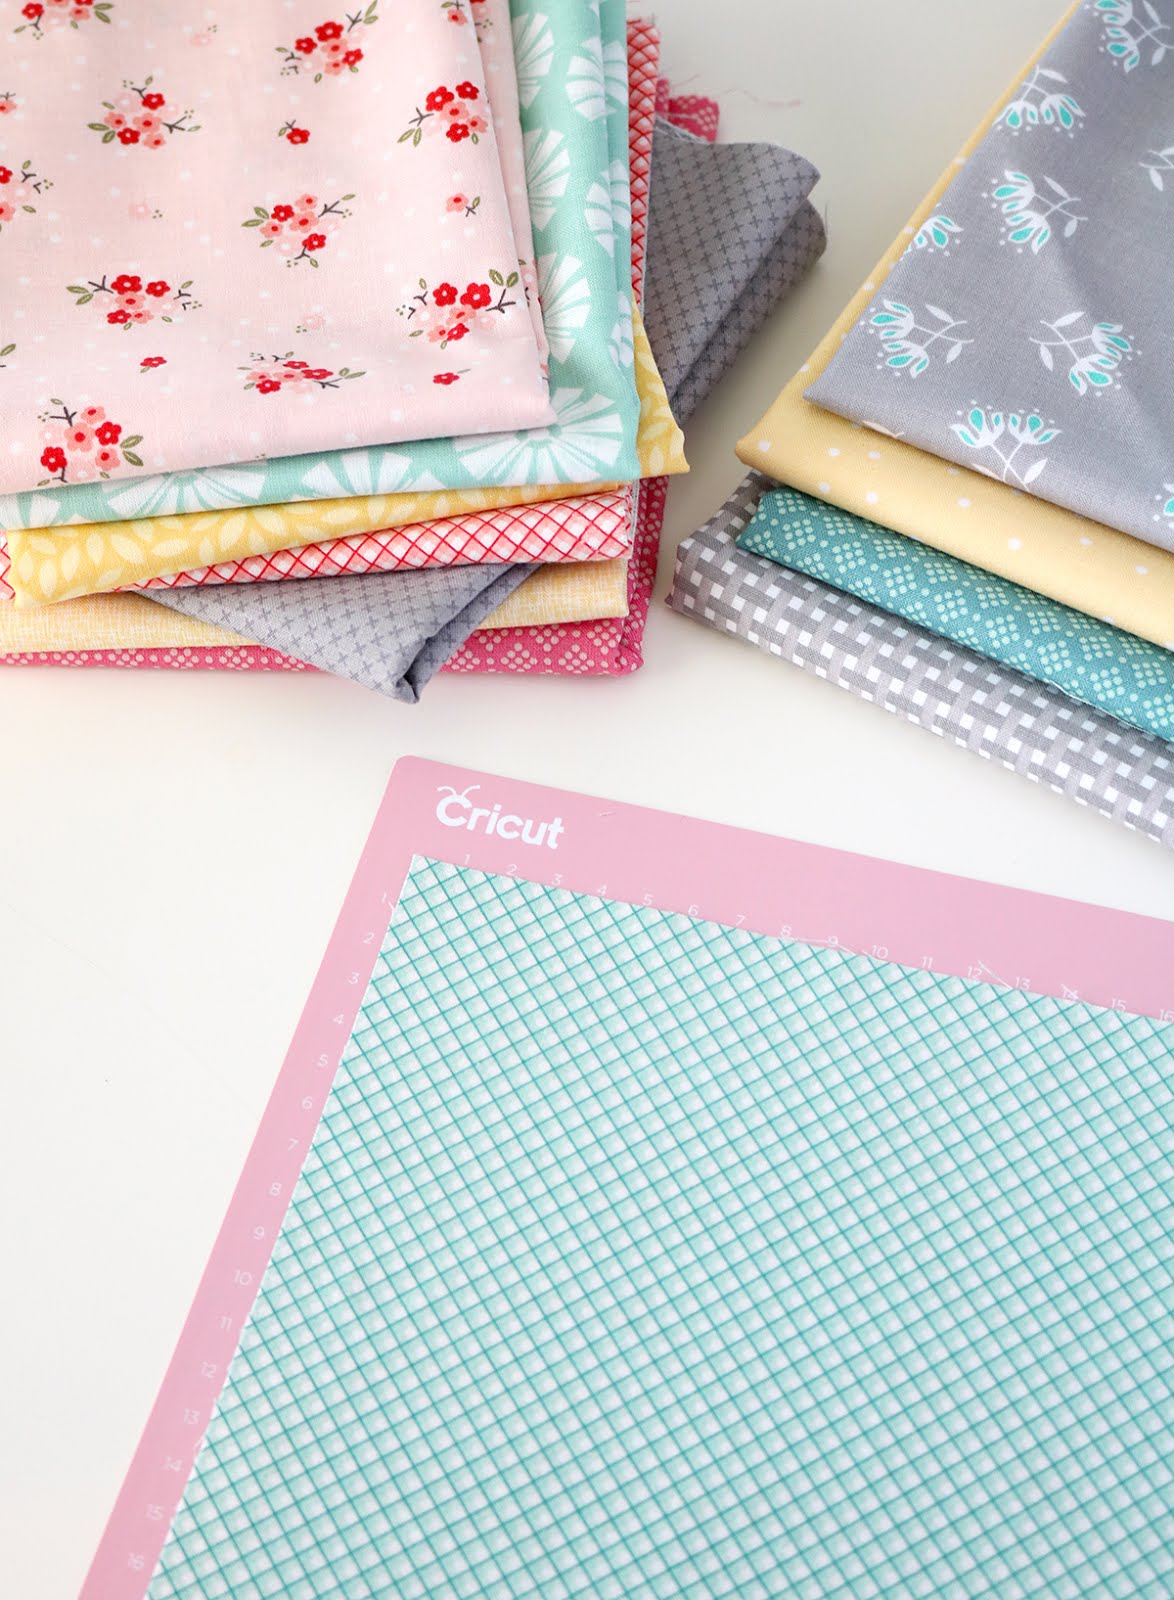
Here are some of the fabrics I've pulled to use in this quilt.  I found some of them in my stash, and I added a few that I bought in my local quilt shop.  I'm loving the mint/pink/gray/yellow combo, but I'm thinking of adding in a few light green prints maybe to add more variety.  What do you think?  Add green?  Or leave it as-is?


Six Pointed Star block using the Cricut Maker by Andy of A Bright Corner

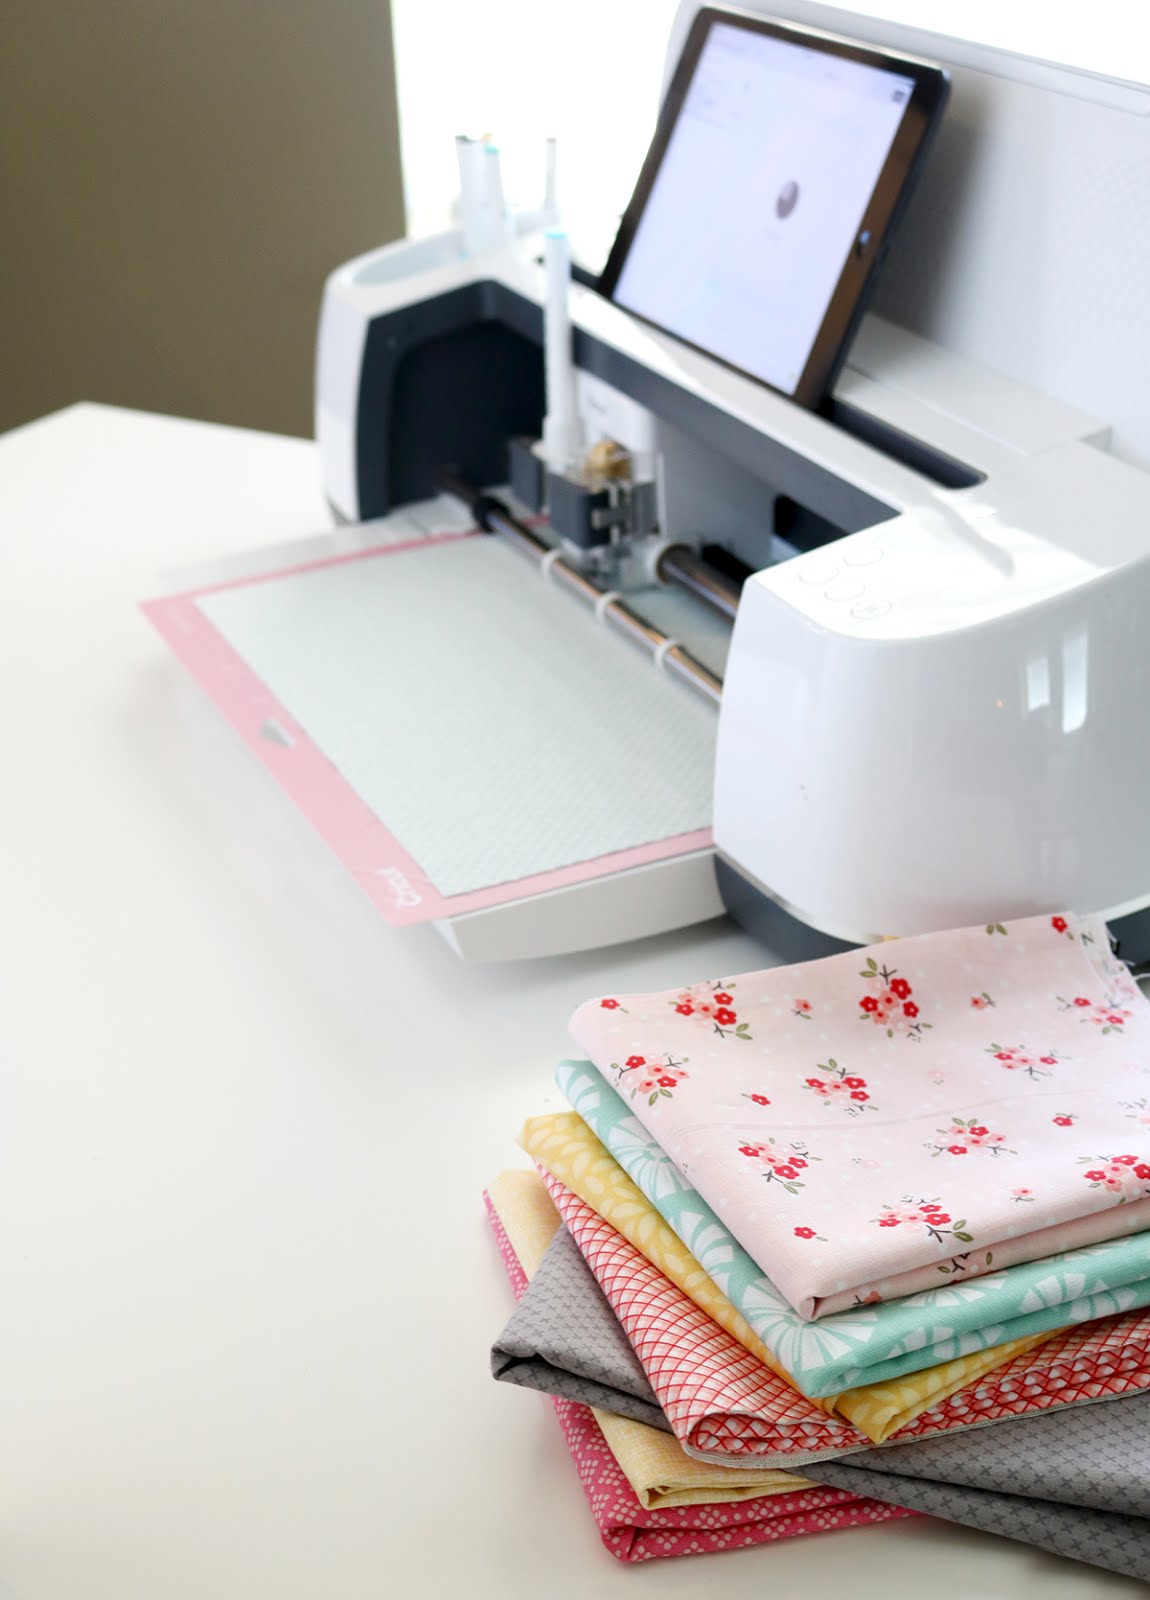
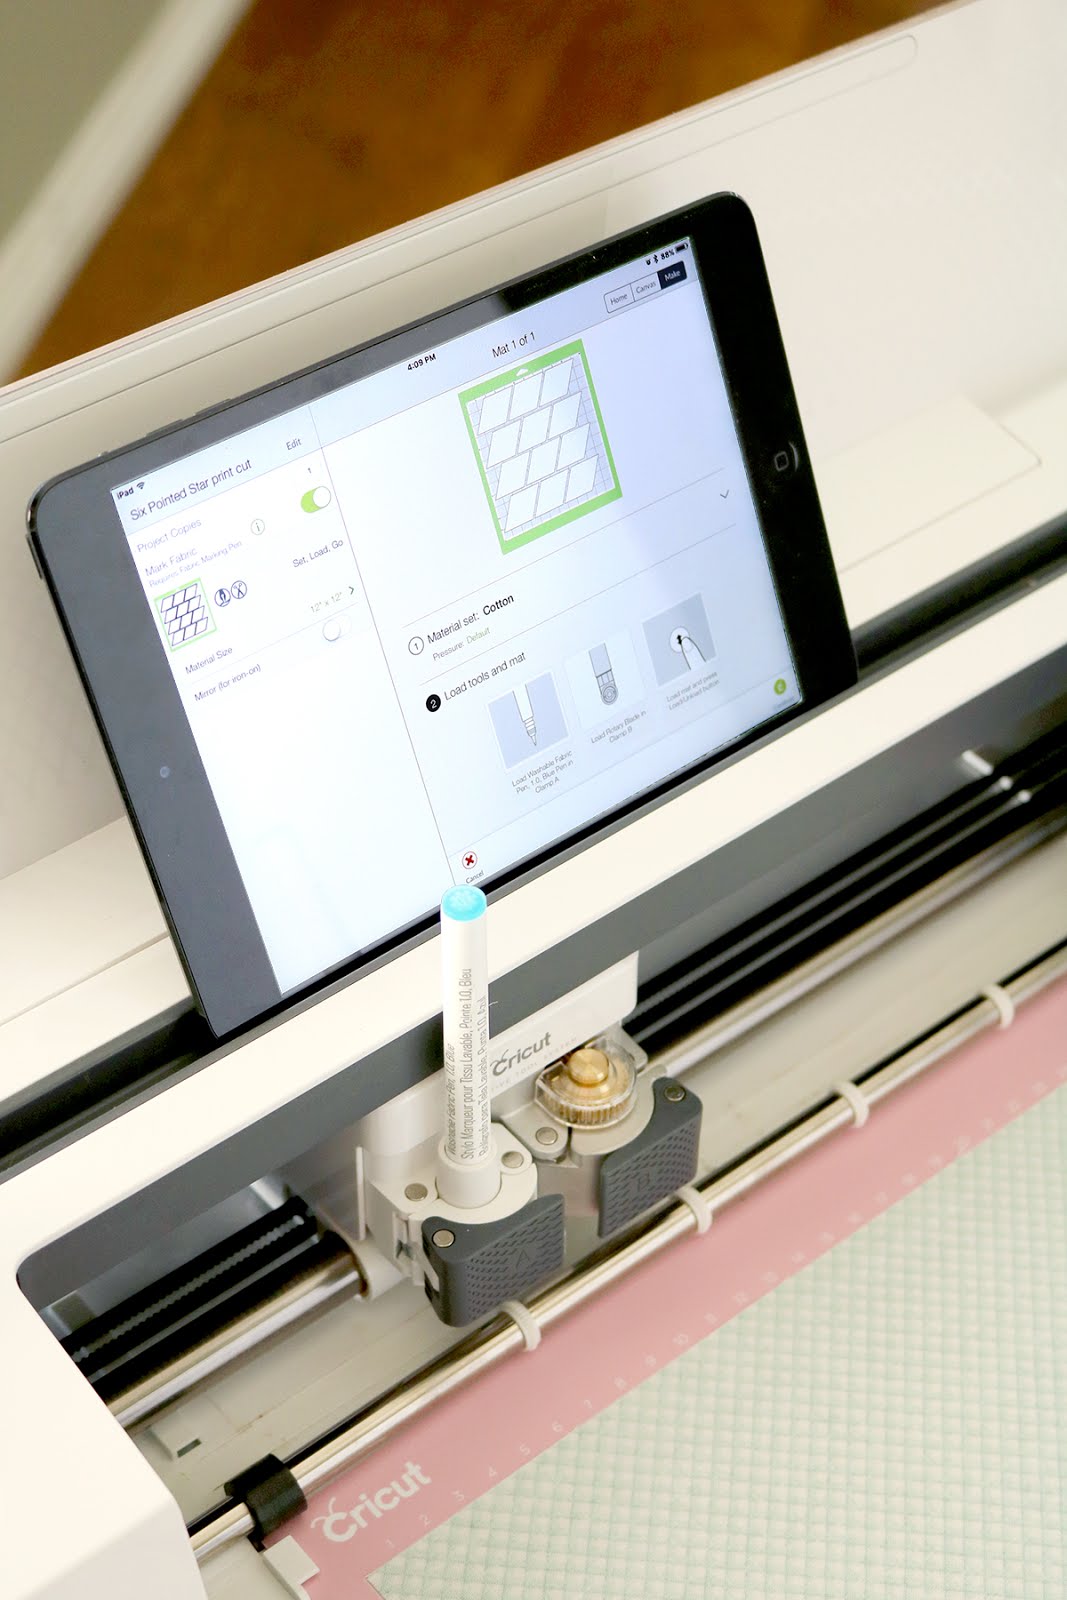
I decided to use my Cricut Maker machine to help me cut out all of the diamond shapes.  And here's the biggest reason why....

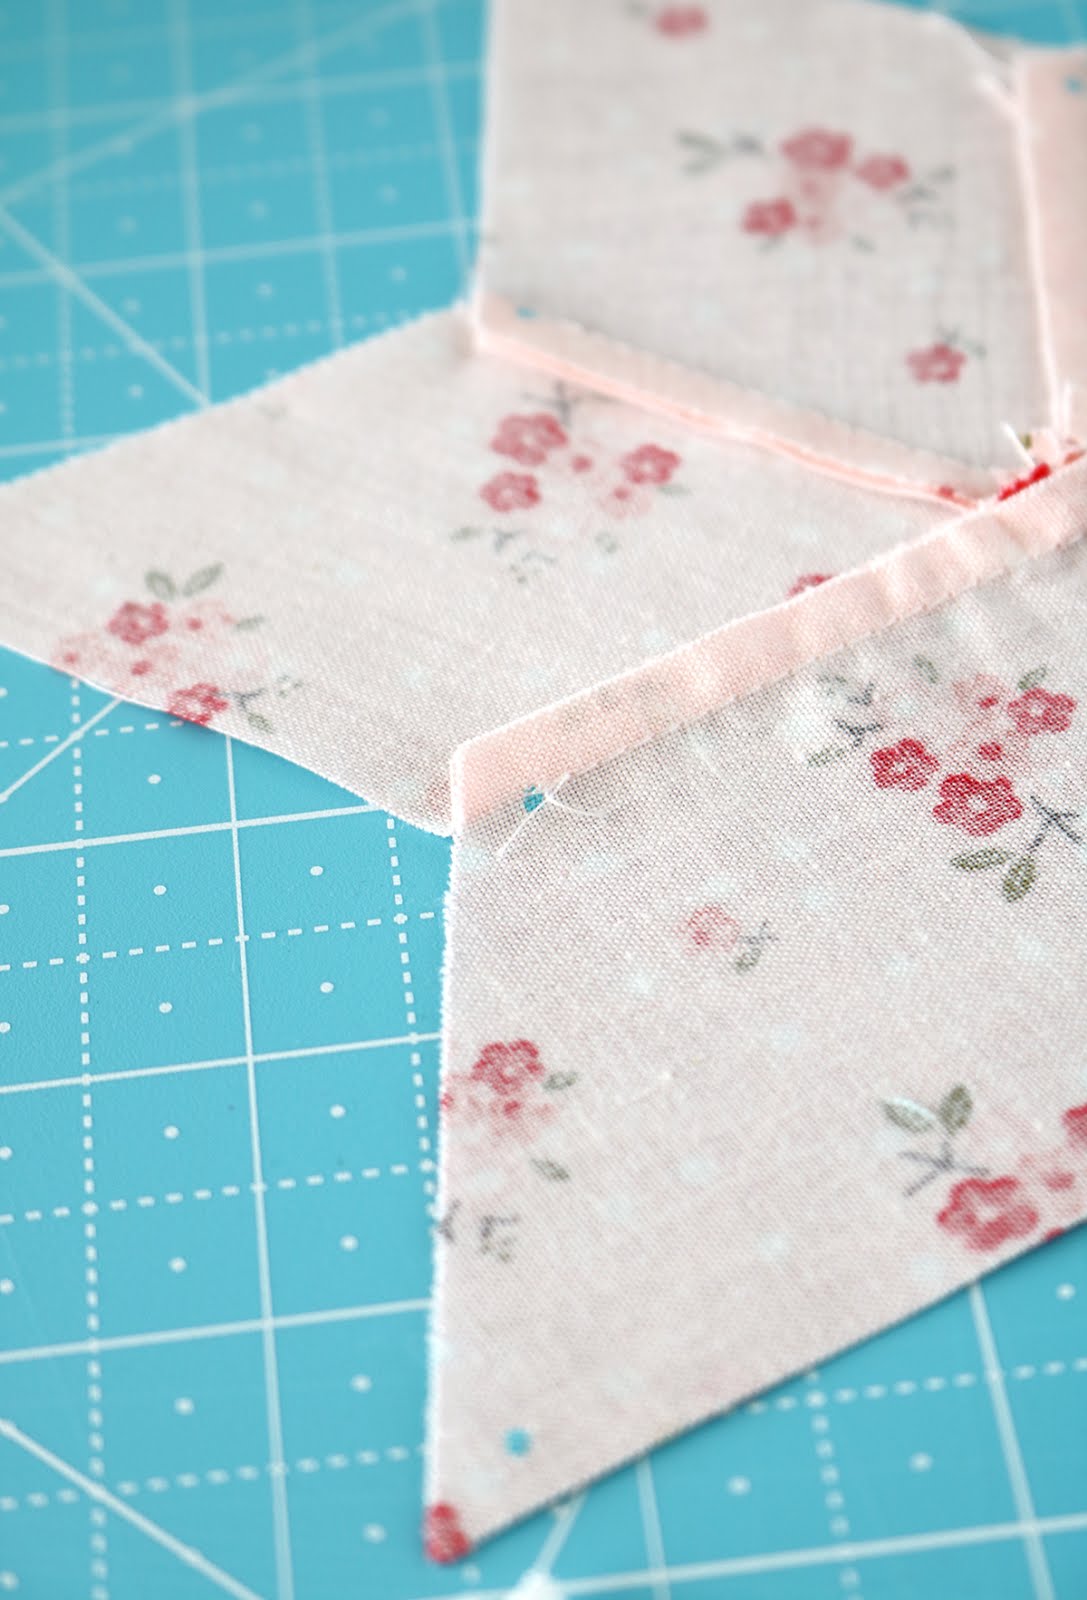
Not only will it cut the funky diamond shapes (sweet!), but it will also mark the 1/4" markings on each point.  You can see the marker in the photo below.  It's a washable fabric pen that I can pop right into the spot on the left.  The cutting blade is on the right.  

Six Pointed Star block using the Cricut Maker by Andy of A Bright Corner

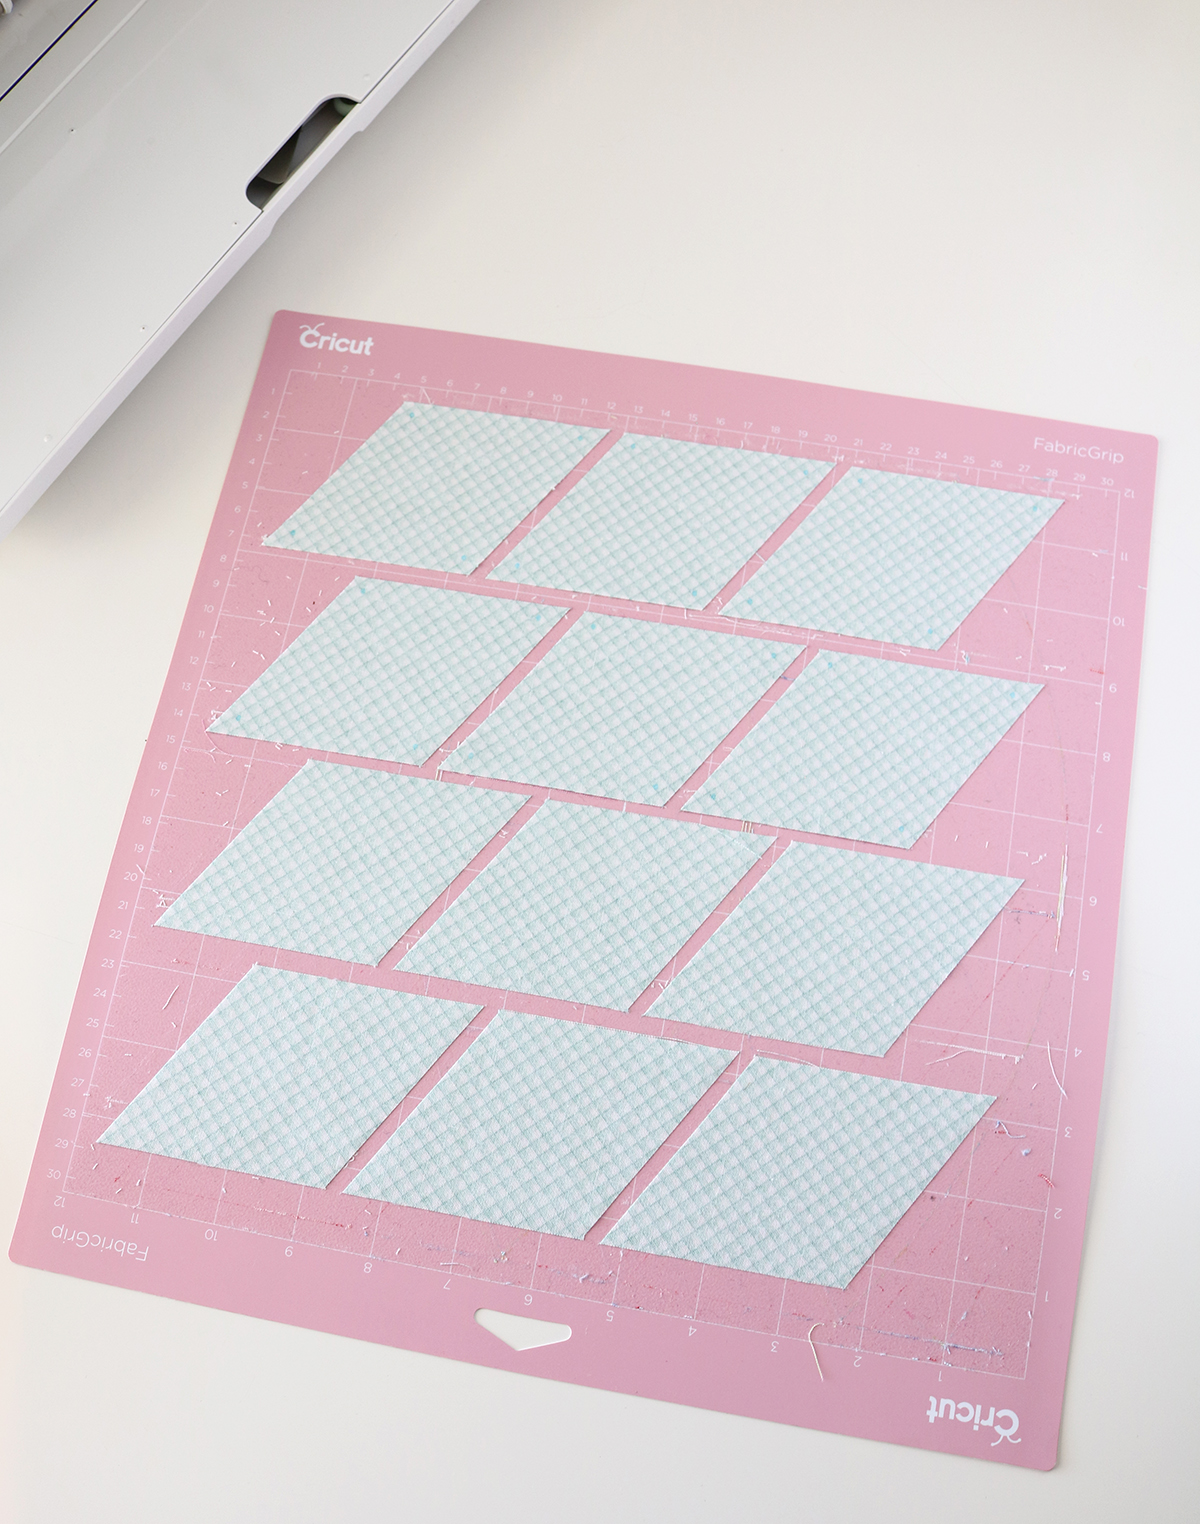
I add my fabric (right side down) to the mat and the machine marks and then cuts each piece.  This is what I have after peeling off the extra fabric: 

Six Pointed Star block using the Cricut Maker by Andy of A Bright Corner

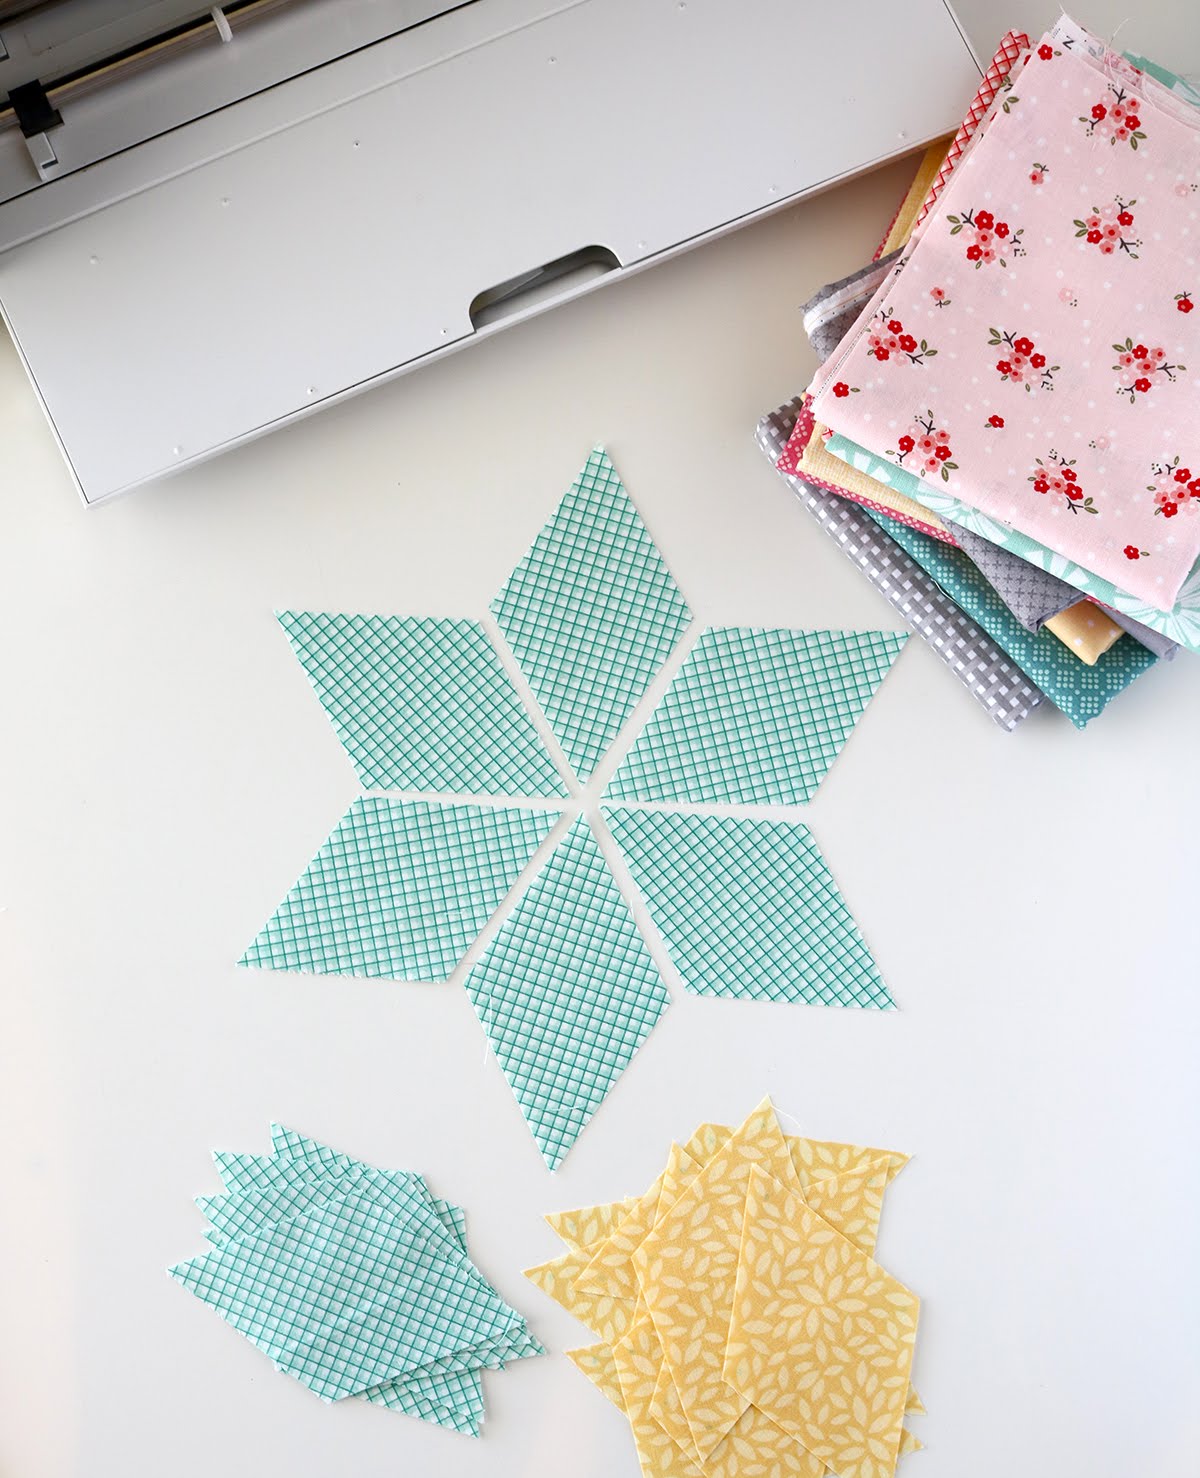
And here's how the pieces are arranged for each block. You can see that the blue dots aren't visible from the front of the fabric: 

Six Pointed Star block using the Cricut Maker by Andy of A Bright Corner

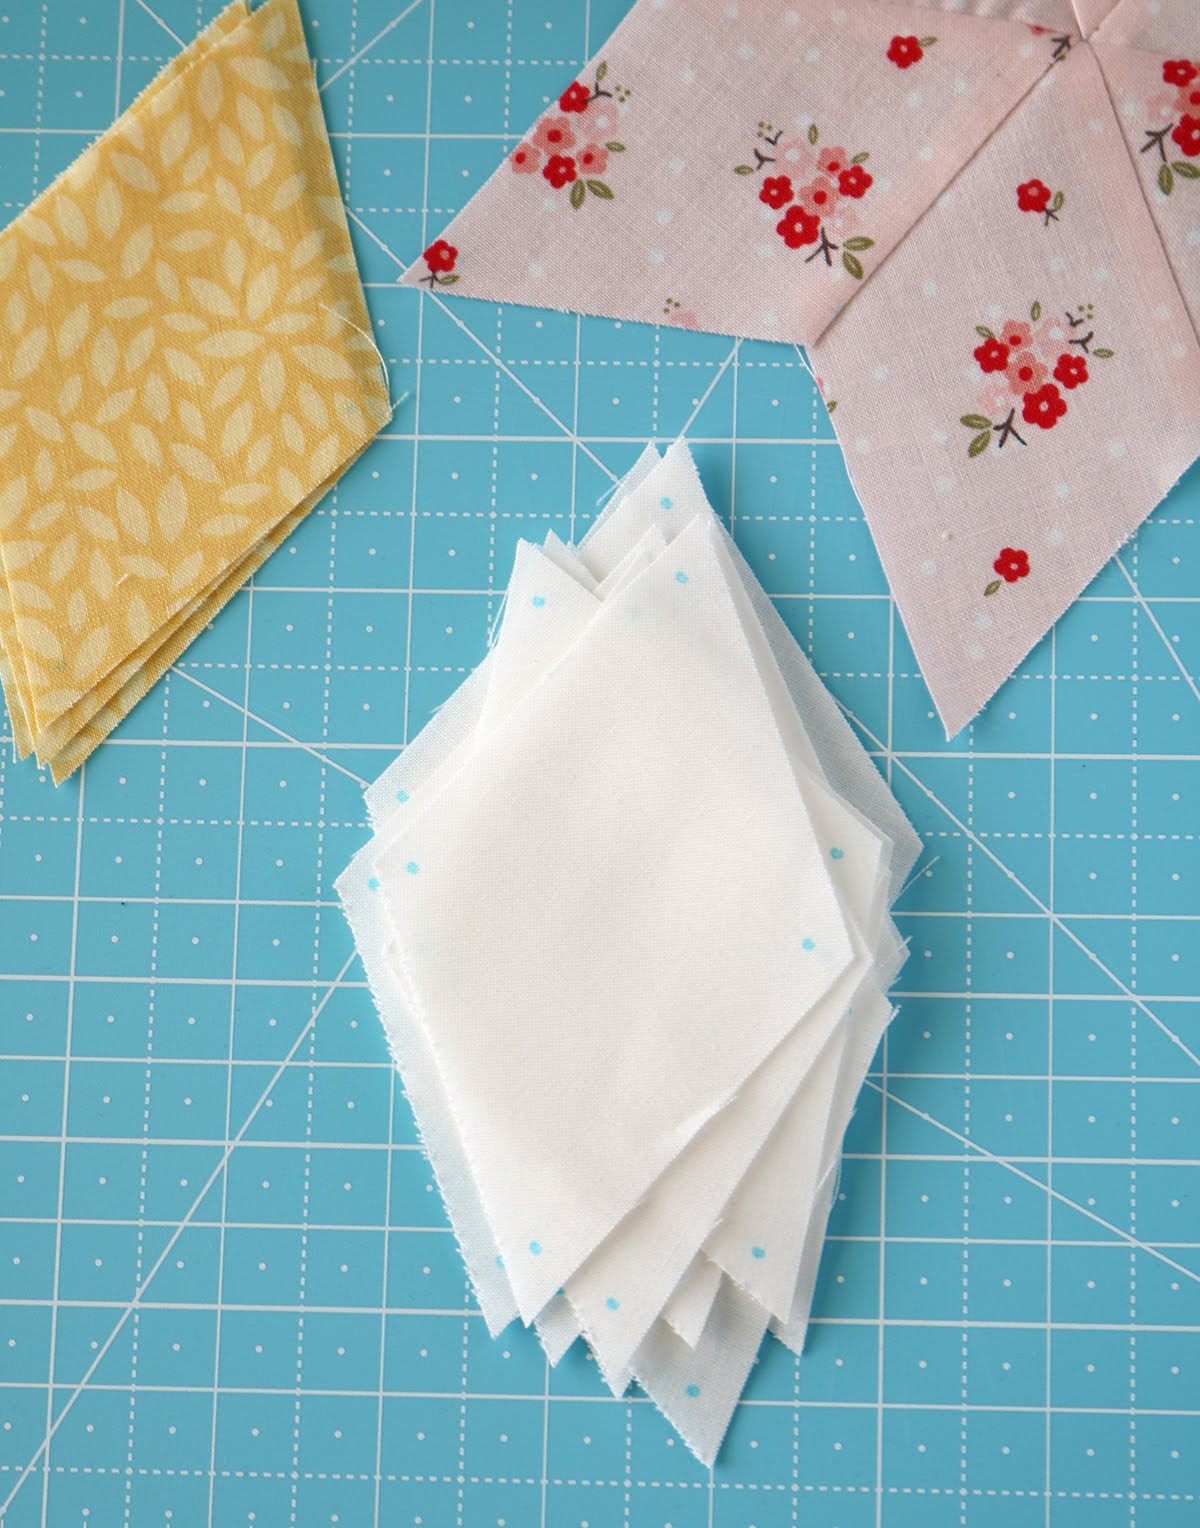
I also had the Cricut cut and mark all of the background (white) diamonds I would need for this quilt.  

I needed a TON of them but I just sat and watched Netflix while the machine worked it's magic.  I had to stay close by to swap out the mats each time, but it went a lot quicker than if I was cutting and marking all of these by hand!

Six Pointed Star block using the Cricut Maker by Andy of A Bright Corner

Why do I need all of those little blue dots, you ask?  They're super handy!  They show me where to start and stop stitching when I'm piecing the block.  

There are a lot of Y-seams in these blocks!  When you sew a Y-seam, you have to start and stop 1/4" away from the edge of the fabric.  You can see in the photo below how my stitching stops at the dot.  That will allow me to sew the white background diamond in next, along that edge. 

Don't worry...I'll be doing a tutorial on all of this soon.  And I'll also add in some regular rotary cutting instructions for those of you that don't own a Cricut Maker.


Six Pointed Star block using the Cricut Maker by Andy of A Bright Corner

In the mean time, I have a lot of piecing to do and I'd better get to work!  If you want to make sure you don't miss out on the tutorial, I recommend signing up for my newsletter here.

Happy sewing!
--Andy


P.S.  Want to know more about the Cricut Maker machine?  Check out this post.  And you can find some fun Cricut Maker tutorials here on my Pinterest board!


Tuesday, January 22, 2019

Quick Four Patch Tutorial + Vintage Keepsakes Fabric

Edited to add:  Looking for the Framed Four Patch PDF quilt pattern?  Sign up for my newsletter here to receive the PDF pattern delivered right to your inbox.  You'll also be the first to hear about new pattern releases and sales, and have access to tips, tutorials, and behind-the-scenes fun!


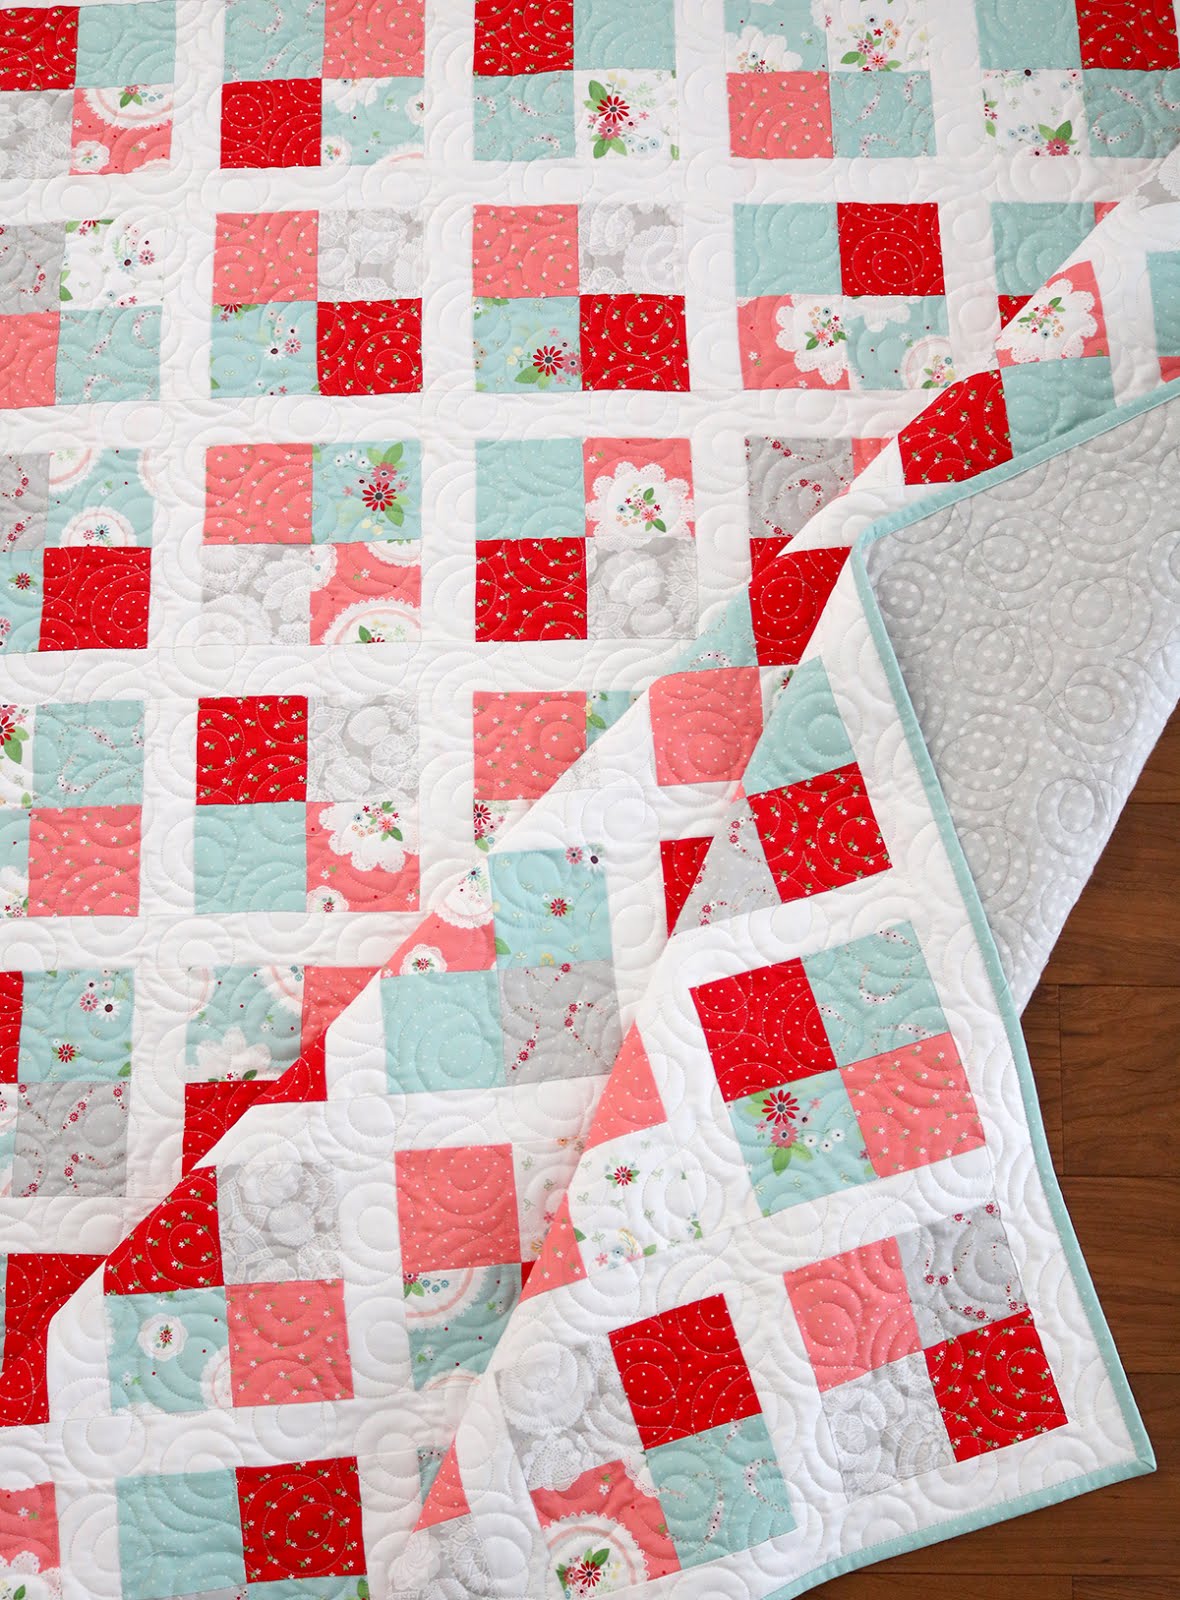
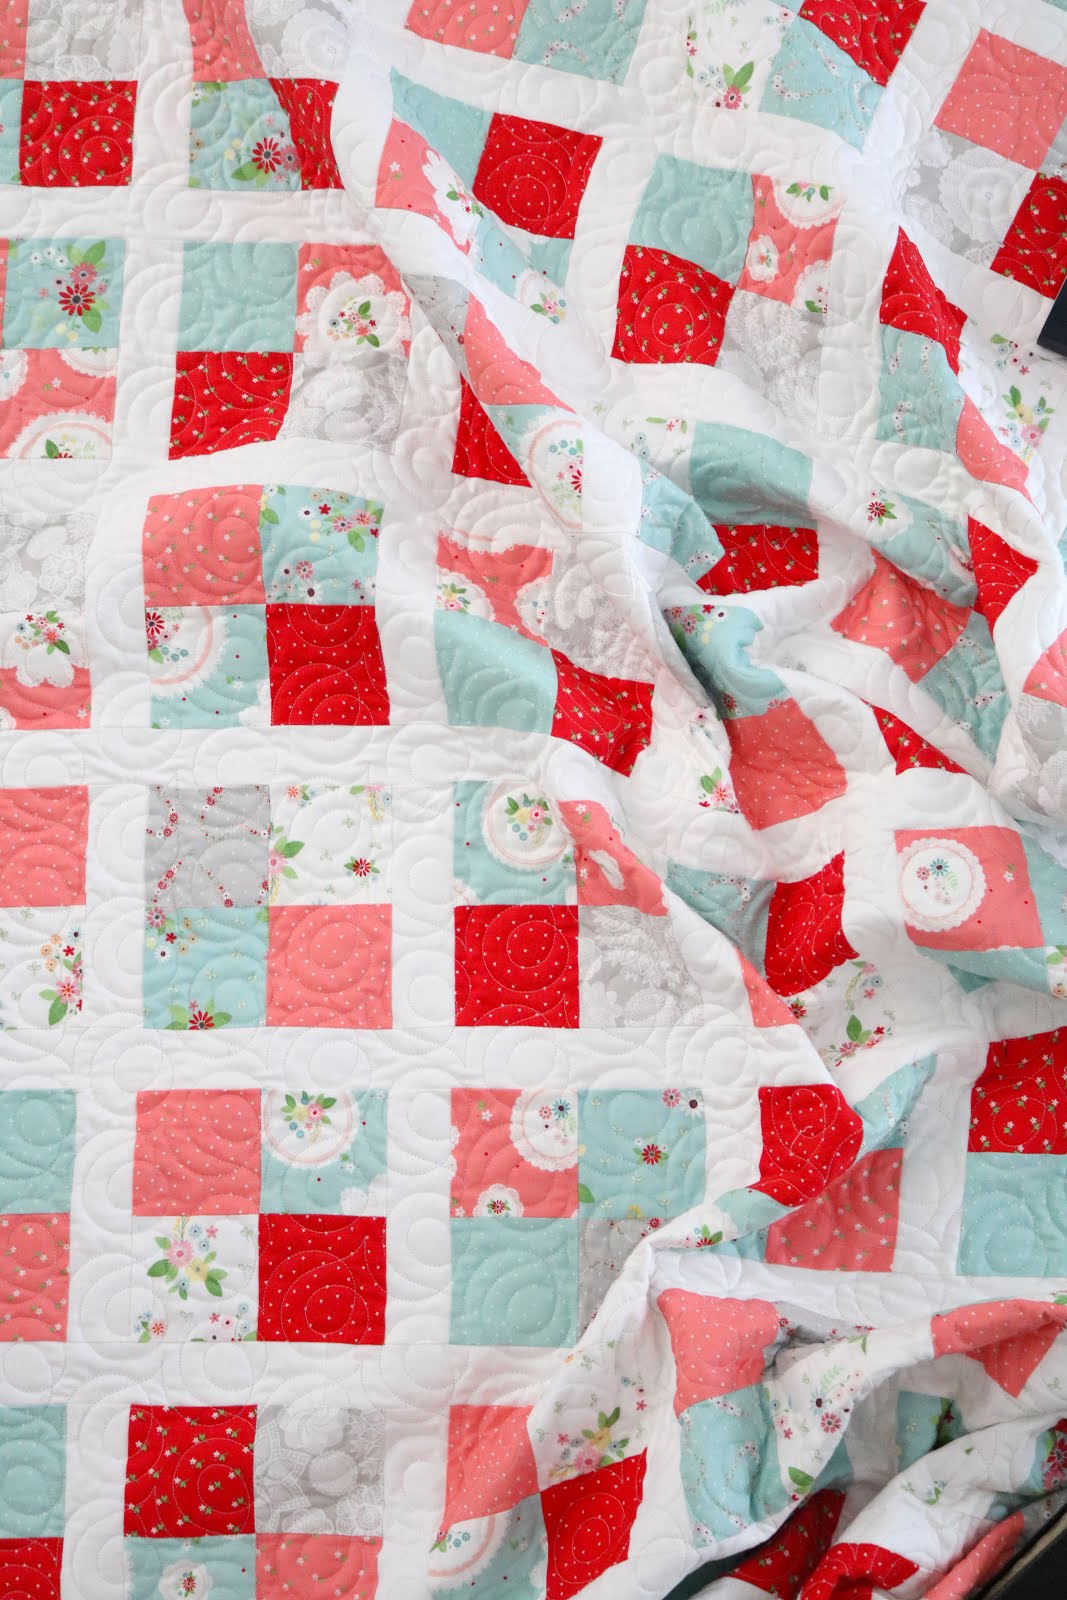
Well hello there!  How is your January going?  Have you started any new, fun projects yet this year?  I've been catching up on some Splendid Sampler blocks, and I finished up this Framed Four Patch quilt this week. 


Framed Four Patch Quilt pattern by Andy of A Bright Corner

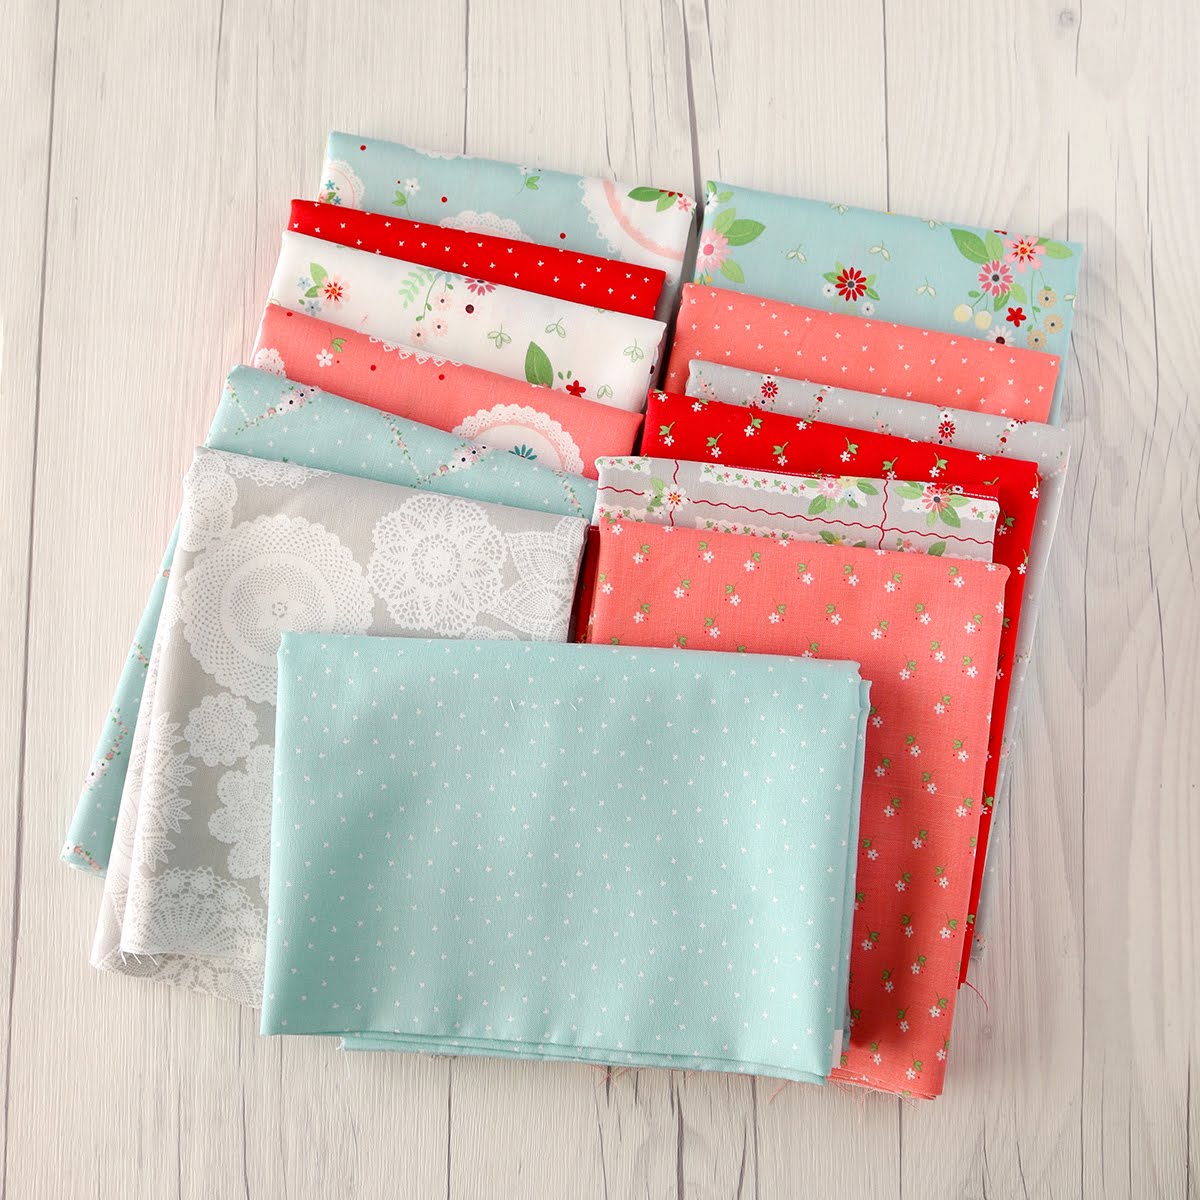
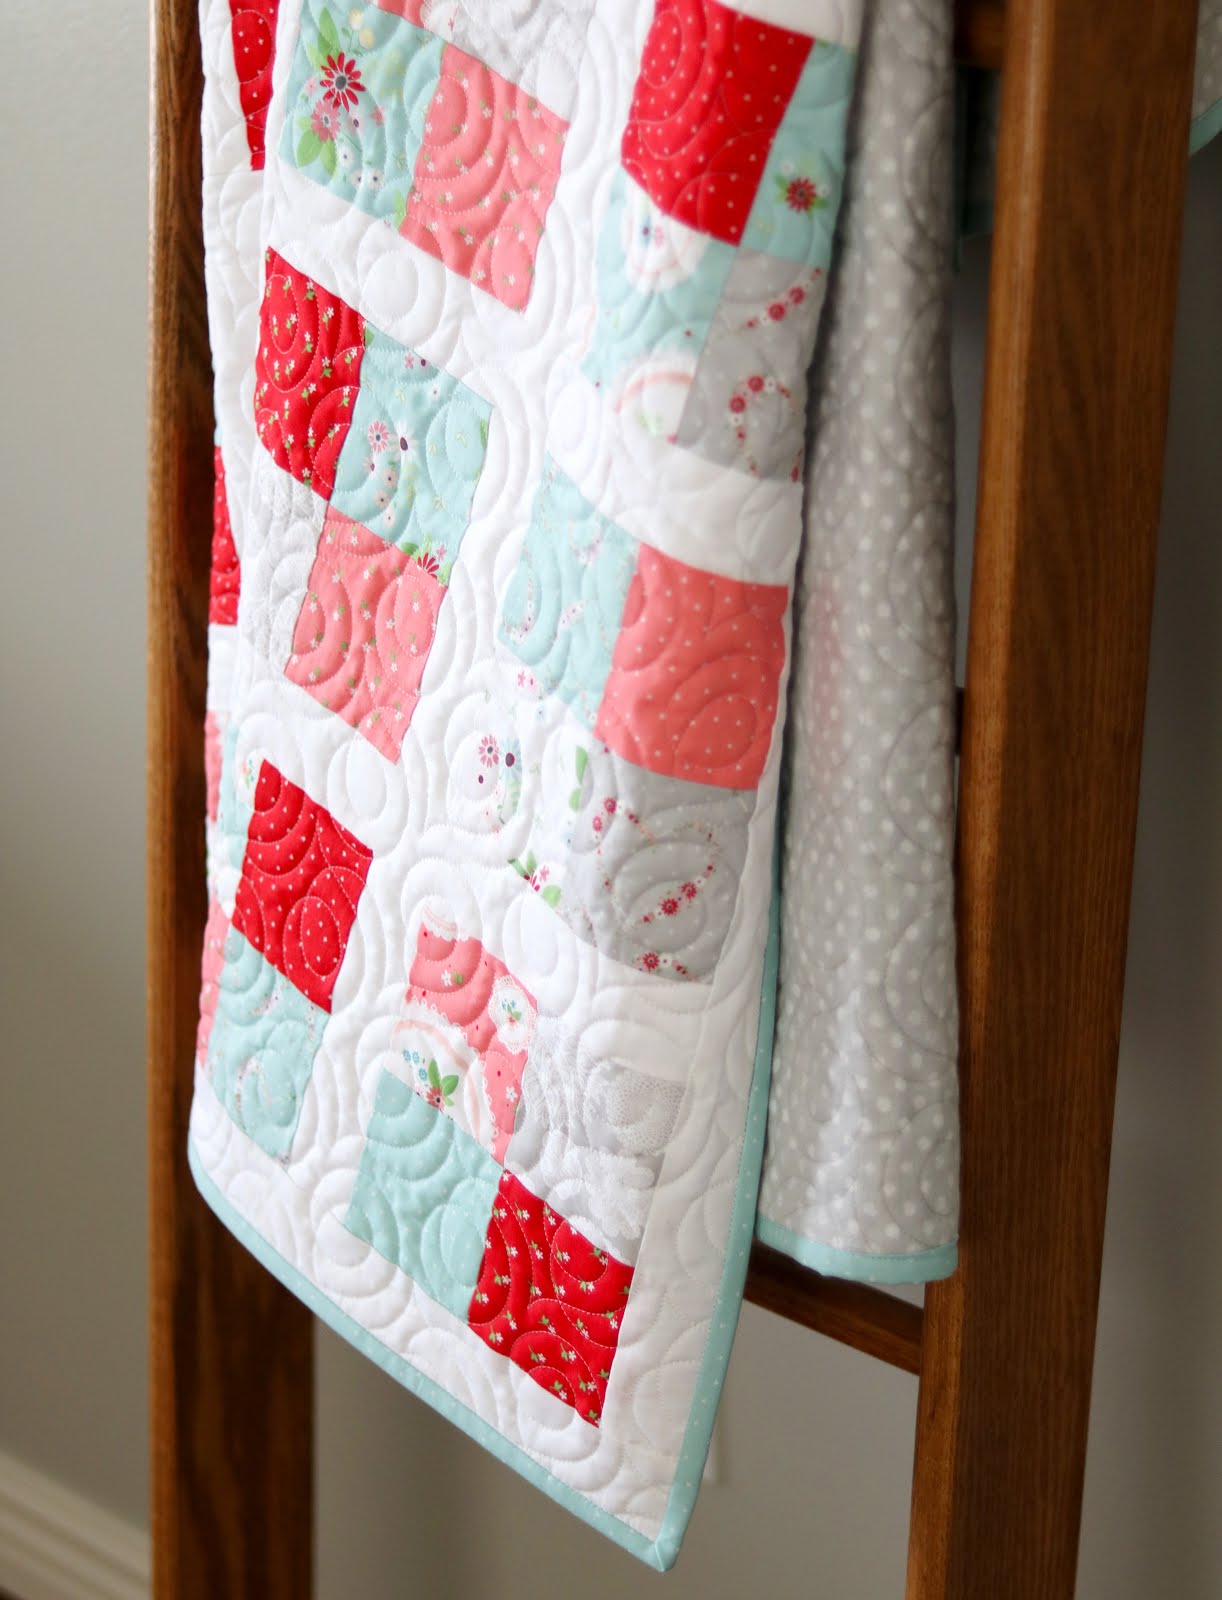
I've really enjoyed sewing with these pretty Vintage Keepsakes prints (designed by Beverly McCullough for Riley Blake Designs)-- they're just so sweet!  I've been kind of in a glum mood lately and this aqua/red/pink color combo has really brought some life back into my much-neglected sewing room.

You can see more of the Vintage Keepsakes prints & projects here on Bev's blog. Don't you just love that gray doily print by the way? 


Vintage Keepsakes fabric found on A Bright Corner

My Framed Four Patch quilt is filled with four patch blocks (obviously *wink wink*).  The four-patch block is one of my go-to favorites!  I have a speedy way to make four patches and by using this method I can crank out a whole stack of blocks in no time - and it makes this quilt SO fast to finish!  


Framed Four Patch Quilt pattern by Andy of A Bright Corner

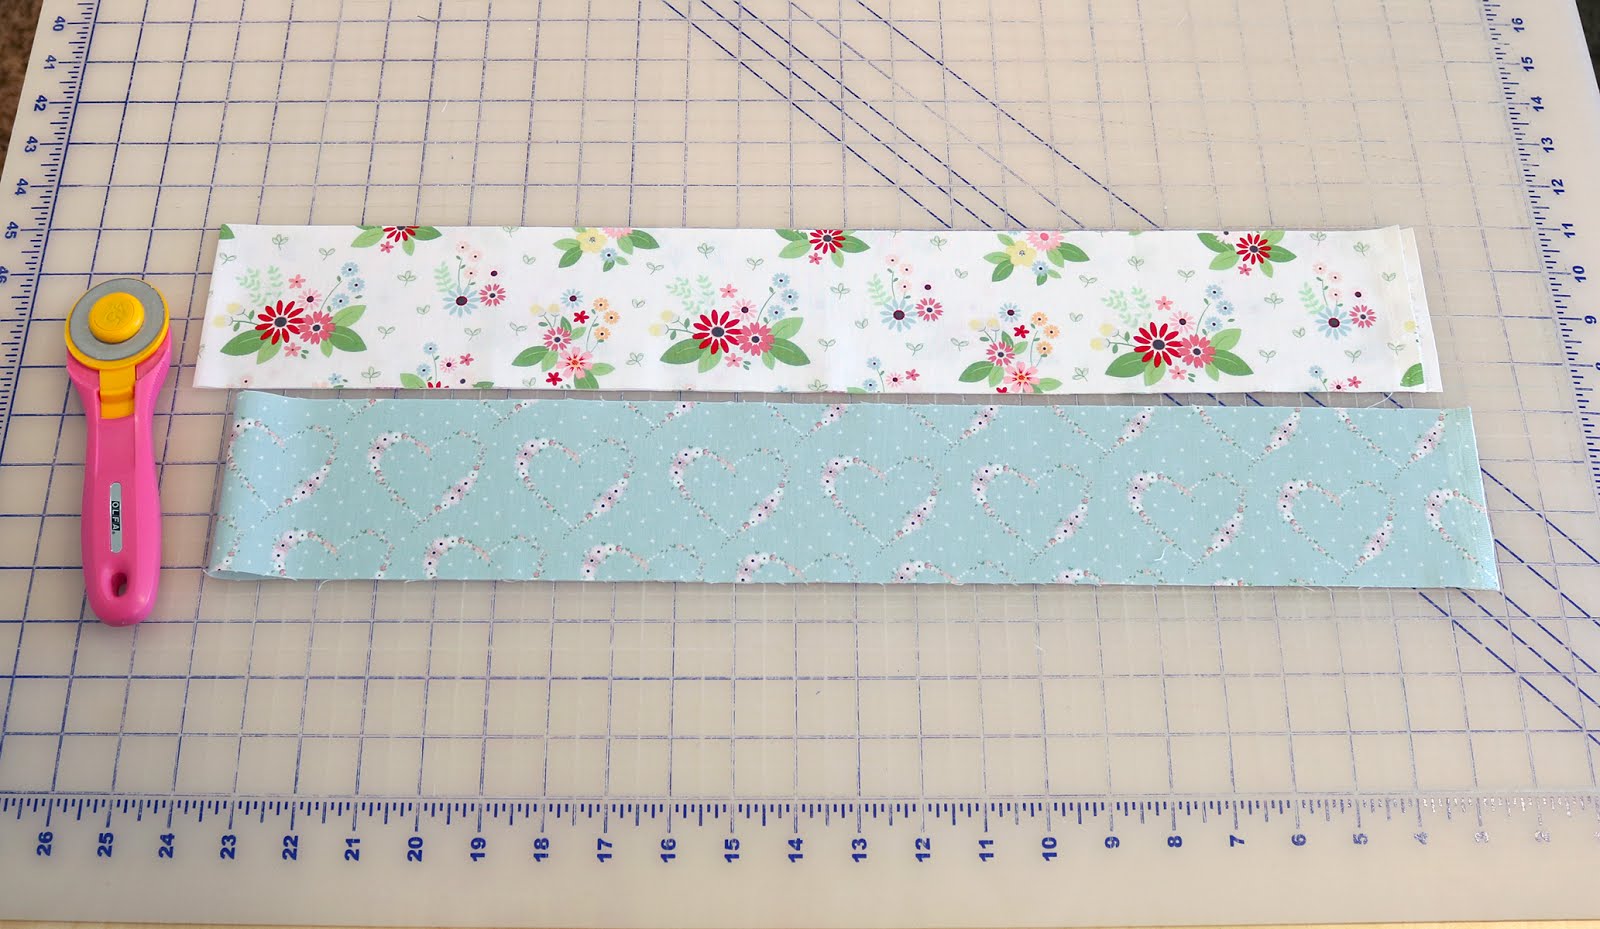
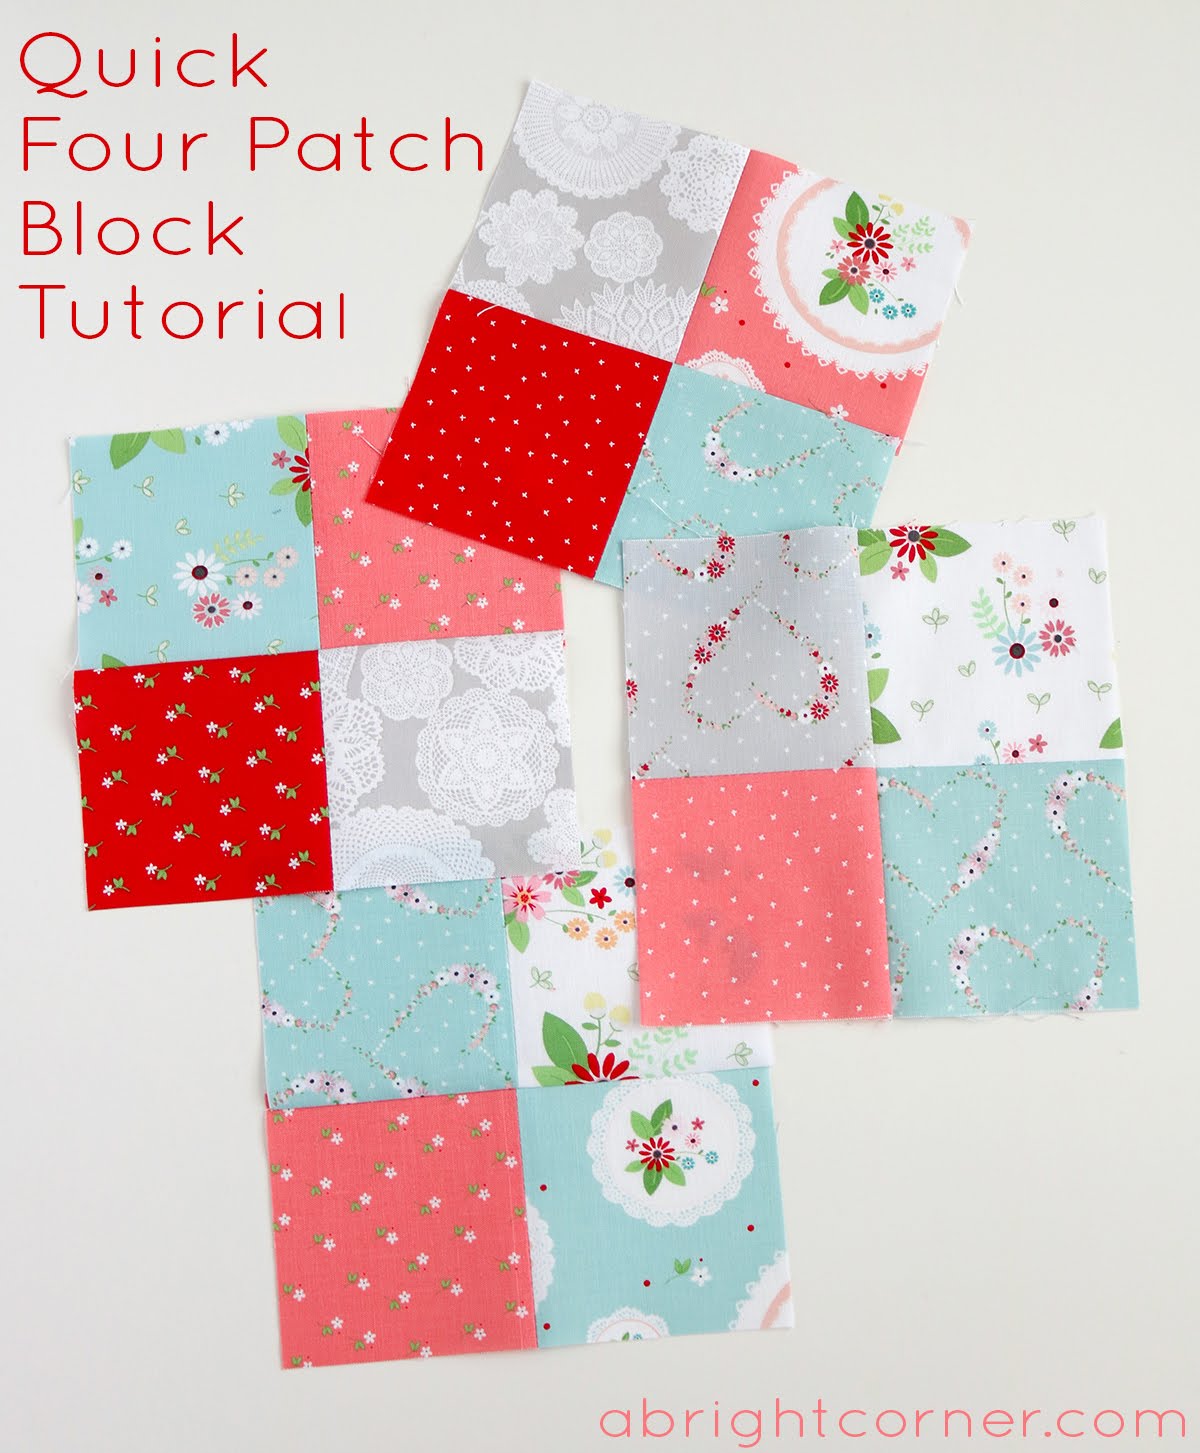
I'll show you how I do it!  First you'll need two strips of fabric that are the same size (for example, 3.5" x width of fabric)


Quick Four Patch Block Tutorial by Andy of A Bright Corner

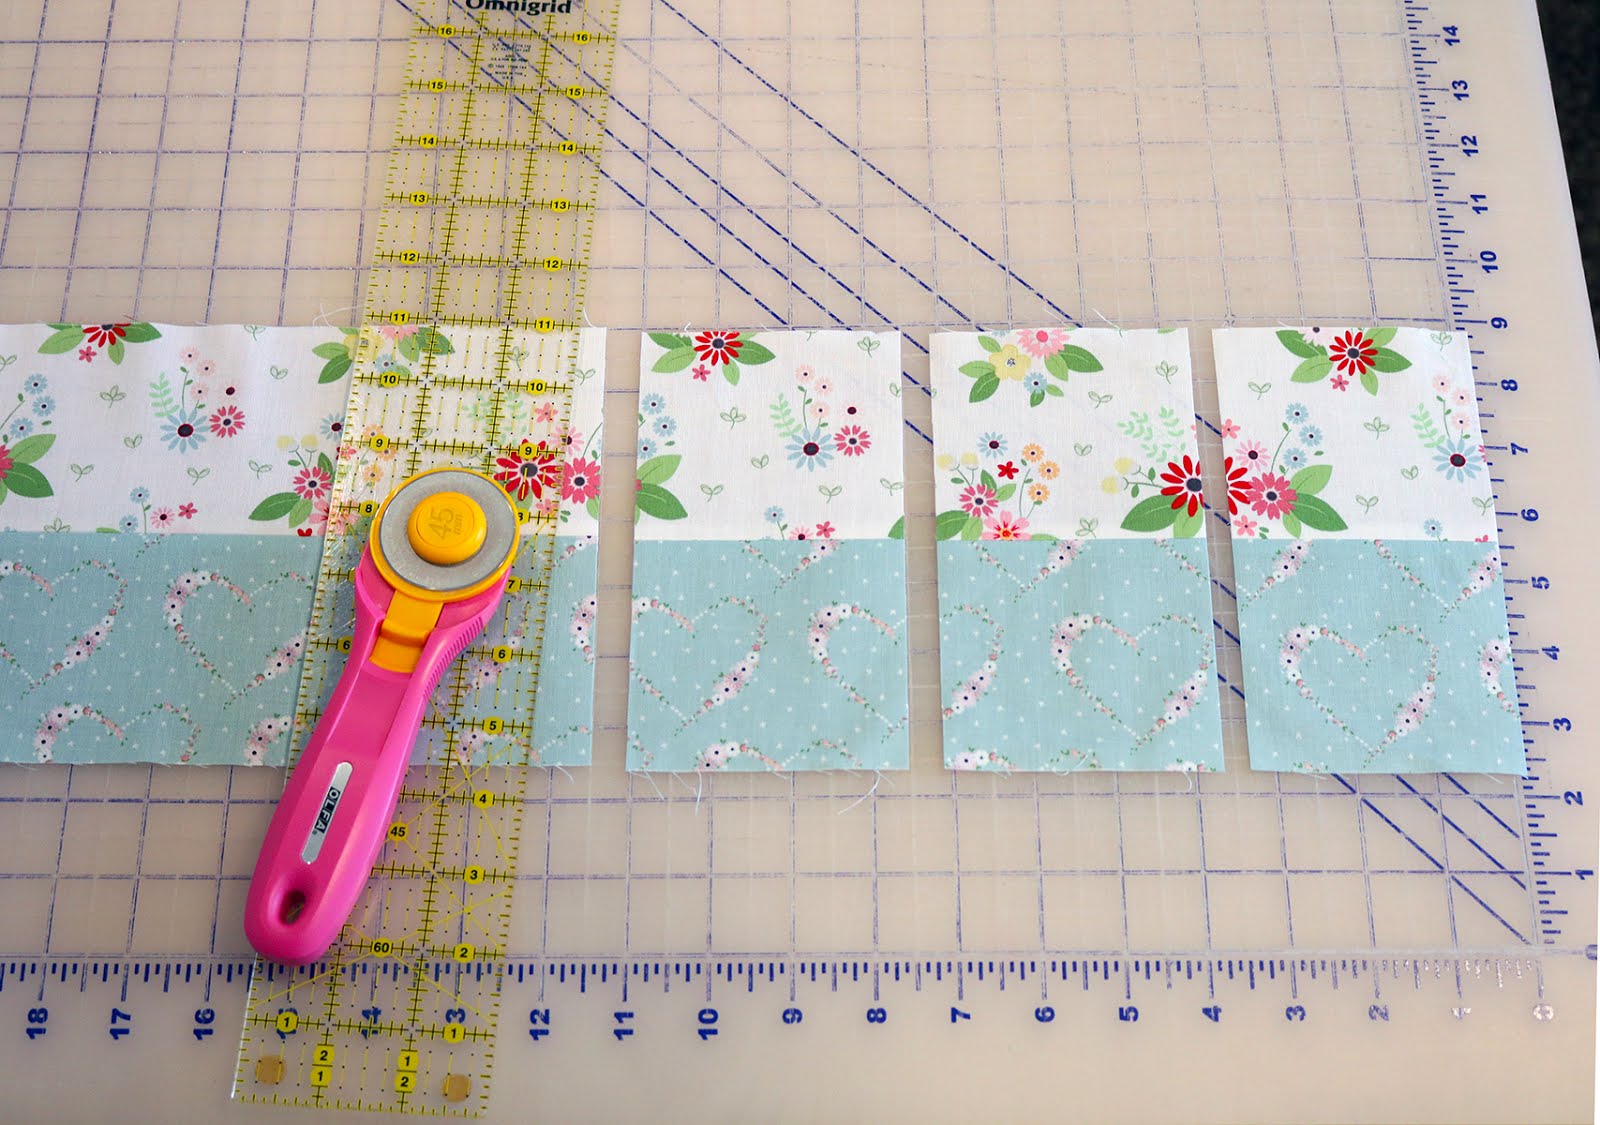
Using a 1/4" seam, sew the two strips together along one long edge.  Press the seam open.  Lay the strip set on your cutting table and then cut into segments that are the same width as your original strips.  (So if you're starting with 3.5" wide strips, then cut the segments 3.5" wide.)


Quick Four Patch Block Tutorial by Andy of A Bright Corner


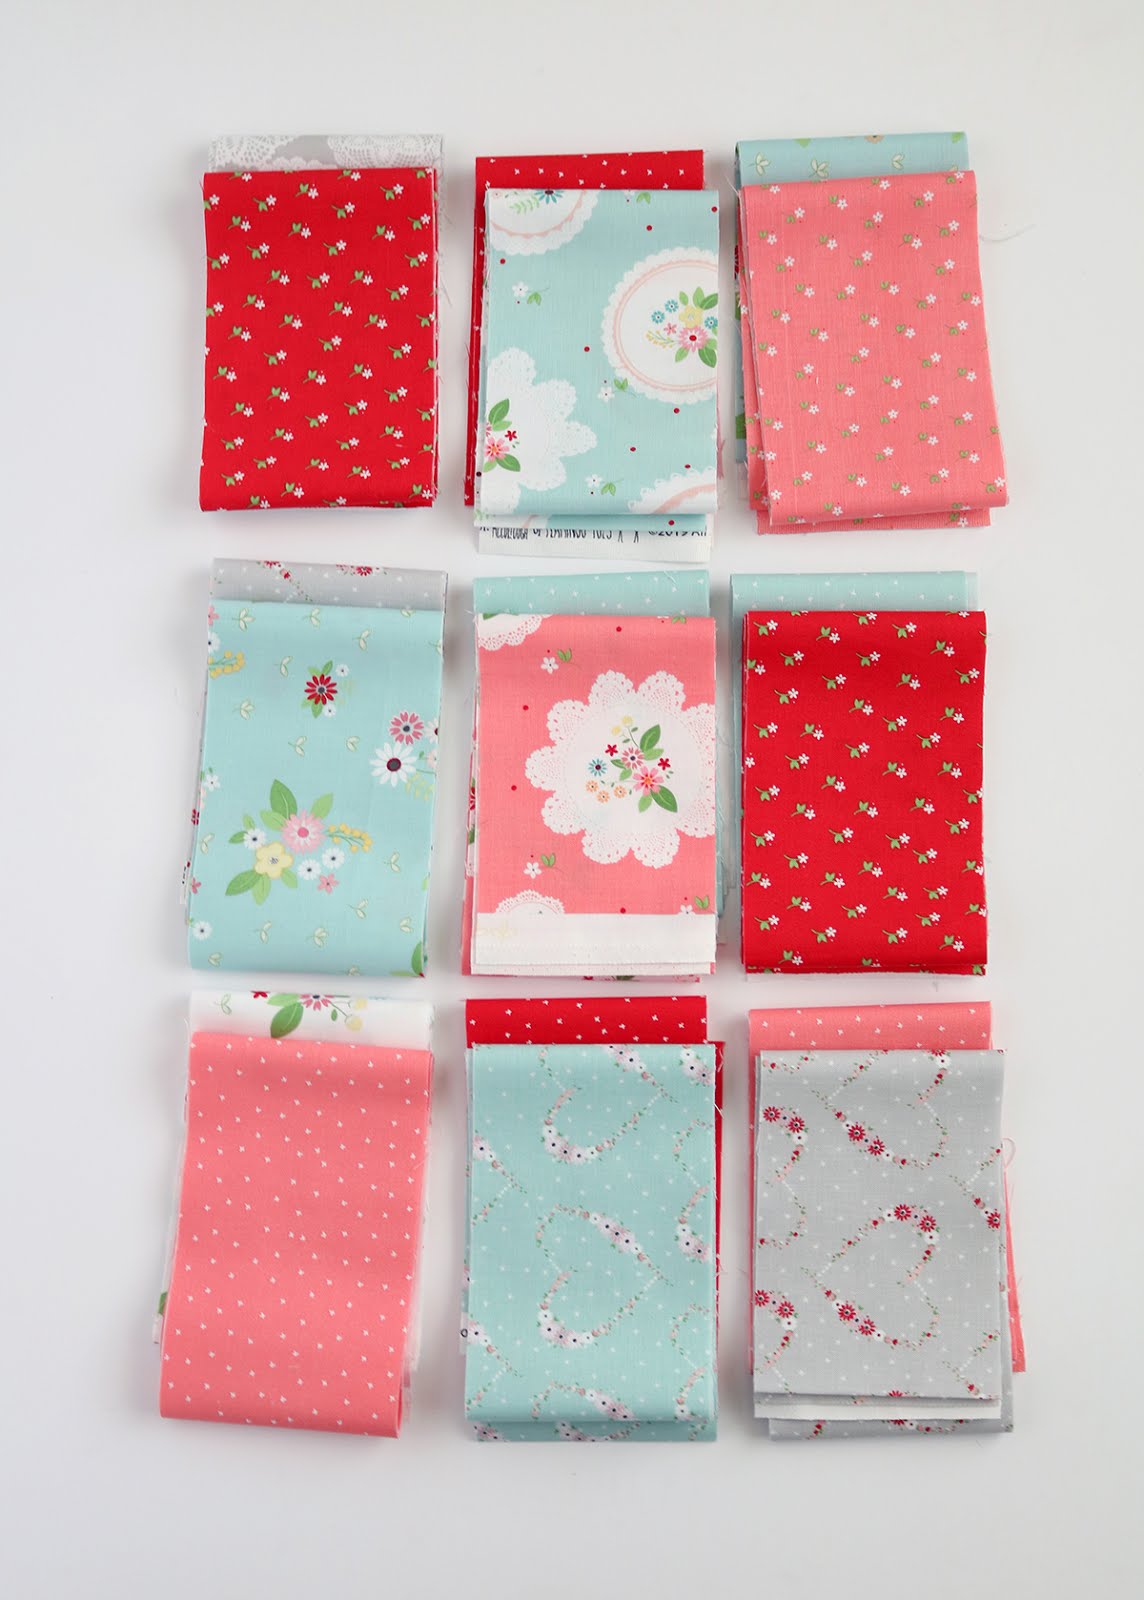
Here's a tip - before I start sewing strip sets together, I like to pair up my strips to I know I'll be getting a good variety of color pairings!


Vintage Keepsakes fabric found on A Bright Corner

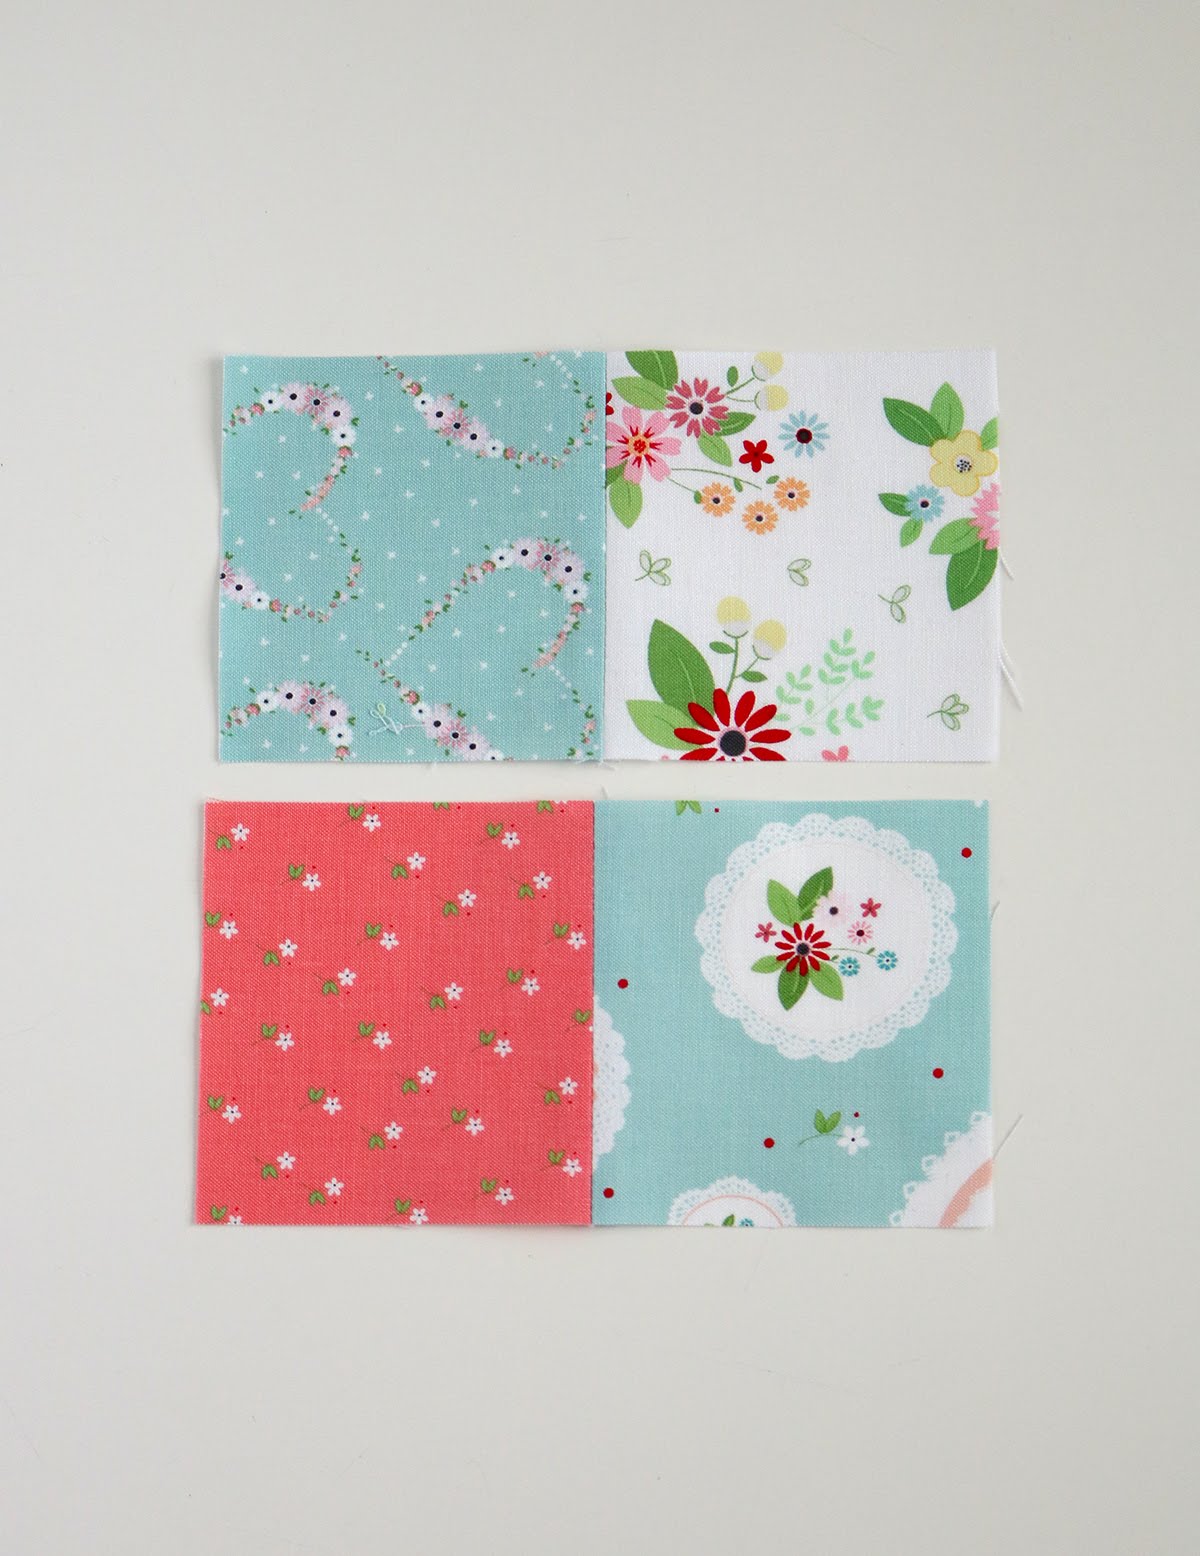
Next you'll take two segments (from two different strip sets) and sew them together, matching the center seam.  


Quick Four Patch Block Tutorial by Andy of A Bright Corner

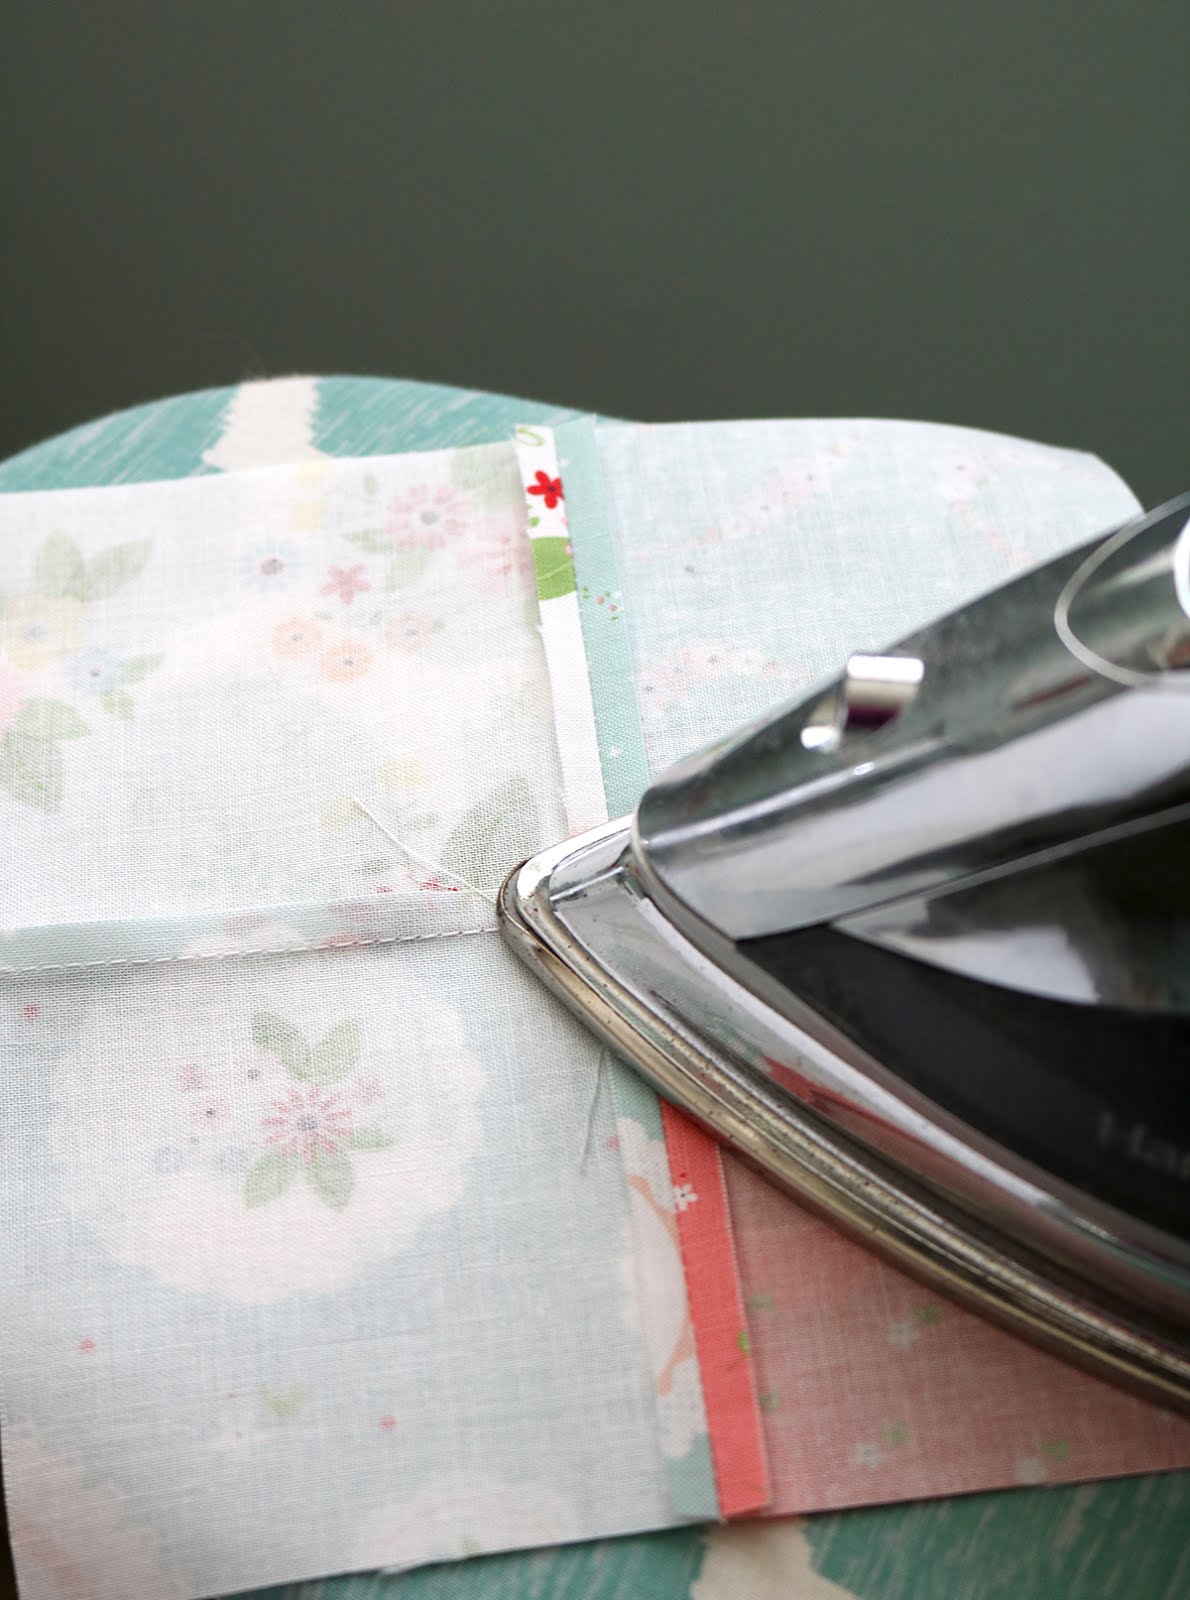
Press the seam to one side.


Quick Four Patch Block Tutorial by Andy of A Bright Corner

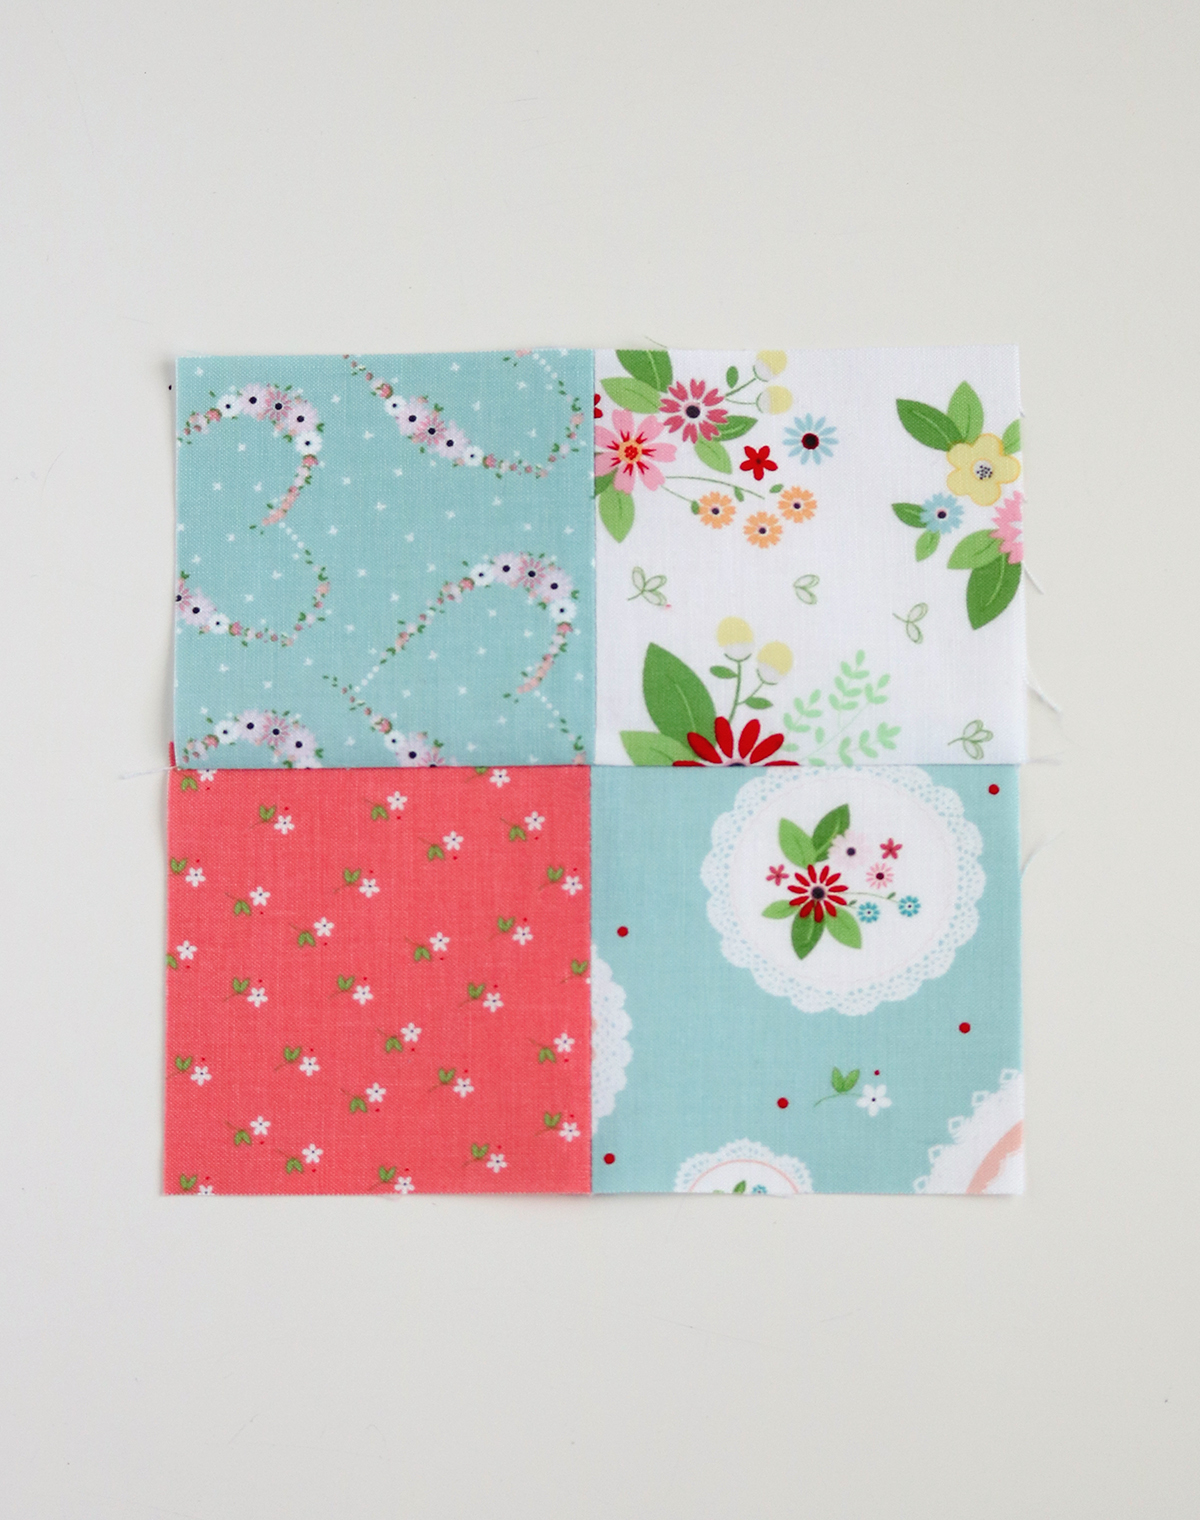
And there you go... one super-quick four patch block!


Quick Four Patch Block Tutorial by Andy of A Bright Corner

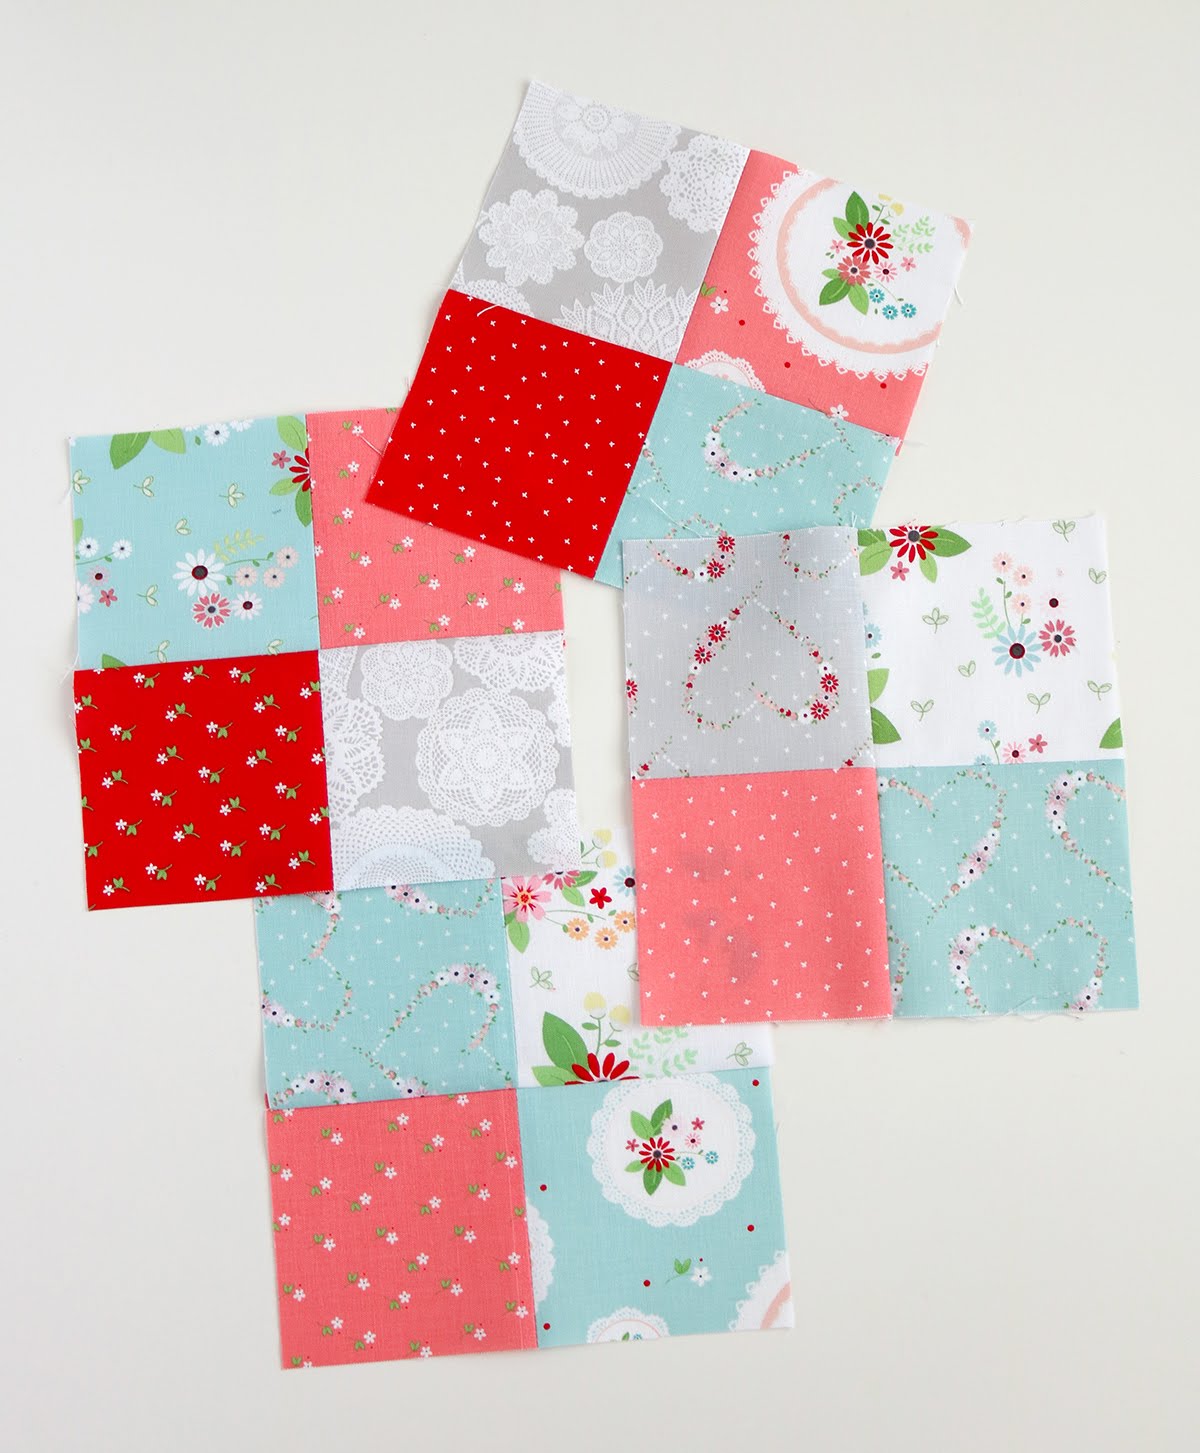
In just a short time you can whip up enough four patch blocks for a whole quilt 


Quick Four Patch Block Tutorial by Andy of A Bright Corner

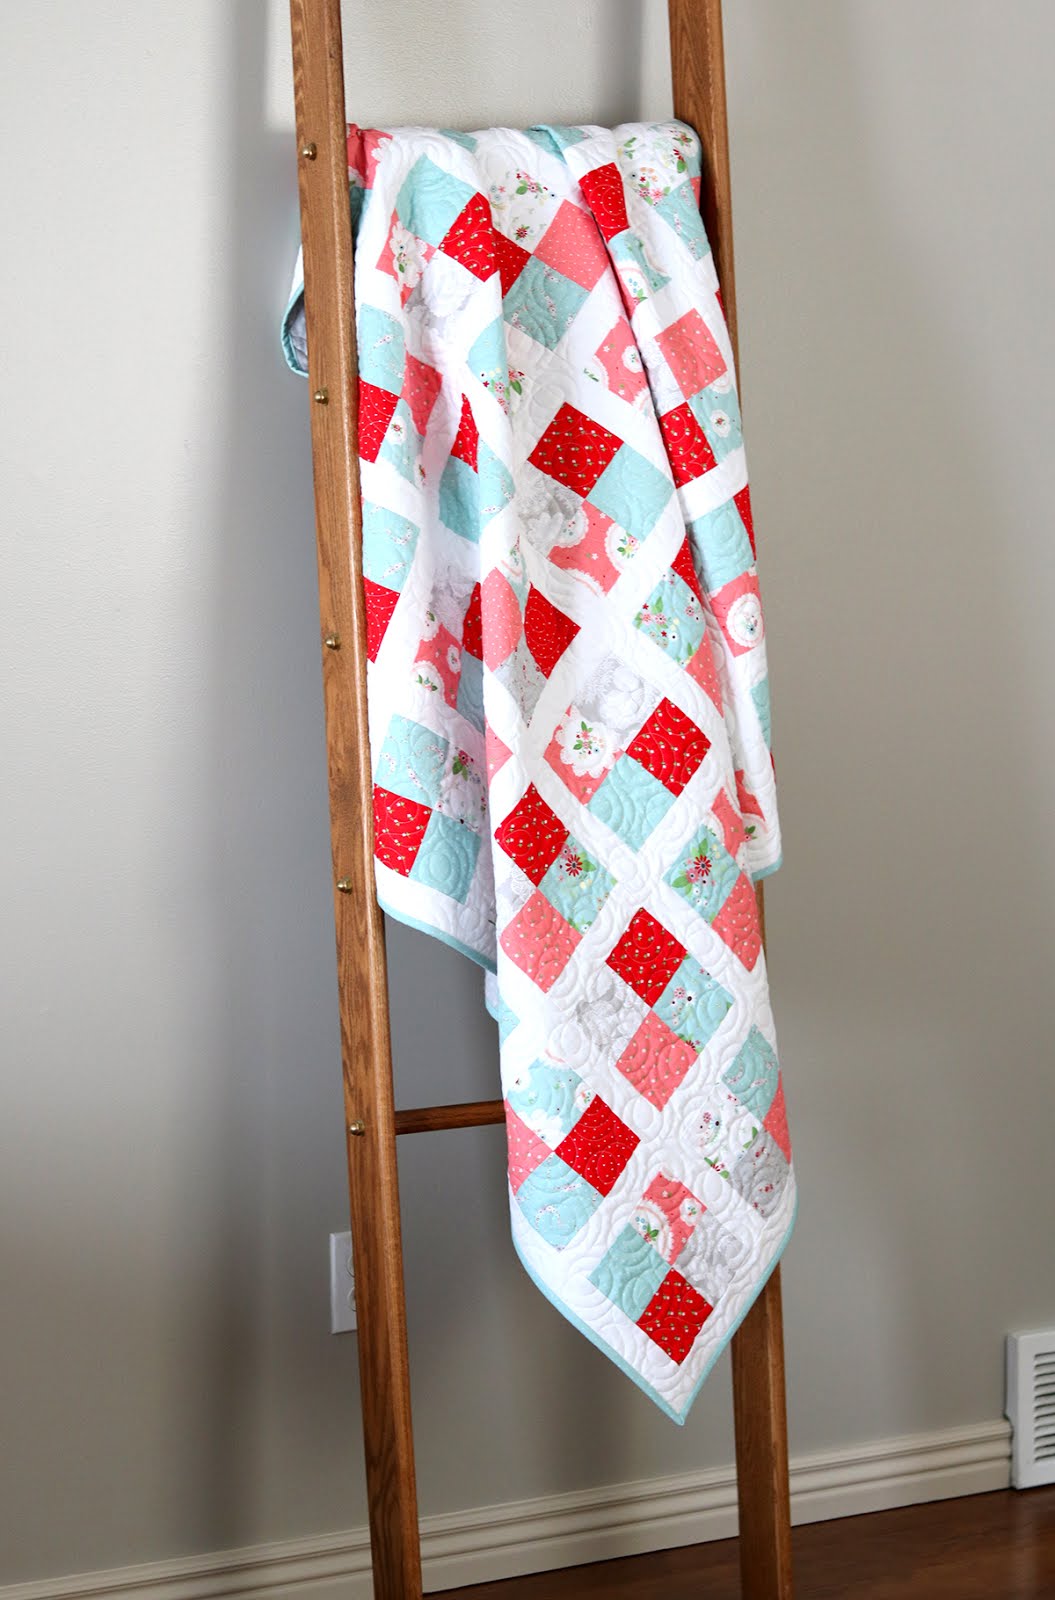
There's a full, downloadable PDF pattern available for this Framed Four Patch quilt.  Sign up for the A Bright Corner newsletter here to get access to the PDF download- don't miss out!

Framed Four Patch Quilt pattern by Andy of A Bright Corner


The final Framed Four Patch quilt measures 54" x 69" and is backed in a cozy, gray polka dot flannel.  The quilting design is called Soho and it's one of my favorites.  It looks good on just about everything!


Framed Four Patch Quilt pattern by Andy of A Bright Corner

Be sure to add the image below to your quilting Pinterest board so you can find it later when you need it!  And if you haven't signed up for my newsletter yet, you can do that here.


Quick Four Patch Block Tutorial by Andy of A Bright Corner

Happy sewing everyone!
--Andy


**This post may contain affiliate links, which means I may receive a small commission (at no additional cost to you) when purchases are made through links found in this post.


Friday, December 7, 2018

Christmas Patchwork Pillow Tutorial

I can hardly believe it's December already.  The days are just flying by and I'm still trying to put up the rest of the Christmas decorations!  

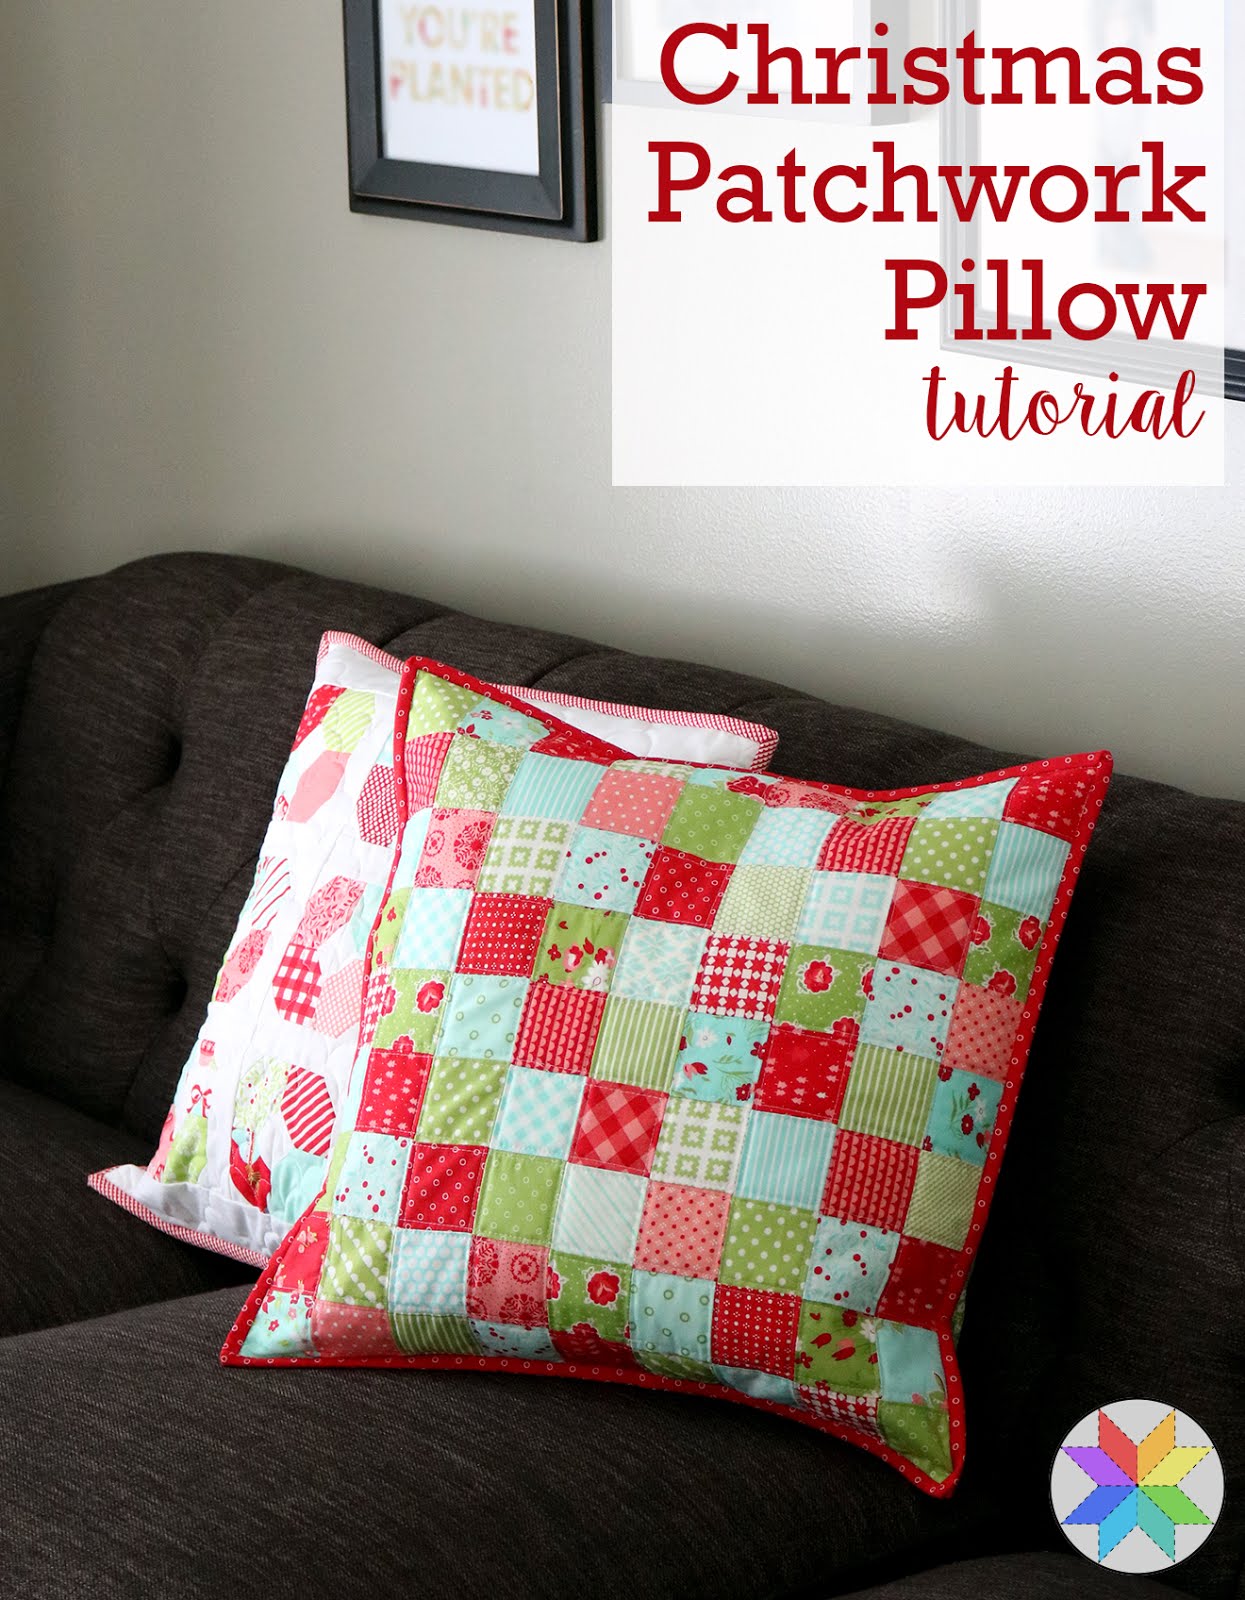
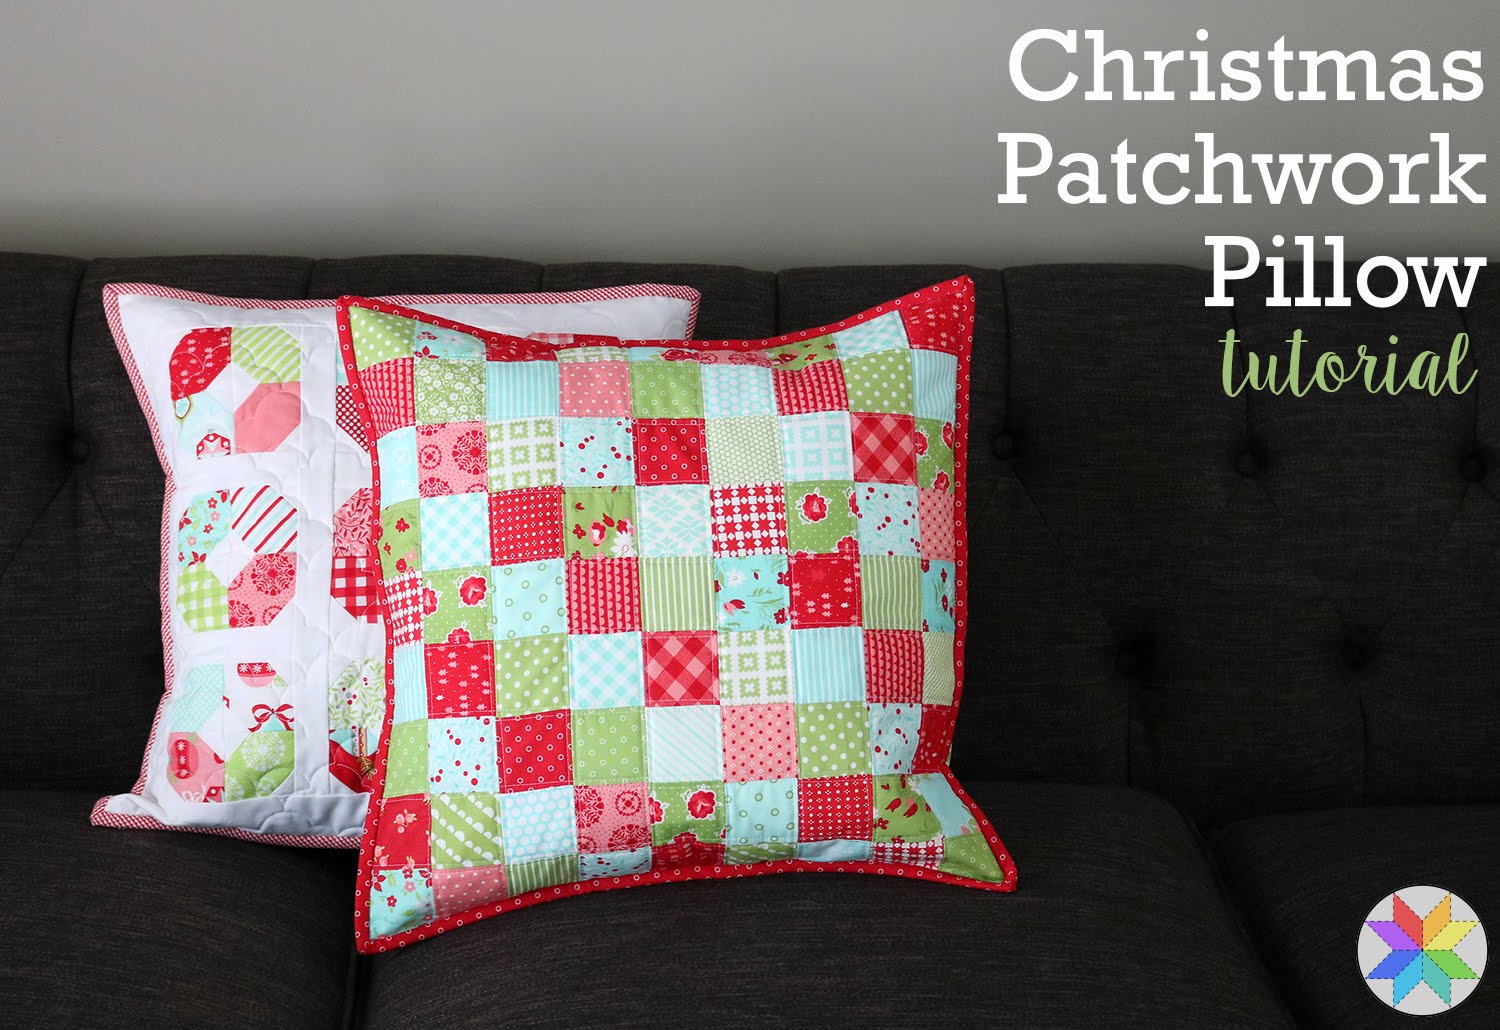
This week I pulled out our Advent Calendar and all of our fun Christmas pillows.  I wanted to add a new one this year so I grabbed some favorite Christmas-colored scraps and got to work.

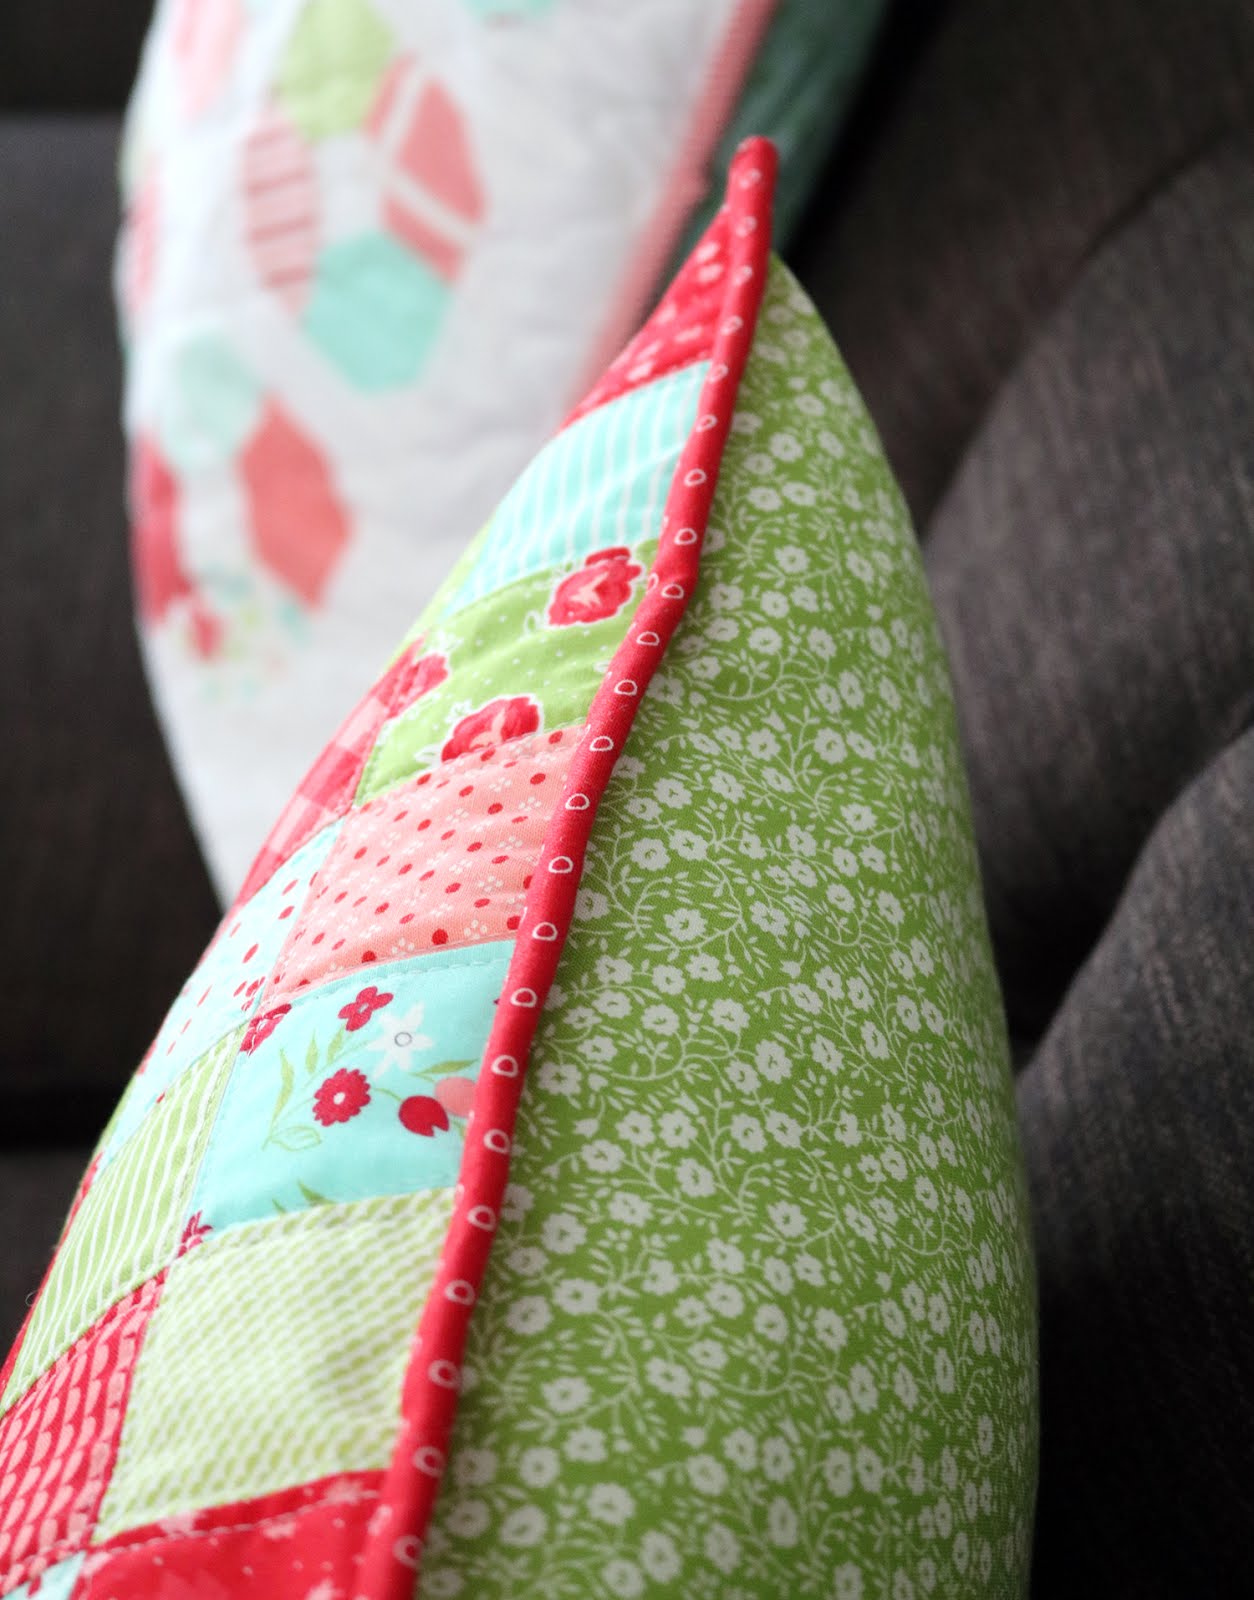
Christmas Patchwork Pillow tutorial by Andy of A Bright Corner - a fun and quick scrap fabric project

I made a similar pillow to this one a couple of years ago but I wanted to update the colors for this new version.  And I thought I'd share how I made it!  Here's what you'll need for this 18" pillow:

Supplies
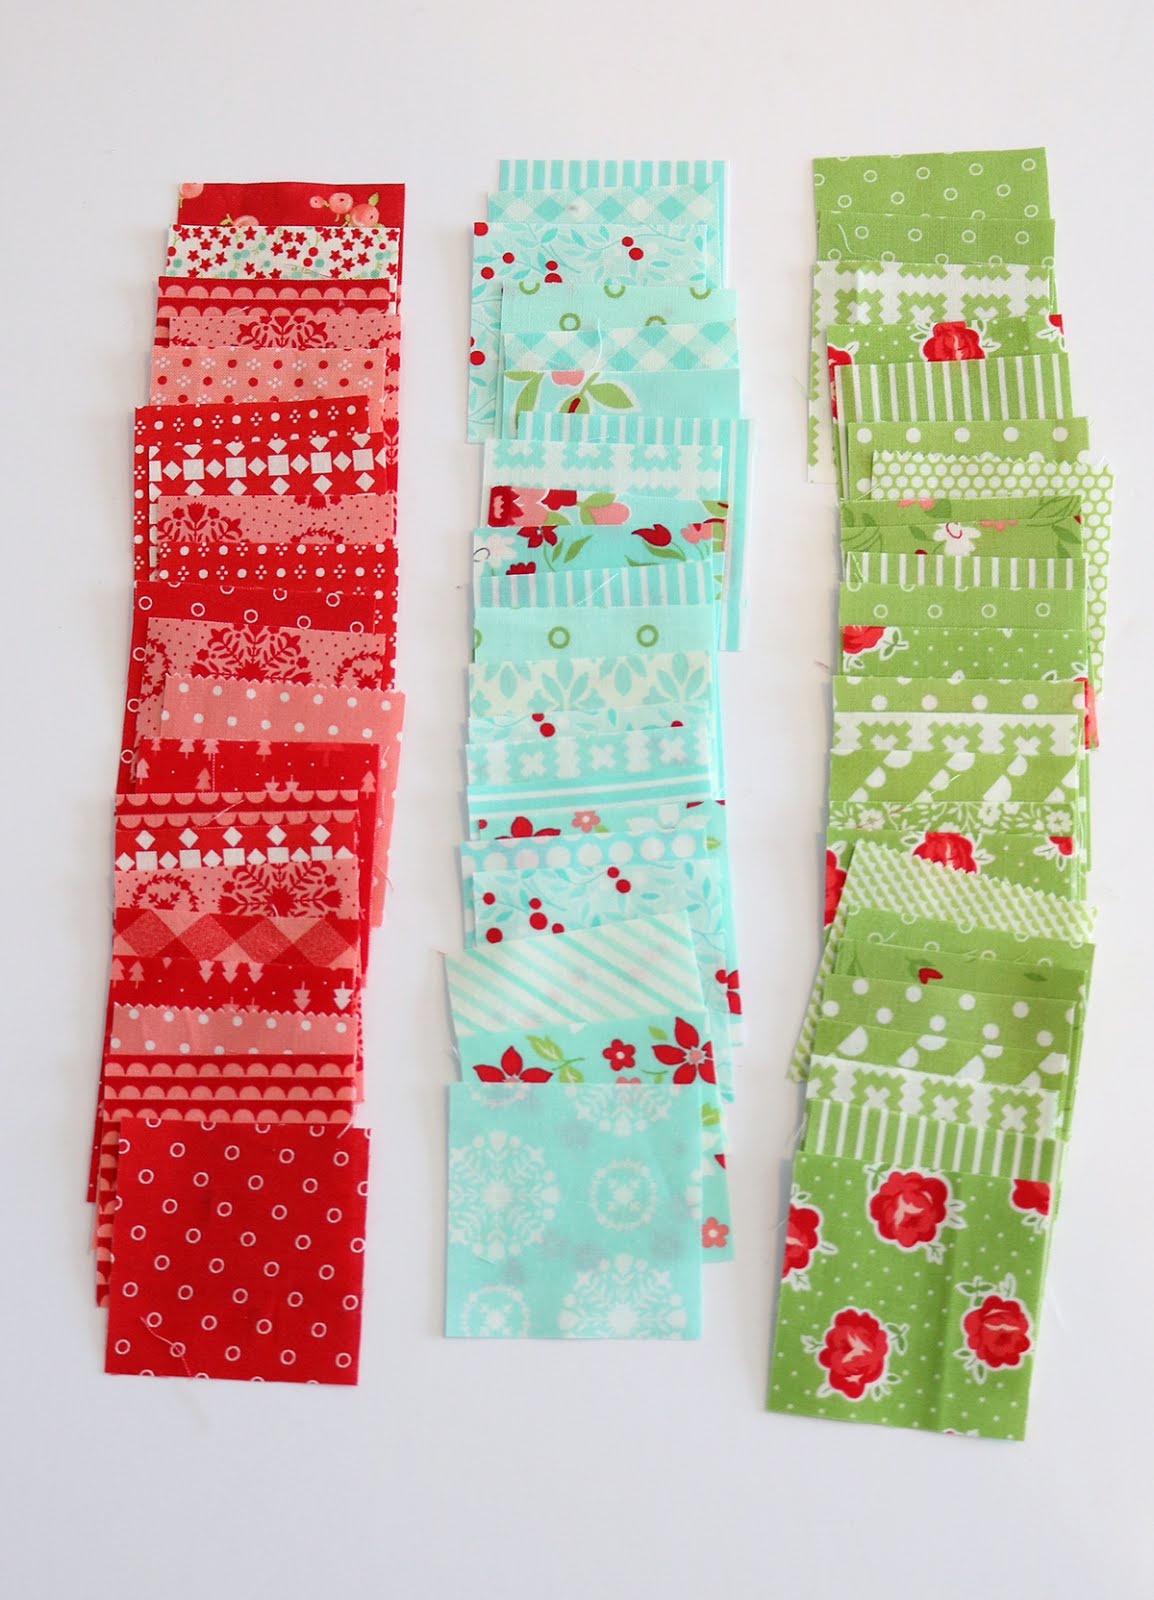
81 (2.5") squares
22" x 22" piece of muslin or solid white fabric
22" x 22" piece of thin batting
at least 6" coordinating print for binding
1/3 yard of coordinating print for backing
18" pillow insert


Christmas Patchwork Pillow tutorial by Andy of A Bright Corner - a fun and quick scrap fabric project

You will need 81 (2.5") squares.  I dug through my scrap bin and cut them to size, but an easy way to get these is to cut charm squares into 4 equal pieces, or to cut some squares from left-over jelly roll strips.  

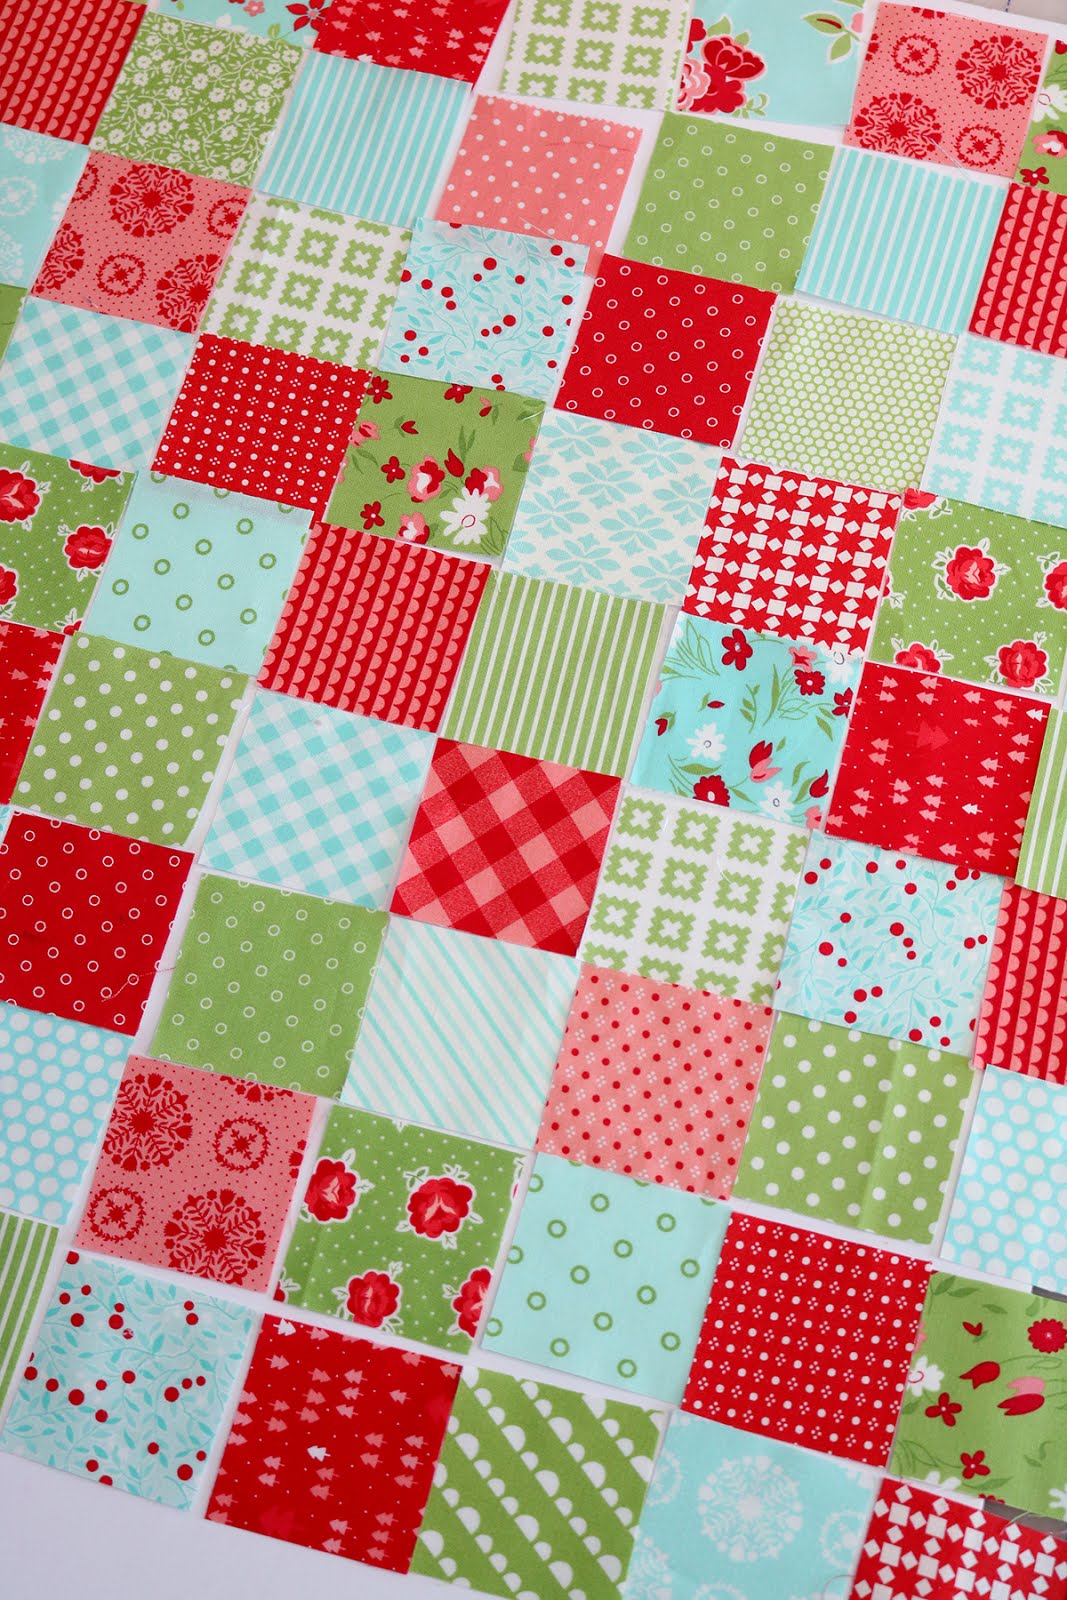
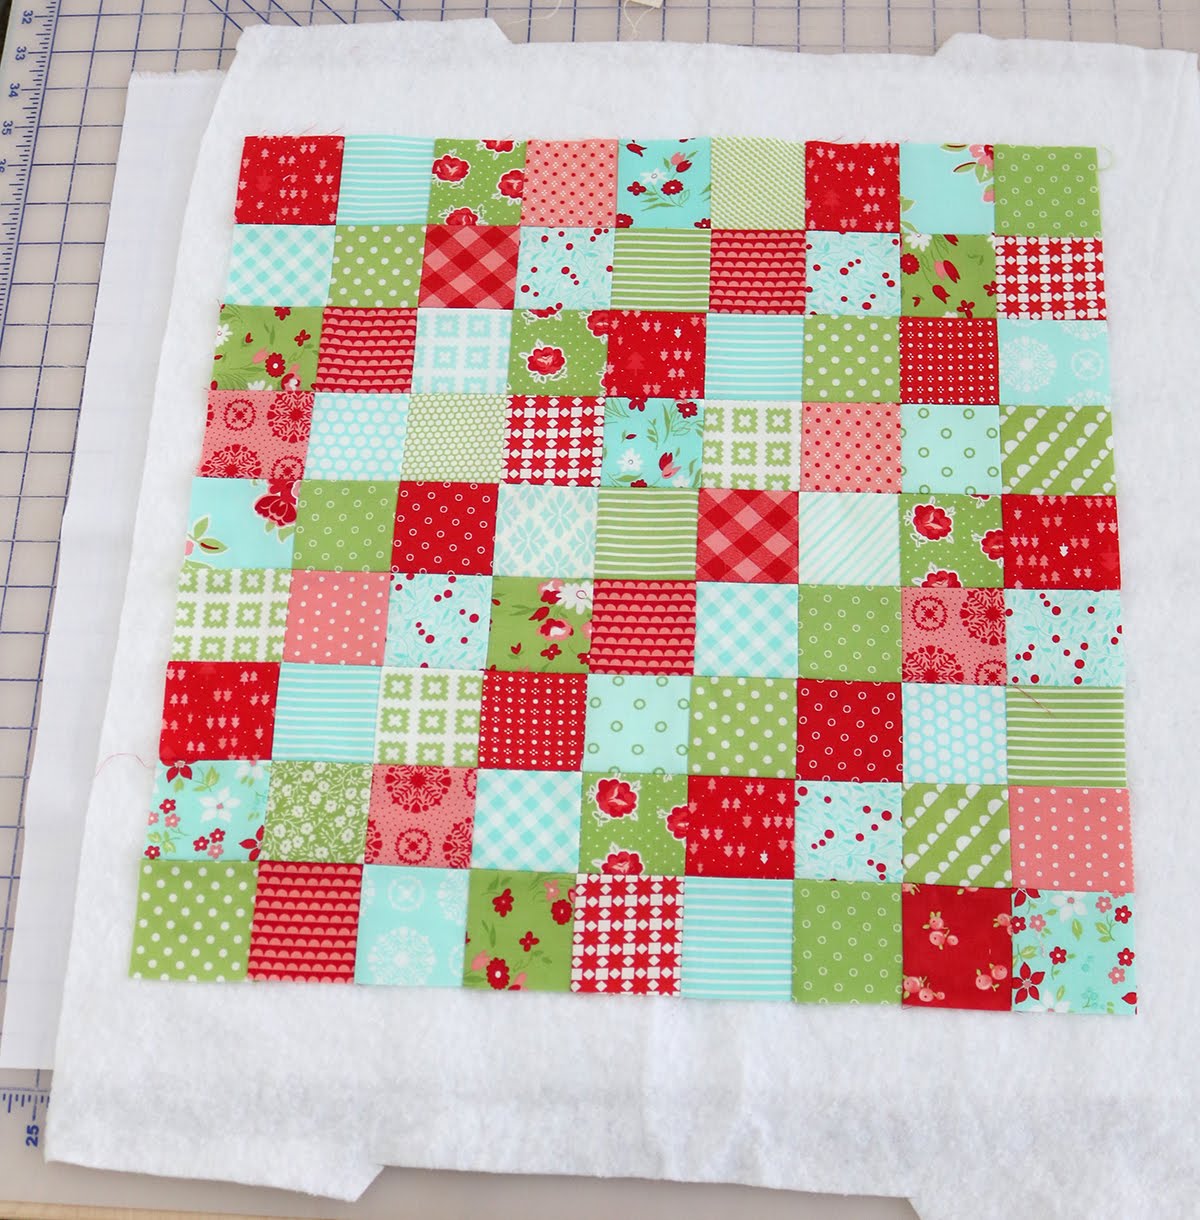
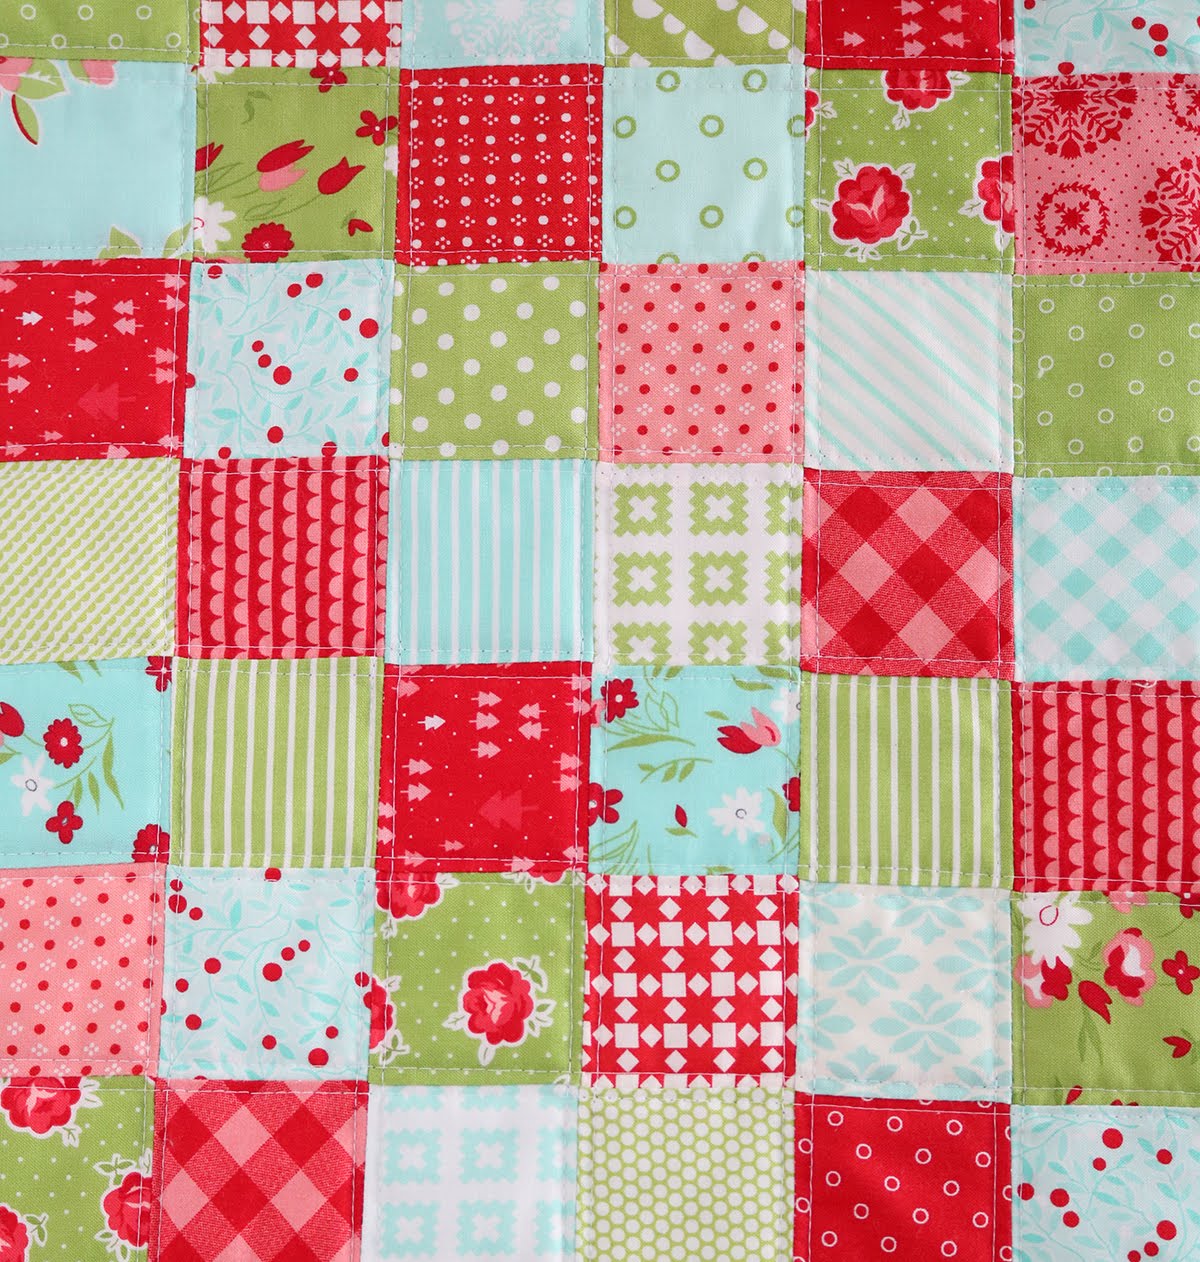
Decide on a layout for your squares. You'll need 9 rows with 9 squares in each for an 18" pillow. I did a diagonal pattern alternating between the three colors (red/pink, aqua, green) but a random, scrappy pattern would be great too.


Christmas Patchwork Pillow tutorial by Andy of A Bright Corner - a fun and quick scrap fabric project


Sew your squares together into rows, then join rows.  I like to press all odd numbered rows to the left and even numbered rows to the right.  Then when I join the rows, the intersecting seams will nest beautifully.  
Christmas Patchwork Pillow tutorial by Andy of A Bright Corner - a fun and quick scrap fabric project

Layer the 22" piece of muslin, the 22" piece of thin batting, and the pillow top.  I like to spray baste for this step using some 505 Spray but you could also pin baste.  

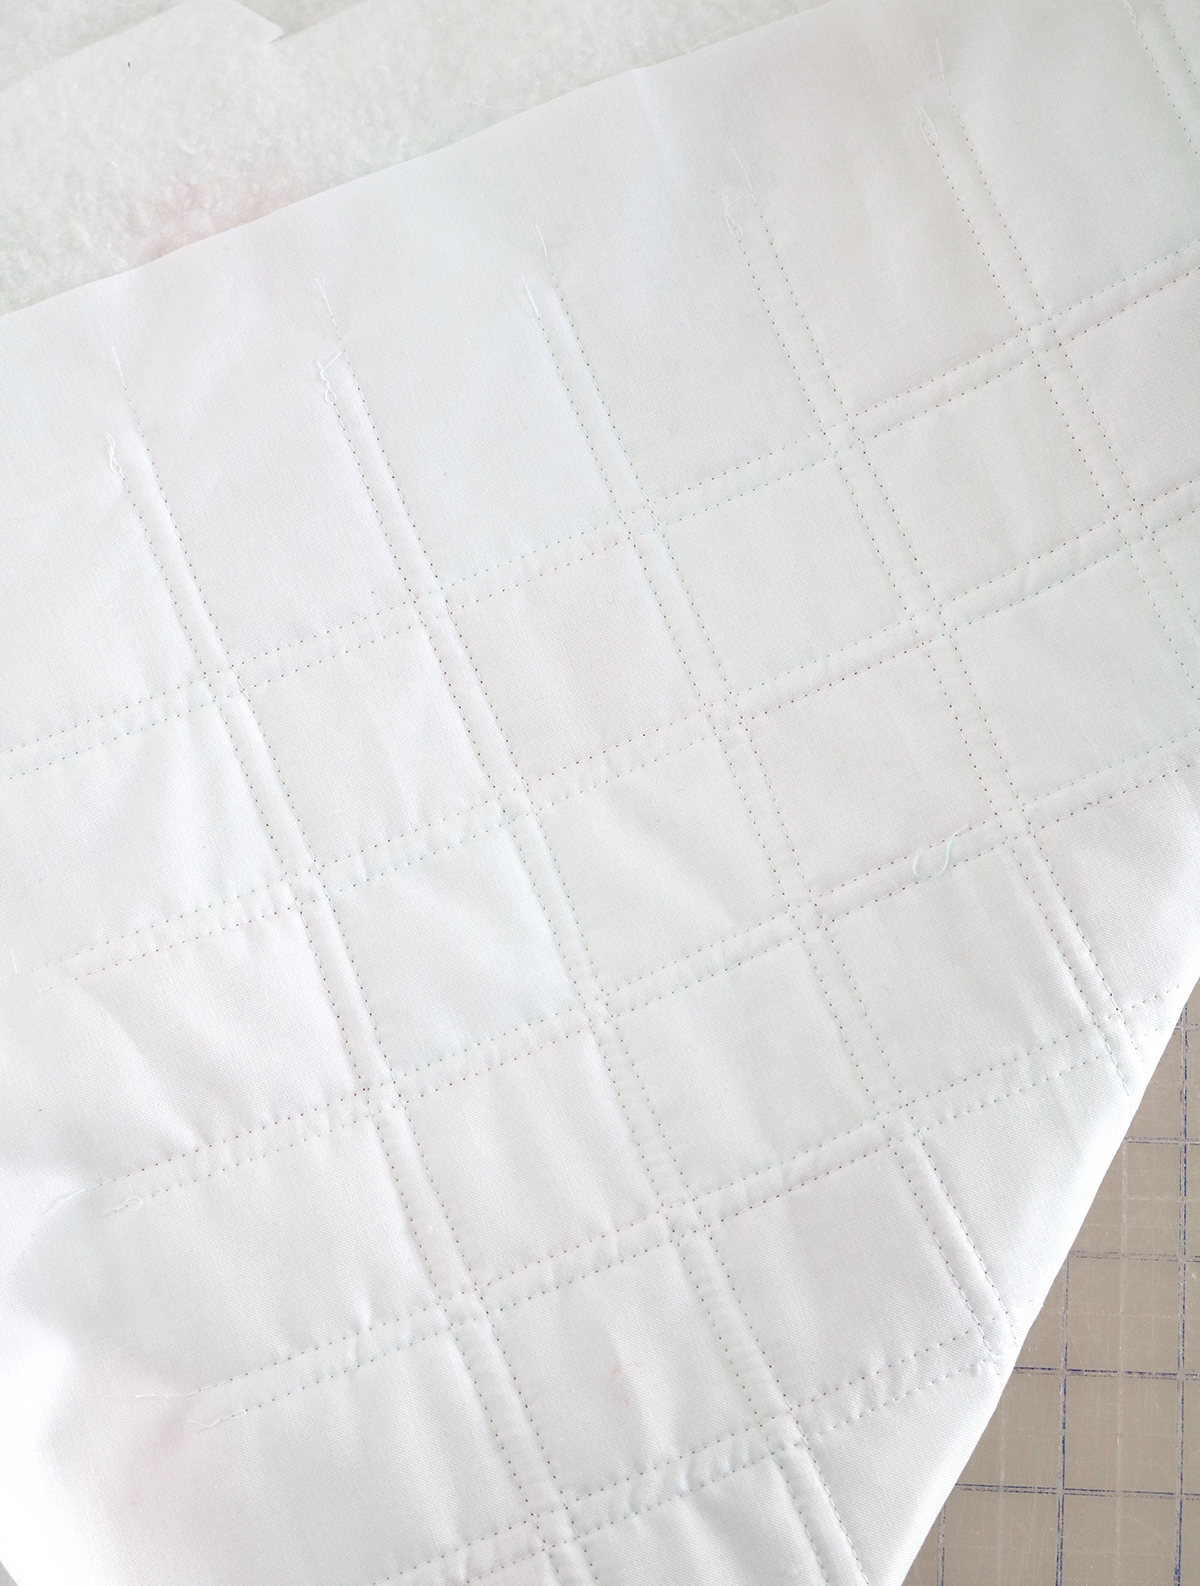
Then quilt your pillow however you'd like.  I used my walking foot and did some straight line quilting using the seams as my guides.


Christmas Patchwork Pillow tutorial by Andy of A Bright Corner - a fun and quick scrap fabric project

This is what the quilting looks like from the back...


Christmas Patchwork Pillow tutorial by Andy of A Bright Corner - a fun and quick scrap fabric project

...and from the front.  Simple, clean lines helps the fabric really be the star of the show!  Trim the extra batting and muslin from the edges of the pillow so that it measures 18.5" x 18.5".

Christmas Patchwork Pillow tutorial by Andy of A Bright Corner - a fun and quick scrap fabric project


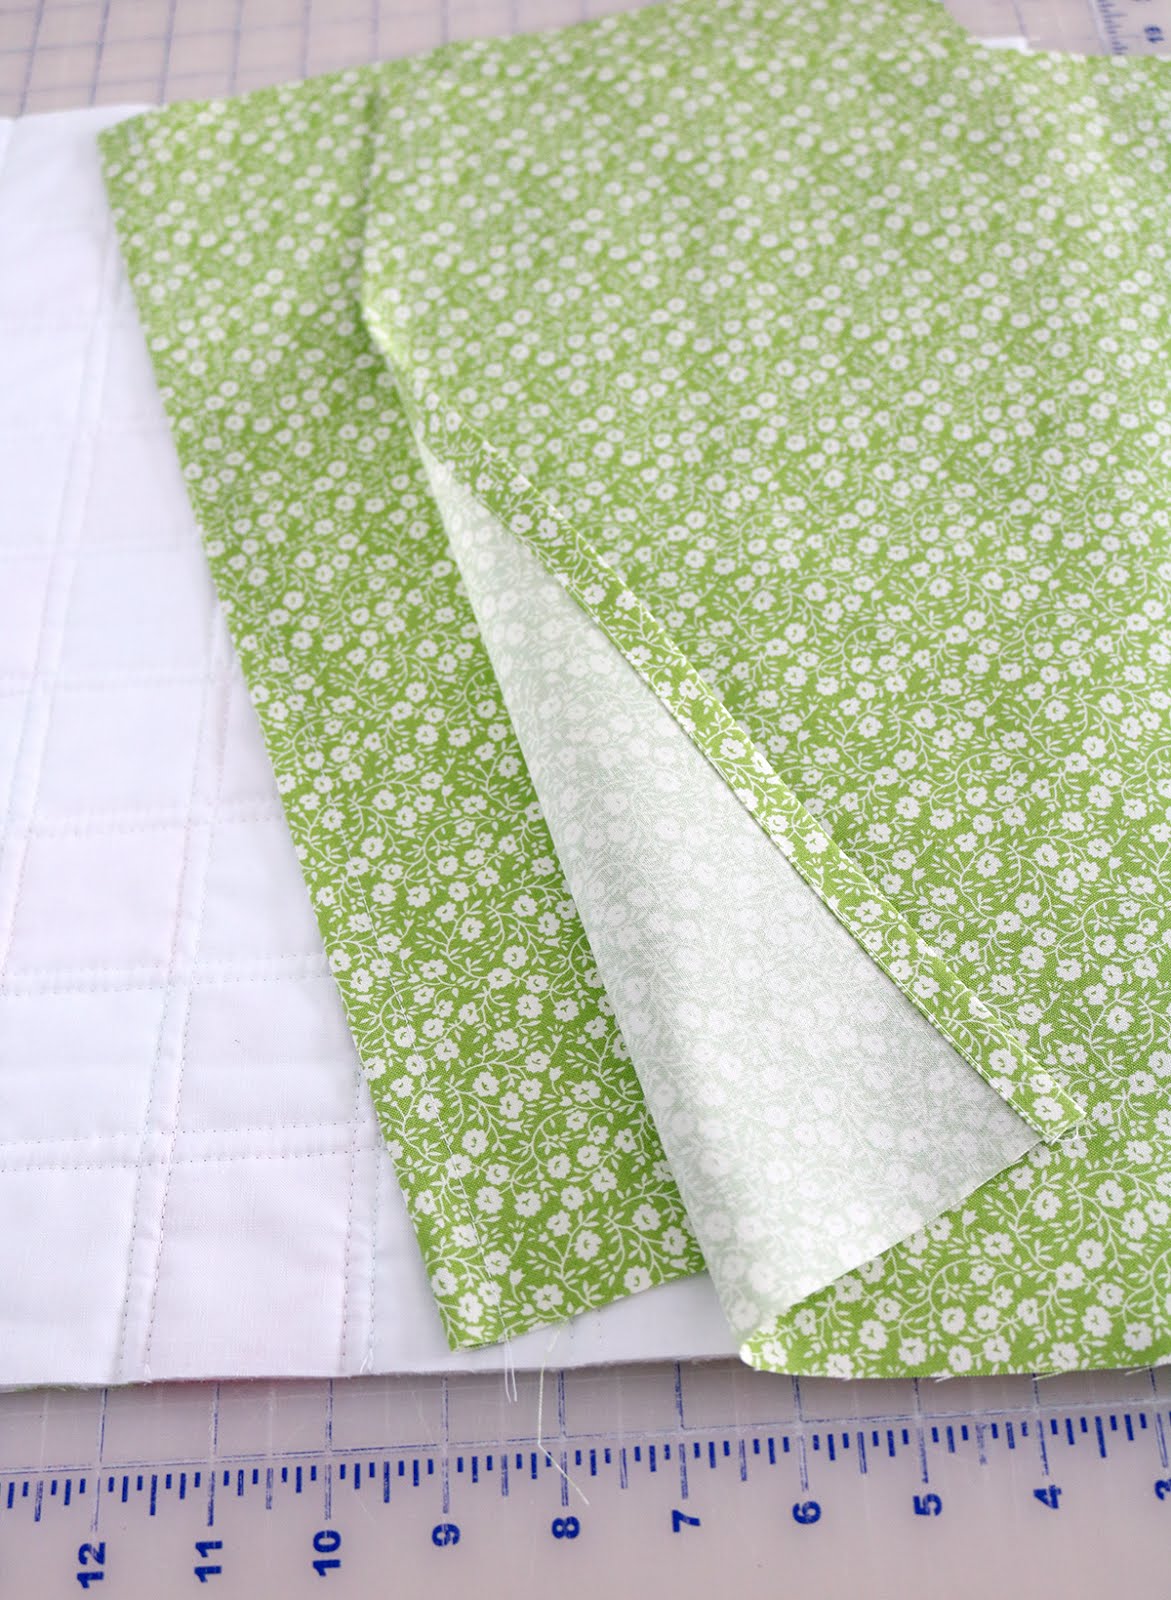
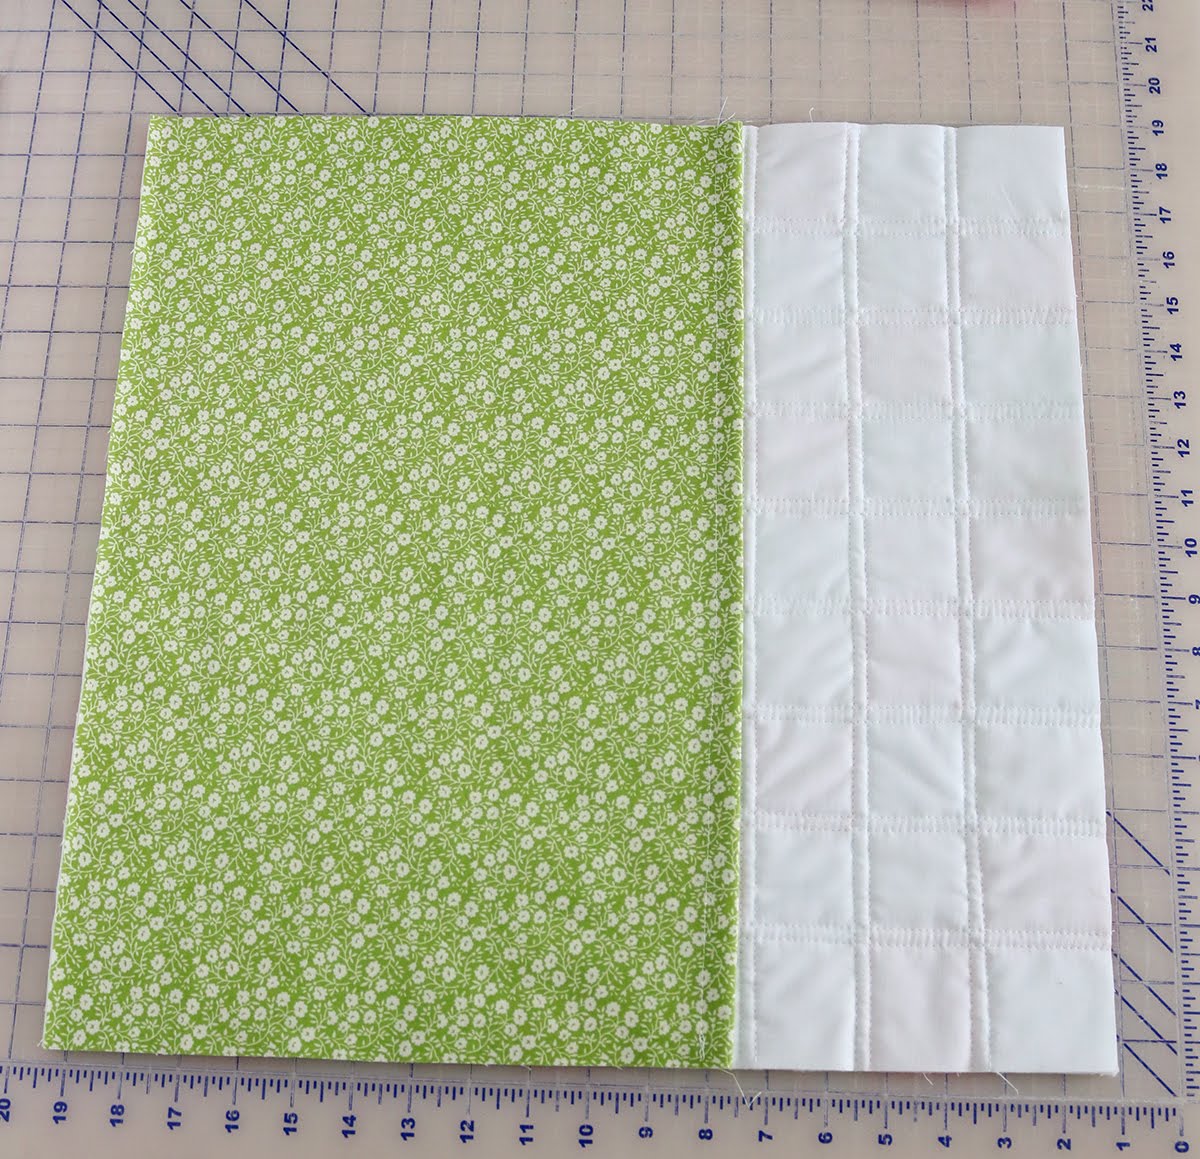
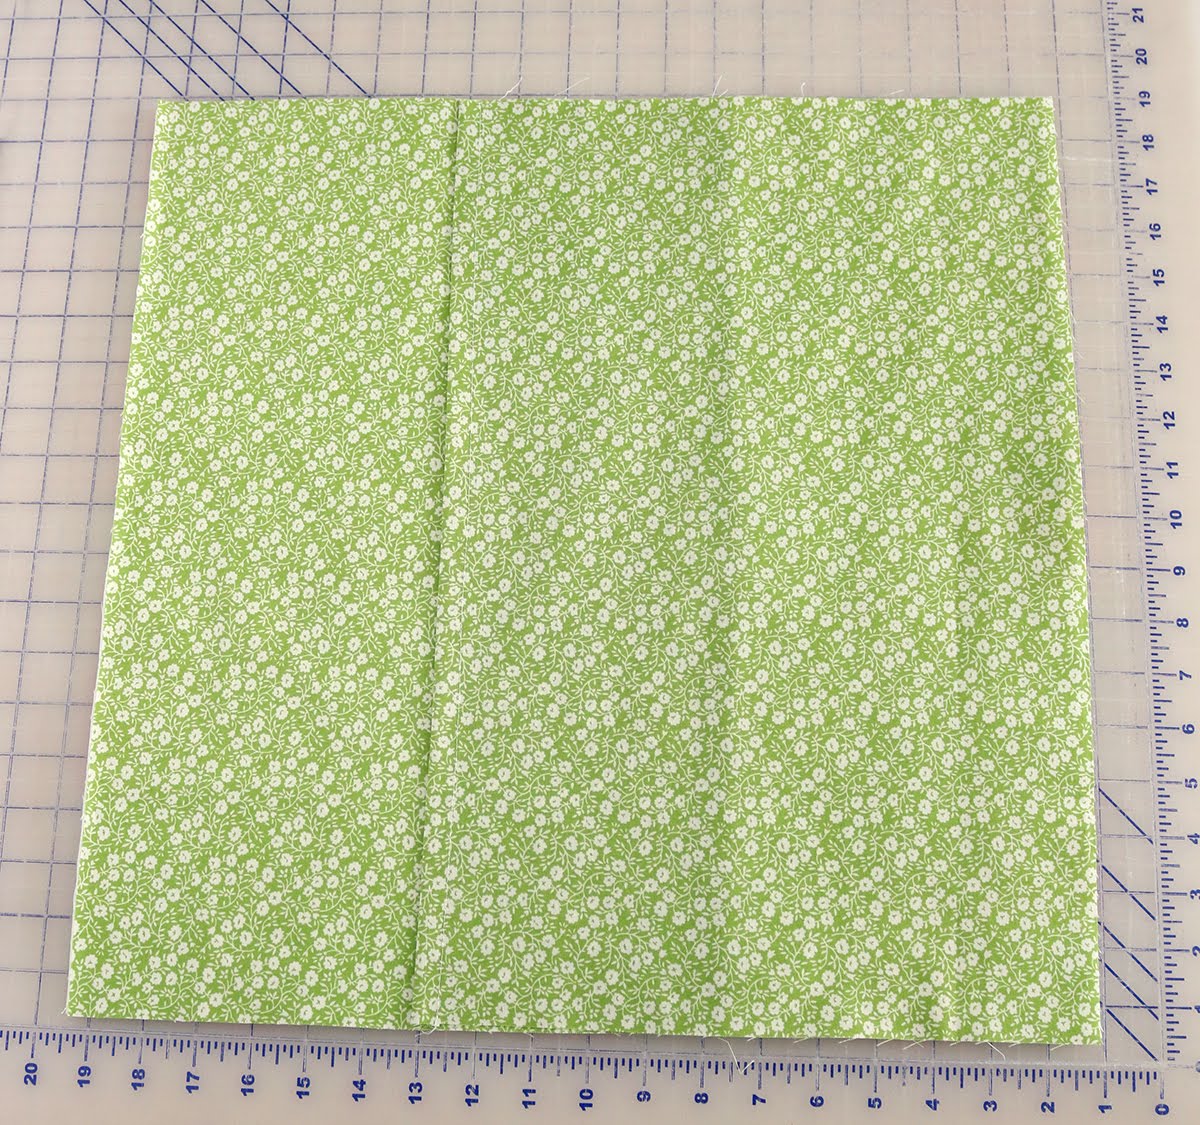
From the backing fabric cut two rectangles that are 12" x 18.5".  On one long edge of both backing pieces, fold under 1/2" and press, then fold under again and press. Stitch along the first fold line to hold it in place and create a nice, finished edge.  


Christmas Patchwork Pillow tutorial by Andy of A Bright Corner - a fun and quick scrap fabric project

Place the quilted and trimmed pillow front right side down on the table.  Then layer the two pillow backing pieces right side up with the finished edges overlapping in the middle of the pillow, and the raw edges lining up with the raw edges of the pillow front.  

Christmas Patchwork Pillow tutorial by Andy of A Bright Corner - a fun and quick scrap fabric project


Christmas Patchwork Pillow tutorial by Andy of A Bright Corner - a fun and quick scrap fabric project

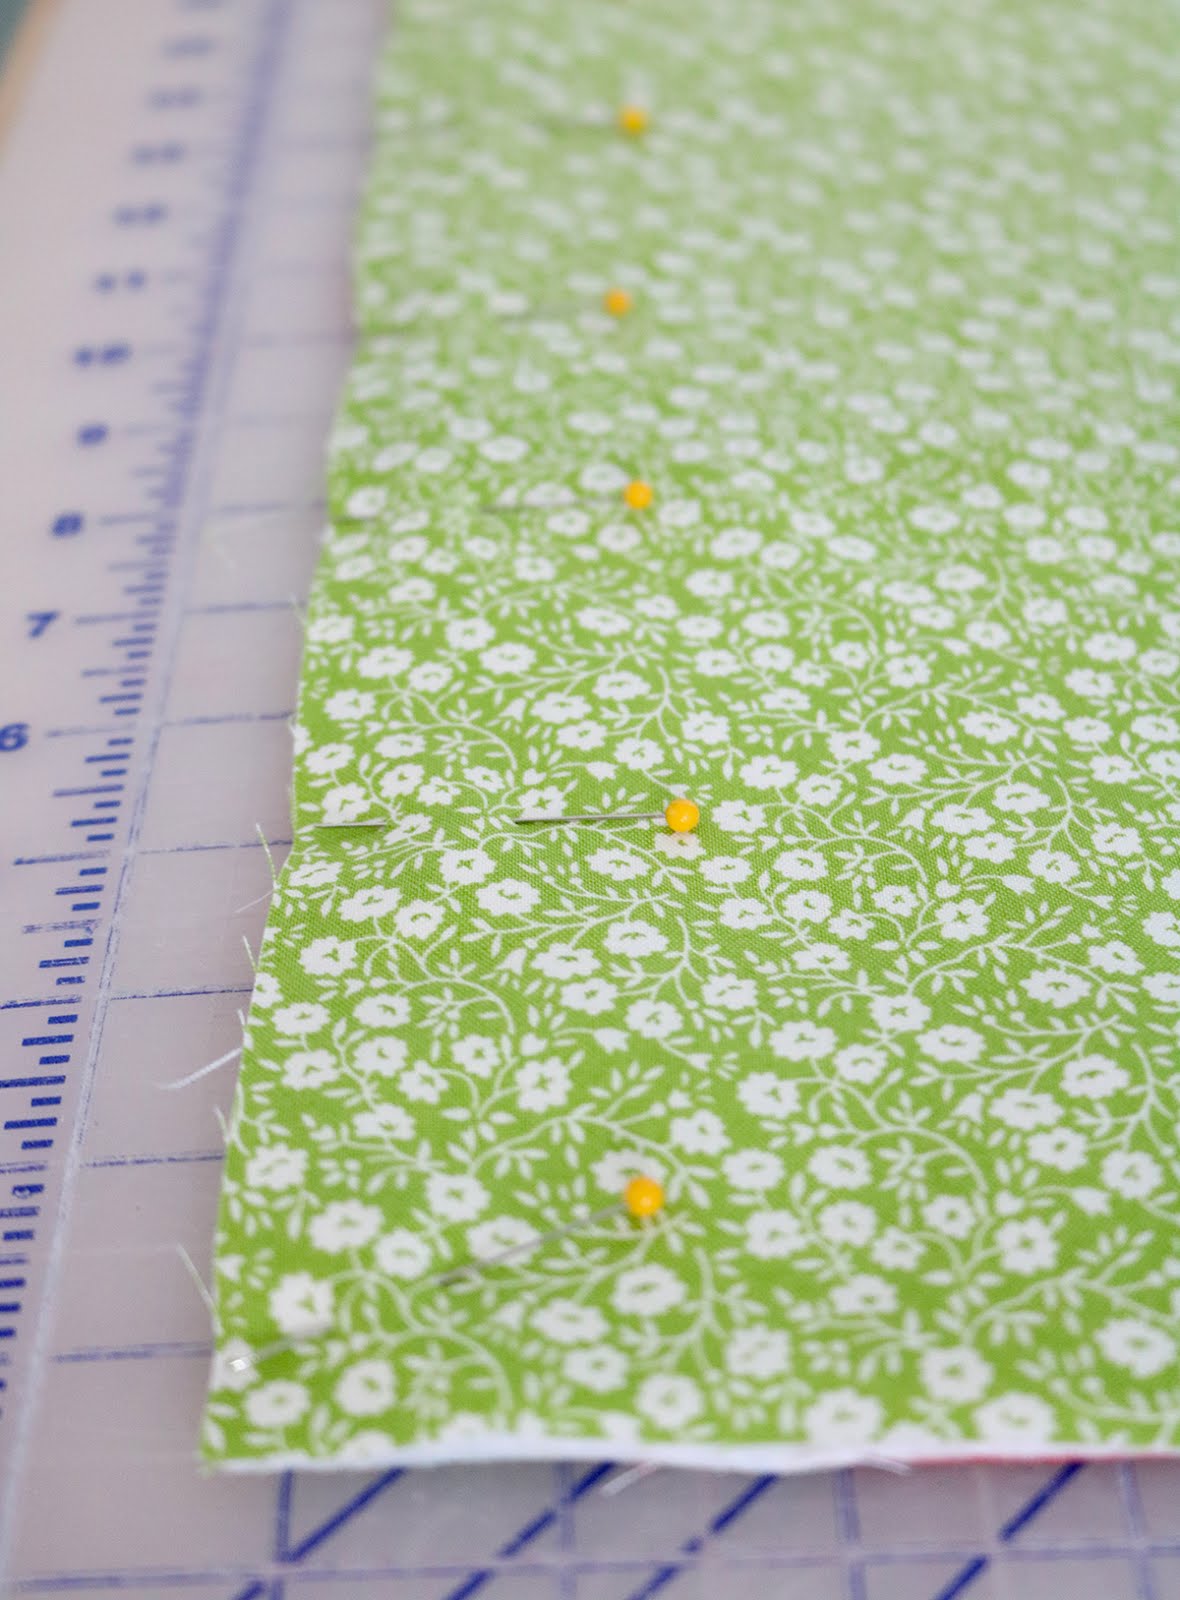
Pin around the outer edges of the entire pillow.

Christmas Patchwork Pillow tutorial by Andy of A Bright Corner - a fun and quick scrap fabric project

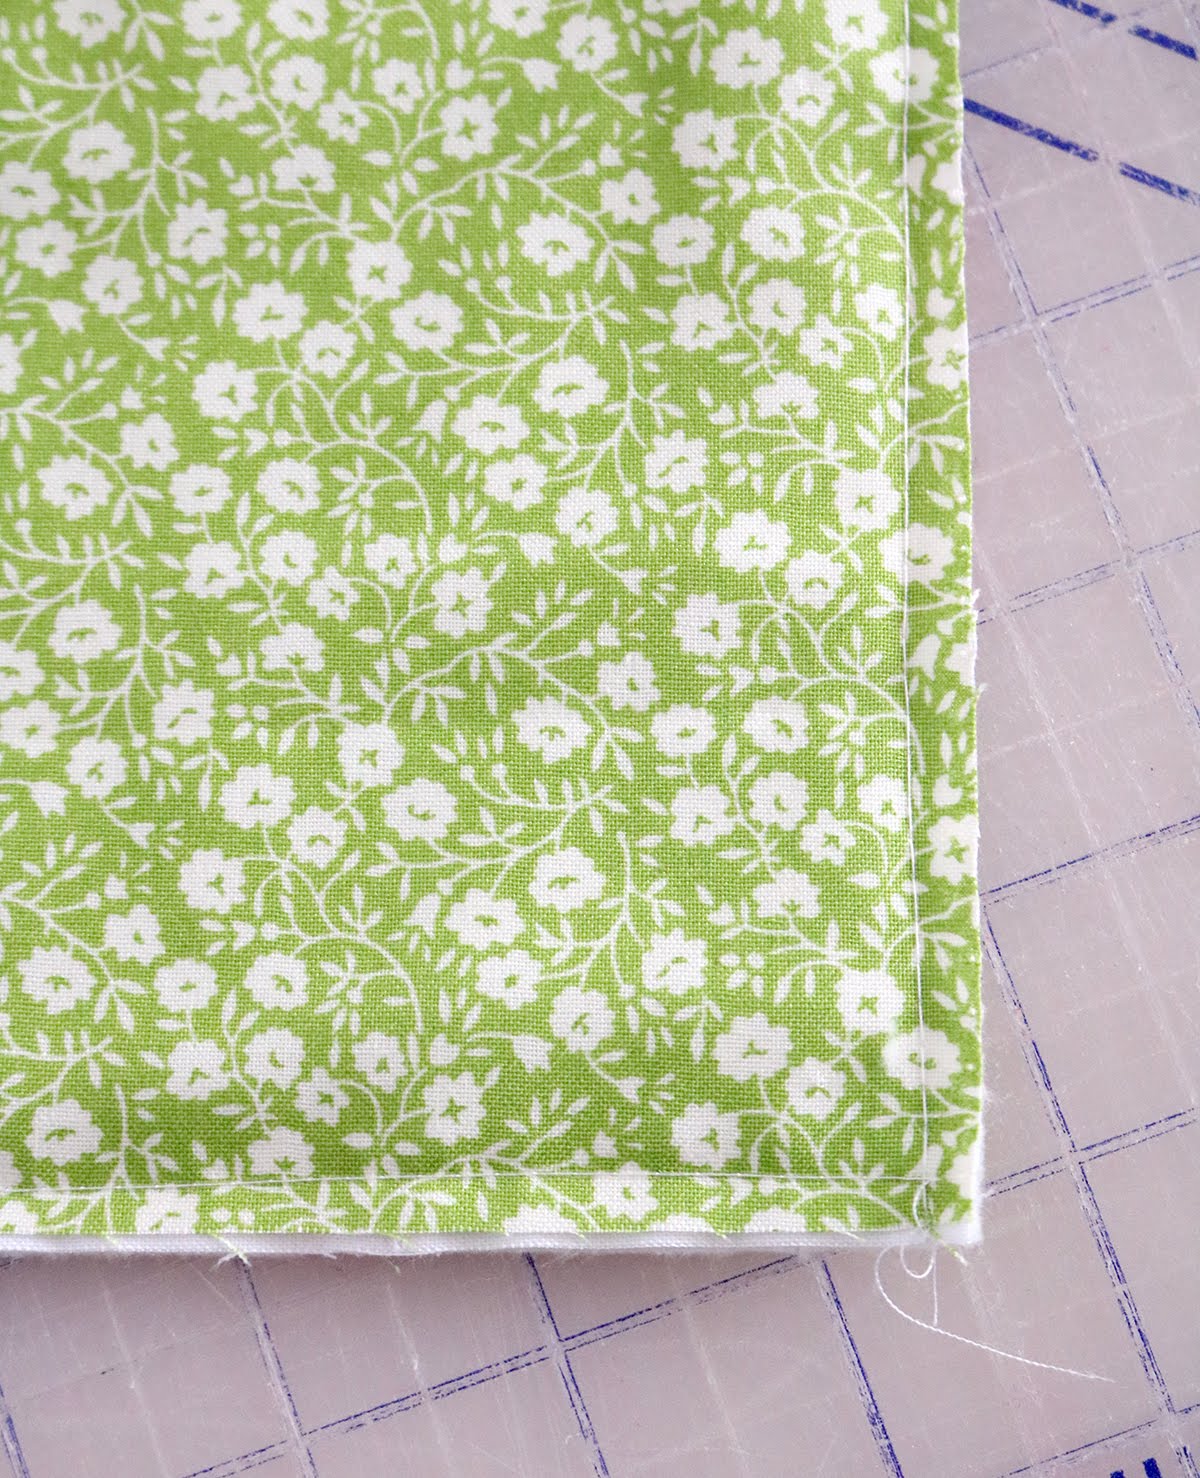
Then using a basting stitch, baste around the entire pillow about 1/8" in from the edge.  This will hold all the layers together as you add the binding, and your basting stitches will be hidden under the binding.

Christmas Patchwork Pillow tutorial by Andy of A Bright Corner - a fun and quick scrap fabric project

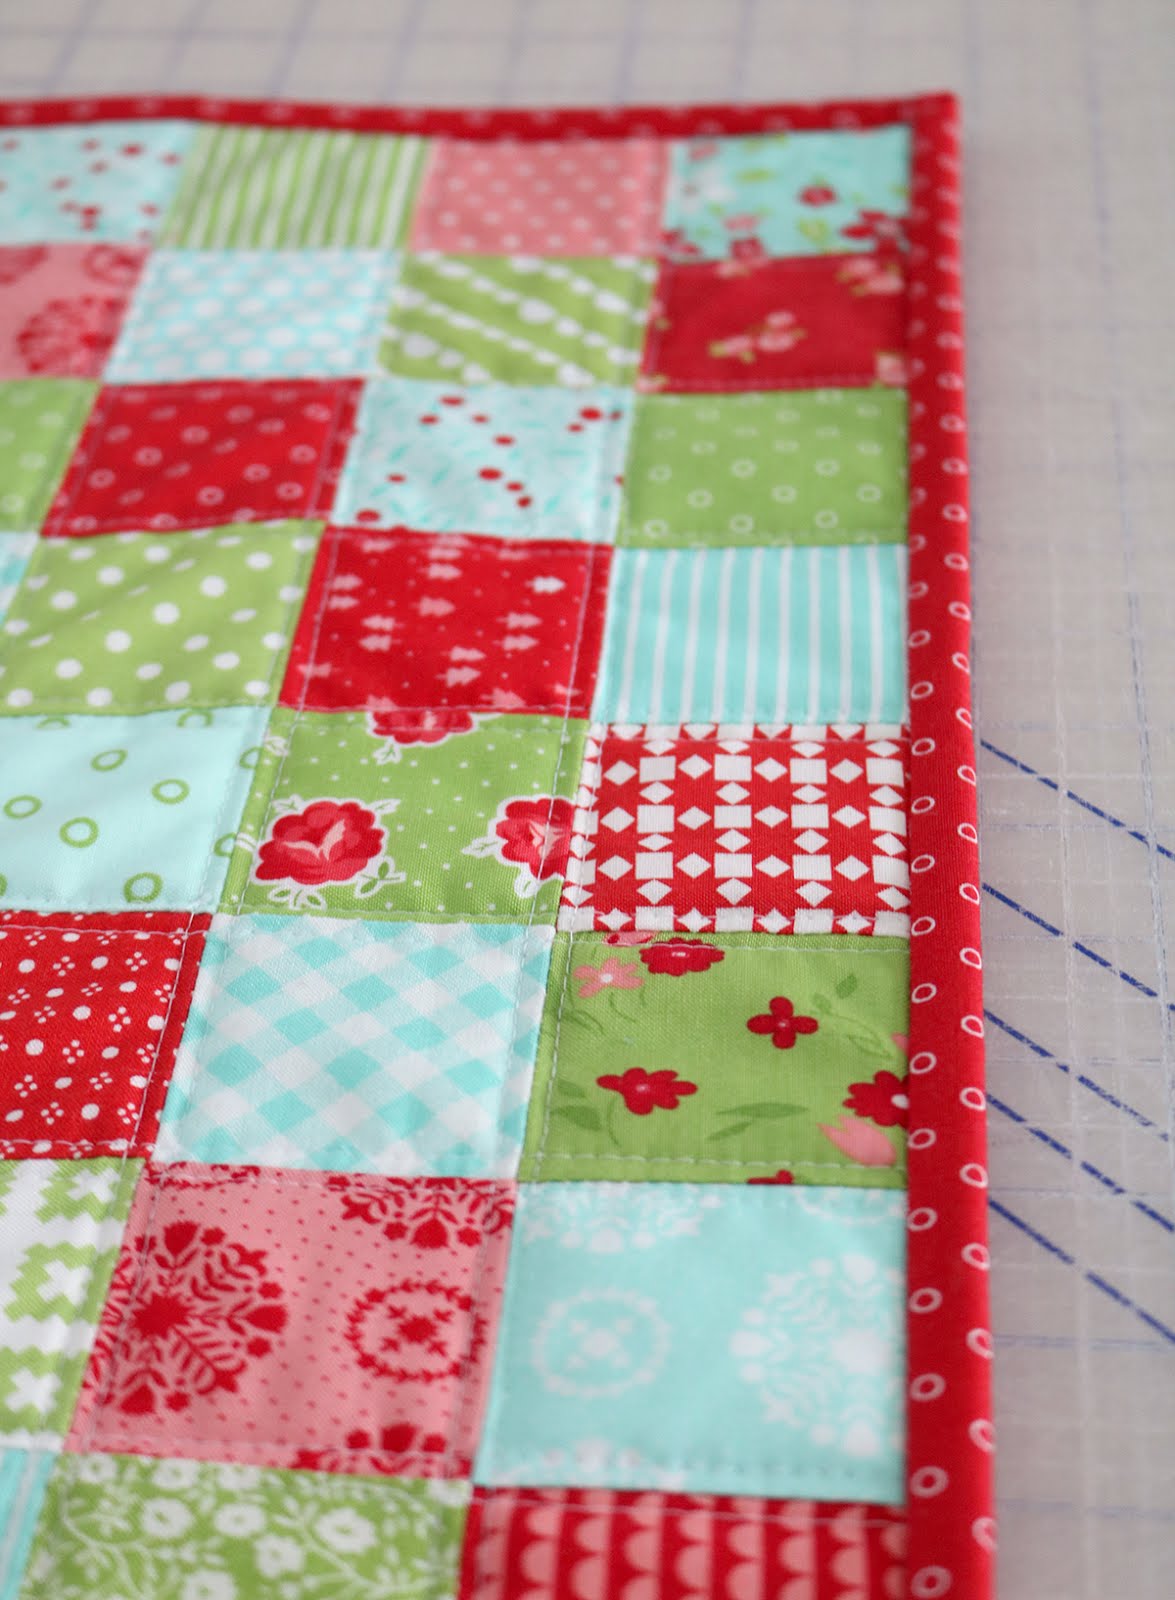
From the binding fabric cut two 2.5" x 42" strips.  Sew them together end to end to make a binding and then bind the pillow as you would a quilt.  Add the pillow insert and it's ready to use!

Christmas Patchwork Pillow tutorial by Andy of A Bright Corner - a fun and quick scrap fabric project

Want to make a pillow that's a different size?  I have a guest post over at Diary of a Quilter today sharing my easy trick for making an envelope backing for any size pillow.  It's an easy-to-remember formula and I use it every time I'm making a pillow.  


Christmas Patchwork Pillow tutorial by Andy of A Bright Corner - a fun and quick scrap fabric project

#christmaspatchworkpillow #abrightcorner

Thanks for stopping by, and happy sewing everyone!
--Andy


Related Posts Plugin for WordPress, Blogger...