From start to finish this was about a two-year project, although I did set it aside for awhile to work on other things.
Showing posts with label Scraps. Show all posts
Wednesday, June 10, 2020
My Dahlia Quilt
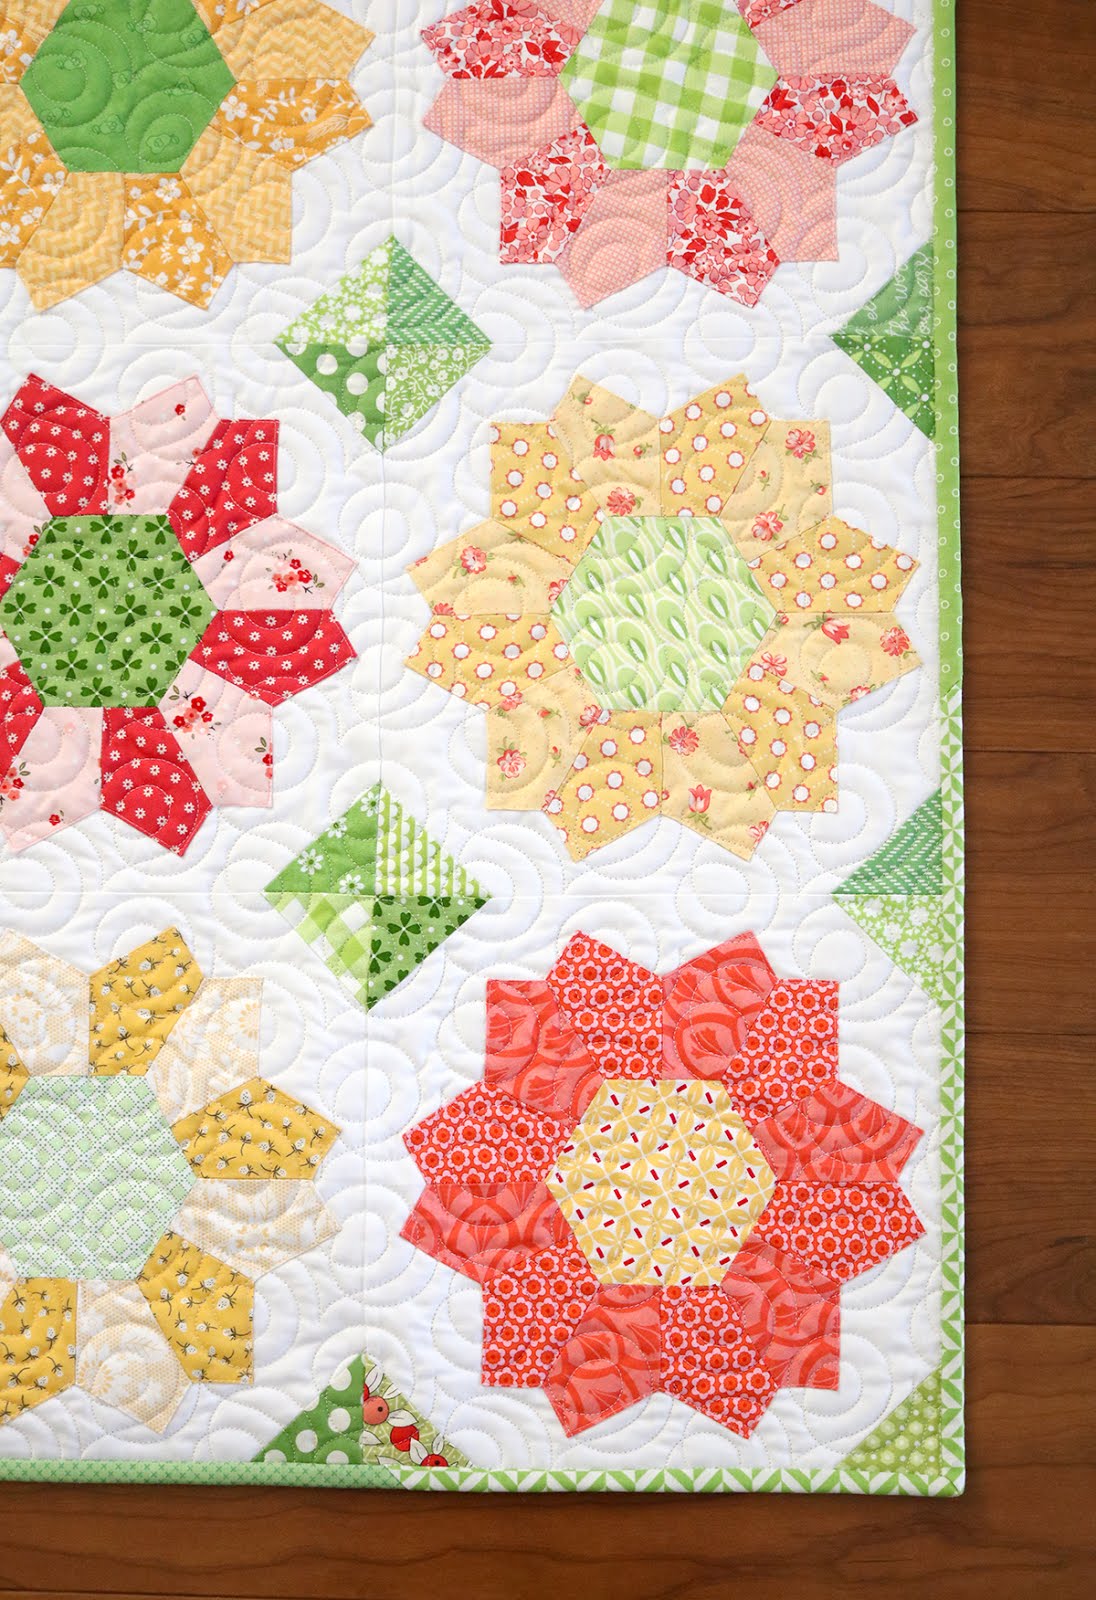
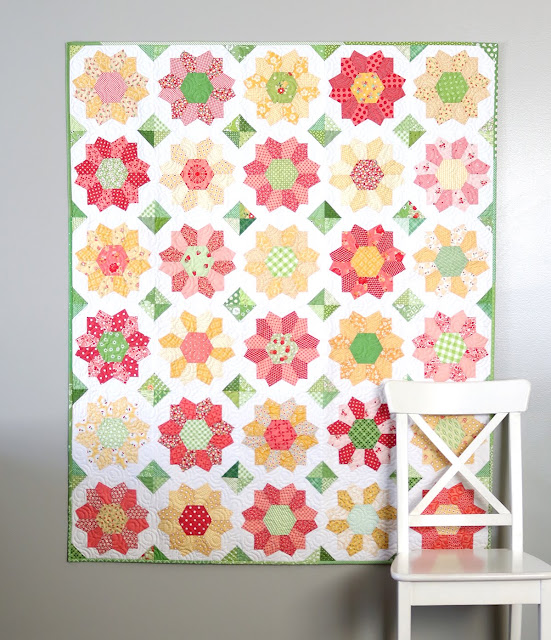
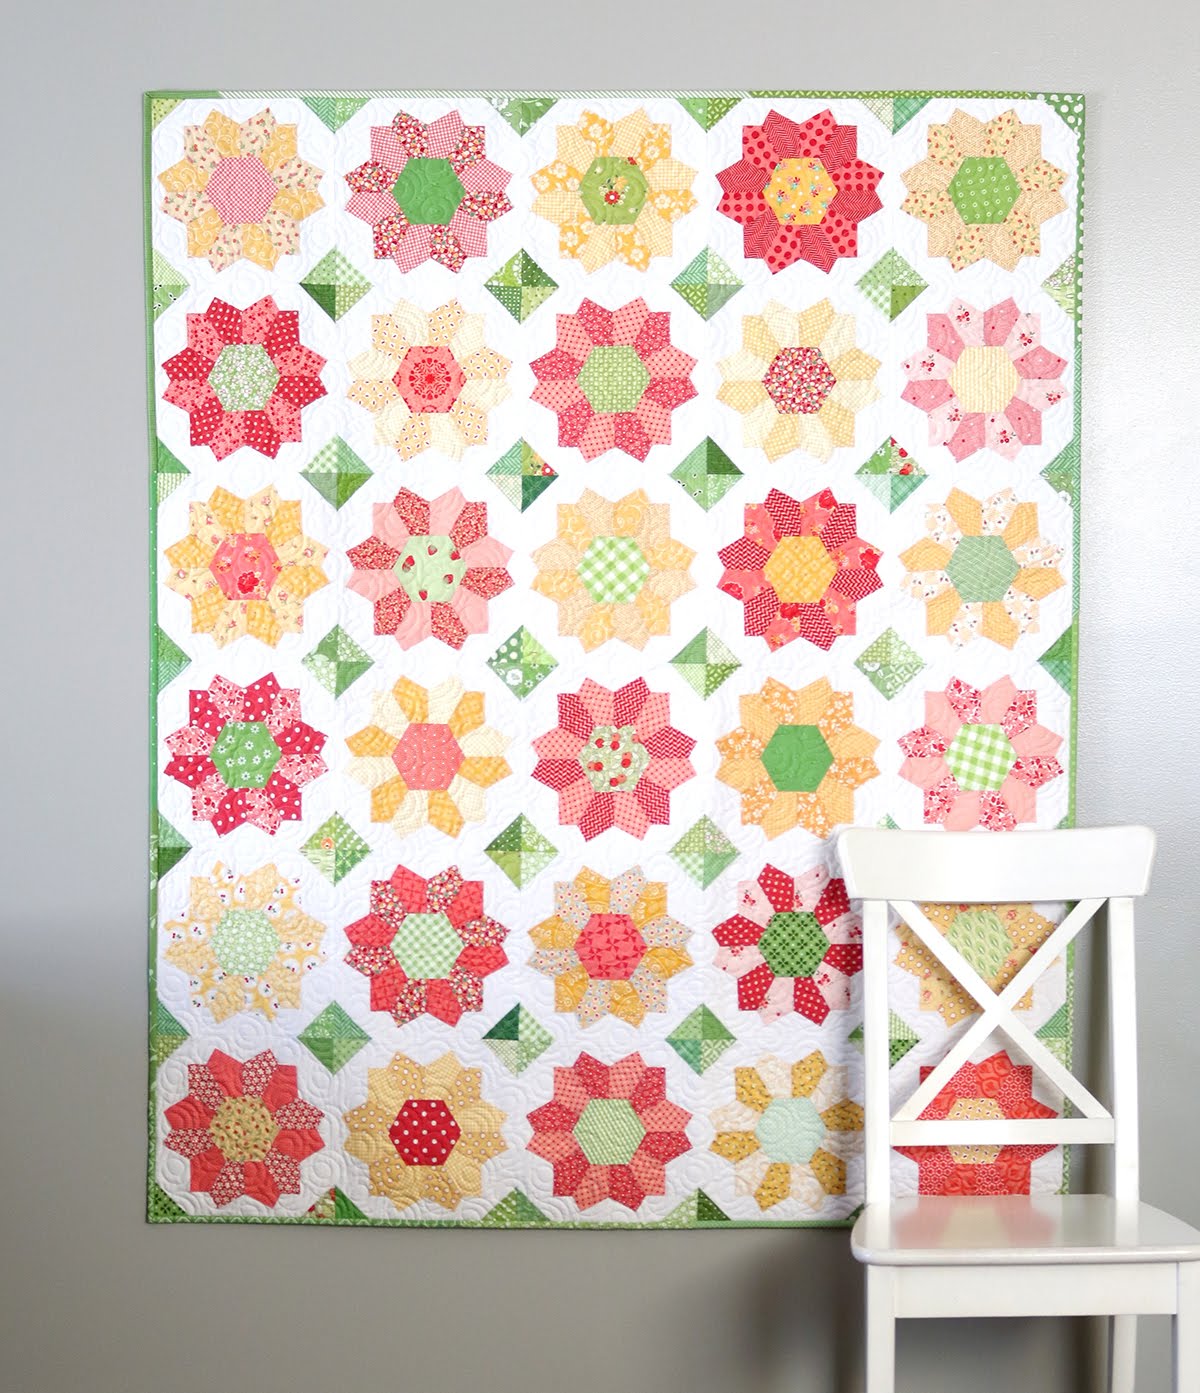
This quilt has been done for awhile but I haven't yet shared it here with you! If you follow me on Instagram you might have seen me working on these EPP Dahlia blocks over the past couple of years.
From start to finish this was about a two-year project, although I did set it aside for awhile to work on other things.
Wednesday, March 18, 2020
Strips and Squares Quilt + Perfectly Pretty Patchwork Book
Hi everyone - how are you holding up with all of the Covid 19 craziness? It's during times like these that I really appreciate how therapeutic sewing and quilting can be.
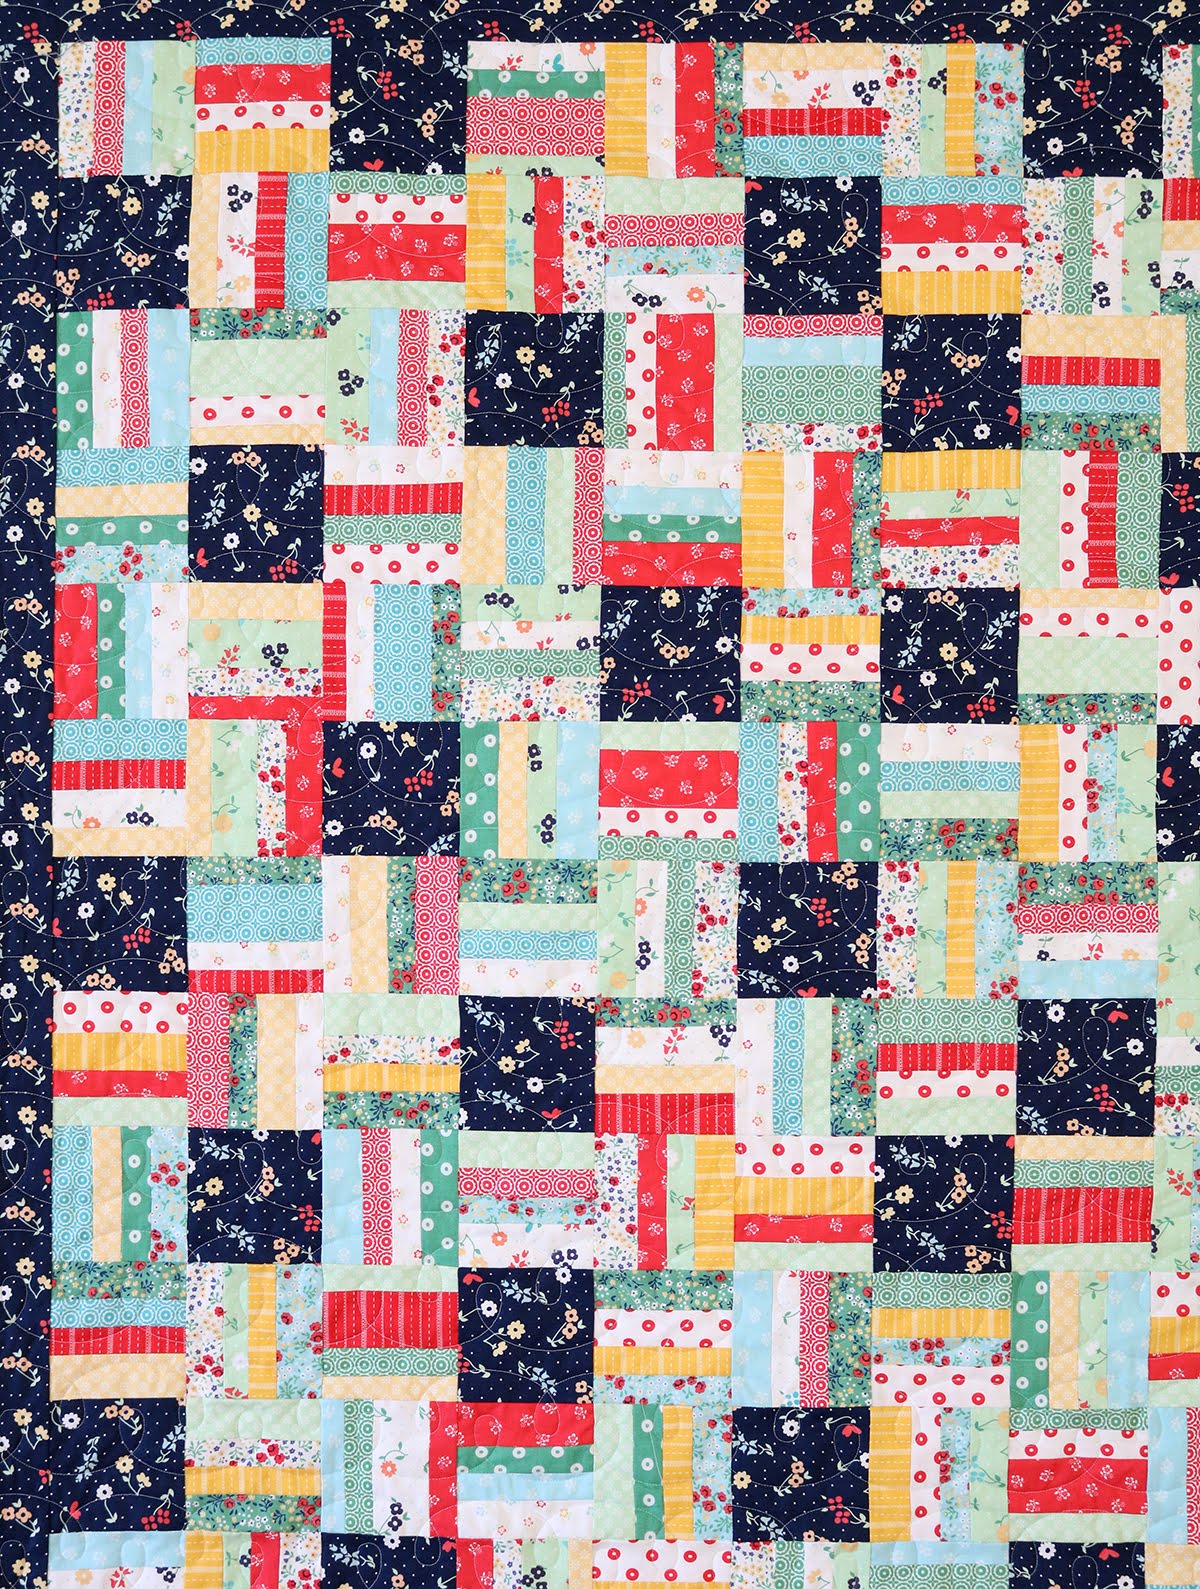
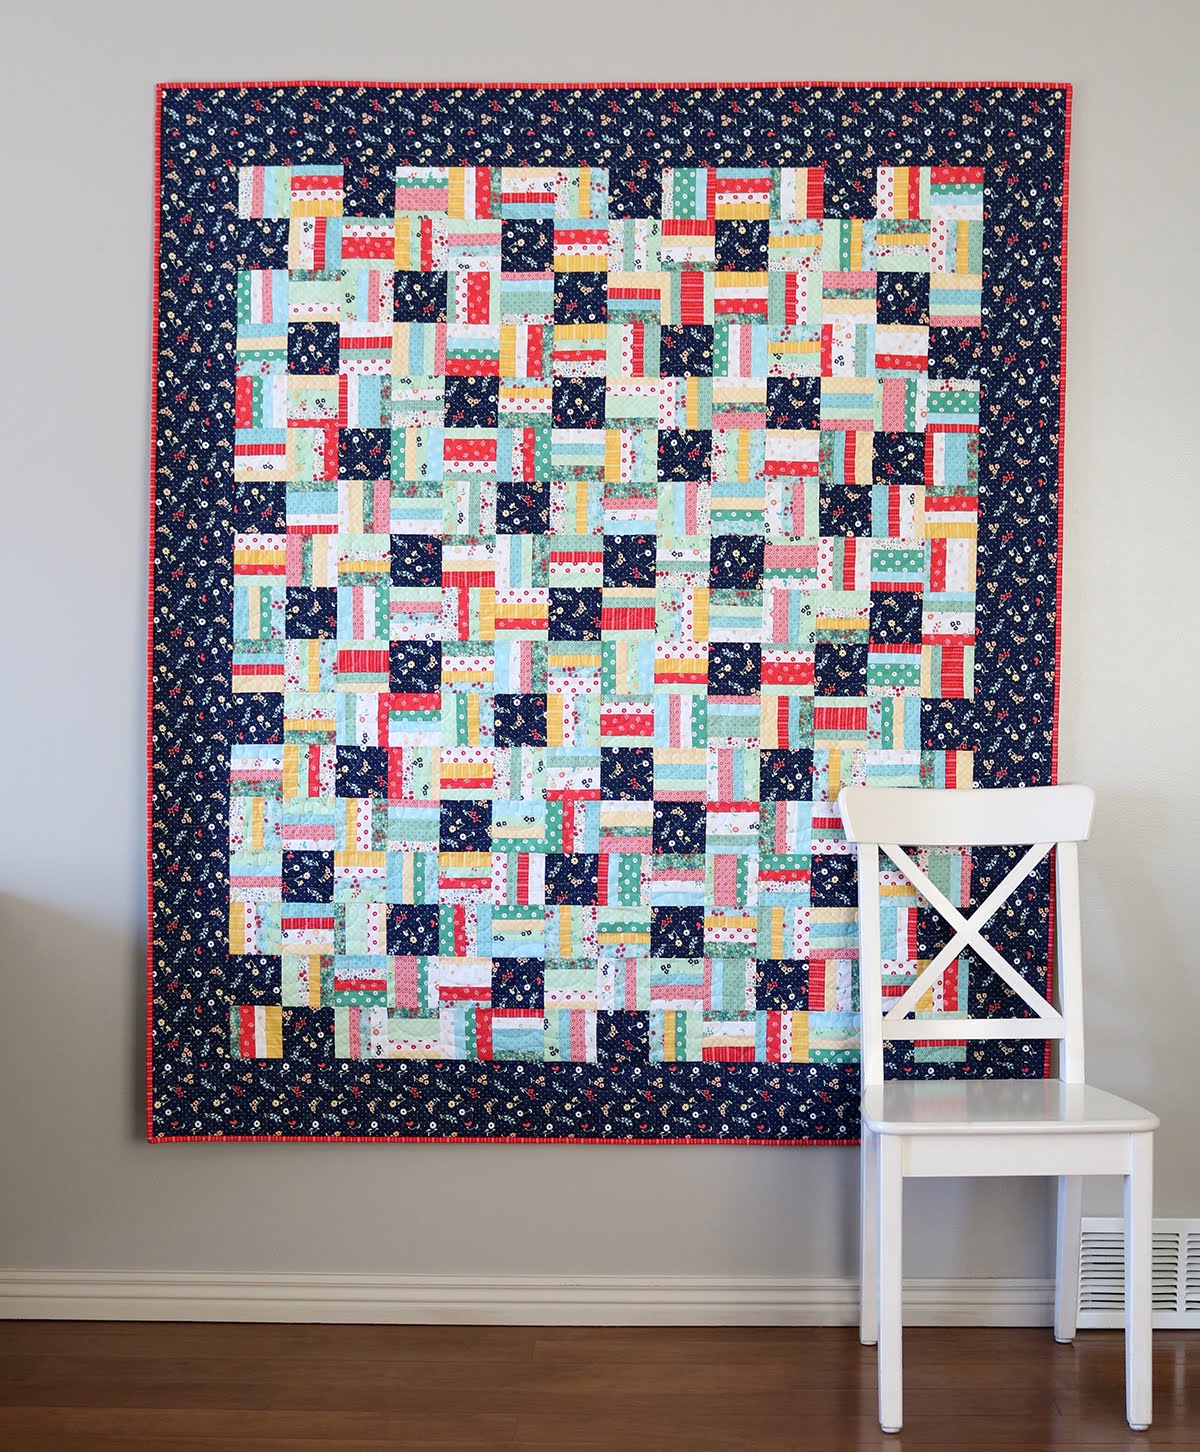
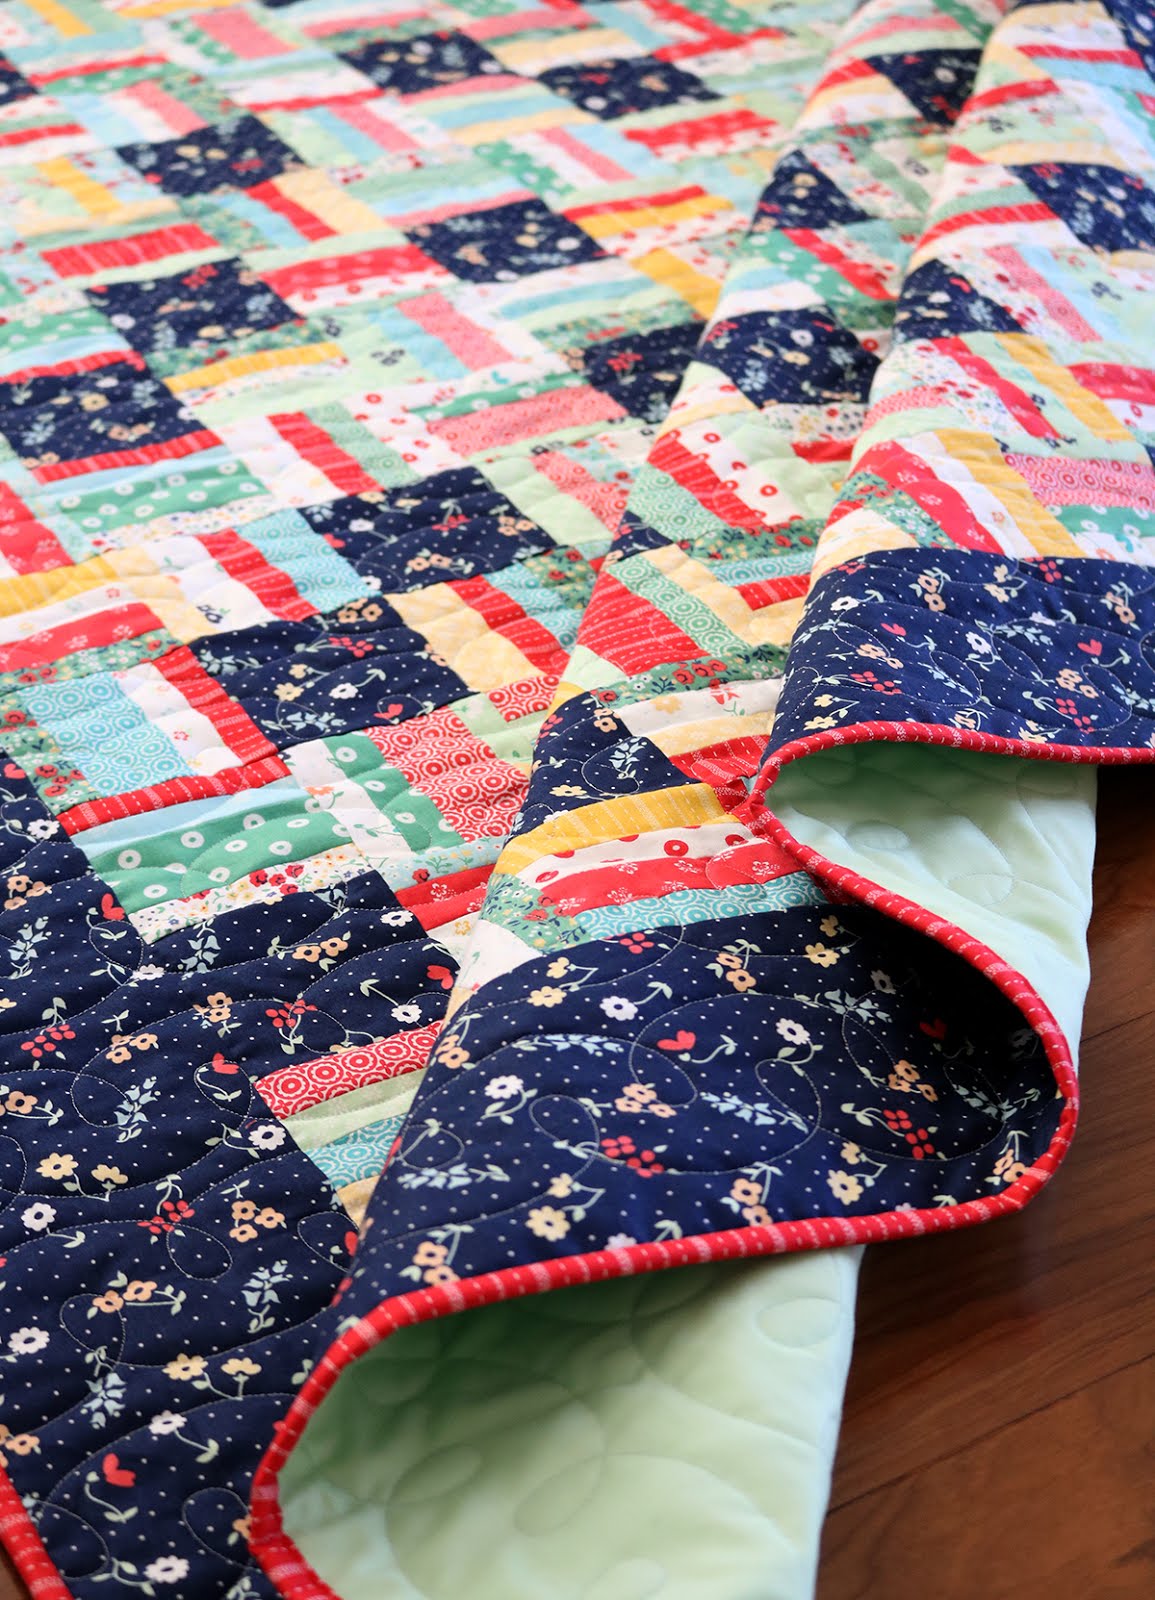
Lately I've been finding some solace while working on this pseudo-scrappy quilt called Strips & Squares.
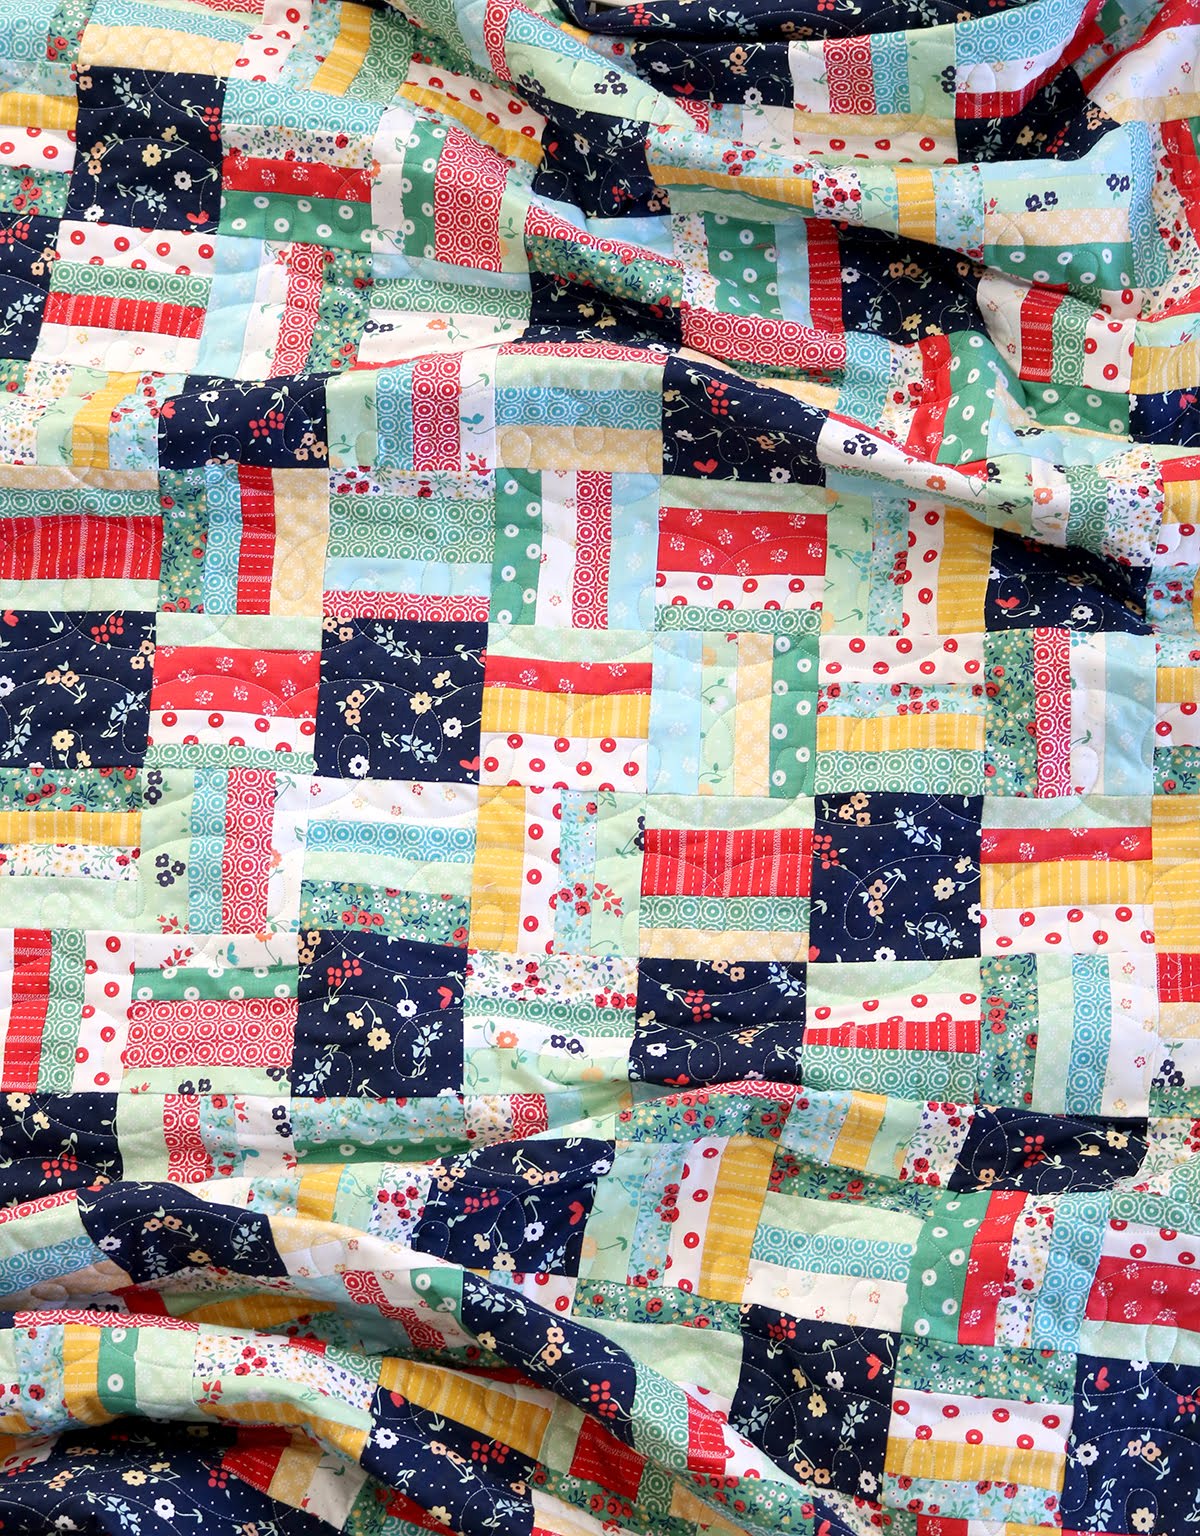
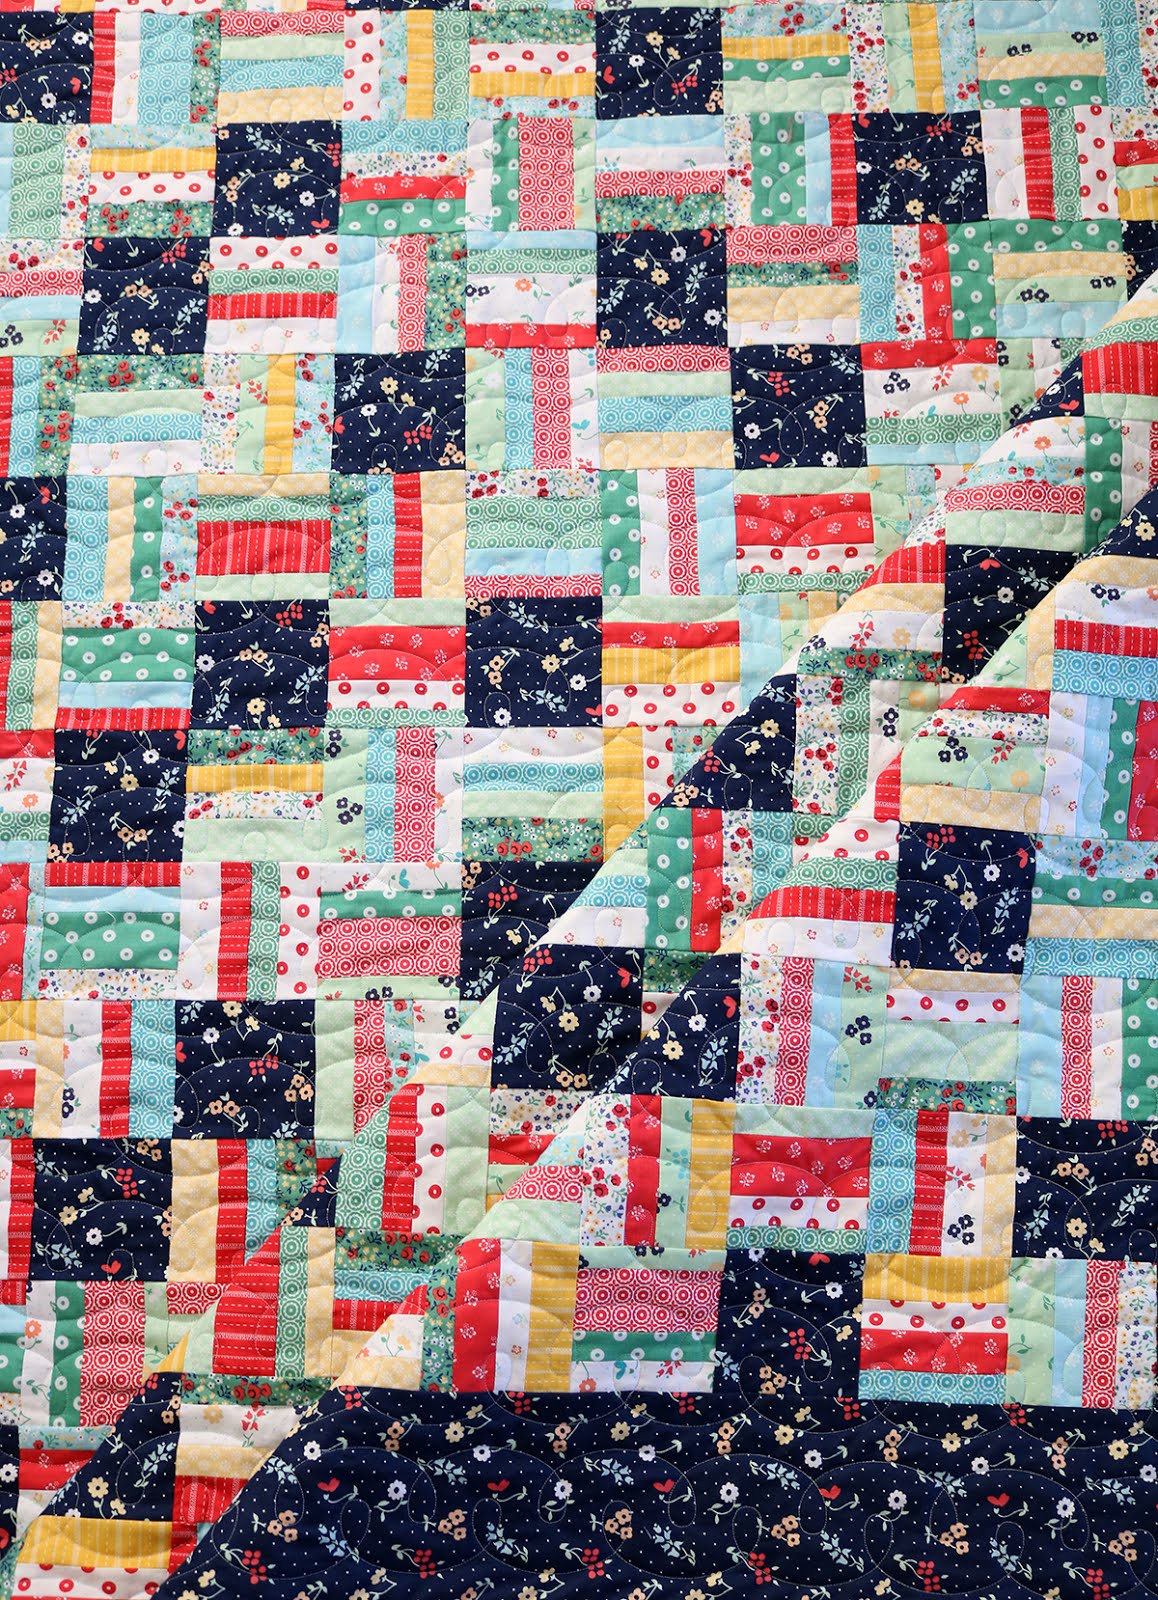
I call it "pseudo-scrappy" because it's not a true scrap quilt, but it sure looks like it! For this quilt I used a fat quarter bundle of the Sugarhouse Park line by Amy Smart (Riley Blake Designs).
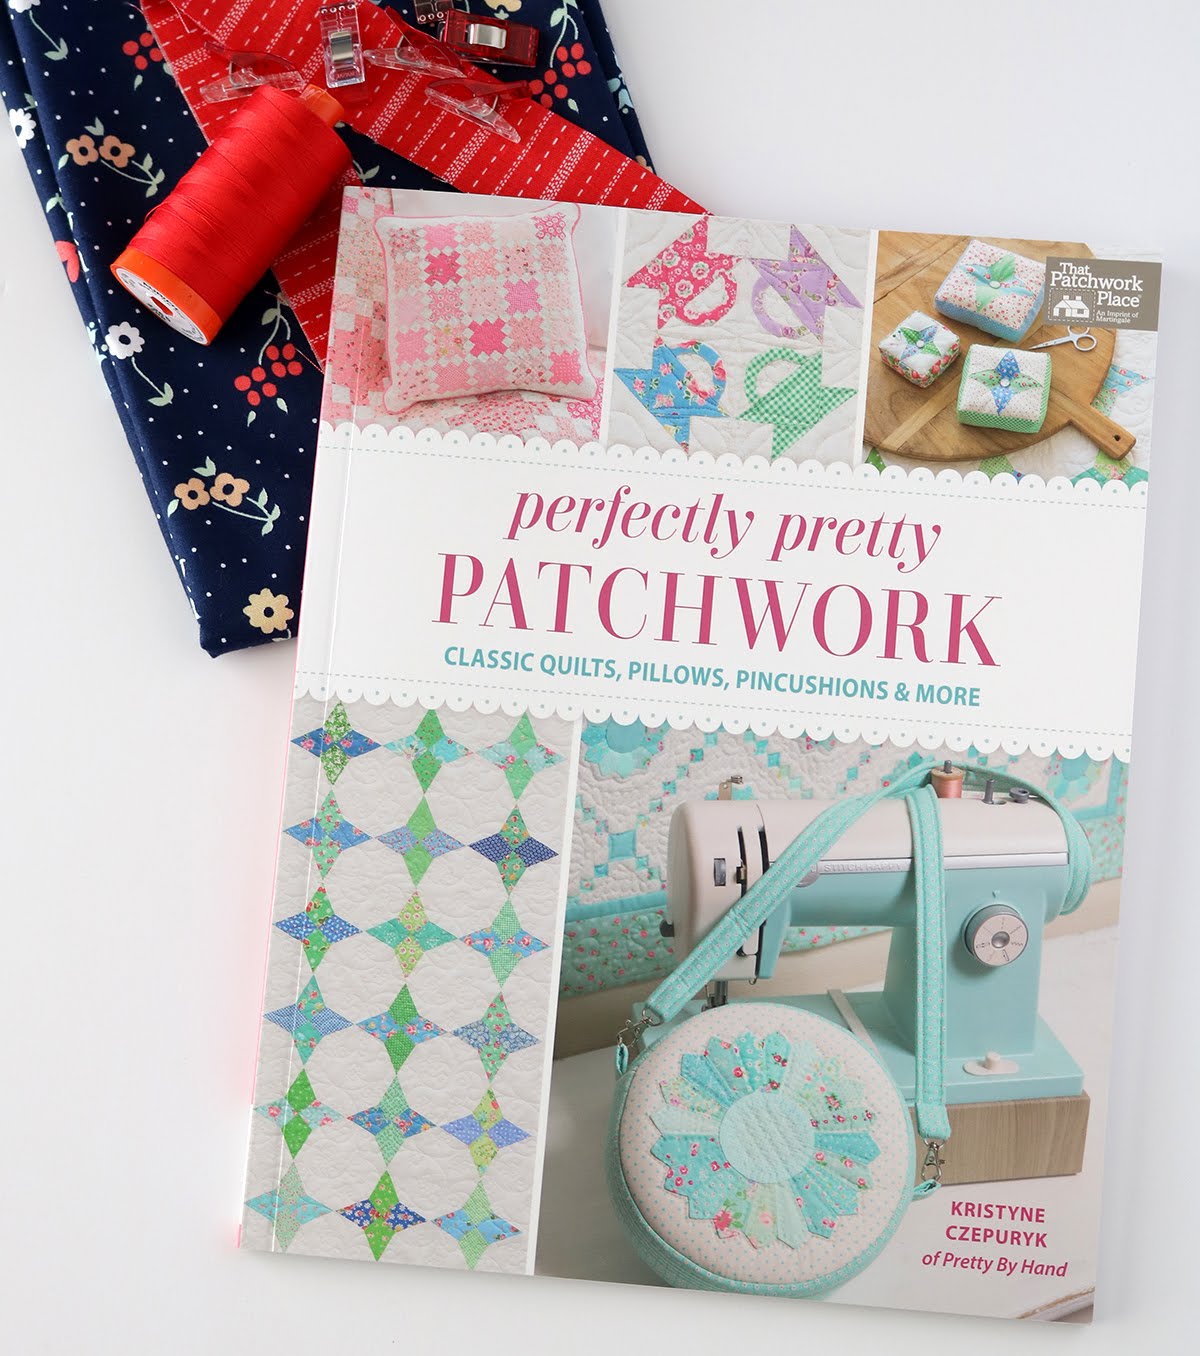
The pattern I used is from the book, Perfectly Pretty Patchwork* by Kristyne Czepuryk (Pretty By Hand). Kristyne has a fabulous vintage style that I've always loved and the pages of her book are filled with it.
I love her attention to detail and there's plenty of close-up photos sprinkled throughout the book that allow us readers to really appreciate those details.
*this post contains affiliate links
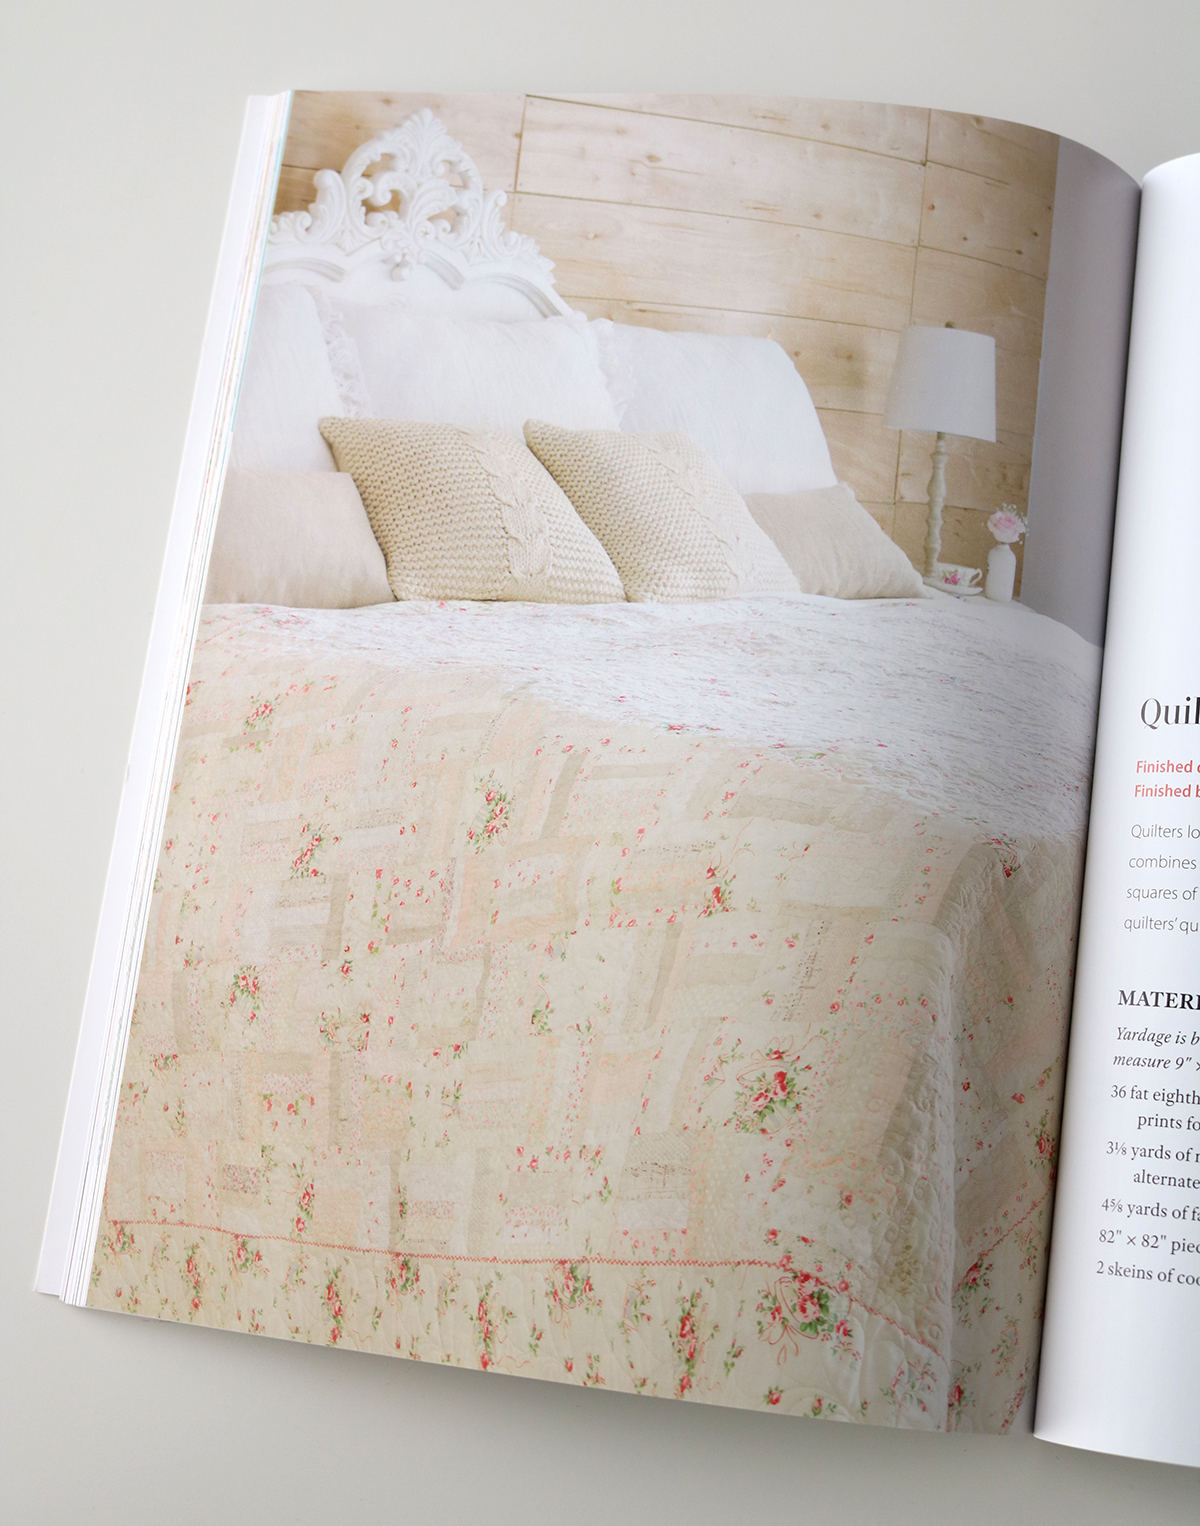
Her pretty version of the Strips and Squares quilt is made from all low-volume prints and it's so soft and lovely.
My first thought was to make a similar quilt (haven knows I have enough low-vol scraps) but then I thought it might be fun to see a completely different version of this quilt done in bold, bright colors. Which one is more your style?
This pattern is perfect for using your scraps but Kristyne also gives the fabric requirements for those of you who (like me) have a fat quarter or fat eighth bundle you want to use.
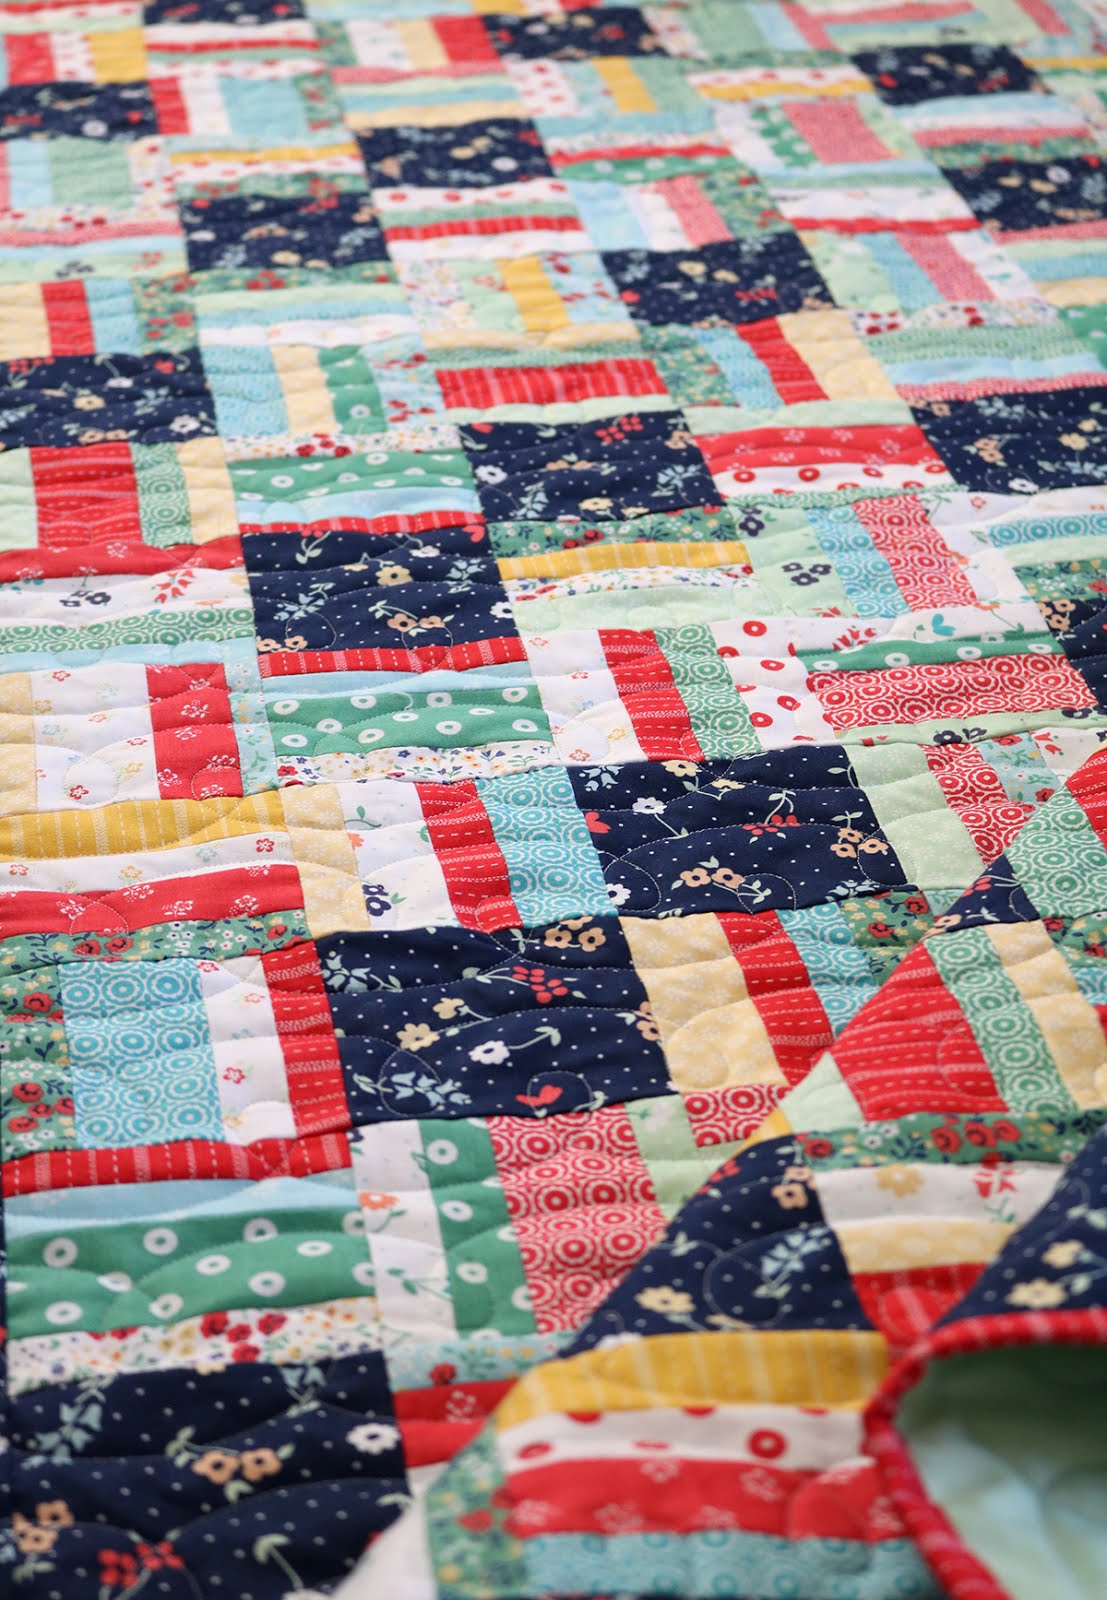
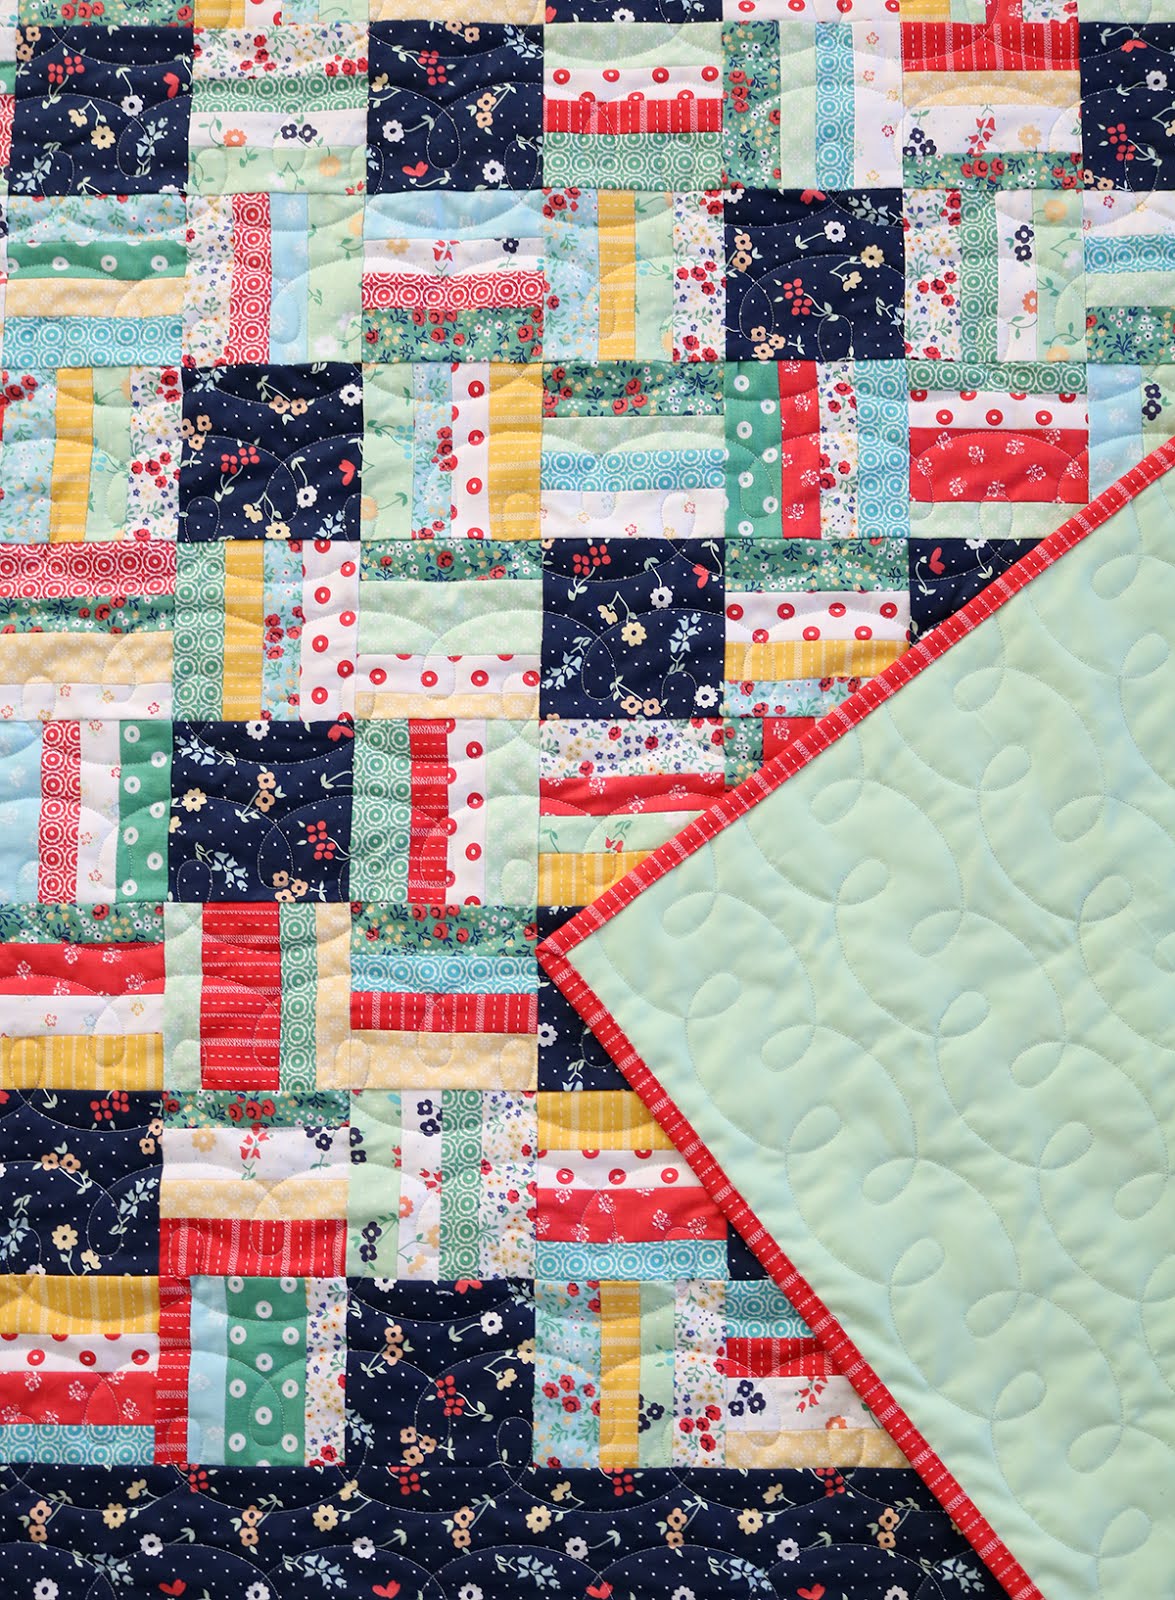
That navy floral print is my favorite from the Sugarhouse Park line so I wanted it to be the star of the show. I used it for all of the squares and the border. It frames it up nicely! And by not using any other navy print in the quilt, it makes those squares pop even more.
This quilt is just begging to go on a picnic, don't you think? Now we just need some warmer weather and some sunshine!
You can see other projects from Kristyne's book by searching the hashtag #PerfectlyPrettyPatchworkBook on Instagram.
You can find copies of Perfectly Pretty Patchwork here on Amazon, and here from the Fat Quarter Shop. Fat Quarter bundles of Sugarhouse Park are available at the Fat Quarter Shop as well.
Quilt details:
60" x 70"
Pattern: Strips & Squares from the book, Perfectly Pretty Patchwork
Fabric: Sugarhouse Park by Amy Smart for Riley Blake Designs
Quilting: Reverse Loops (edge to edge computerized design)
Backing: Kona cotton solid in Mint (color #1234)
Lately I've been finding some solace while working on this pseudo-scrappy quilt called Strips & Squares.
I call it "pseudo-scrappy" because it's not a true scrap quilt, but it sure looks like it! For this quilt I used a fat quarter bundle of the Sugarhouse Park line by Amy Smart (Riley Blake Designs).
The pattern I used is from the book, Perfectly Pretty Patchwork* by Kristyne Czepuryk (Pretty By Hand). Kristyne has a fabulous vintage style that I've always loved and the pages of her book are filled with it.
I love her attention to detail and there's plenty of close-up photos sprinkled throughout the book that allow us readers to really appreciate those details.
*this post contains affiliate links
Her pretty version of the Strips and Squares quilt is made from all low-volume prints and it's so soft and lovely.
My first thought was to make a similar quilt (haven knows I have enough low-vol scraps) but then I thought it might be fun to see a completely different version of this quilt done in bold, bright colors. Which one is more your style?
This pattern is perfect for using your scraps but Kristyne also gives the fabric requirements for those of you who (like me) have a fat quarter or fat eighth bundle you want to use.
That navy floral print is my favorite from the Sugarhouse Park line so I wanted it to be the star of the show. I used it for all of the squares and the border. It frames it up nicely! And by not using any other navy print in the quilt, it makes those squares pop even more.
This quilt is just begging to go on a picnic, don't you think? Now we just need some warmer weather and some sunshine!
You can see other projects from Kristyne's book by searching the hashtag #PerfectlyPrettyPatchworkBook on Instagram.
You can find copies of Perfectly Pretty Patchwork here on Amazon, and here from the Fat Quarter Shop. Fat Quarter bundles of Sugarhouse Park are available at the Fat Quarter Shop as well.
Quilt details:
60" x 70"
Pattern: Strips & Squares from the book, Perfectly Pretty Patchwork
Fabric: Sugarhouse Park by Amy Smart for Riley Blake Designs
Quilting: Reverse Loops (edge to edge computerized design)
Backing: Kona cotton solid in Mint (color #1234)
Monday, January 13, 2020
Game Night Quilt - The Christmas Version
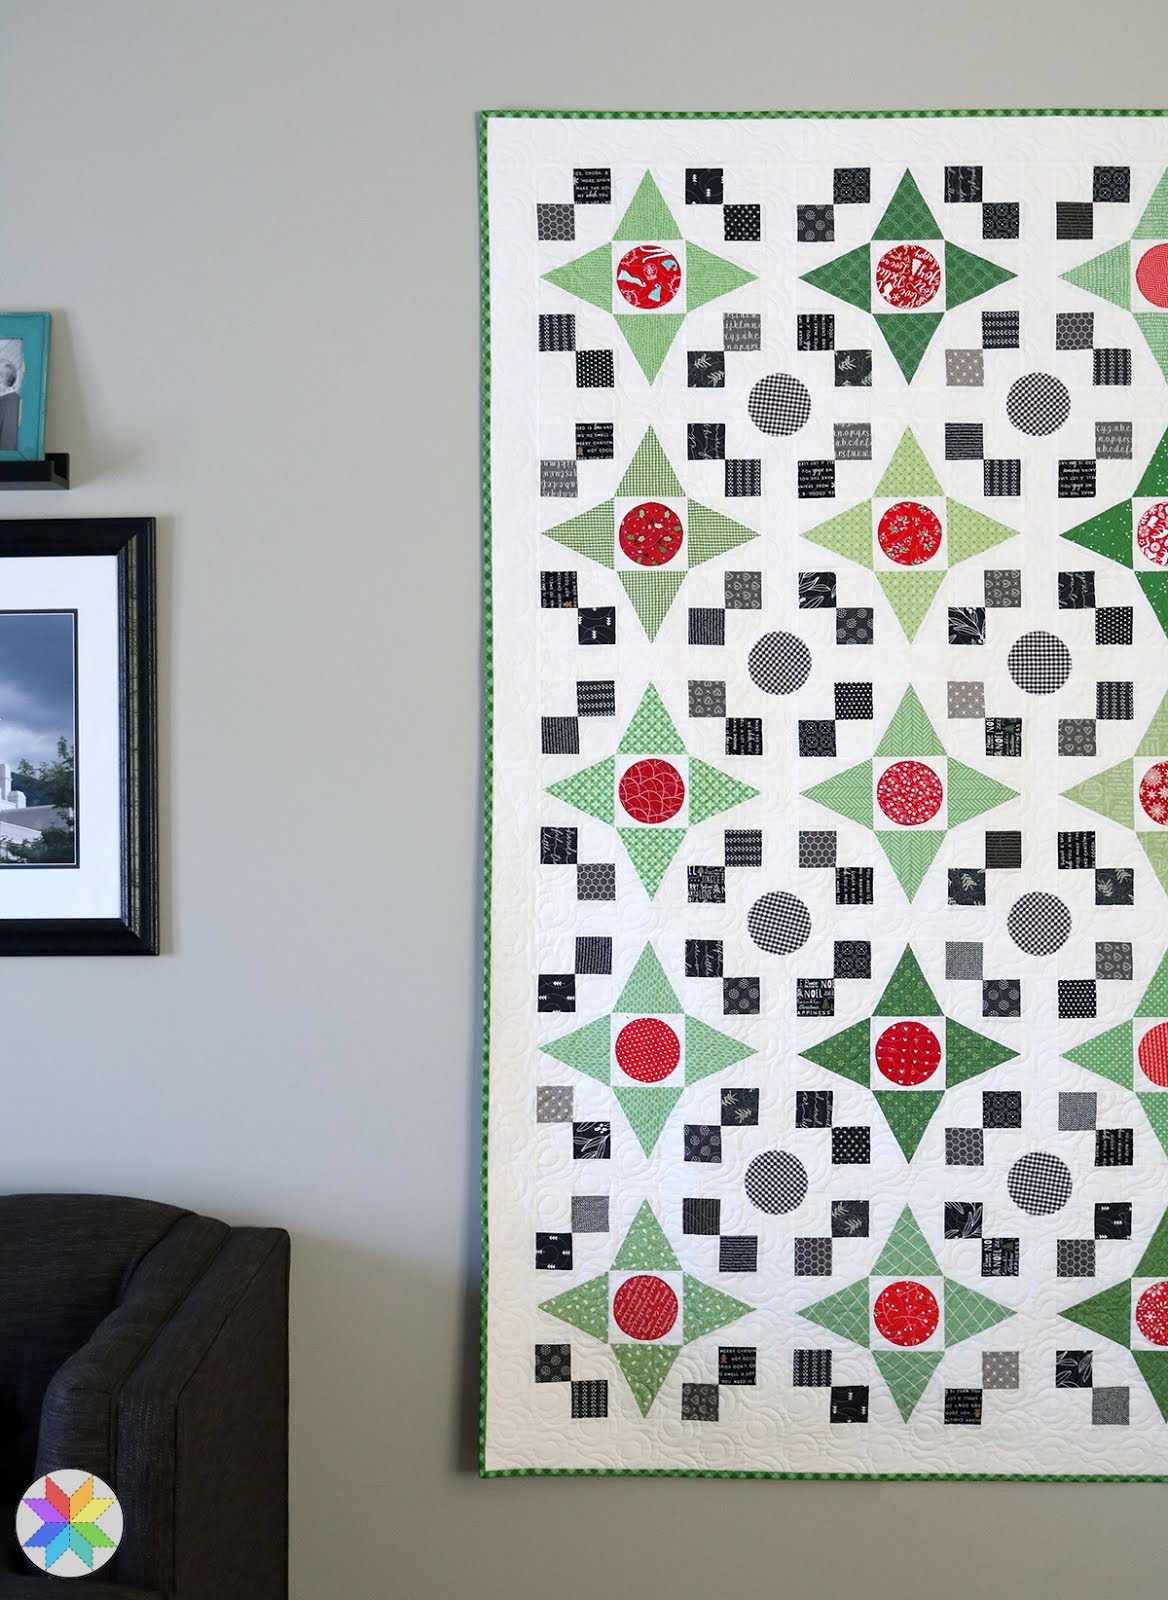
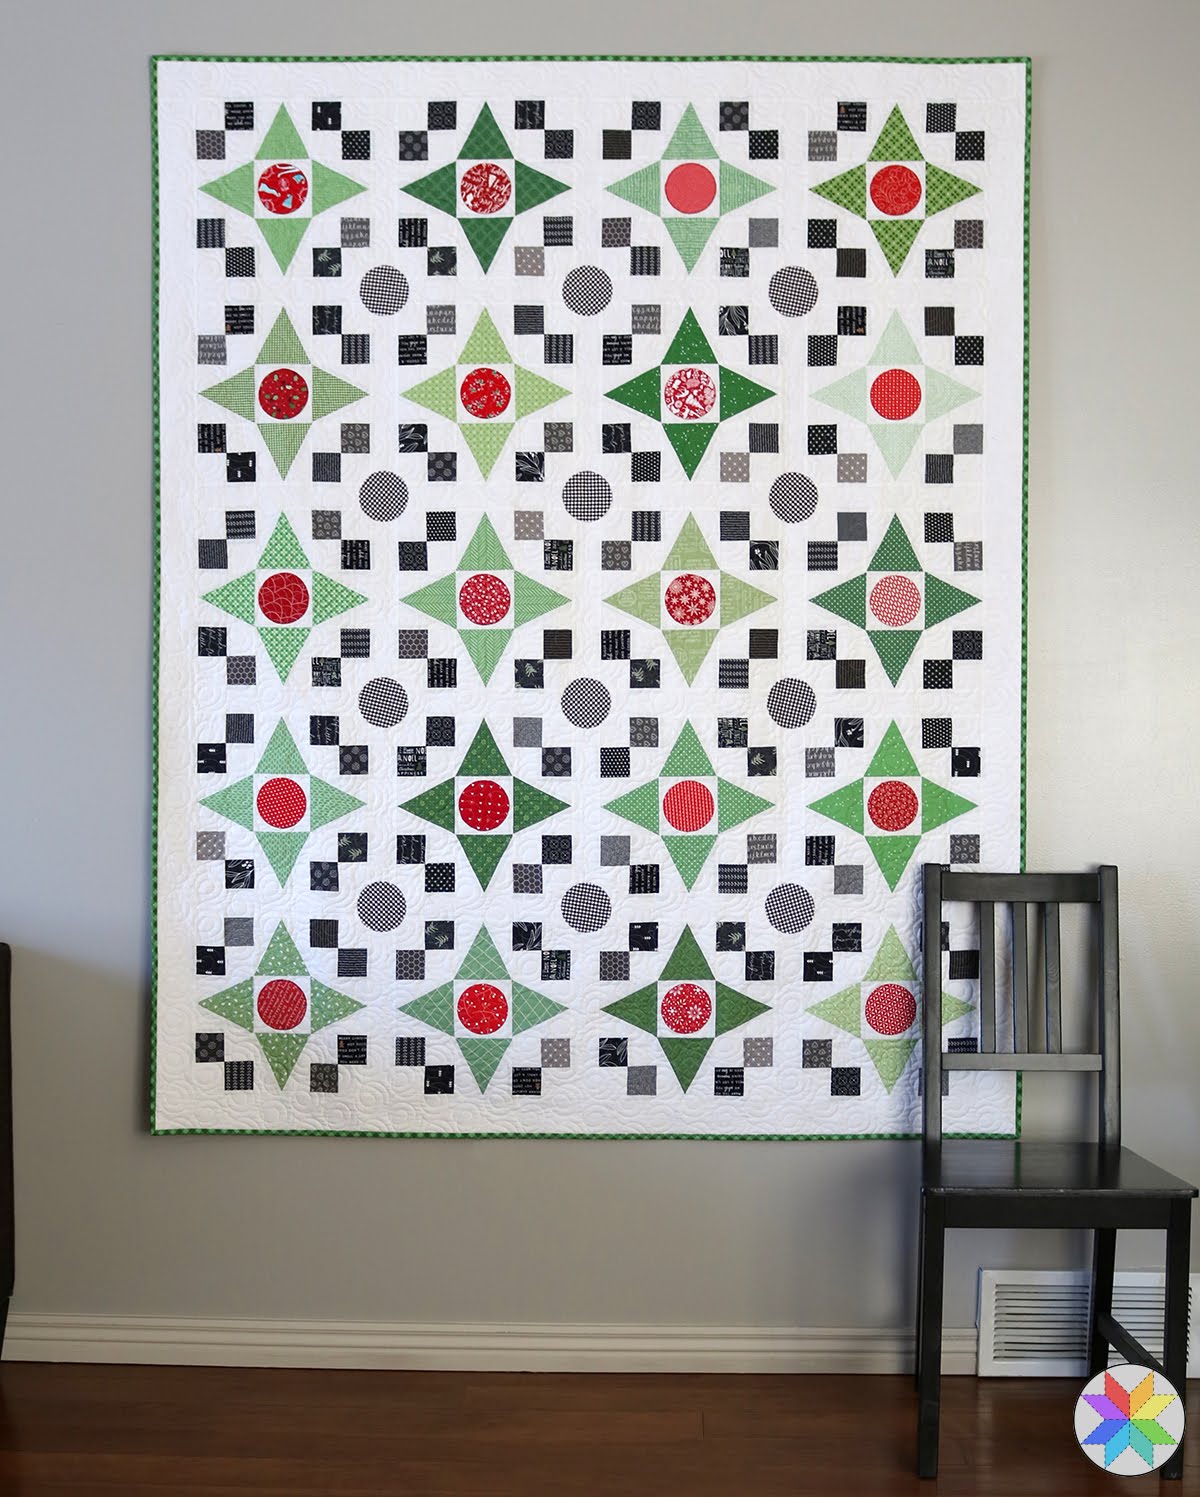
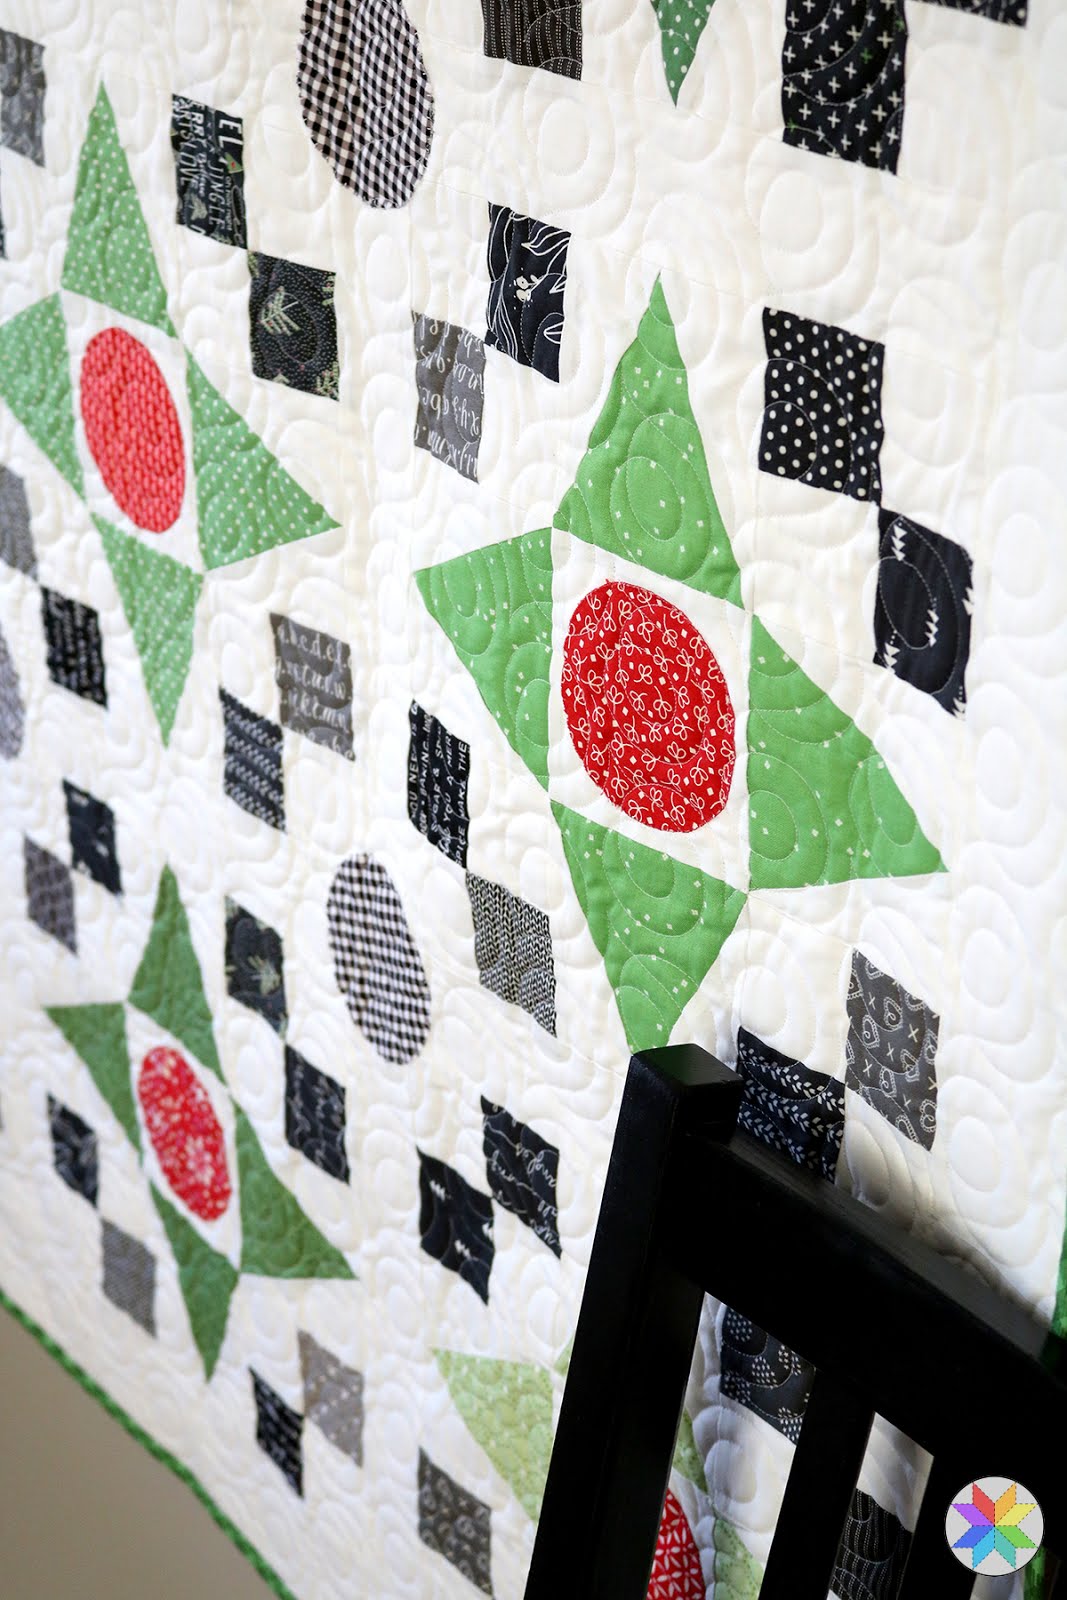
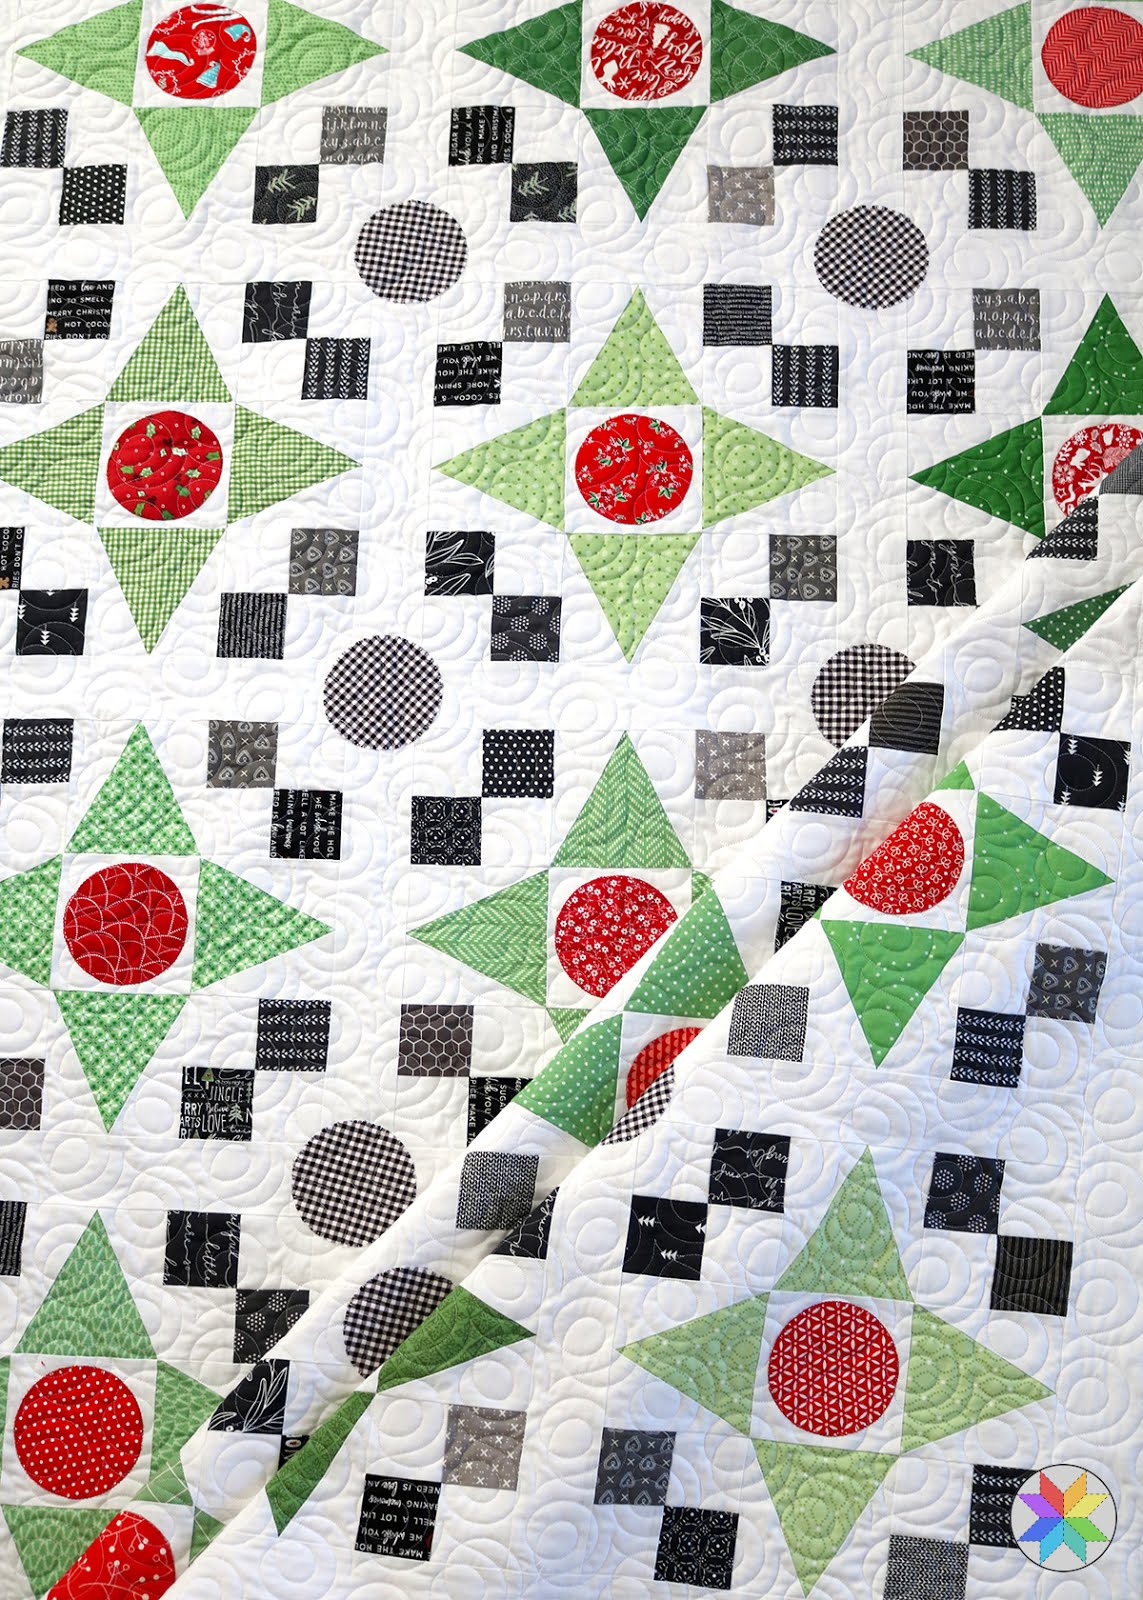
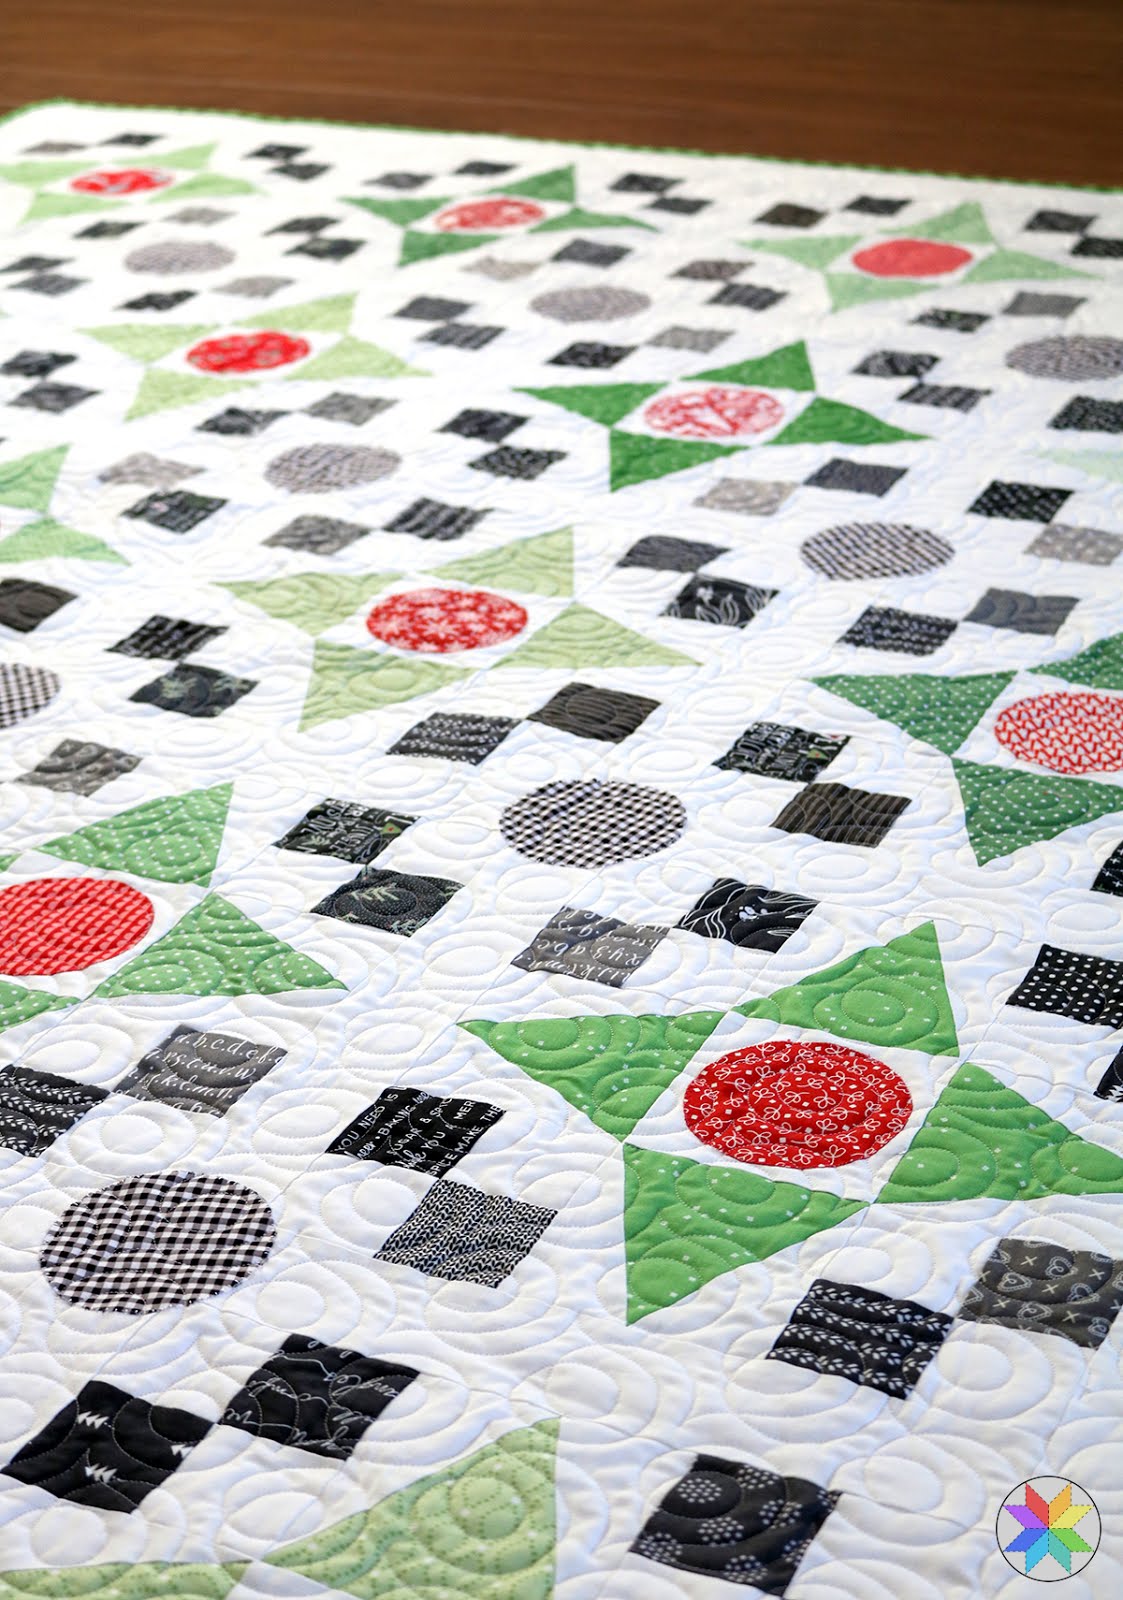
I'm sharing my latest quilty finish with you today, and yes, yes I know, I know.......it's a CHRISTMAS quilt. I'm sure we're all tired of seeing reds and greens. I'm the same way. But I decided when I started this quilt in November that I'd slow down and allow myself to enjoy the process.
I let go of the self-imposed deadline of Christmas and as a result I was able to really enjoy every step of making this quilt - from choosing the fabrics from my stash, to picking a perfect backing (which you'll see in later photos.)
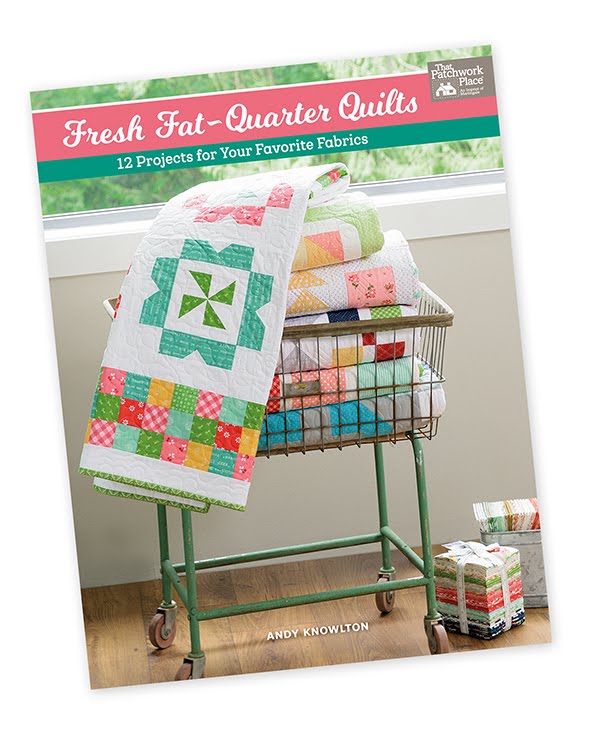
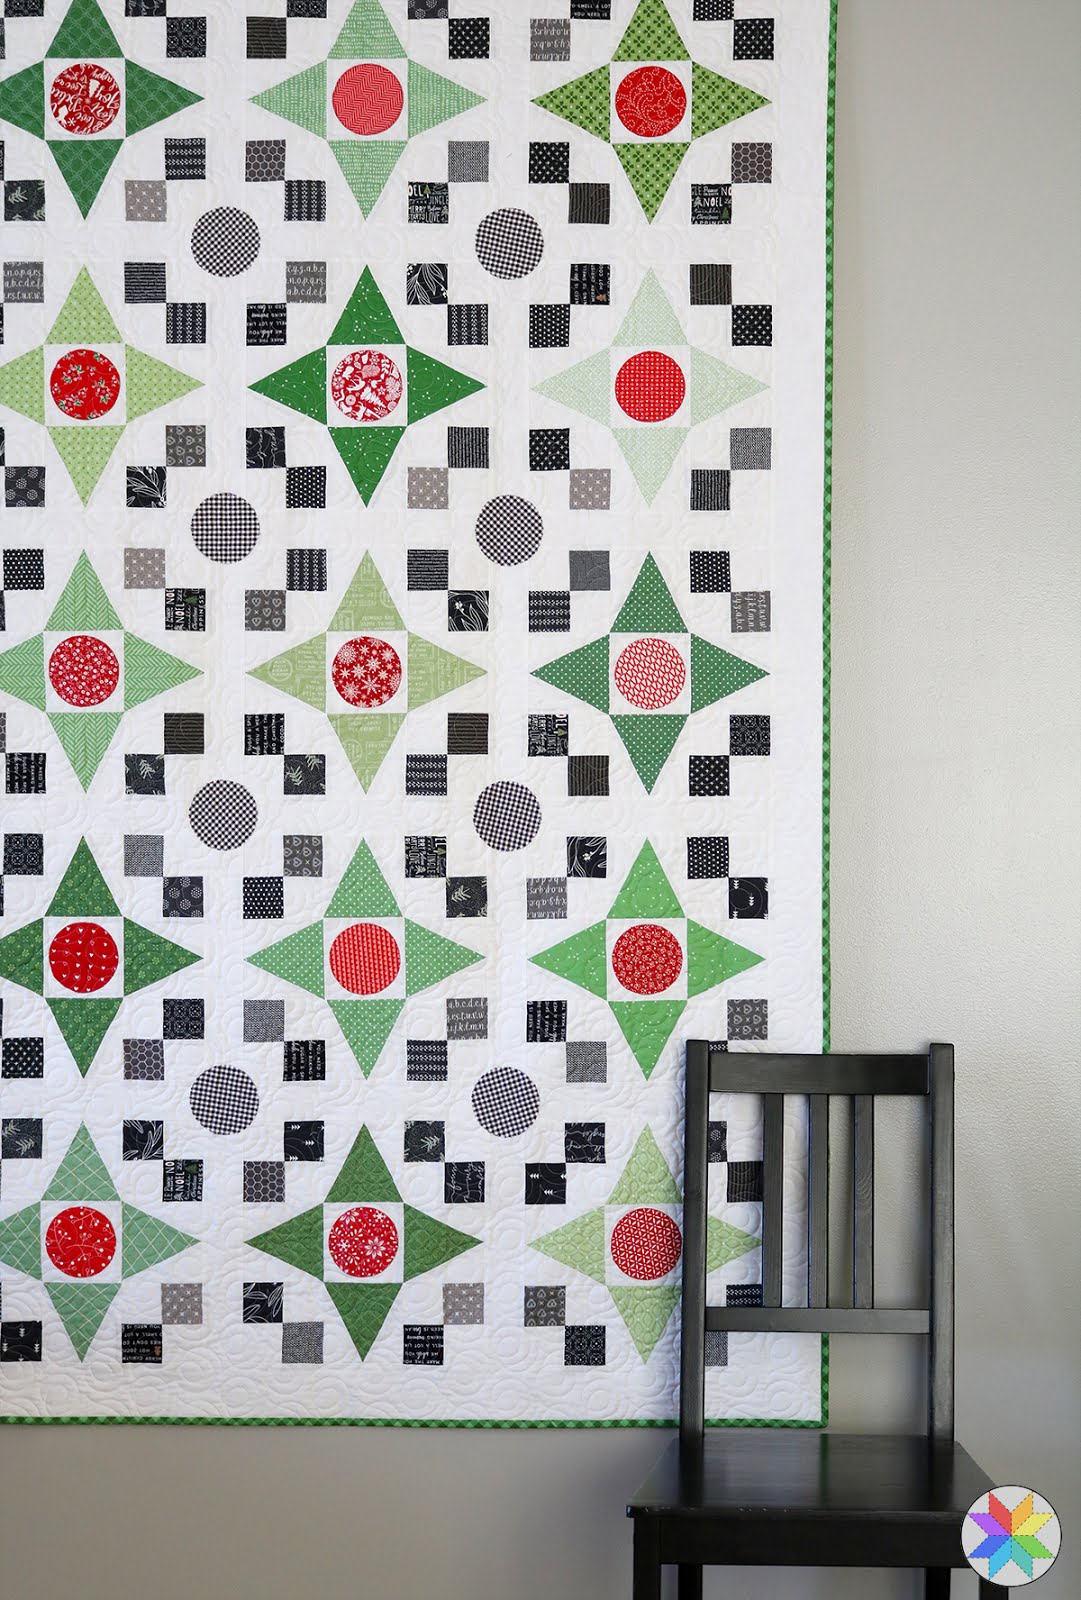
The pattern for this quilt is called Game Night and you can find it in my book, Fresh Fat Quarter Quilts.
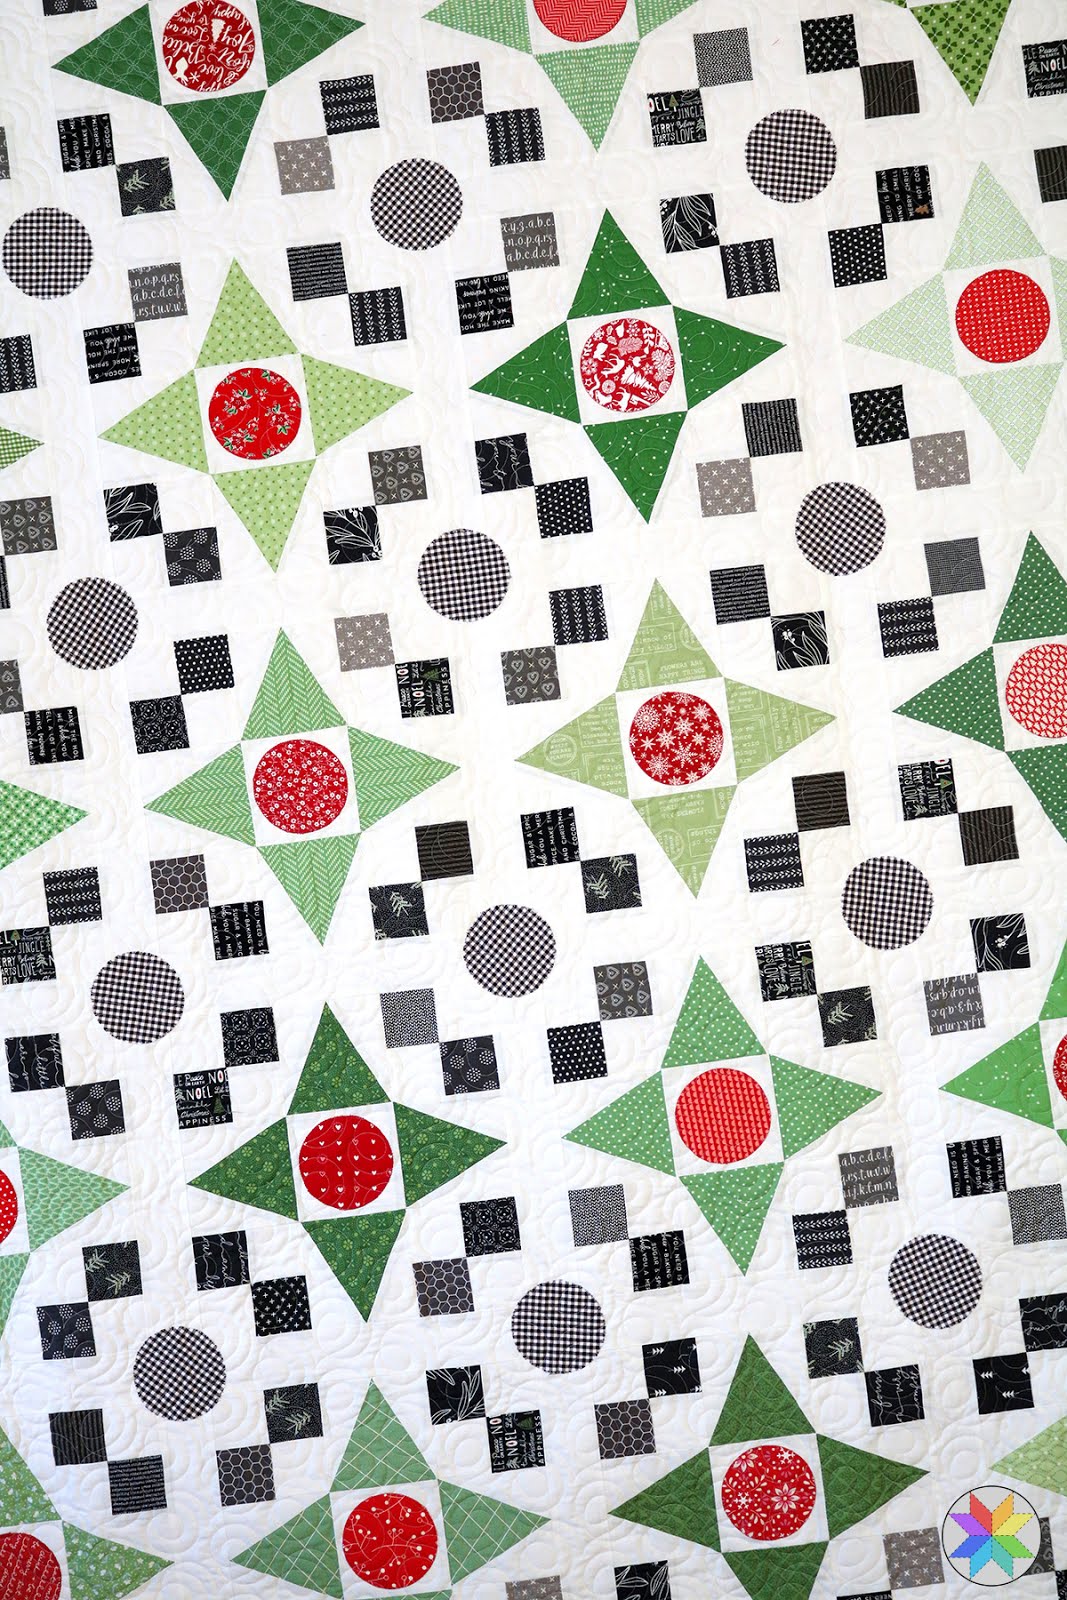
The Game Night quilt pattern uses 10 fat quarters (plus background fabric). But for my version I used red, green, and black prints from my stash and my scrap bins. I tried to use a different red print and green print for each block, and I love the result!
(You can see the original Game Night quilt in this blog post)
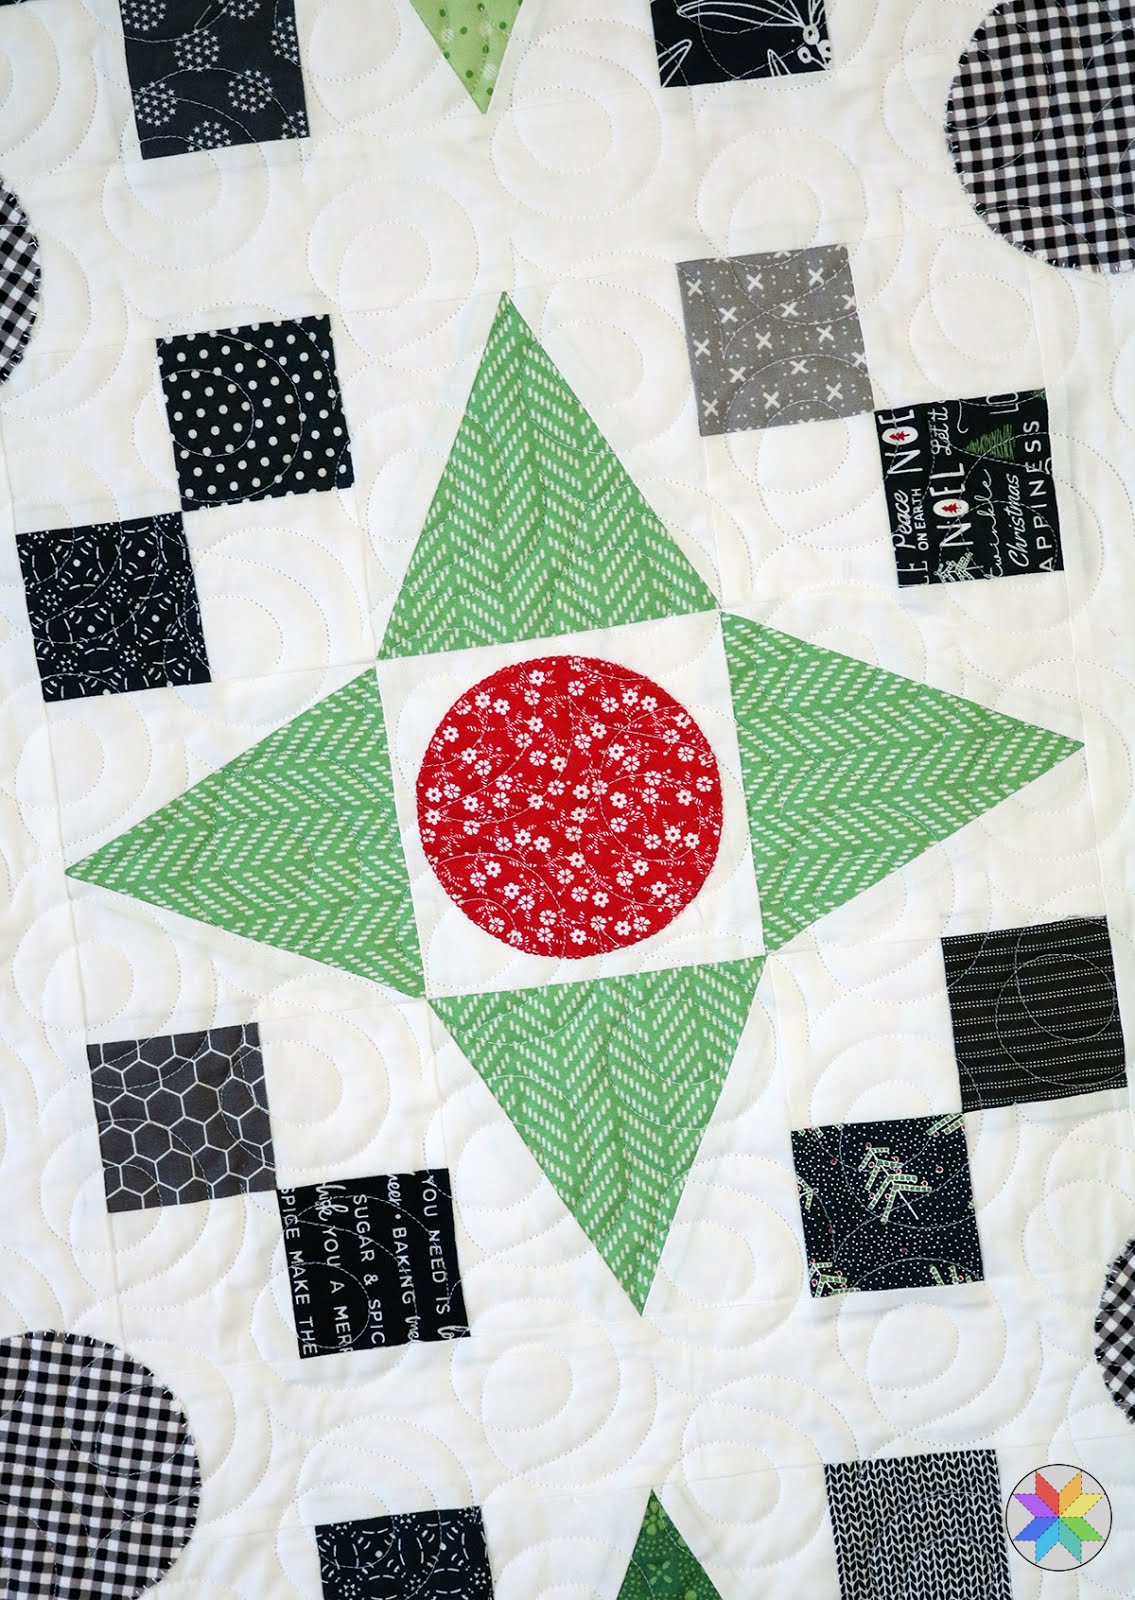
Don't let the circles scare you away from trying this quilt! In the instructions I give you two options to choose from - a more traditional applique technique, and a fusible applique method - that's what I used here.
I used Heat n Bond Featherlite for my fusible webbing and then a machine blanket stitch (it's a setting on my machine) to secure the circles. Easy peasy. And I step you through it in the book. If you prefer the more traditional method of applique I provide instructions for that as well.
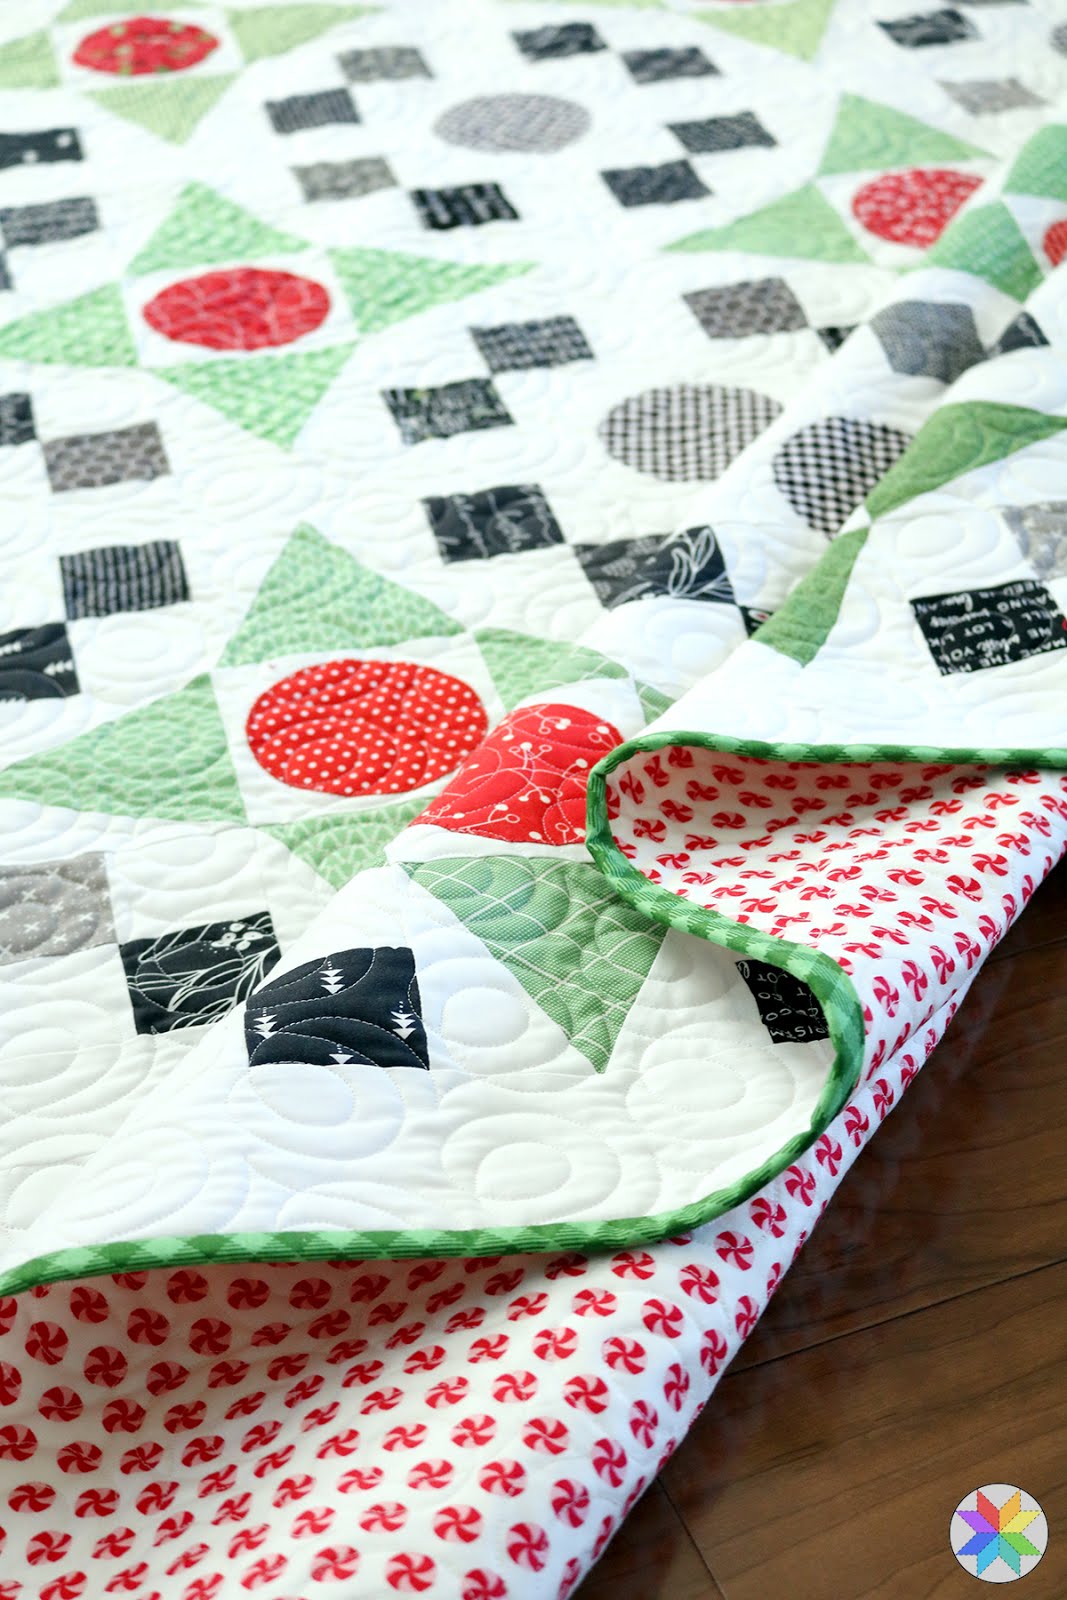
One of the really nice things about finishing a Christmas quilt AFTER Christmas is that I was able to find a cute backing fabric in a 50% off sale at my local quilt shop. These little peppermint circles are from the Sweet Christmas fabric line by Urban Chiks (Moda fabrics).
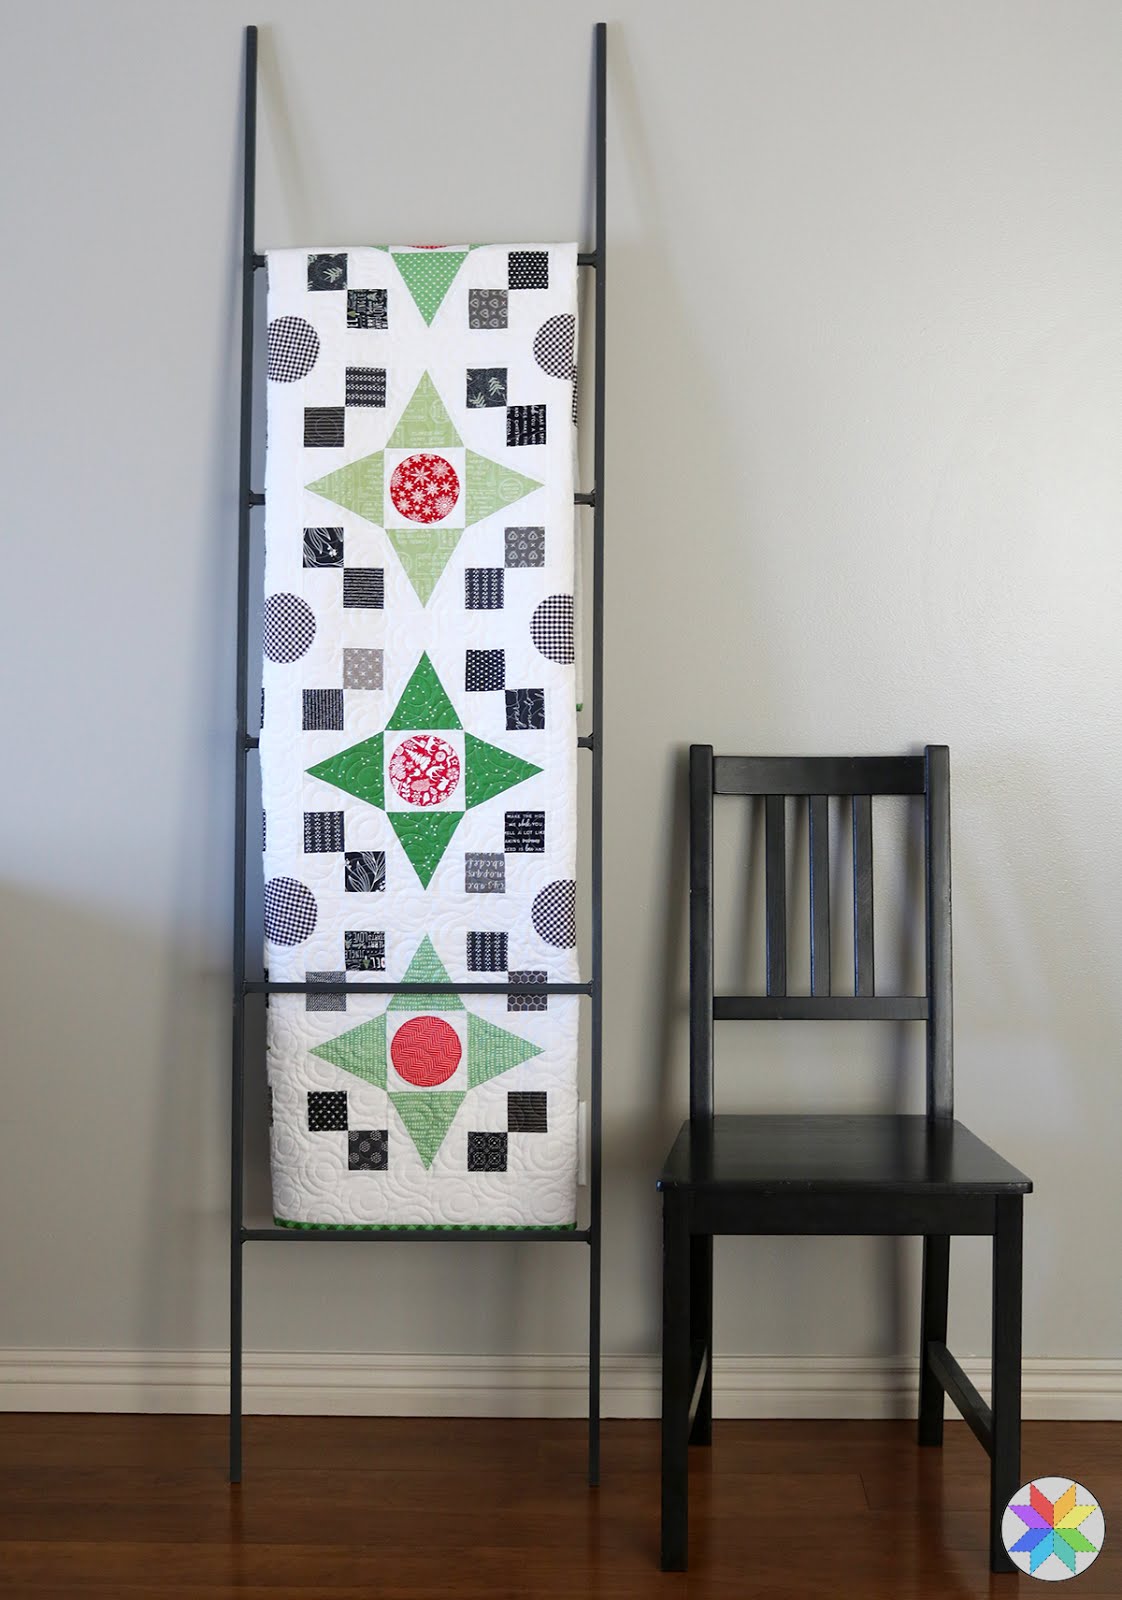
Now comes the hard part, folding it up and putting it away for the next 10-ish months. Or maybe I'll just let it sit here on my ladder for a week so I can enjoy it a little :)
Quilt details:
59"x 73"
Pattern: Game Night (from Fresh Fat Quarter Quilts book)
Fabric: Red, green, and black prints from my stash & scrap bins
Quilting: Soho (edge to edge computerized design)
Backing: Peppermint Polka Dot, Marzipan color (Sweet Christmas by Urban Chiks for Moda)
If you make a Game Night quilt I'd love to see it! Be sure to tag me on Instagram or Facebook (@abrightcorner) and use the hashtags: #gamenightquilt and #abrightcornerpatterns
I let go of the self-imposed deadline of Christmas and as a result I was able to really enjoy every step of making this quilt - from choosing the fabrics from my stash, to picking a perfect backing (which you'll see in later photos.)
The pattern for this quilt is called Game Night and you can find it in my book, Fresh Fat Quarter Quilts.
Find Fresh Fat Quarter Quilts here on Amazon, or grab an autographed copy here from my shop, or tell your local quilt shop to order copies!
The Game Night quilt pattern uses 10 fat quarters (plus background fabric). But for my version I used red, green, and black prints from my stash and my scrap bins. I tried to use a different red print and green print for each block, and I love the result!
(You can see the original Game Night quilt in this blog post)
Don't let the circles scare you away from trying this quilt! In the instructions I give you two options to choose from - a more traditional applique technique, and a fusible applique method - that's what I used here.
I used Heat n Bond Featherlite for my fusible webbing and then a machine blanket stitch (it's a setting on my machine) to secure the circles. Easy peasy. And I step you through it in the book. If you prefer the more traditional method of applique I provide instructions for that as well.
One of the really nice things about finishing a Christmas quilt AFTER Christmas is that I was able to find a cute backing fabric in a 50% off sale at my local quilt shop. These little peppermint circles are from the Sweet Christmas fabric line by Urban Chiks (Moda fabrics).
Now comes the hard part, folding it up and putting it away for the next 10-ish months. Or maybe I'll just let it sit here on my ladder for a week so I can enjoy it a little :)
Quilt details:
59"x 73"
Pattern: Game Night (from Fresh Fat Quarter Quilts book)
Fabric: Red, green, and black prints from my stash & scrap bins
Quilting: Soho (edge to edge computerized design)
Backing: Peppermint Polka Dot, Marzipan color (Sweet Christmas by Urban Chiks for Moda)
If you make a Game Night quilt I'd love to see it! Be sure to tag me on Instagram or Facebook (@abrightcorner) and use the hashtags: #gamenightquilt and #abrightcornerpatterns
**This post may contain affiliate links, which means I may receive a small commission (at no additional cost to you) when purchases are made through links found in this post.
Saturday, November 17, 2018
Raindrop Drawstring Bag Tutorial
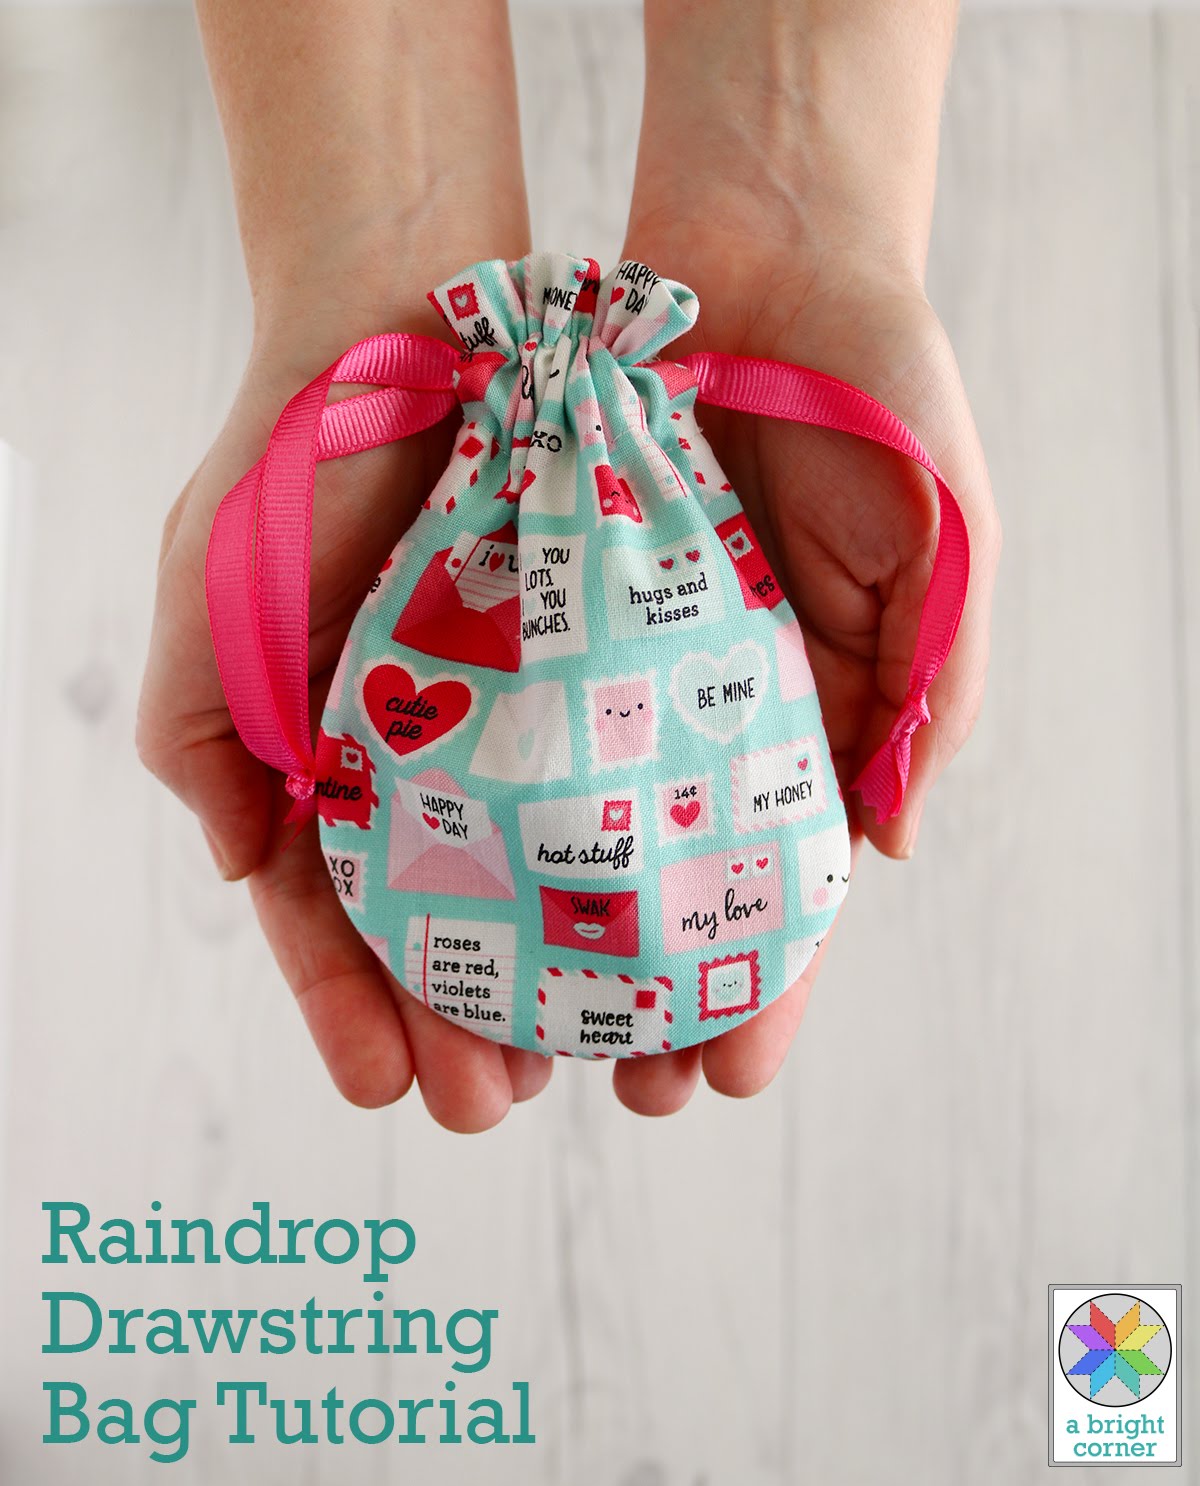
How does the saying go?...Necessity is the mother of invention? Well that's how this bag came to be. I needed a little bag that was quick to sew and was big enough to hold a handful of candy and I wanted it to have a unique shape. It needed to have a wee bit of personality.
And so the Raindrop Drawstring Bag was born! These were so fun and fast to make so I decided to share a tutorial here with you.
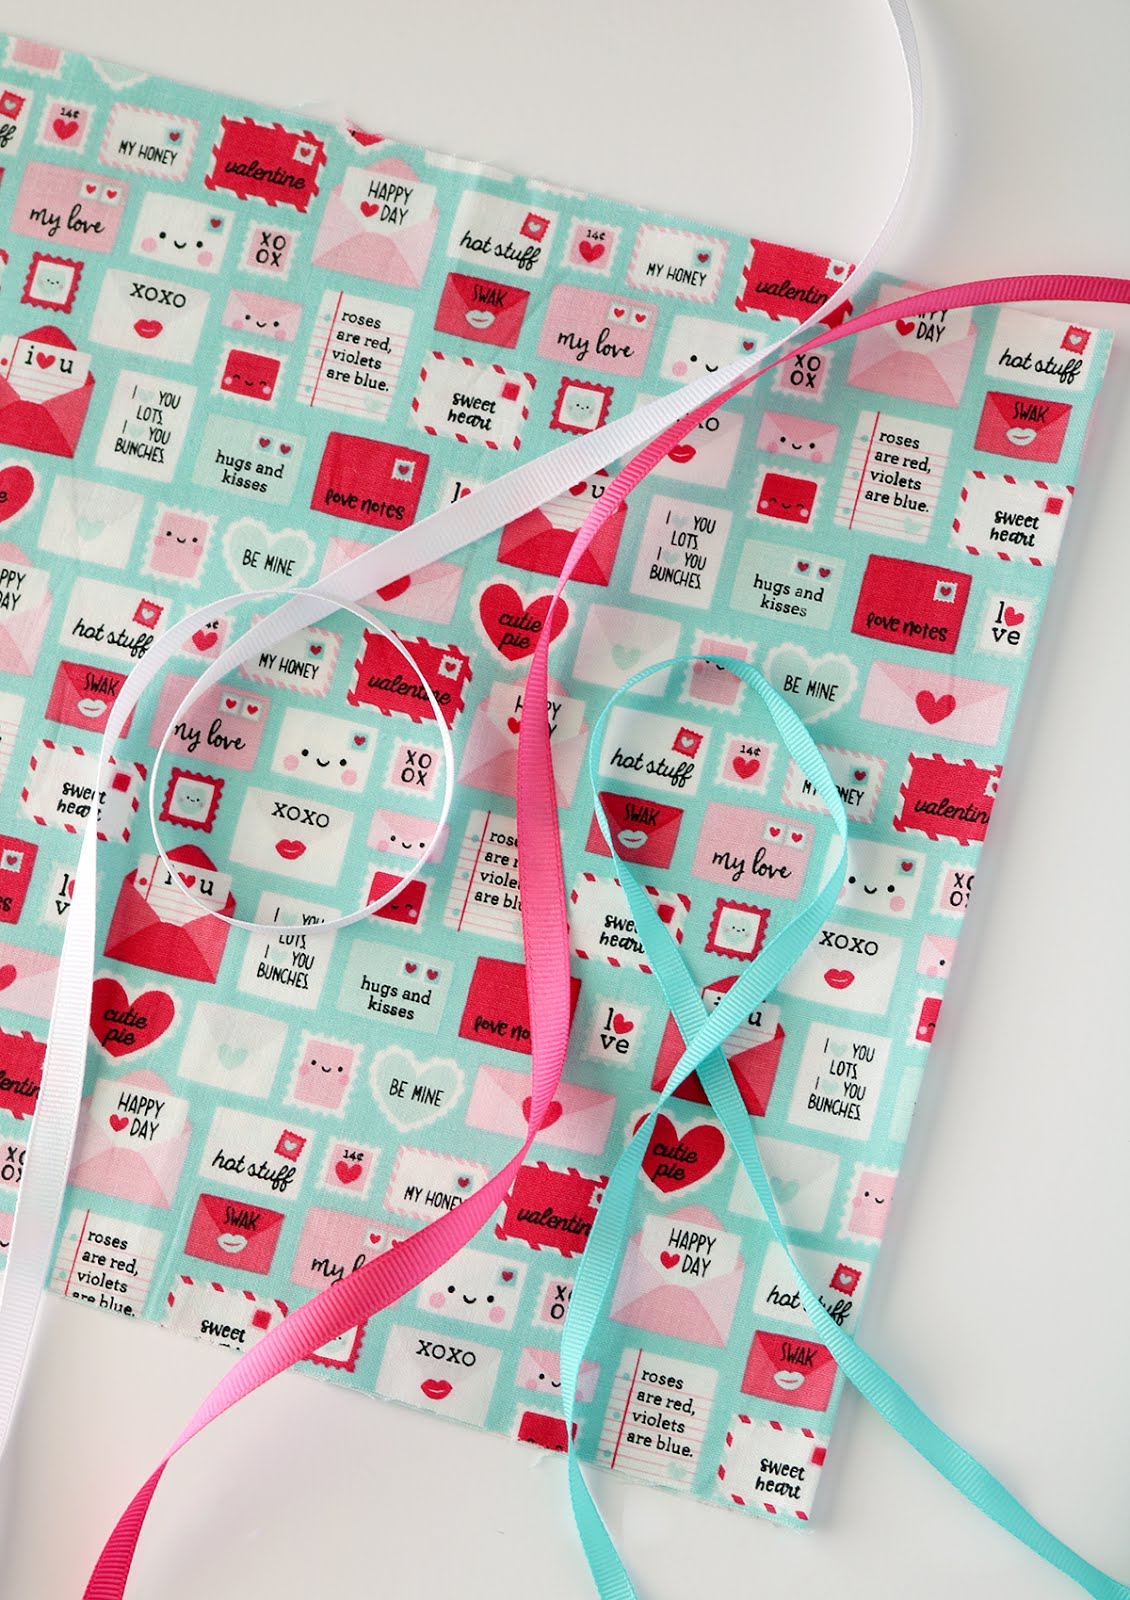
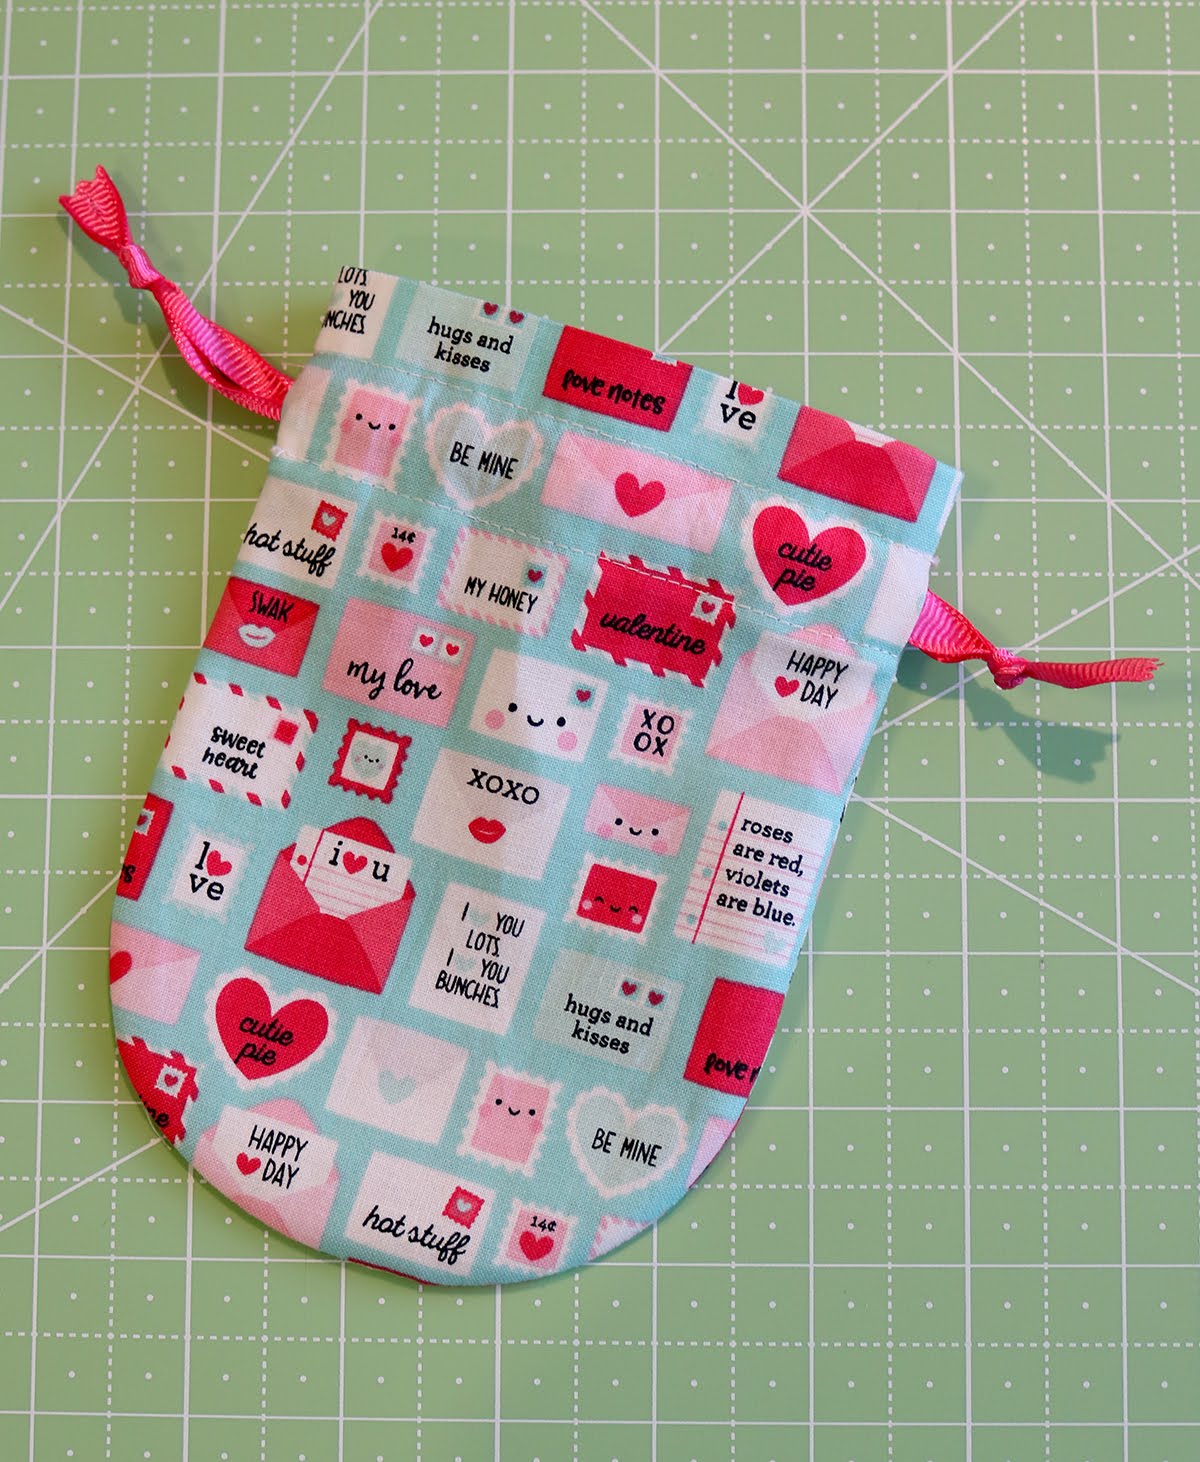
First of all, aren't these valentine prints so sweet? It's a little novelty line by Riley Blake Designs called Punny Valentine. I'm using the teal print but there's also two different pinks plus a couple of other coordinating prints. See more of them here.
Alright - ready to make a bag? Here's what you'll need:
**want to make more than one bag?
-- one layer cake square (10") makes 1 bag
-- 1 fat quarter can make 4 bags
-- 1/4 yard of fabric can make 4 bags
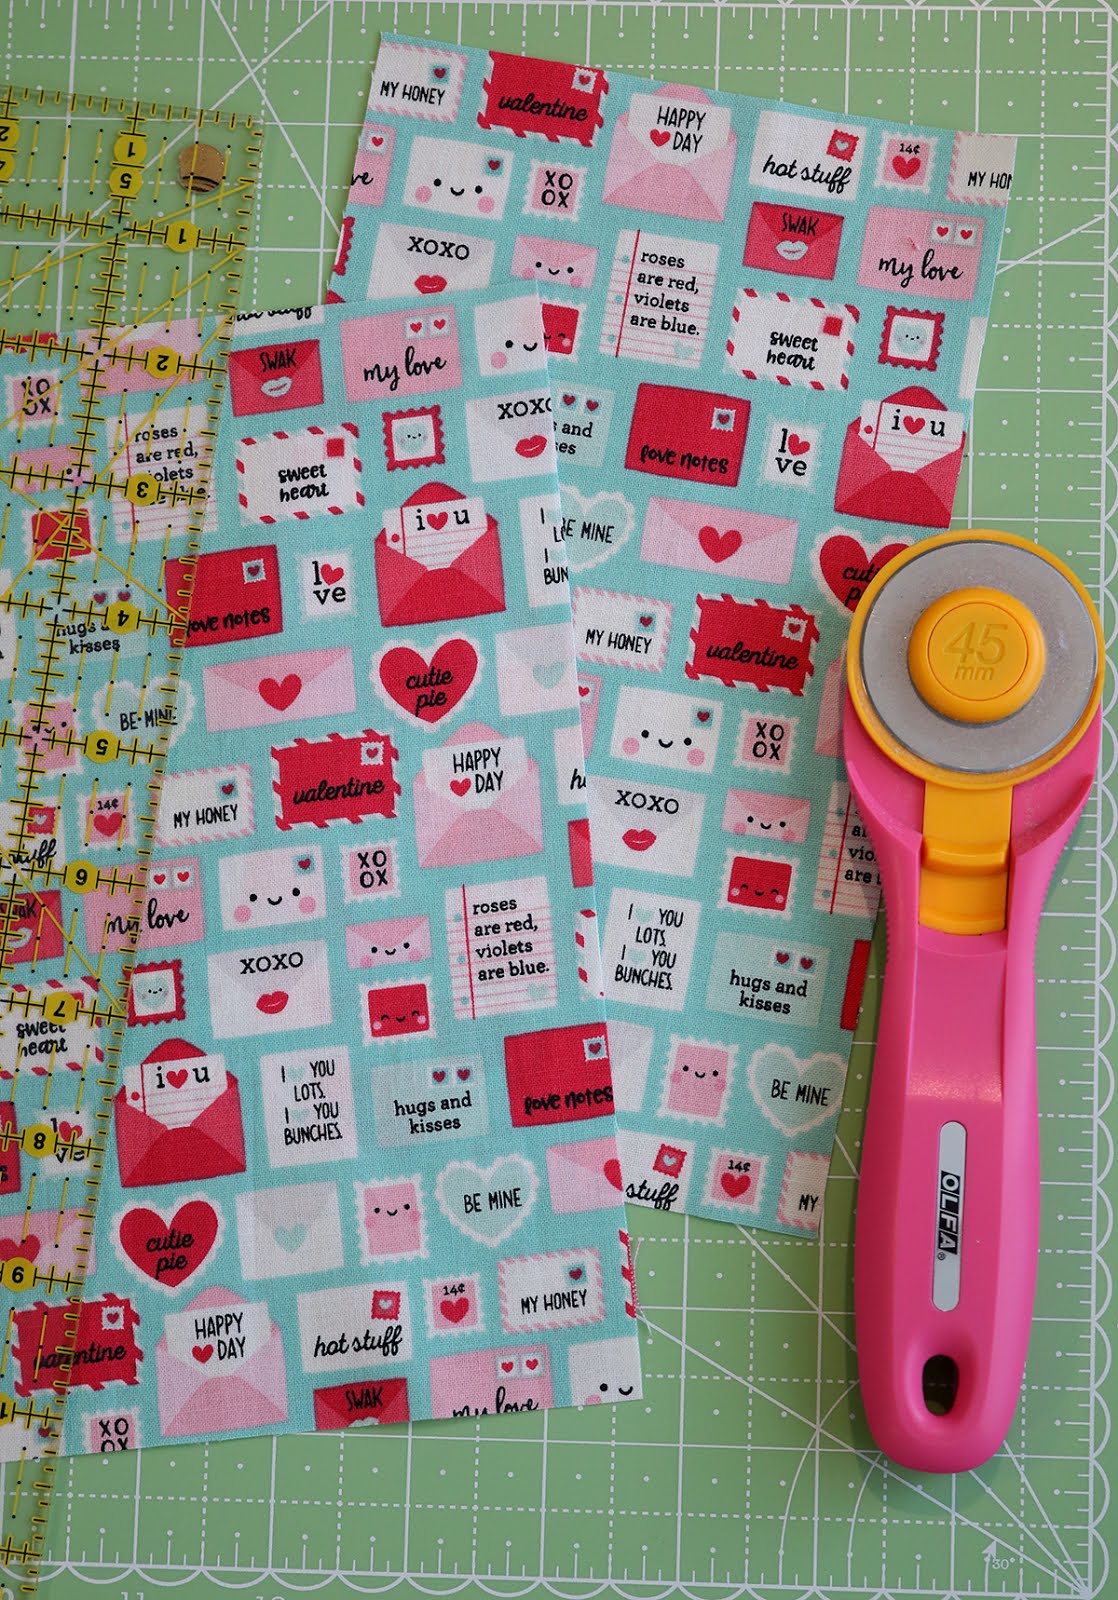
Step 1: Cut your fabric into two rectangles measuring 5" x 8 1/2"
Step 2: Decide which end is the bottom of the bag (if you're using directional prints this is important!)
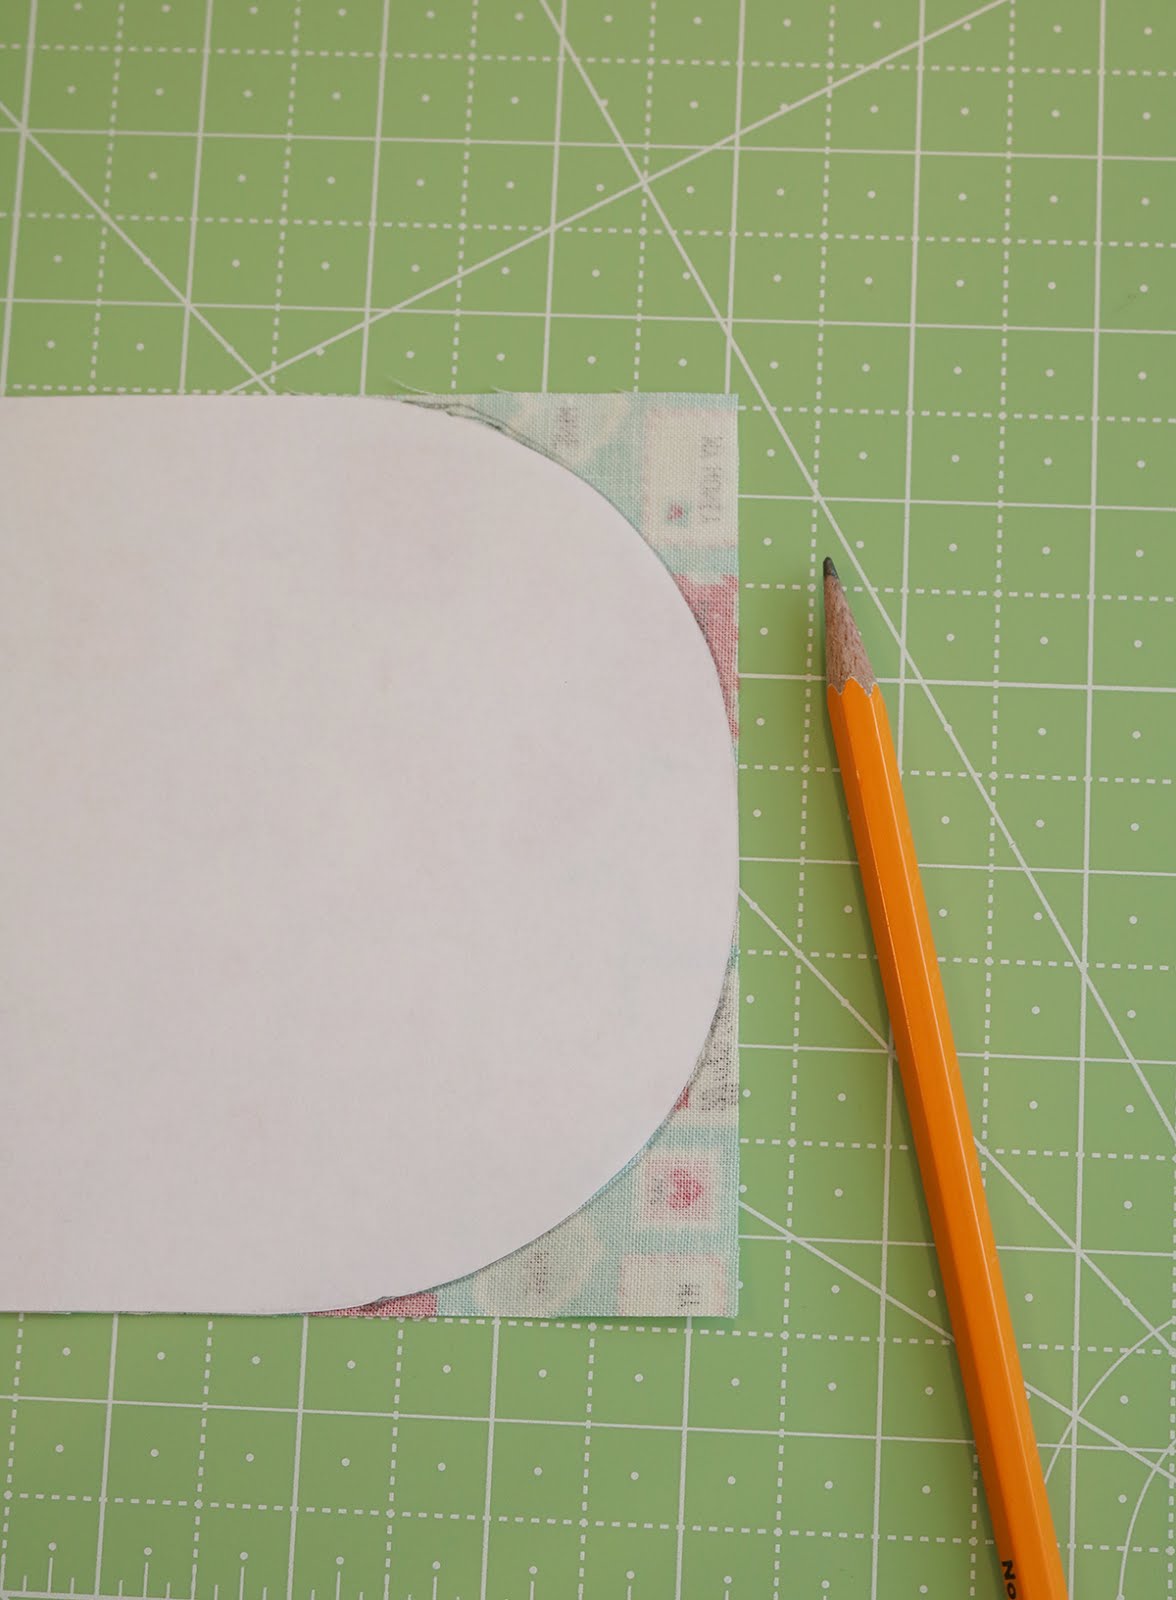
With a pencil, trace the bag shape onto the wrong side of one of the rectangles. Really you'll only need to trace the curved bottom edge of the bag since the straight edges of the template will line up with the top and sides of the rectangle.
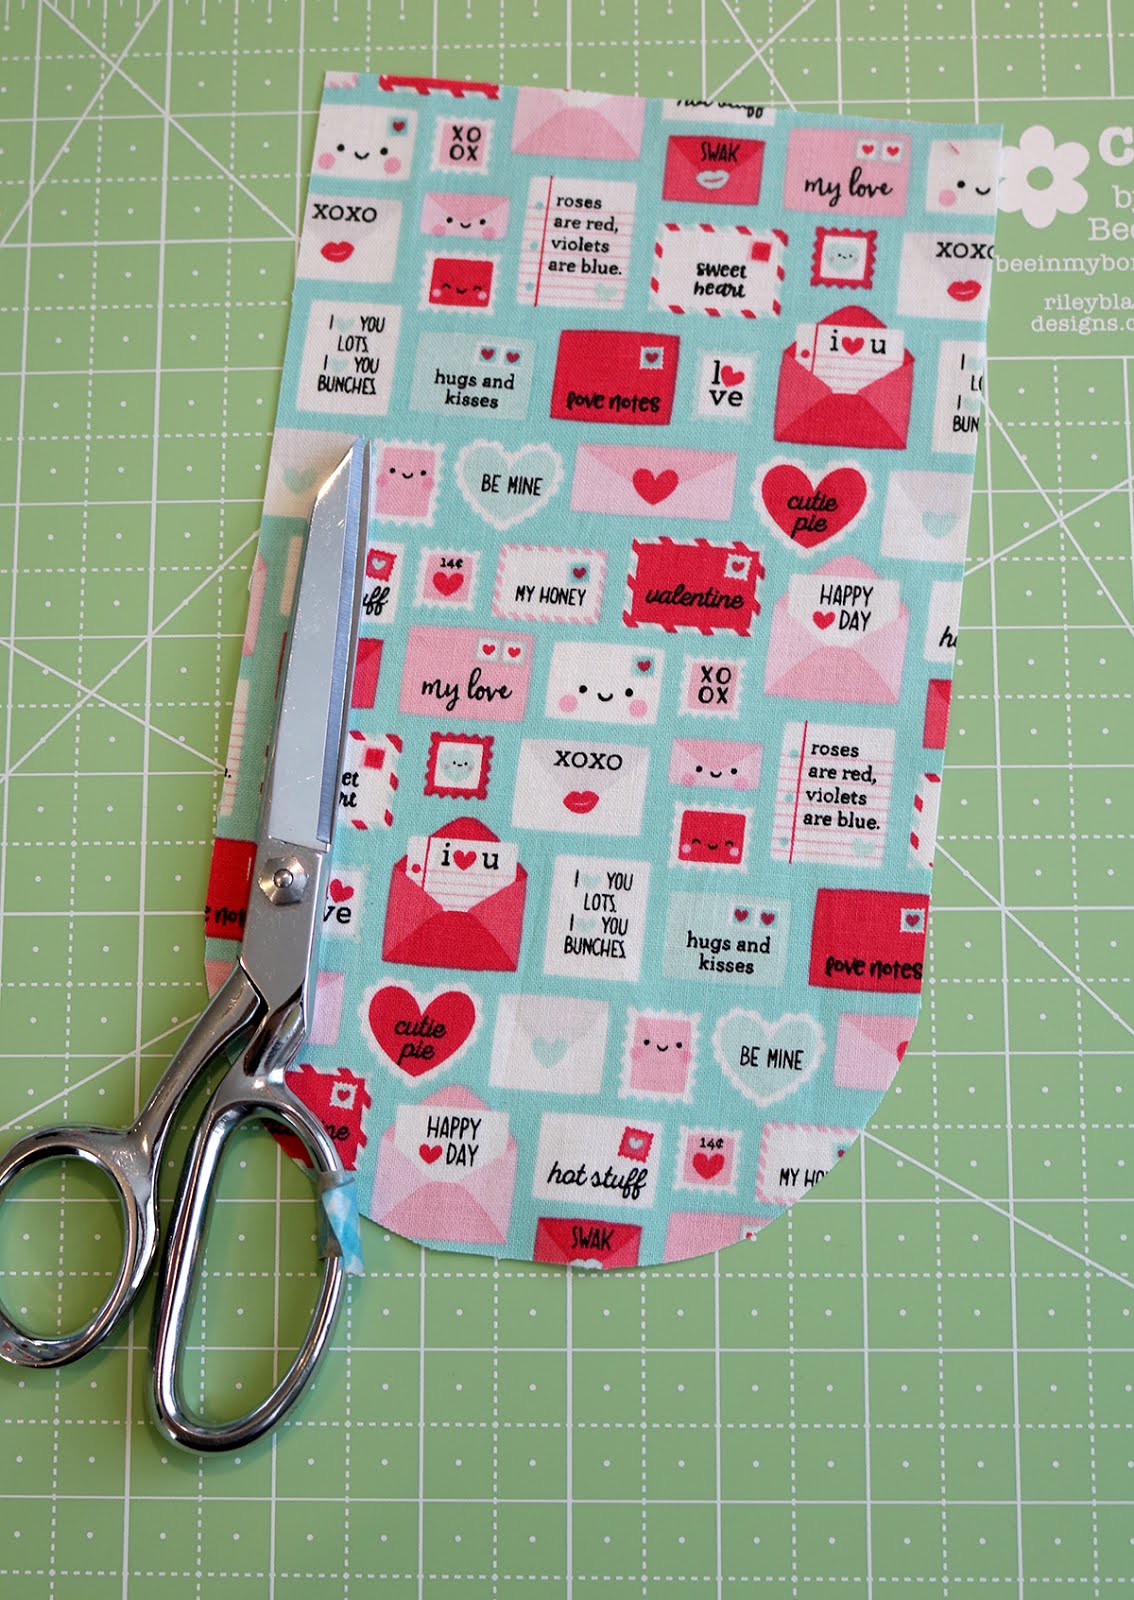
Stack both fabric pieces together and cut along the lines with scissors.
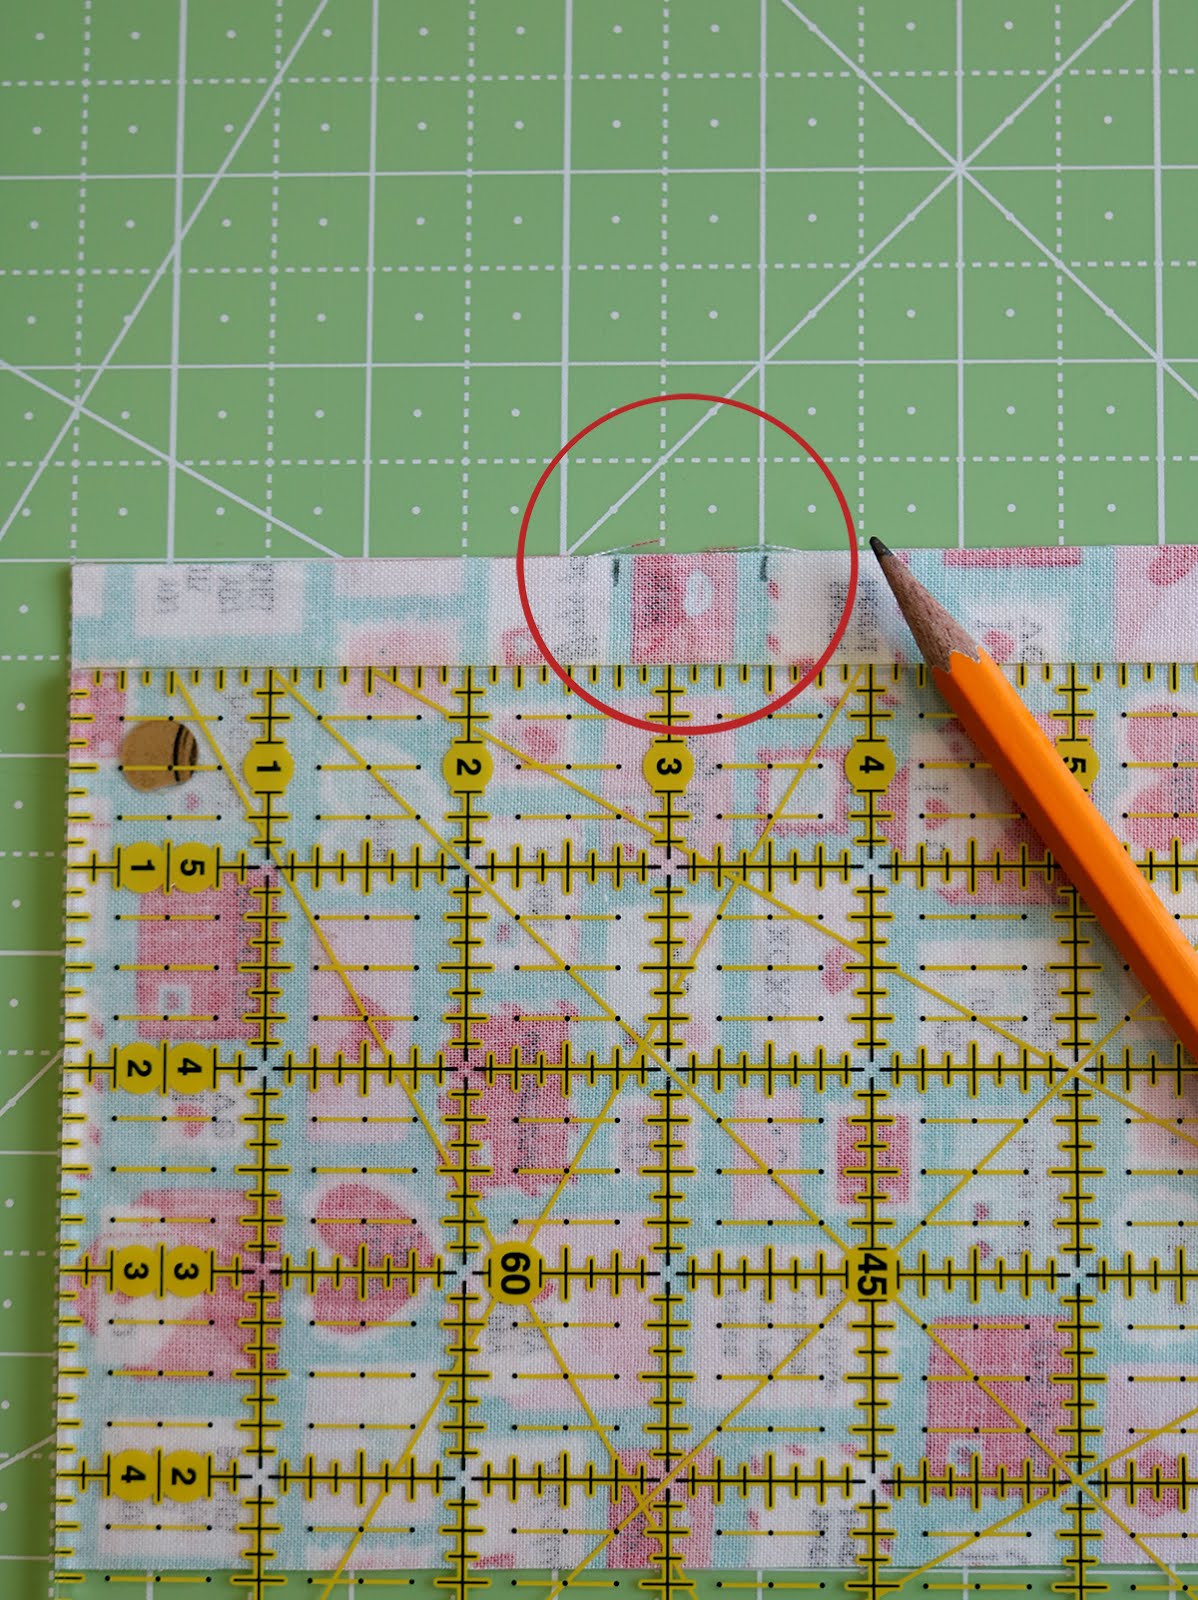
Step 3: On the wrong side of one of the pieces, make a small marking at 2.75" from the top edge and at 3.5" from the top edge of the bag. Make the same marks on the opposite edge of the same bag piece. These markings tell you where to stop and start sewing and will create an opening for the ribbon to be inserted at a later step.
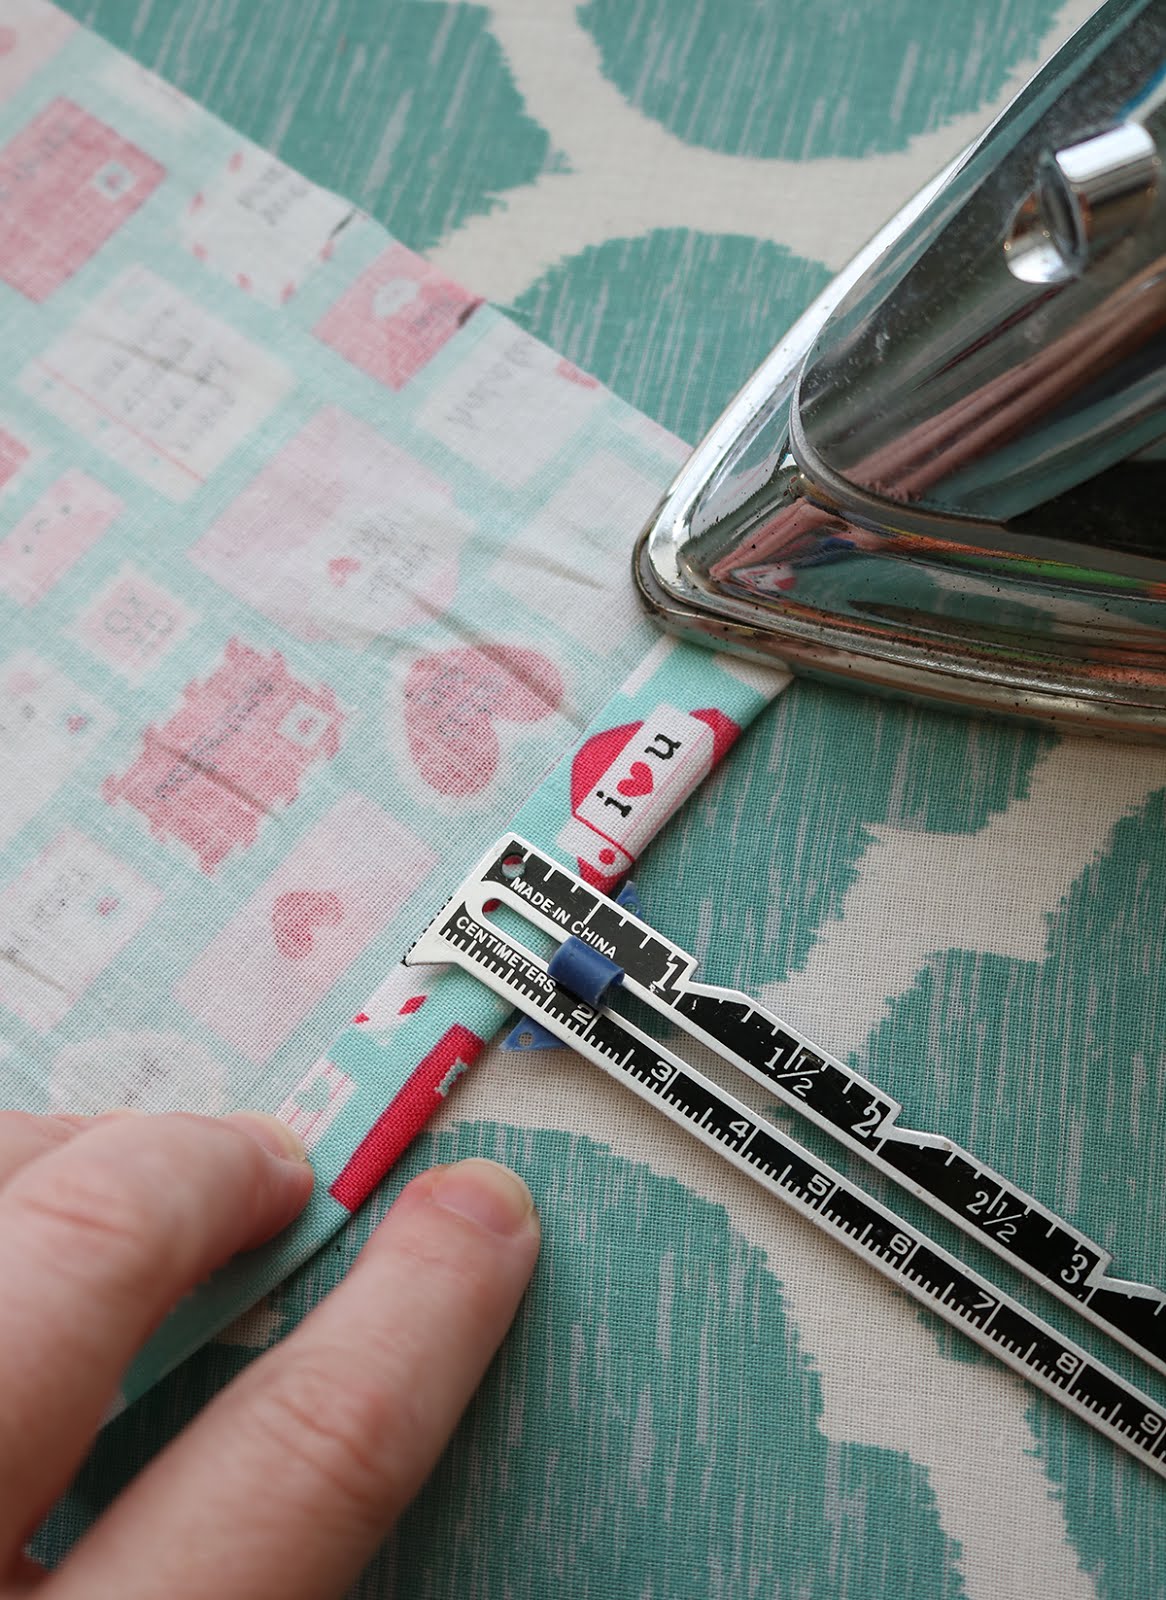
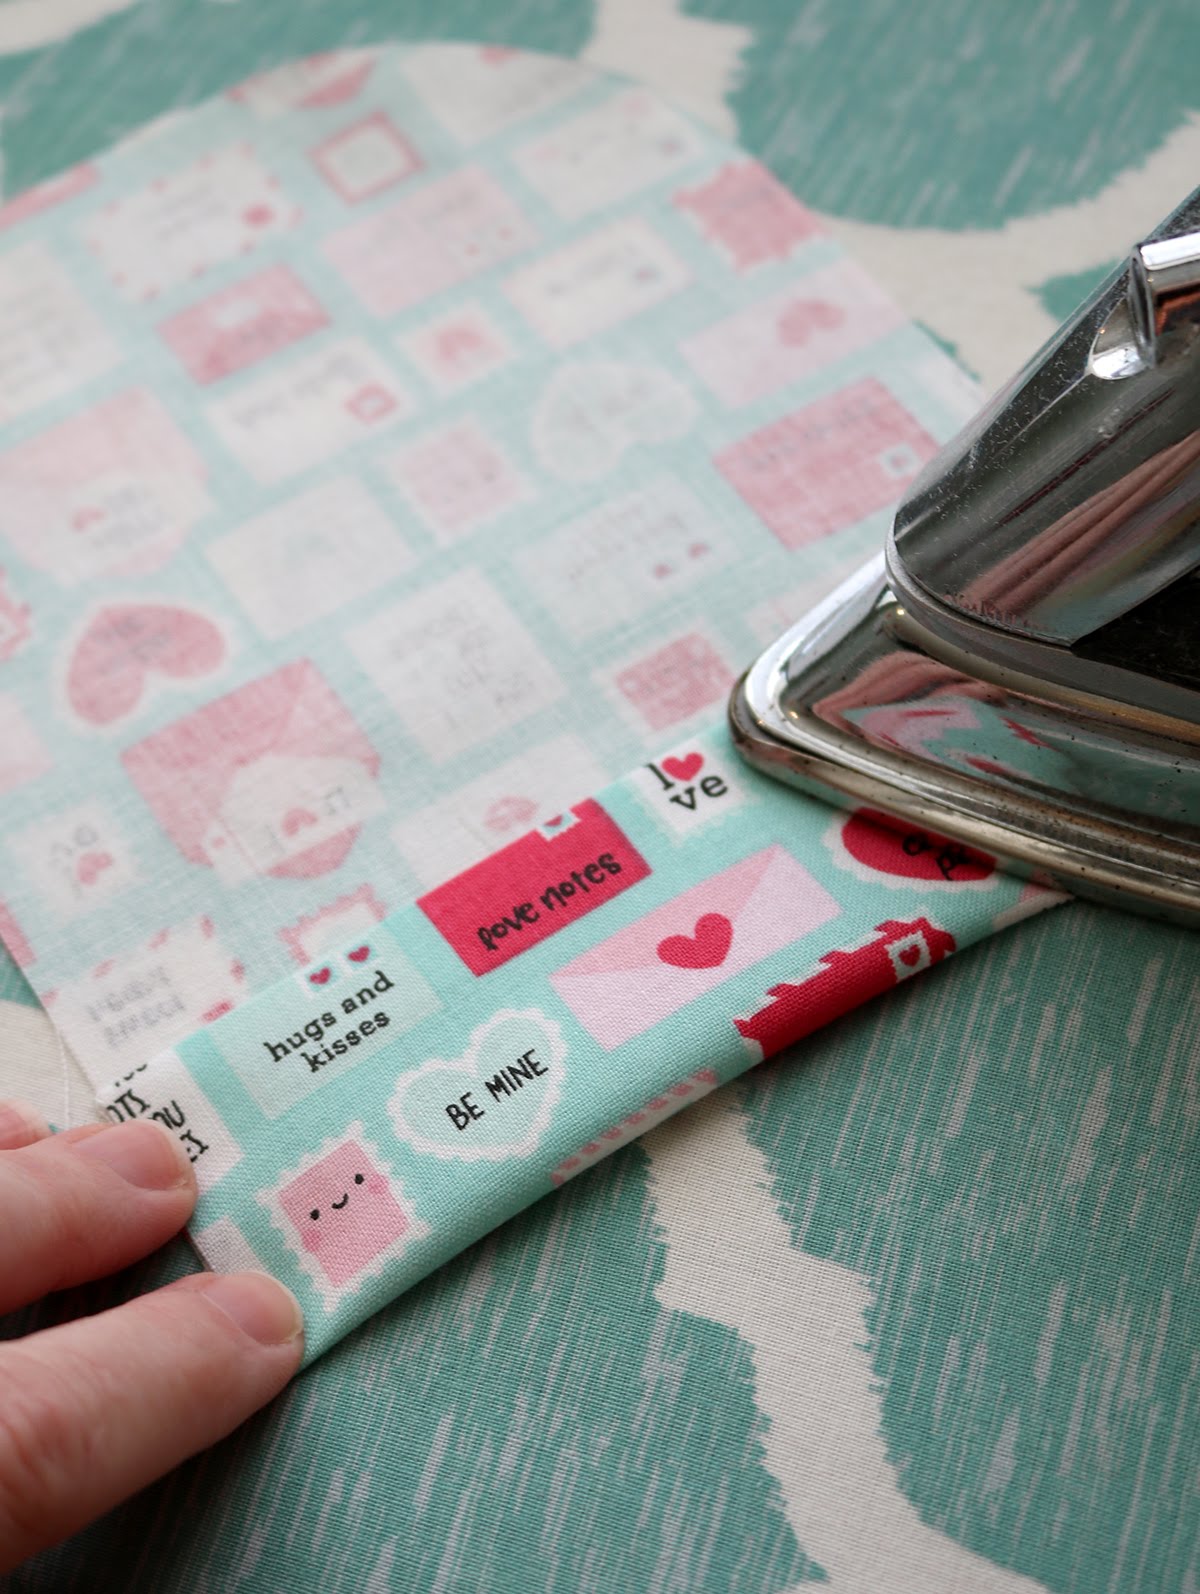
Step 4: Along the top edge, fold down 1/2" and press. Then fold over again 1 1/2" and press. Press both bag pieces.
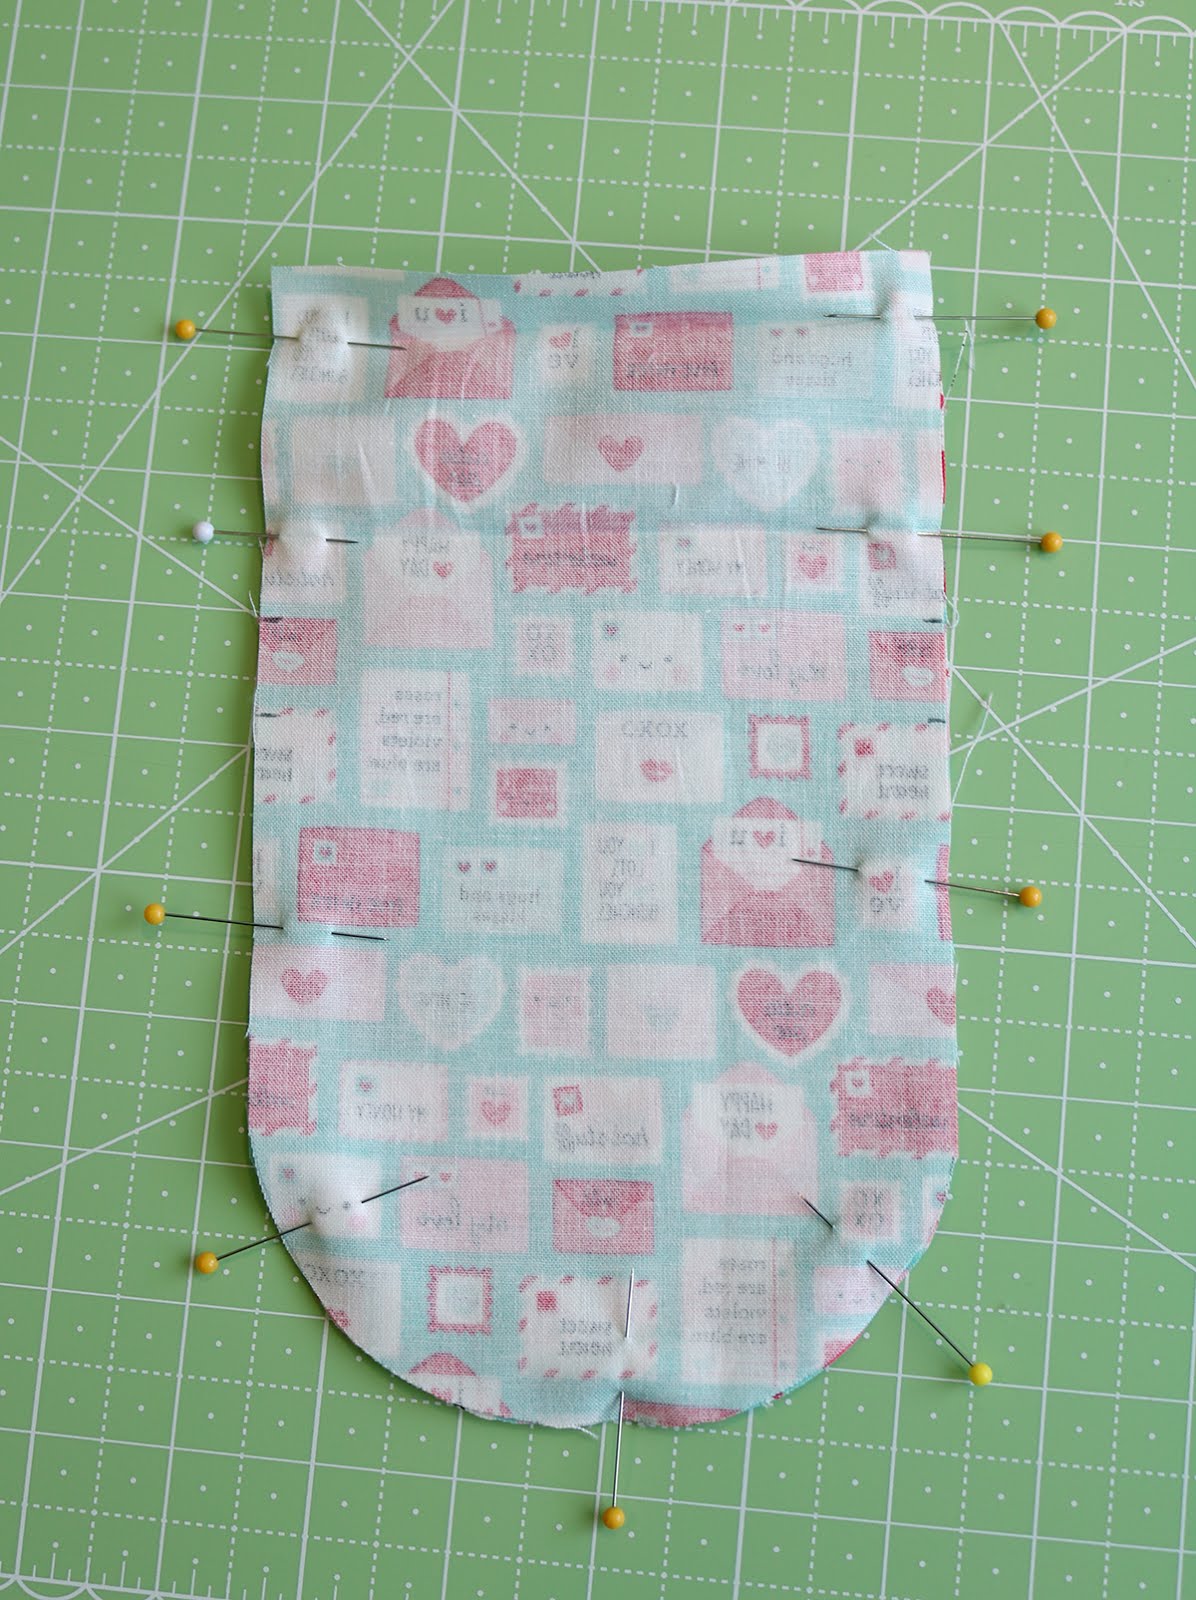
Step 5: Unfold top edge and place the two bag pieces right sides together. Pin together along the sides and bottom.
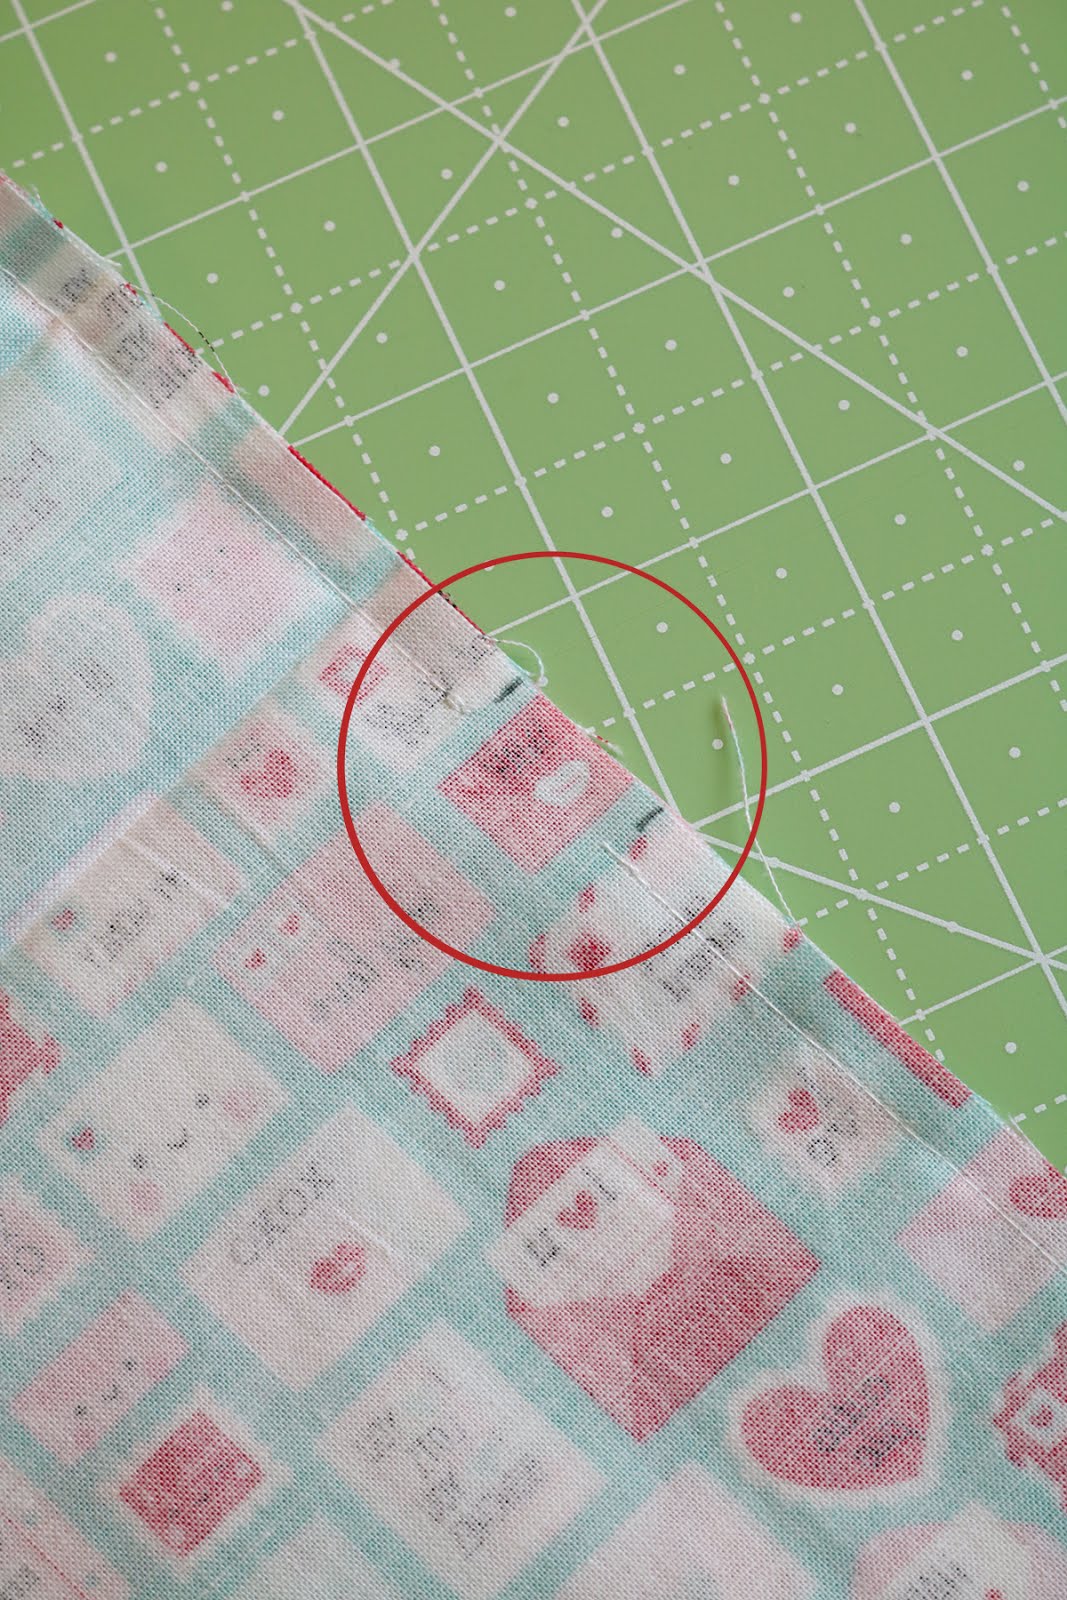
Step 6: Using a 1/4" seam, stitch around the sides and bottom of bag, leaving the area between the marked lines open.
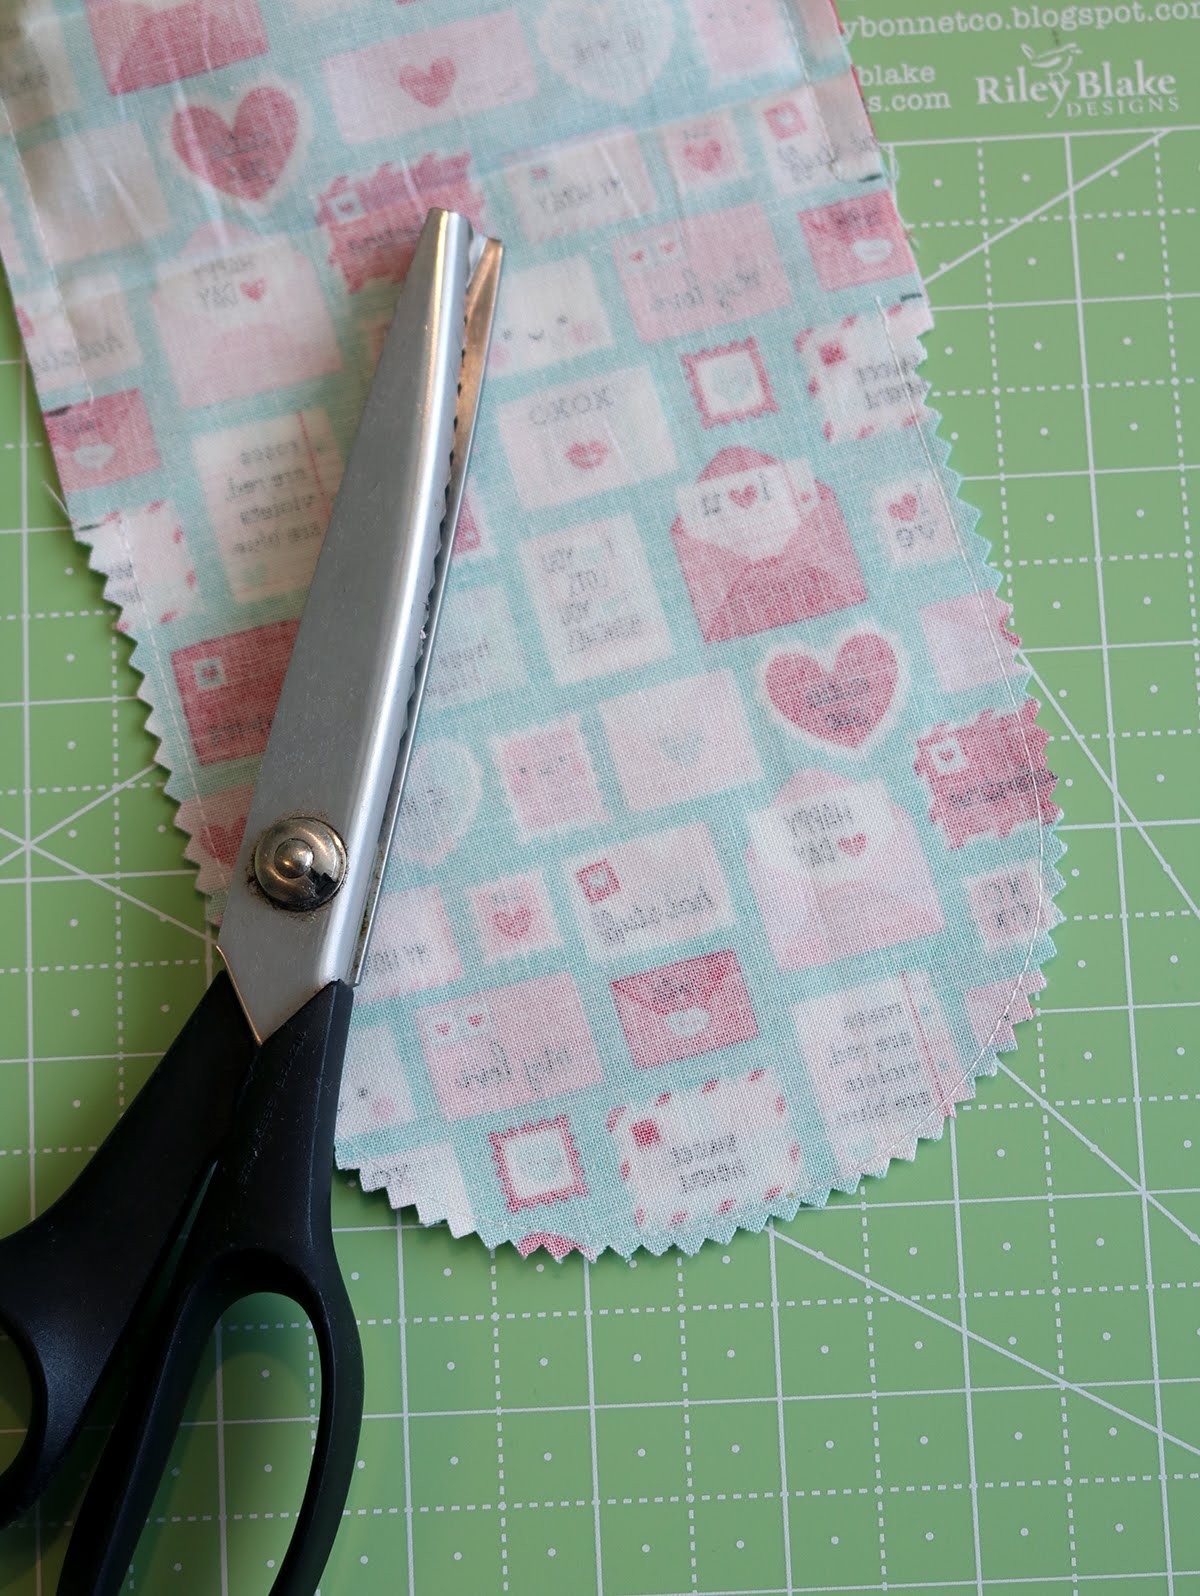
Step 7: With the pinking shears, trim the seam allowance around the curved bottom edge of the bag. Clip close to the seam, but be careful not to clip through the seam!
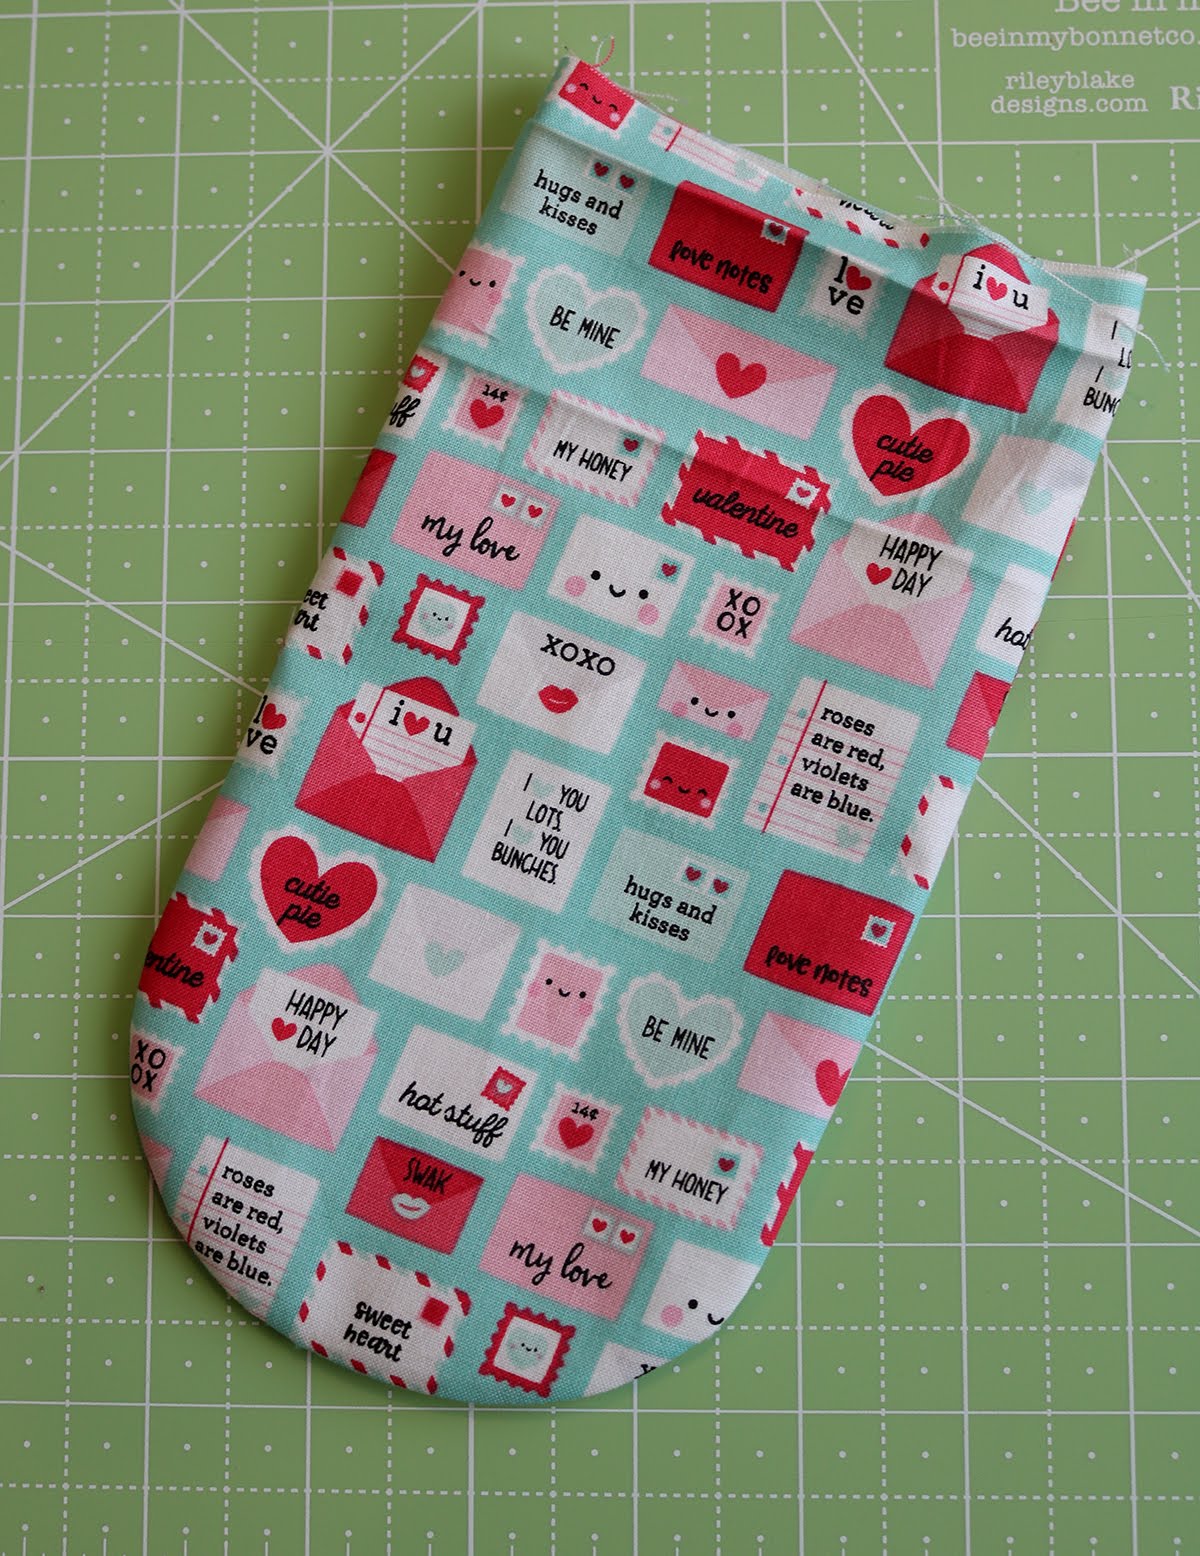
Step 8: Turn bag right side out. On the inside of the bag, run your finger along the bottom inside seam to gently push out the fabric along the curved edge. Then lay the bag flat and give just the bottom of the bag a quick press to make that curved edge nice and smooth.
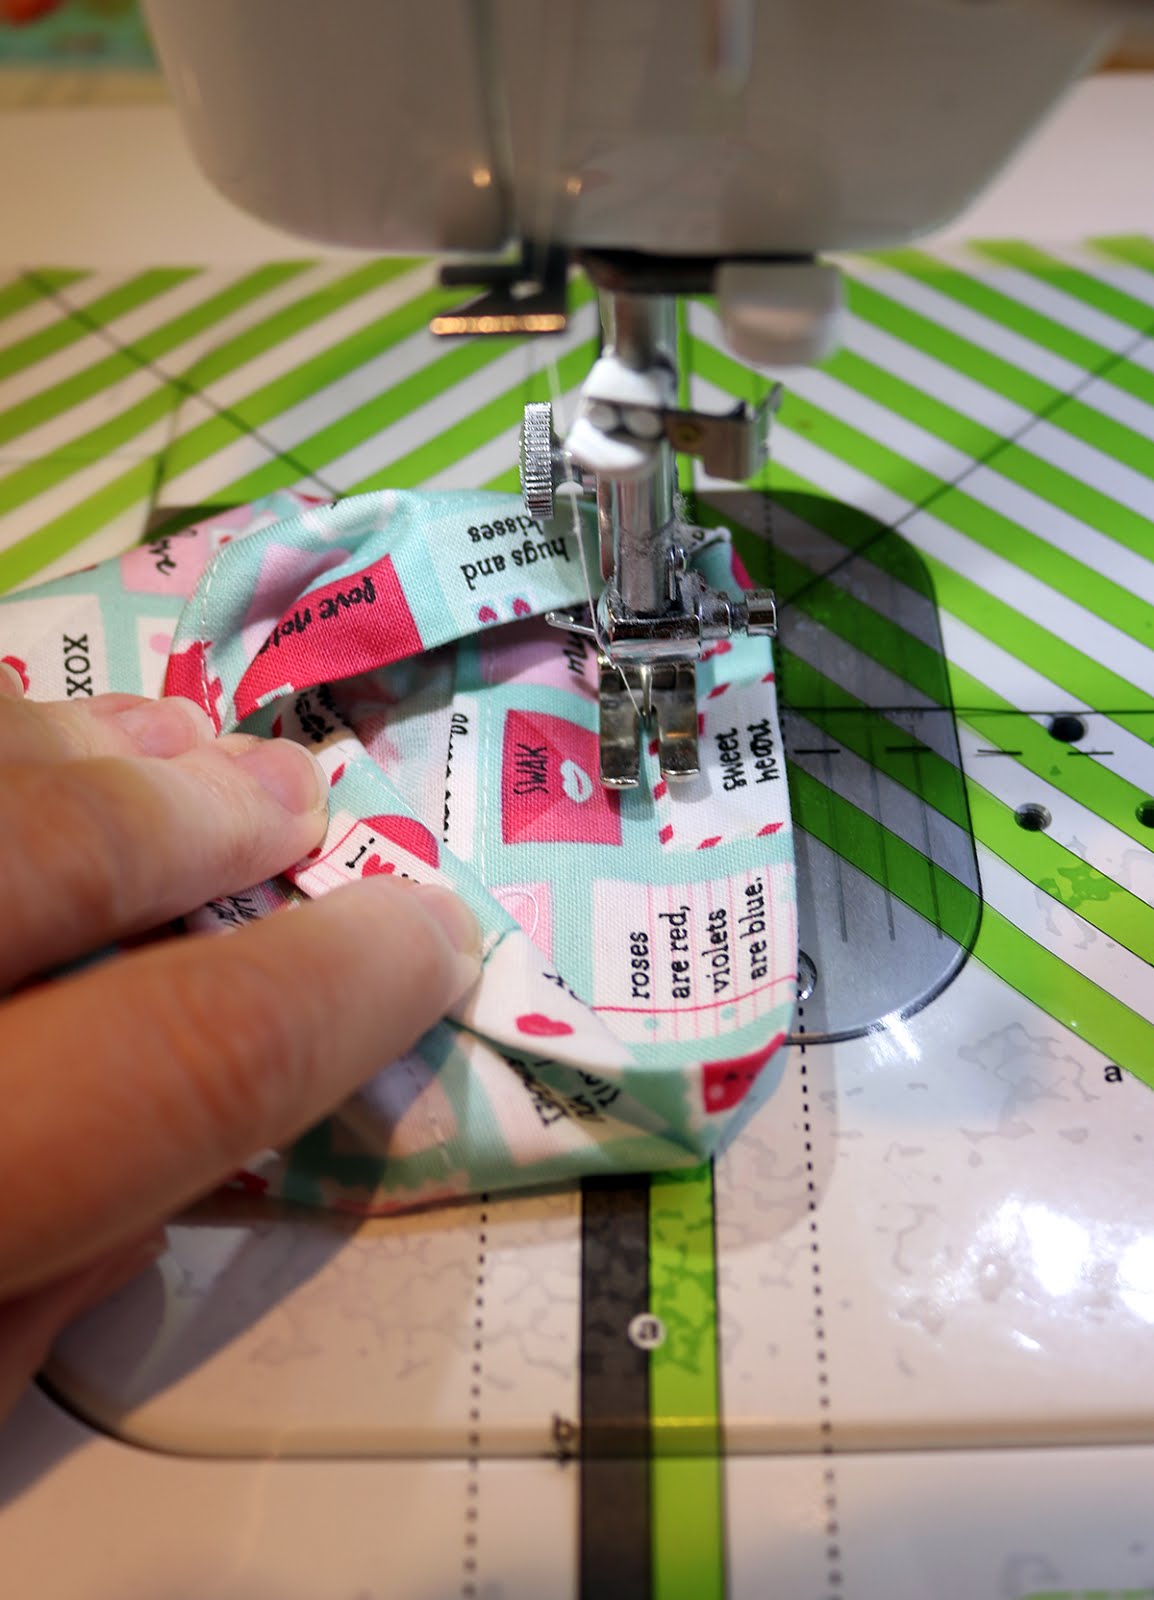
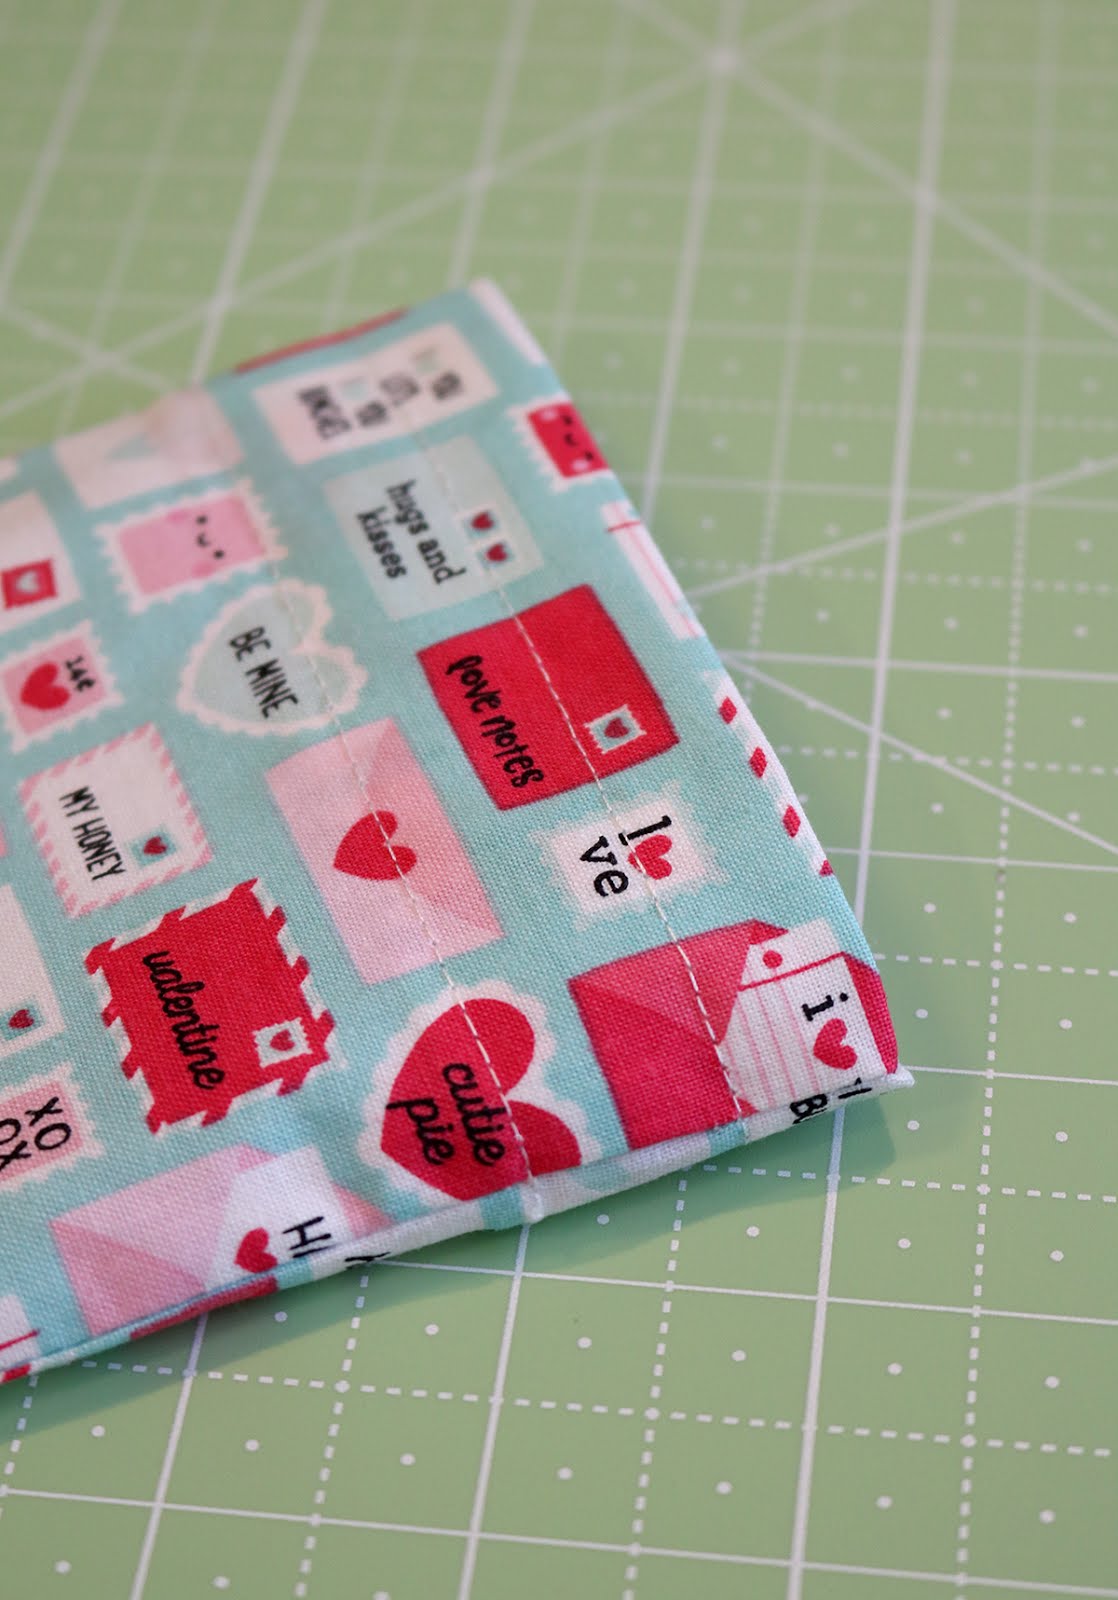
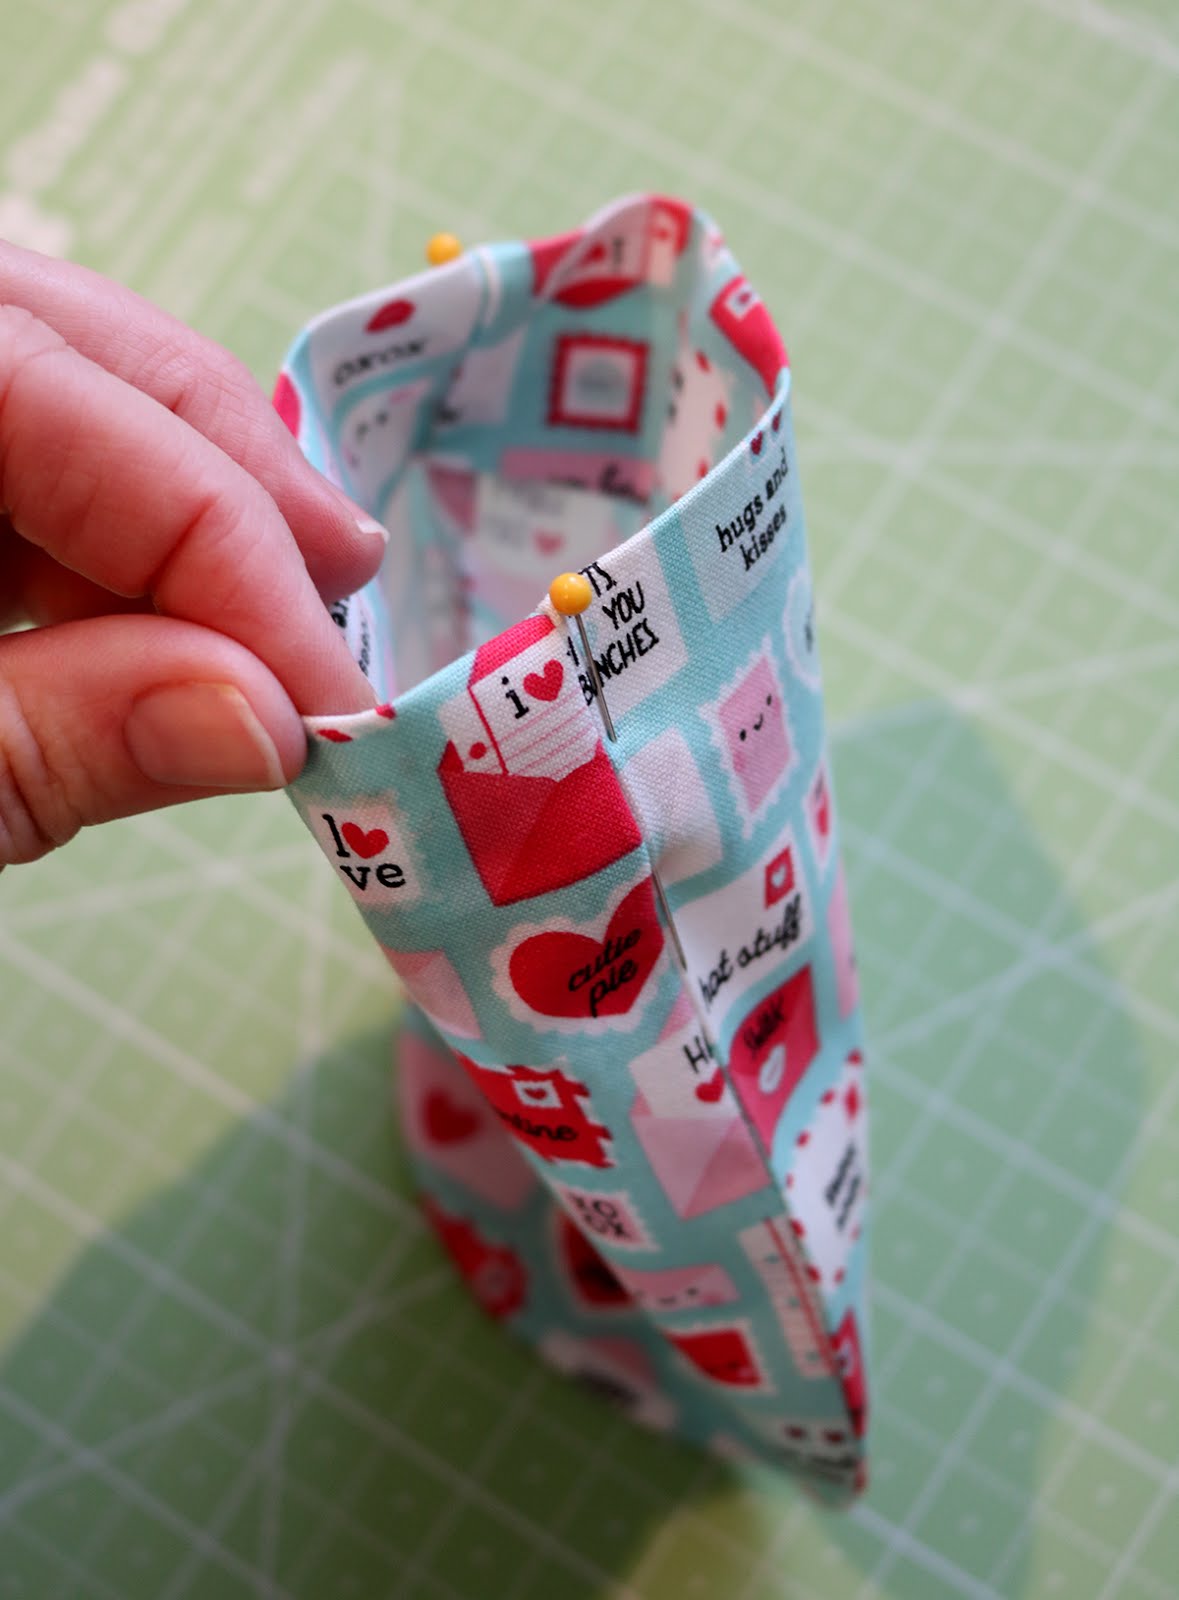
Step 9: Fold the top edge under 1/2" along the pressed fold line and then again 1 1/2" along the pressed fold line. Use a couple of pins to hold it in place.
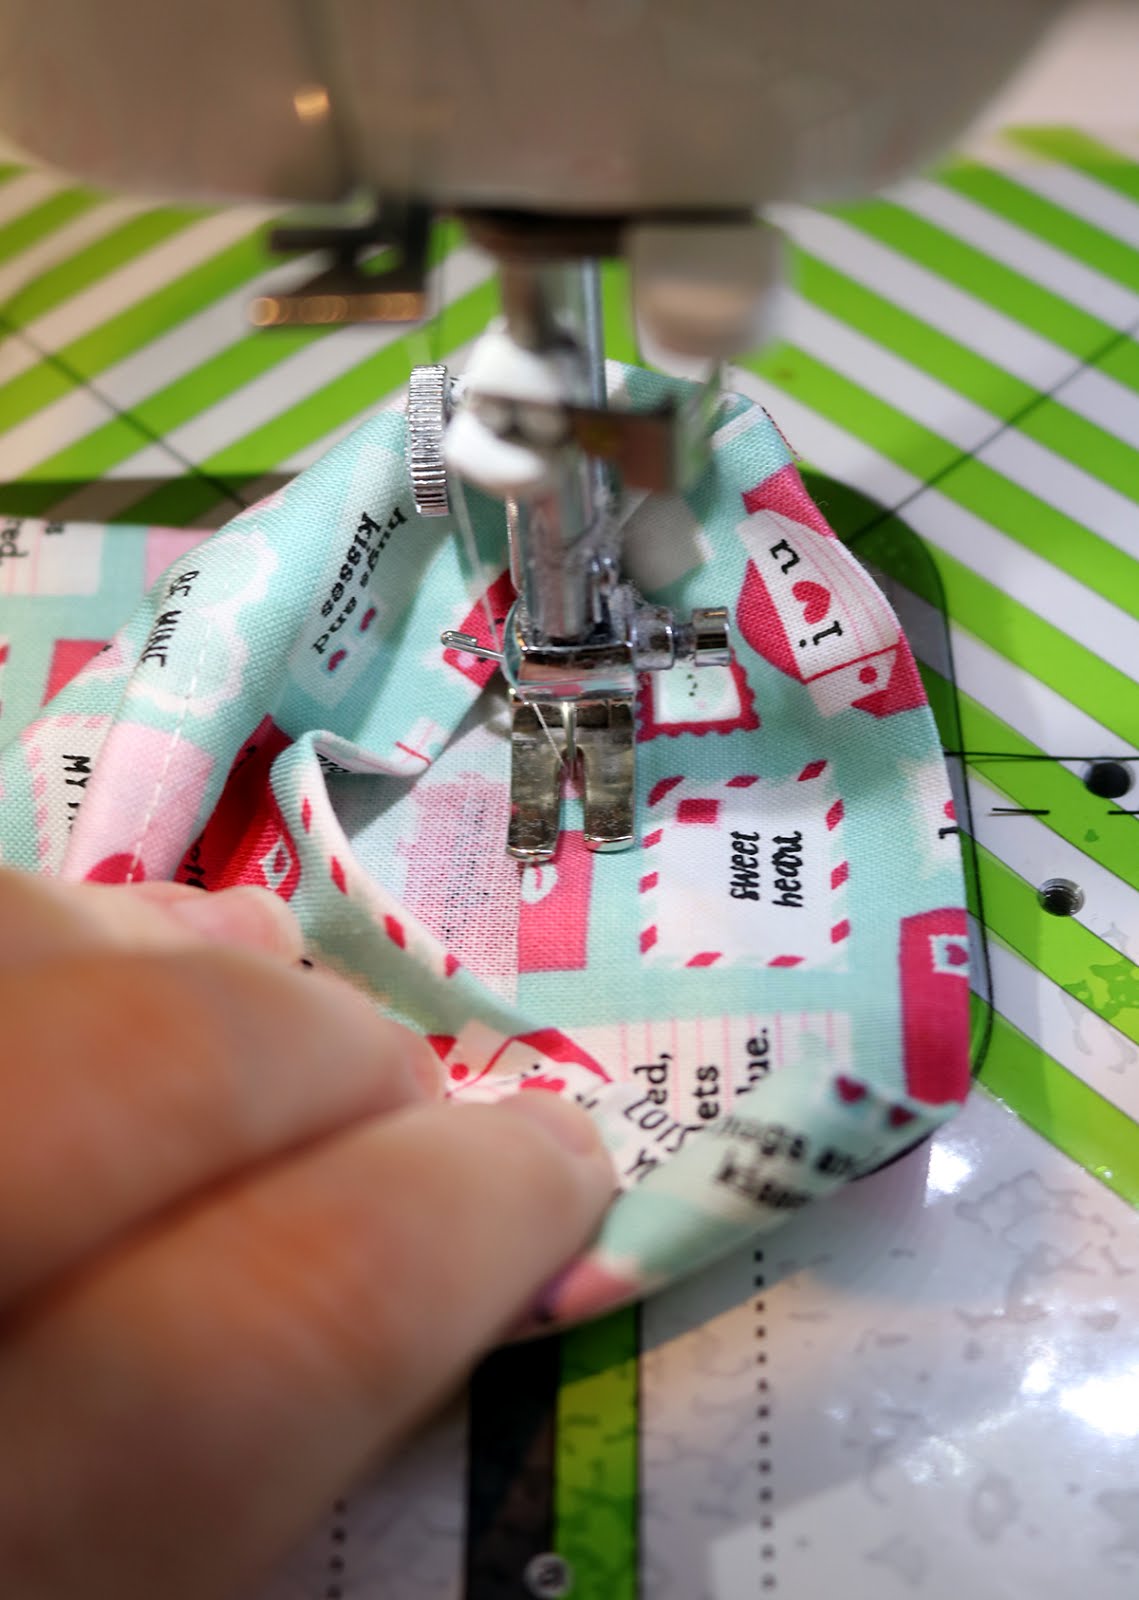
Step 10: On the inside of the bag, stitch around the bag opening close to the first folded edge. Then stitch a second time 5/8" from the top edge. This will create a channel for the ribbon.
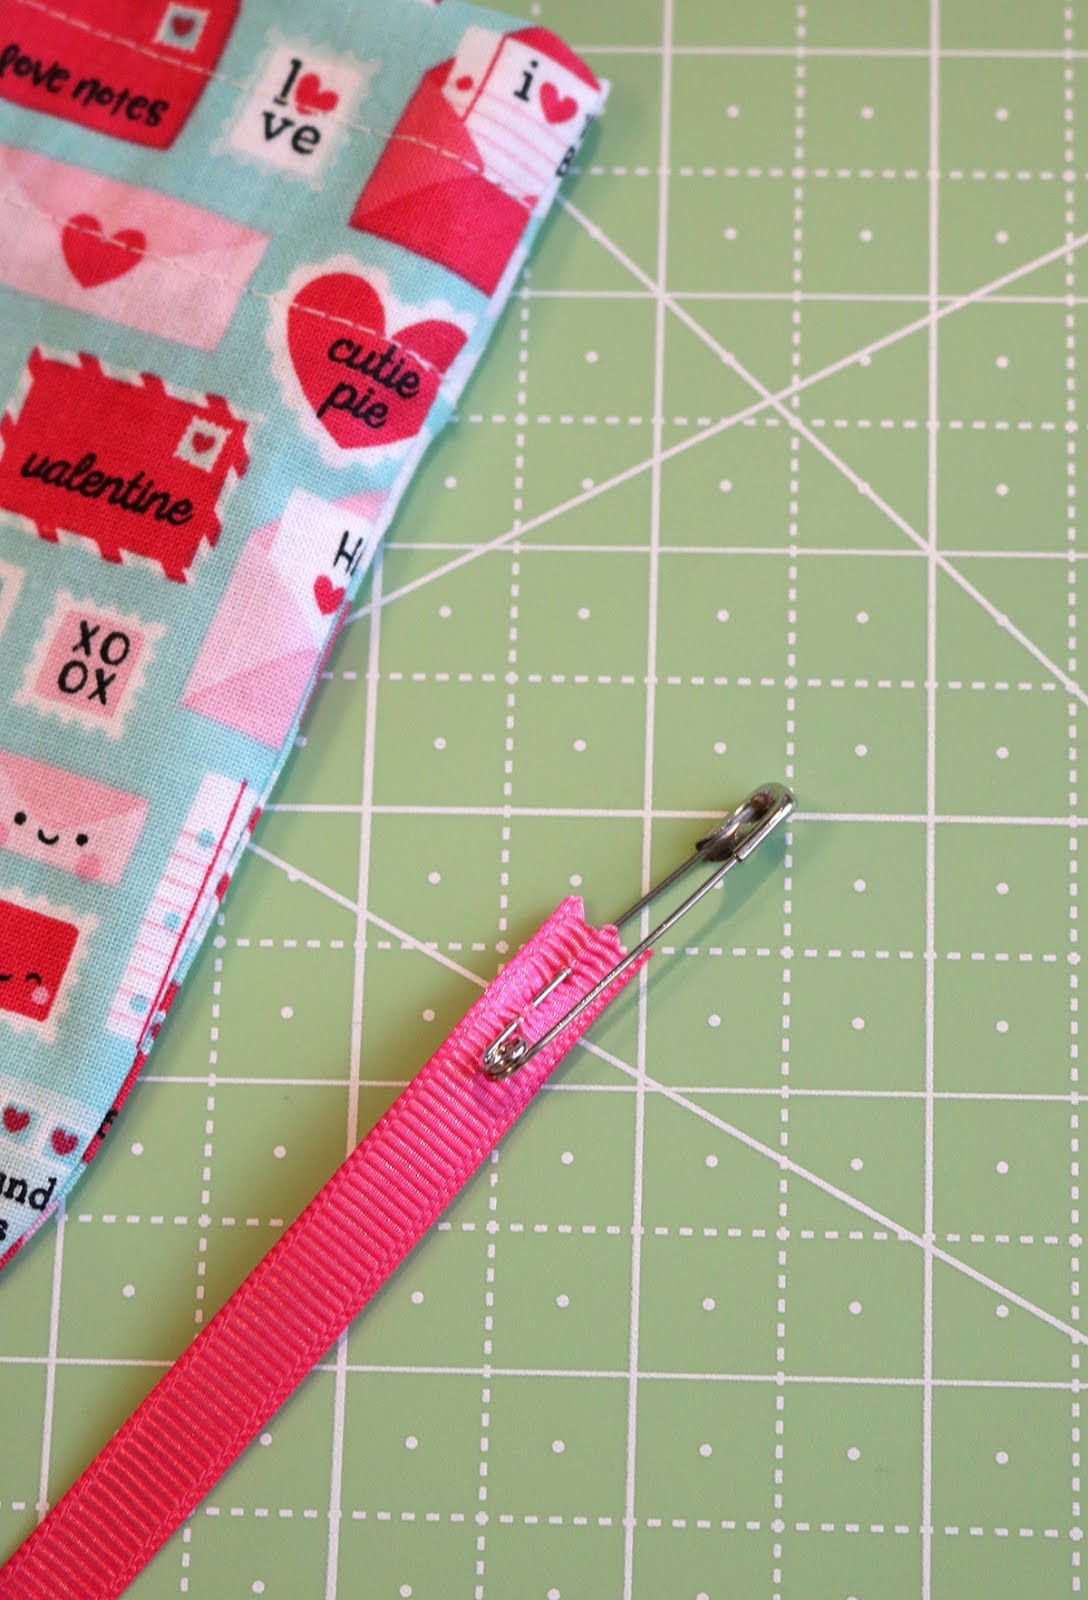
Step 11: Cut two lengths of ribbon, each 17" long. Place a safety pin at one end of one of the ribbons. The pin will make it easier to guide the ribbon through the channel.
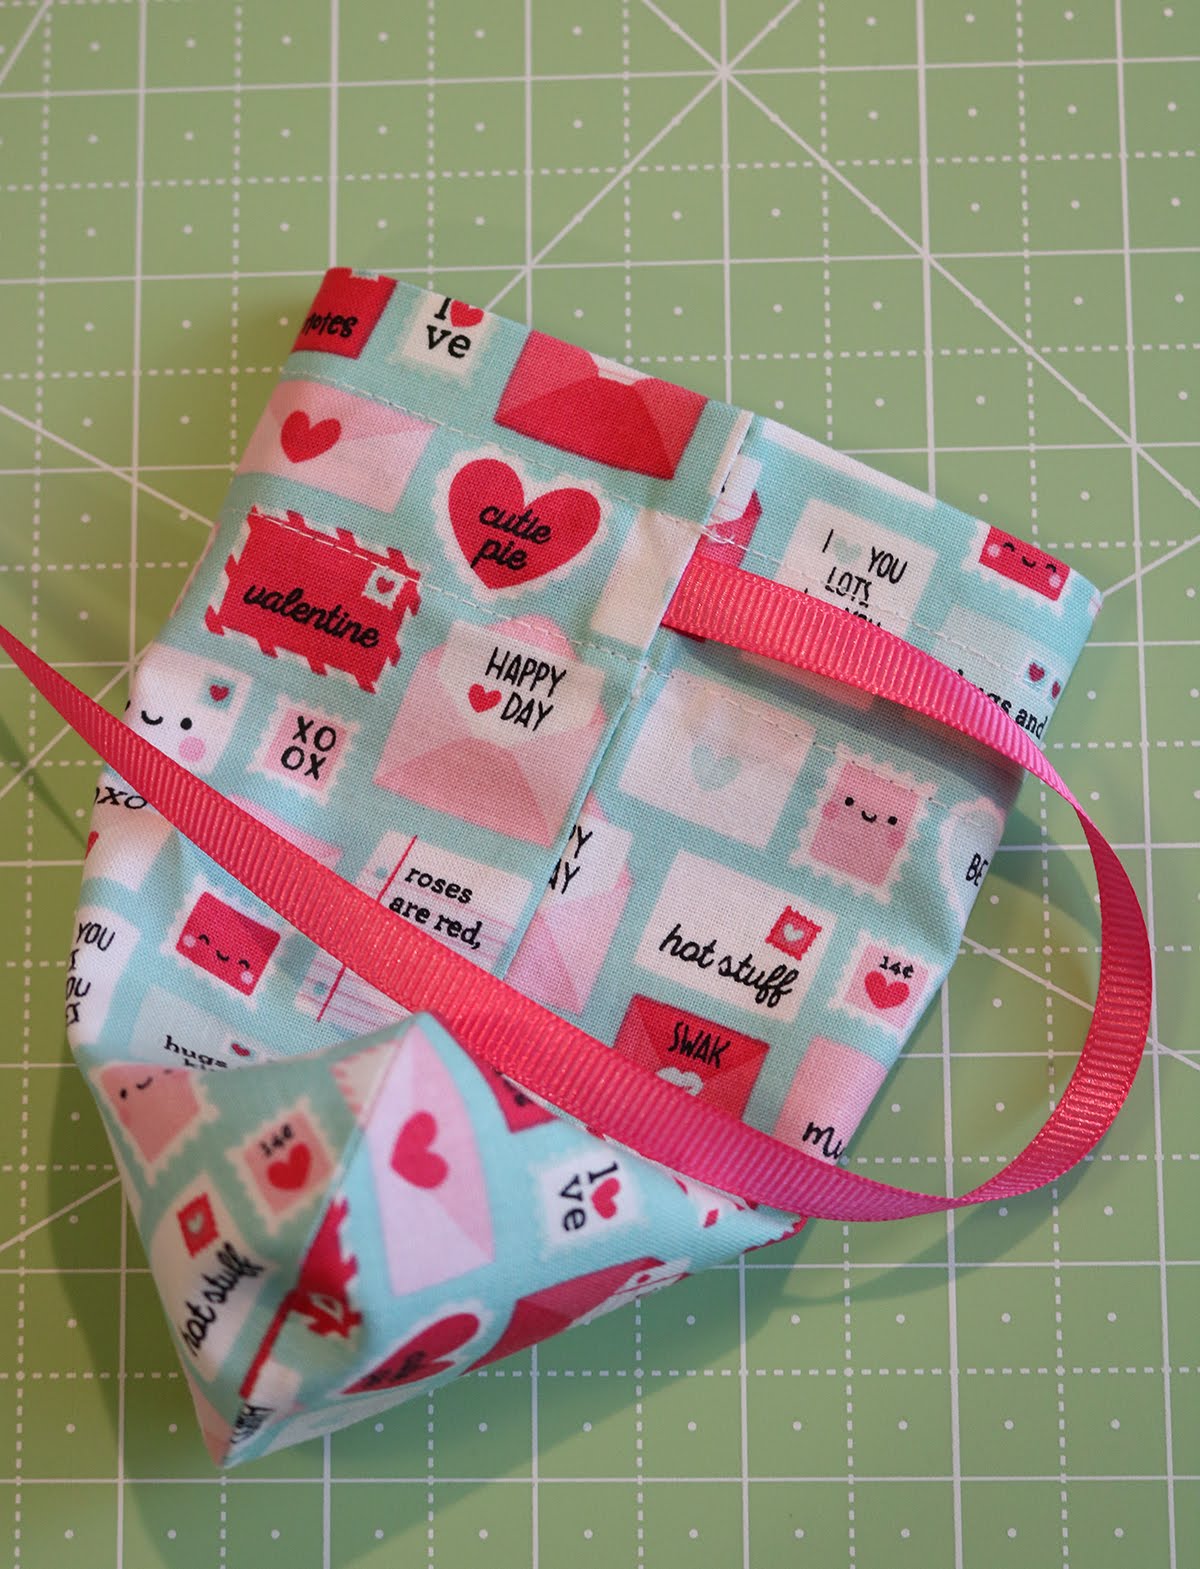
Push the pin through the opening on one side of the bag. Thread the ribbon around the entire bag, having it exit out the same hole it entered.
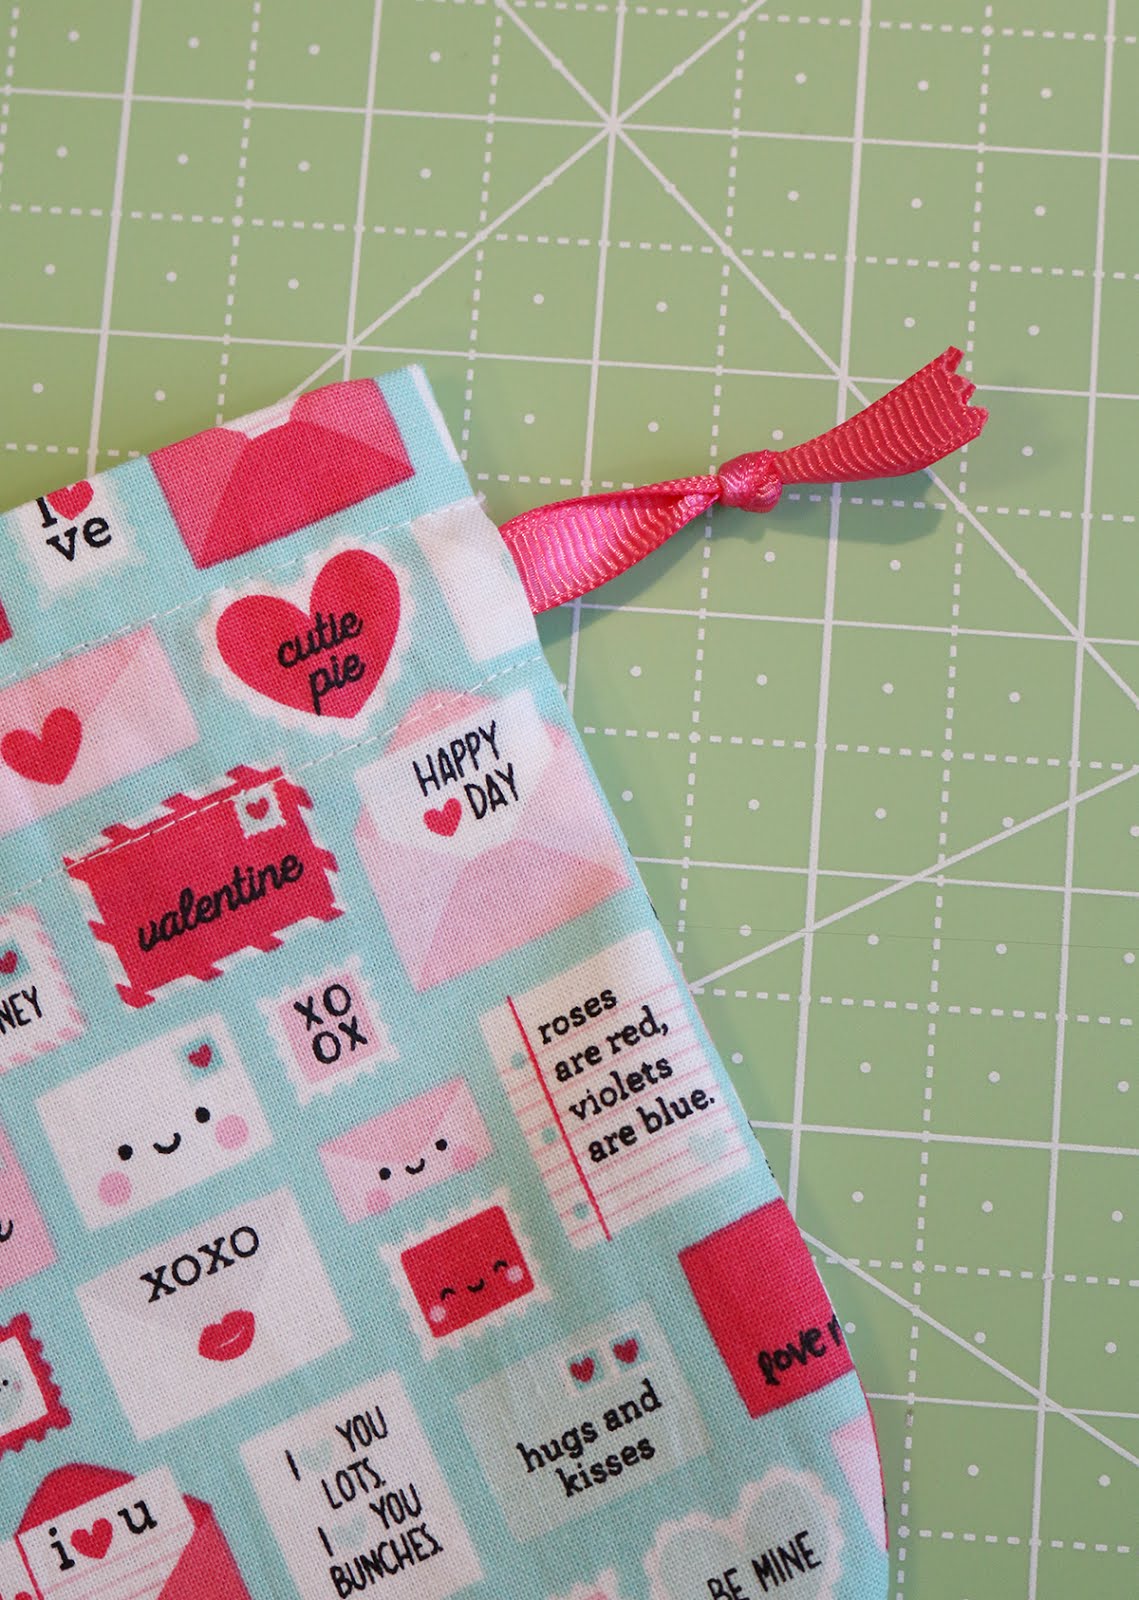
Remove the pin, knot the ribbon ends together and trim with pinking shears to keep them from fraying.
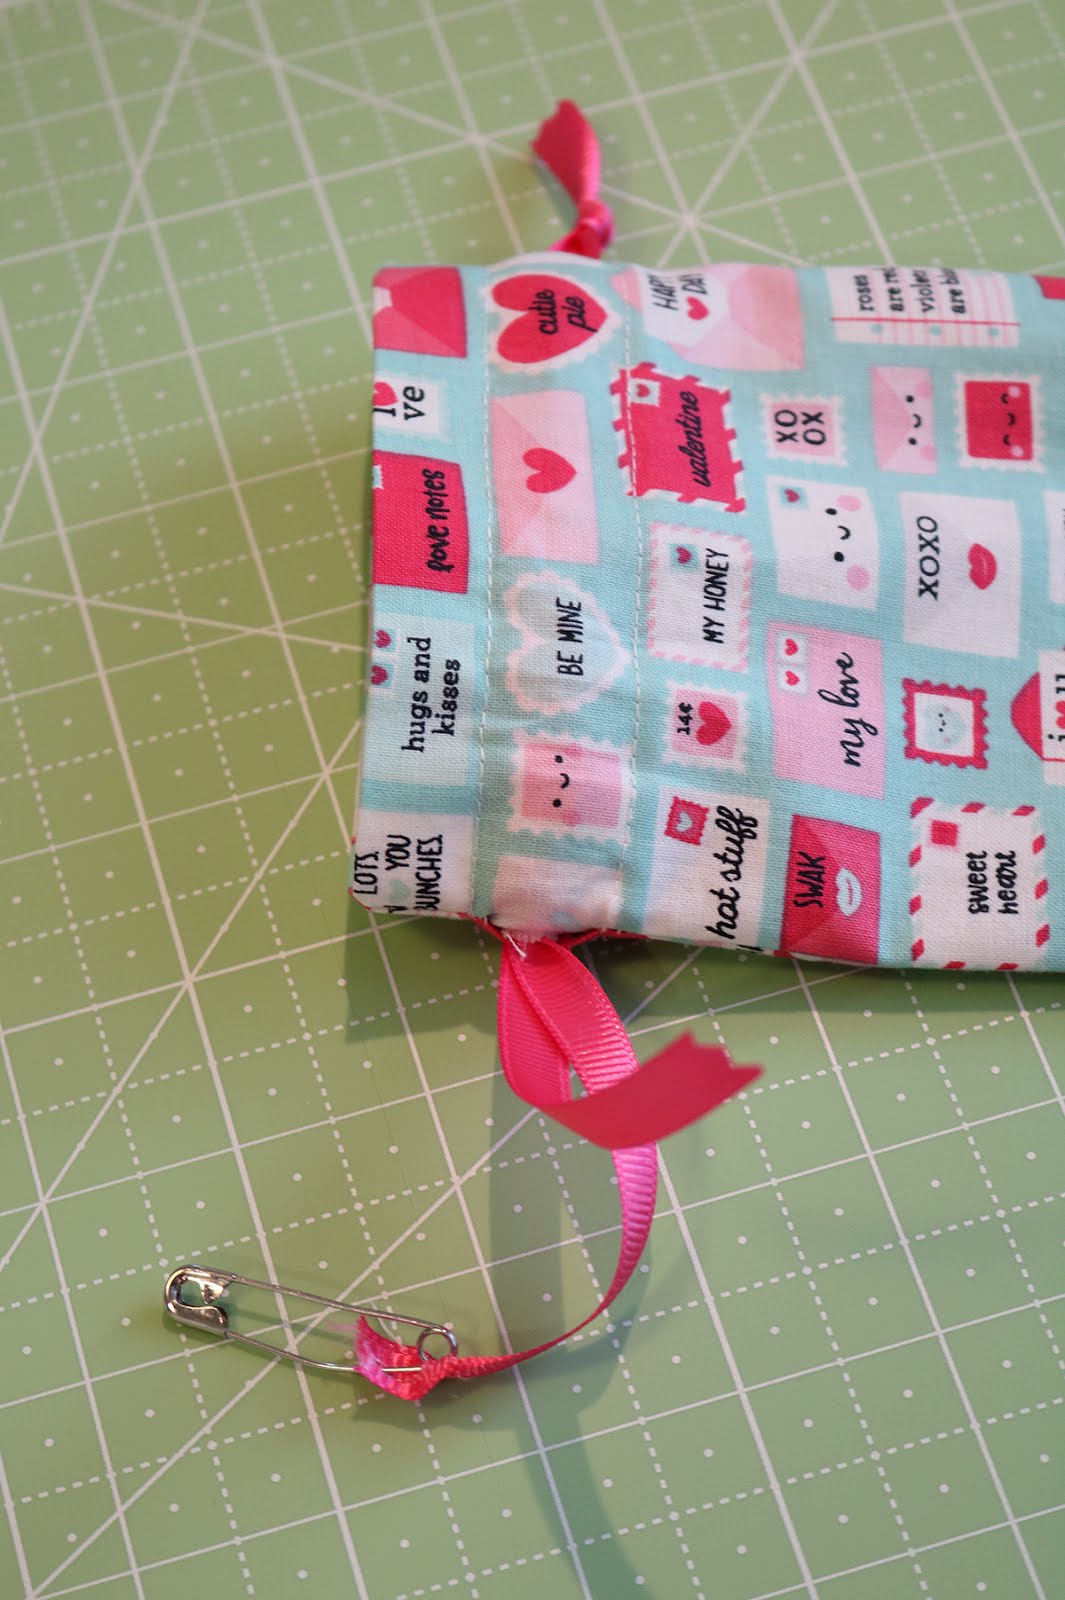
Step 12: Place the pin on the end of the second ribbon. Thread that ribbon through the hole in the opposite side seam of the bag. Push the ribbon around the entire bag, having it exit the same hole it entered. Remove the pin, knot the ribbon ends and trim ends with pinking shears.
There should be a knotted ribbon on each side of the bag. Pull the ribbons to cinch the bag closed.
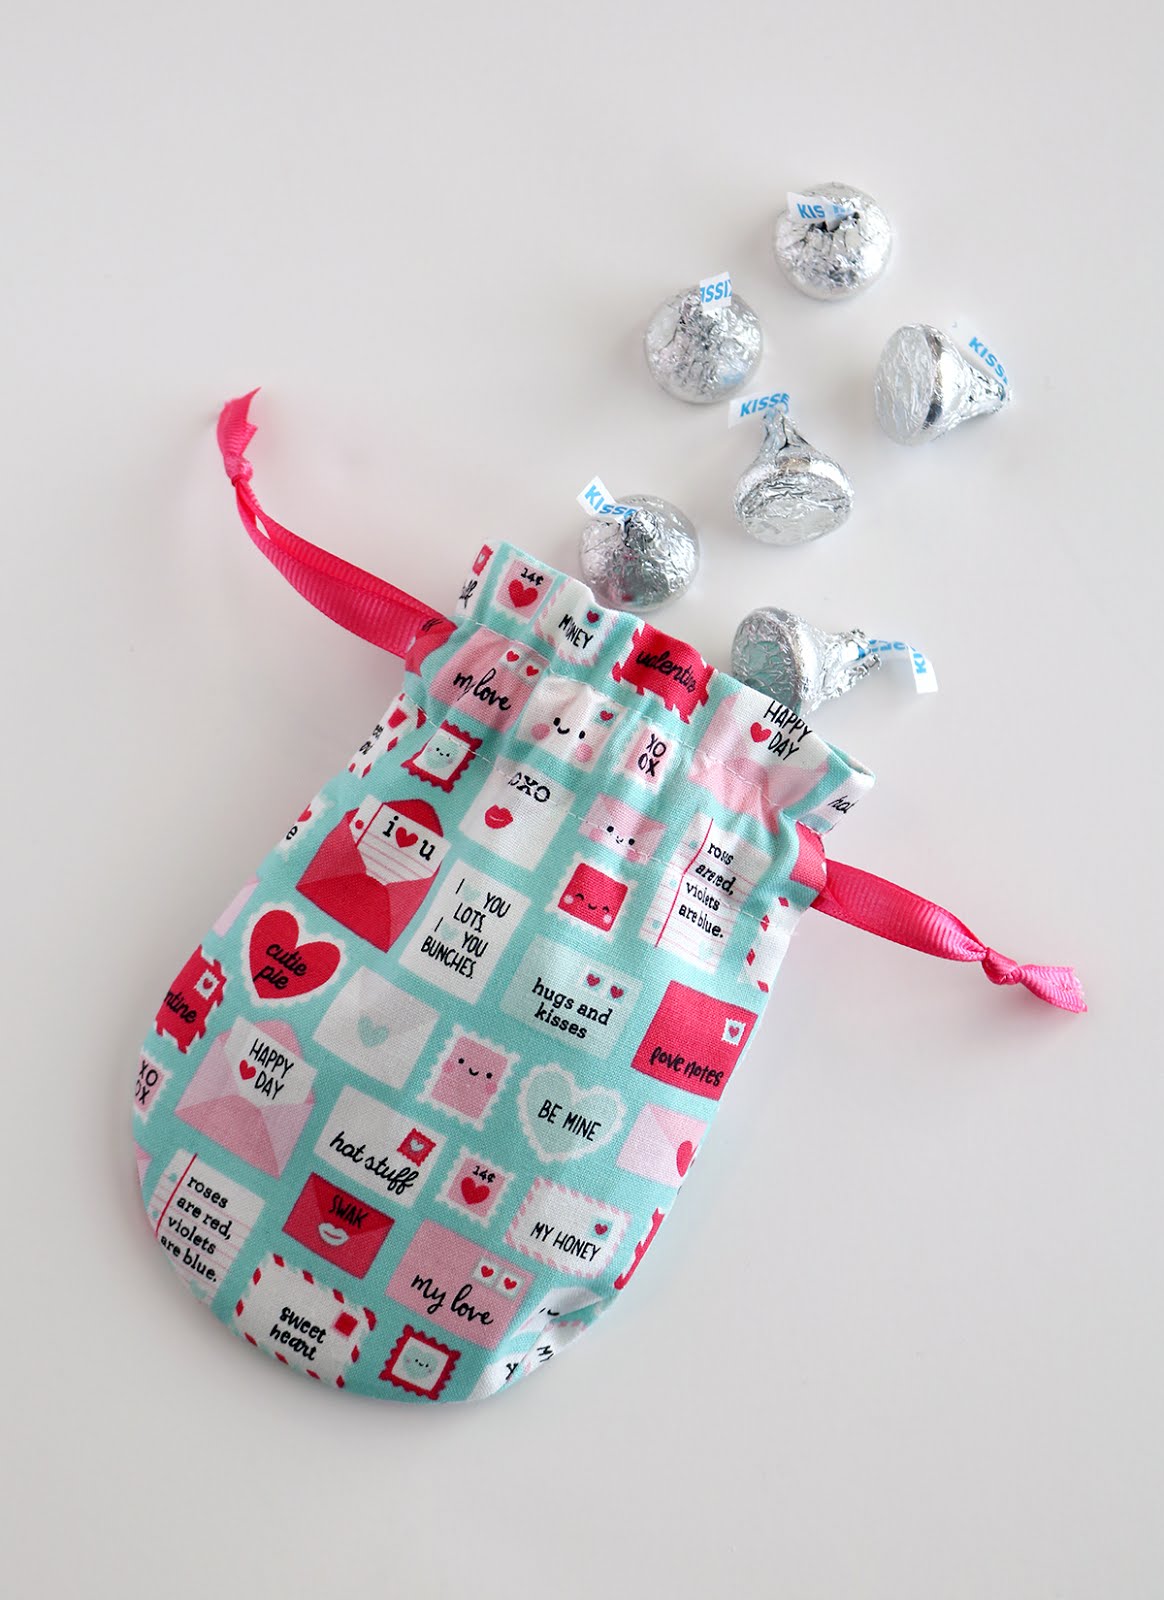
Your bag is done! Fill it with candy, earbuds, jewelry, more candy, a gift card....whatever!
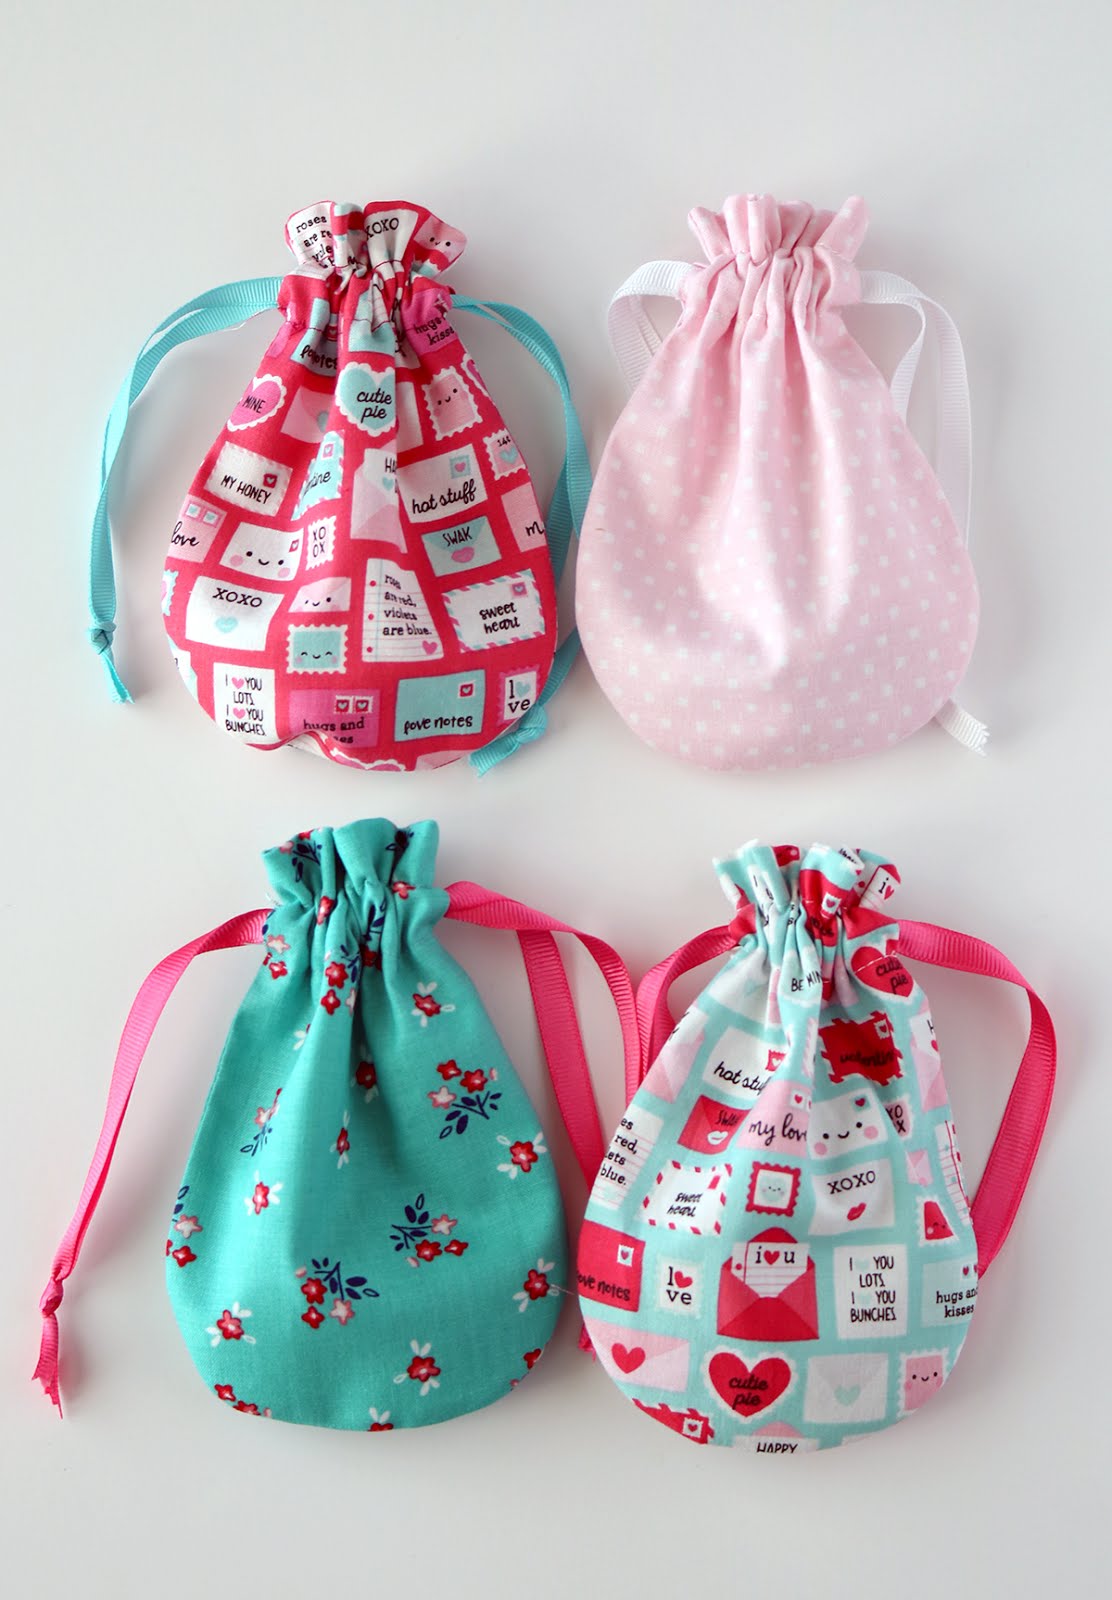
Here are my four bags together. I must warn you - these are fast and fun and a little addicting. I really just needed one bag but these prints all looked so good together so I just kept going!
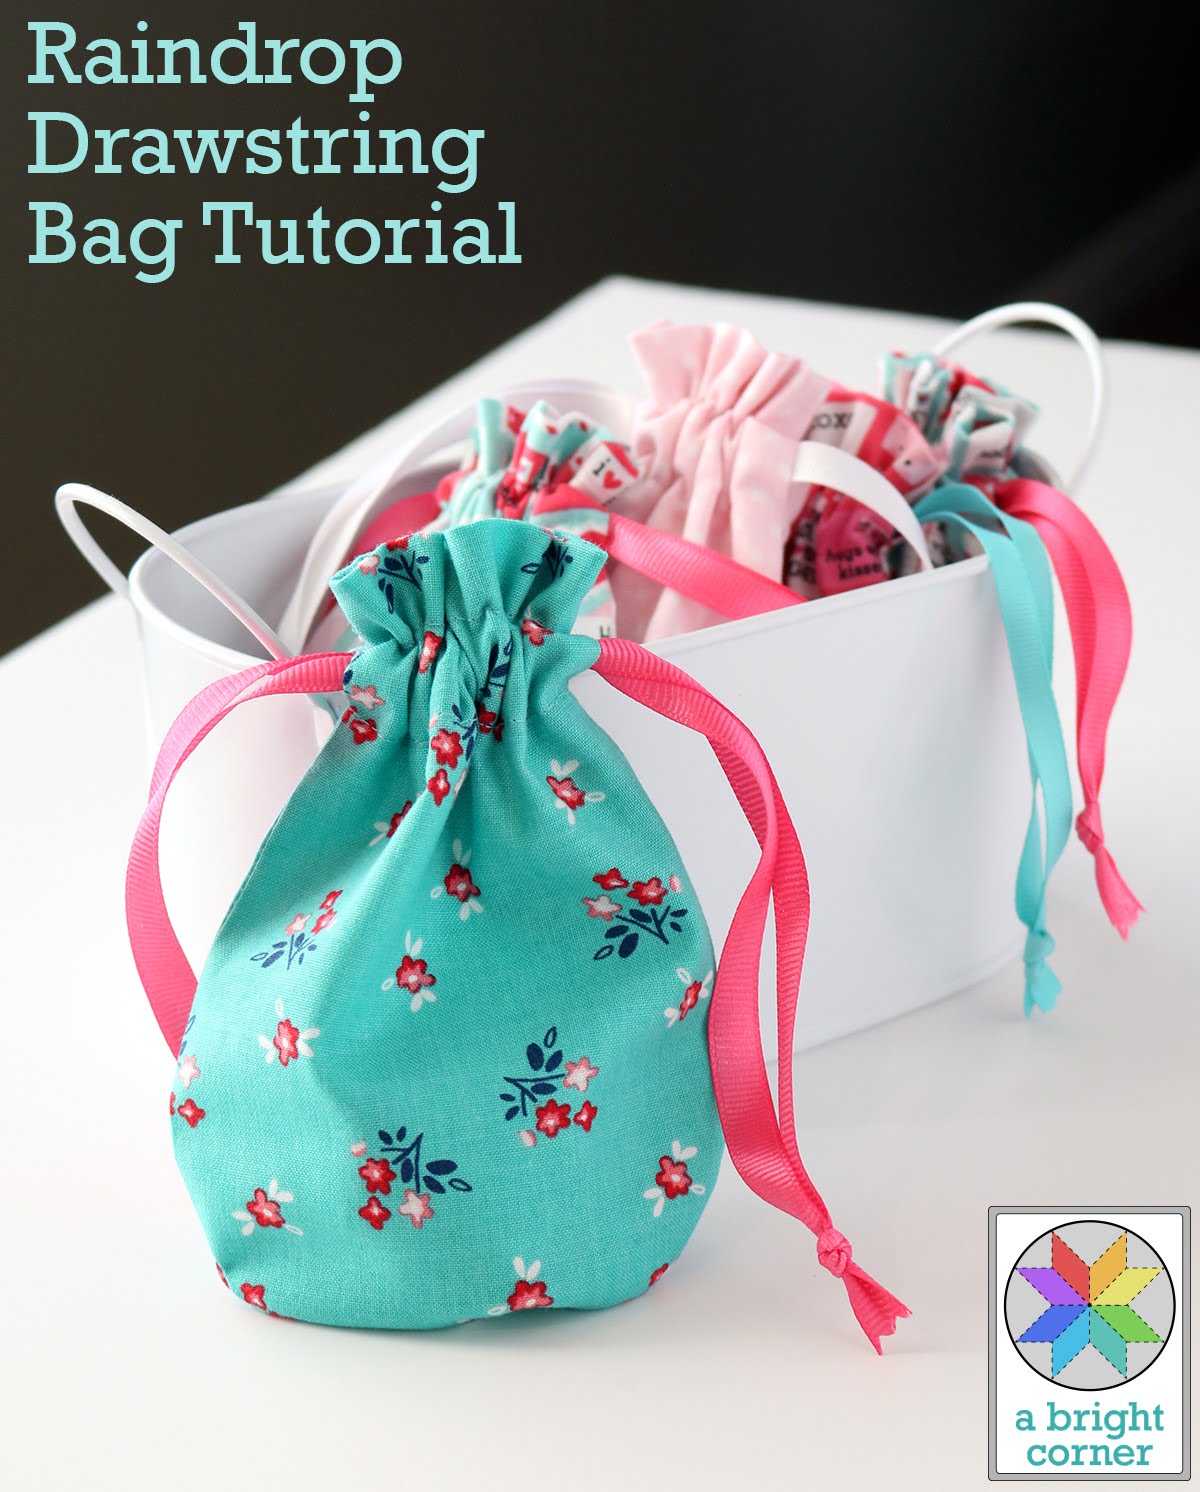
Want to save this for later? Pin the image below to your Pinterest board so you can find it when you need to. And if you make a bag I'd love to see it! Tag me (@abrightcorner) and use the hashtags #raindropdrawstringbag and #abrightcorner.
Happy sewing, and enjoy your weekend!
--Andy
And so the Raindrop Drawstring Bag was born! These were so fun and fast to make so I decided to share a tutorial here with you.
First of all, aren't these valentine prints so sweet? It's a little novelty line by Riley Blake Designs called Punny Valentine. I'm using the teal print but there's also two different pinks plus a couple of other coordinating prints. See more of them here.
Alright - ready to make a bag? Here's what you'll need:
- A 10" square of fabric for bag **
- 1 yard of 1/4" or 3/8" grosgrain ribbon
- Bag template (download PDF here)
- Helpful tools: Coordinating thread, scissors, pencil, pinking shears, safety pin, iron
**want to make more than one bag?
-- one layer cake square (10") makes 1 bag
-- 1 fat quarter can make 4 bags
-- 1/4 yard of fabric can make 4 bags
Step 1: Cut your fabric into two rectangles measuring 5" x 8 1/2"
Step 2: Decide which end is the bottom of the bag (if you're using directional prints this is important!)
With a pencil, trace the bag shape onto the wrong side of one of the rectangles. Really you'll only need to trace the curved bottom edge of the bag since the straight edges of the template will line up with the top and sides of the rectangle.
Stack both fabric pieces together and cut along the lines with scissors.
Step 3: On the wrong side of one of the pieces, make a small marking at 2.75" from the top edge and at 3.5" from the top edge of the bag. Make the same marks on the opposite edge of the same bag piece. These markings tell you where to stop and start sewing and will create an opening for the ribbon to be inserted at a later step.
Step 4: Along the top edge, fold down 1/2" and press. Then fold over again 1 1/2" and press. Press both bag pieces.
Step 5: Unfold top edge and place the two bag pieces right sides together. Pin together along the sides and bottom.
Step 6: Using a 1/4" seam, stitch around the sides and bottom of bag, leaving the area between the marked lines open.
Step 7: With the pinking shears, trim the seam allowance around the curved bottom edge of the bag. Clip close to the seam, but be careful not to clip through the seam!
Step 8: Turn bag right side out. On the inside of the bag, run your finger along the bottom inside seam to gently push out the fabric along the curved edge. Then lay the bag flat and give just the bottom of the bag a quick press to make that curved edge nice and smooth.
Step 9: Fold the top edge under 1/2" along the pressed fold line and then again 1 1/2" along the pressed fold line. Use a couple of pins to hold it in place.
Step 10: On the inside of the bag, stitch around the bag opening close to the first folded edge. Then stitch a second time 5/8" from the top edge. This will create a channel for the ribbon.
Step 11: Cut two lengths of ribbon, each 17" long. Place a safety pin at one end of one of the ribbons. The pin will make it easier to guide the ribbon through the channel.
Push the pin through the opening on one side of the bag. Thread the ribbon around the entire bag, having it exit out the same hole it entered.
Remove the pin, knot the ribbon ends together and trim with pinking shears to keep them from fraying.
Step 12: Place the pin on the end of the second ribbon. Thread that ribbon through the hole in the opposite side seam of the bag. Push the ribbon around the entire bag, having it exit the same hole it entered. Remove the pin, knot the ribbon ends and trim ends with pinking shears.
There should be a knotted ribbon on each side of the bag. Pull the ribbons to cinch the bag closed.
Your bag is done! Fill it with candy, earbuds, jewelry, more candy, a gift card....whatever!
Here are my four bags together. I must warn you - these are fast and fun and a little addicting. I really just needed one bag but these prints all looked so good together so I just kept going!
Want to save this for later? Pin the image below to your Pinterest board so you can find it when you need to. And if you make a bag I'd love to see it! Tag me (@abrightcorner) and use the hashtags #raindropdrawstringbag and #abrightcorner.
Happy sewing, and enjoy your weekend!
--Andy
Thursday, June 28, 2018
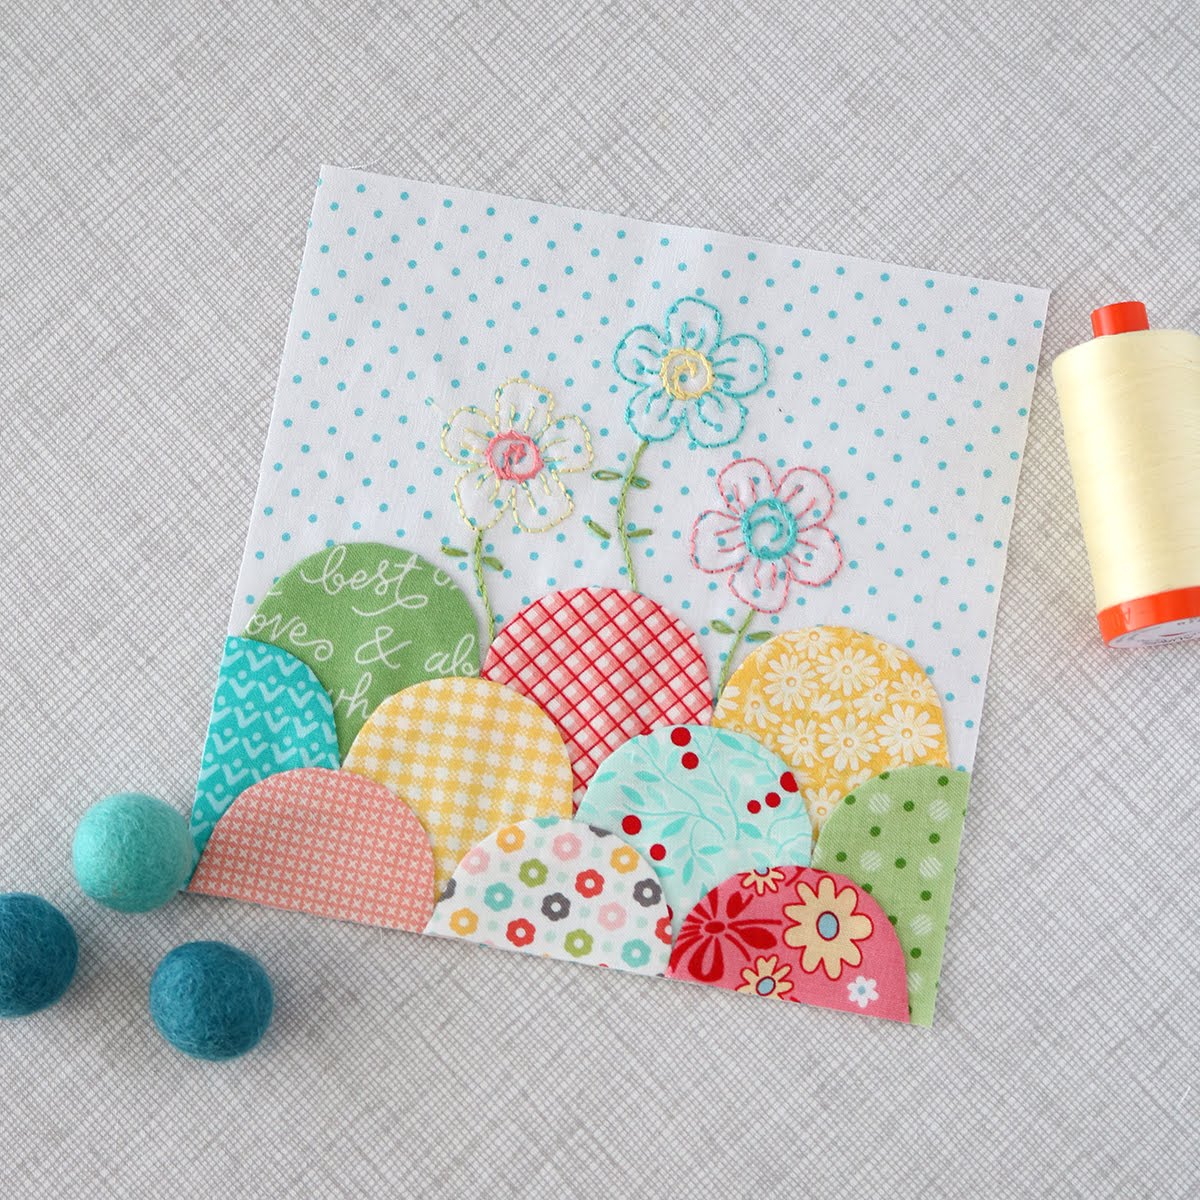
Clamshell Block How-To and Splendid Sampler Block 3
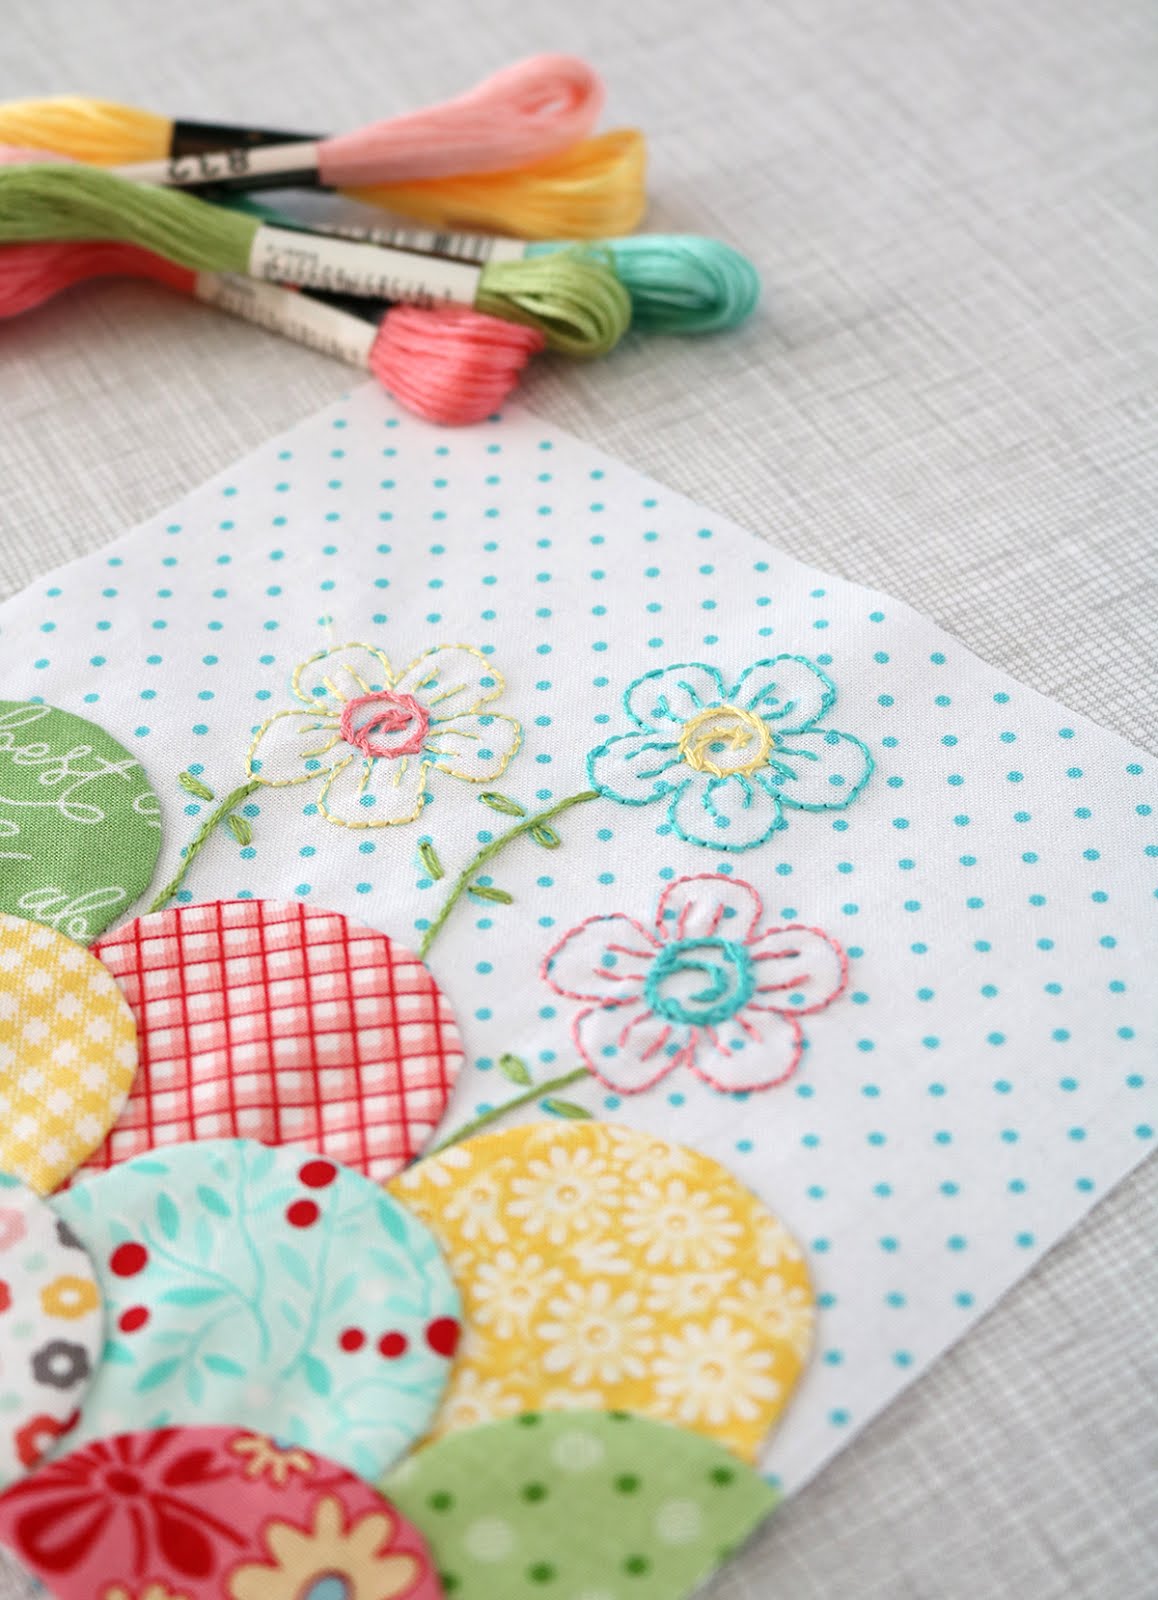
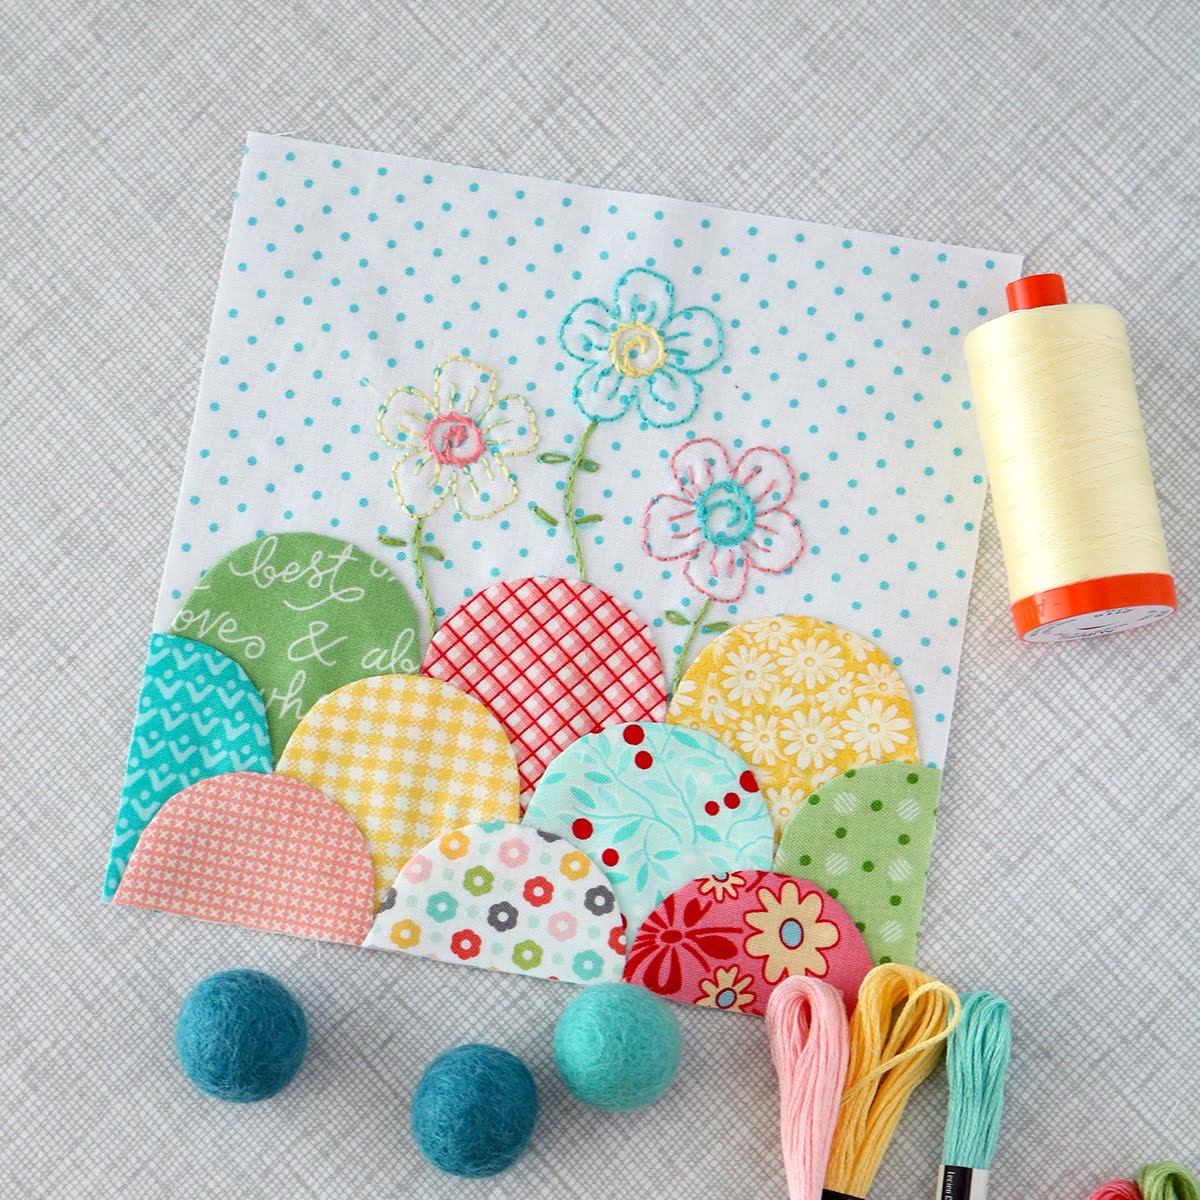
Boy oh boy was this block a learning experience for me! At first I was so intimidated by the embroidery that I didn't even want to attempt it.
But I do so love a good challenge, and for months now I've been wanting to improve my embroidery -- and by "improve", I mean actually learn how ;)
This week's Splendid Sampler block was designed by Helen Stubbings and it's called Clamshells. You can download the free block pattern here.
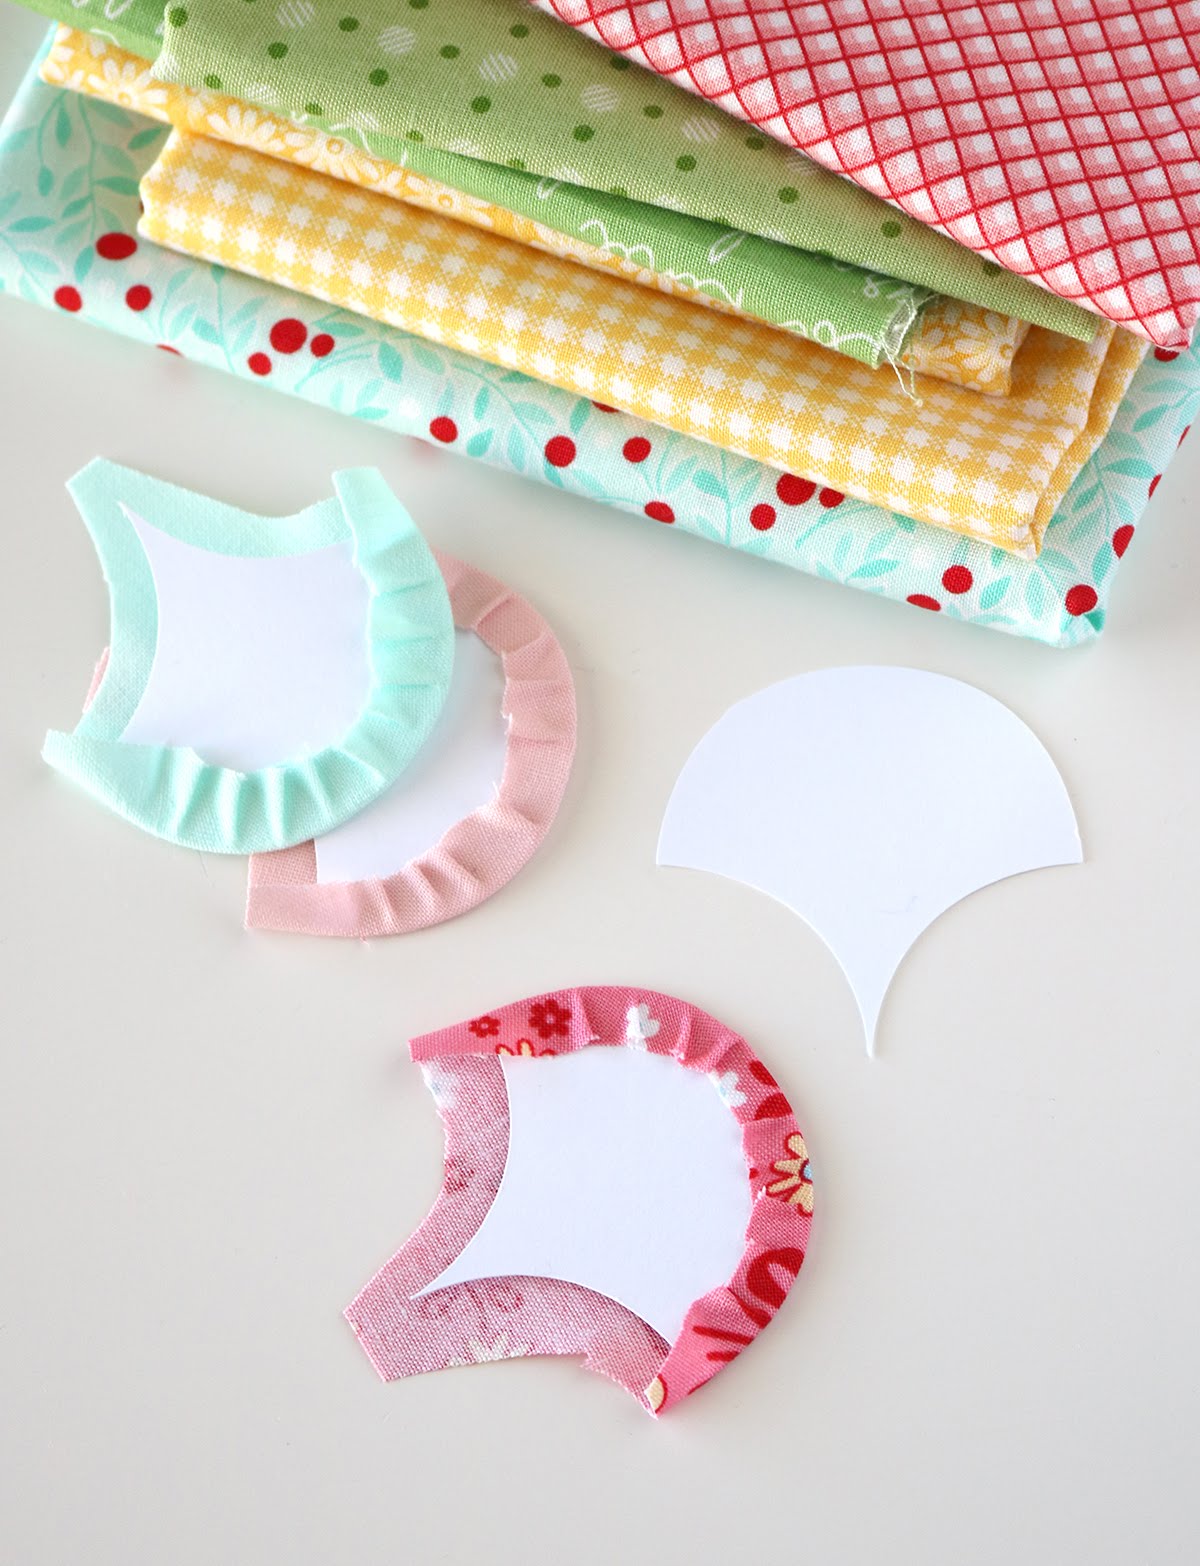
Before I talk about my attempt at embroidery I want to share some tips with you for those adorable little clamshells.
I have three tutorial links to share -and if you've never attempted clamshells before, I recommend reading through all three and then deciding which one appeals to you the most! They each have some great tips and perhaps you'll end up using a mix of tutorials for your own block.
Clamshells the iron-on way
Clamshells with the foil technique
Clamshells: EPP style
That last tutorial is the one I used, since I'm a big english paper piecing fan!
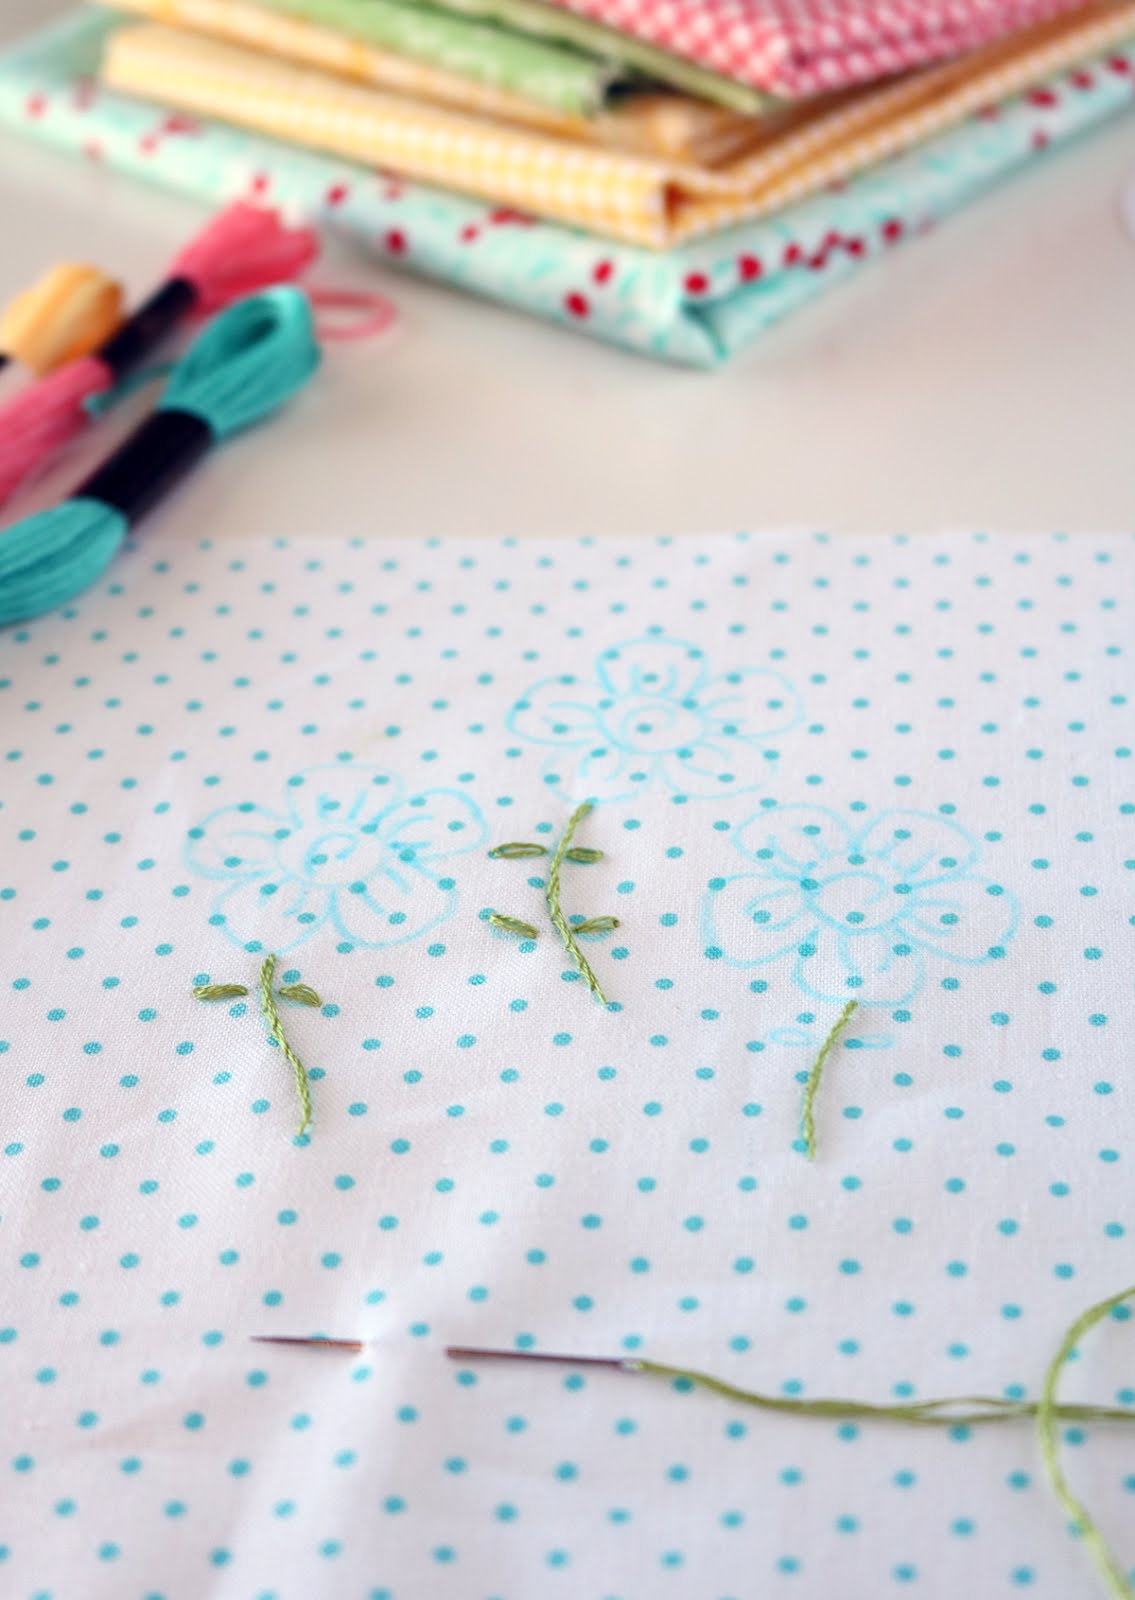
Alright. Now about that embroidery. I've done just a bit of it before, but it's been so long that I'd forgotten even the basic stitches. Youtube the rescue!
For this block we use the backstitch, the stem stitch, and the lazy daisy stitch. Here are the youtube tutorials I used:
Backstitch how-to
Stem Stitch how-to
Lazy Daisy how-to
All three are from Mary Corbet (Needle 'n Thread) and she has TONS more. See them all here.
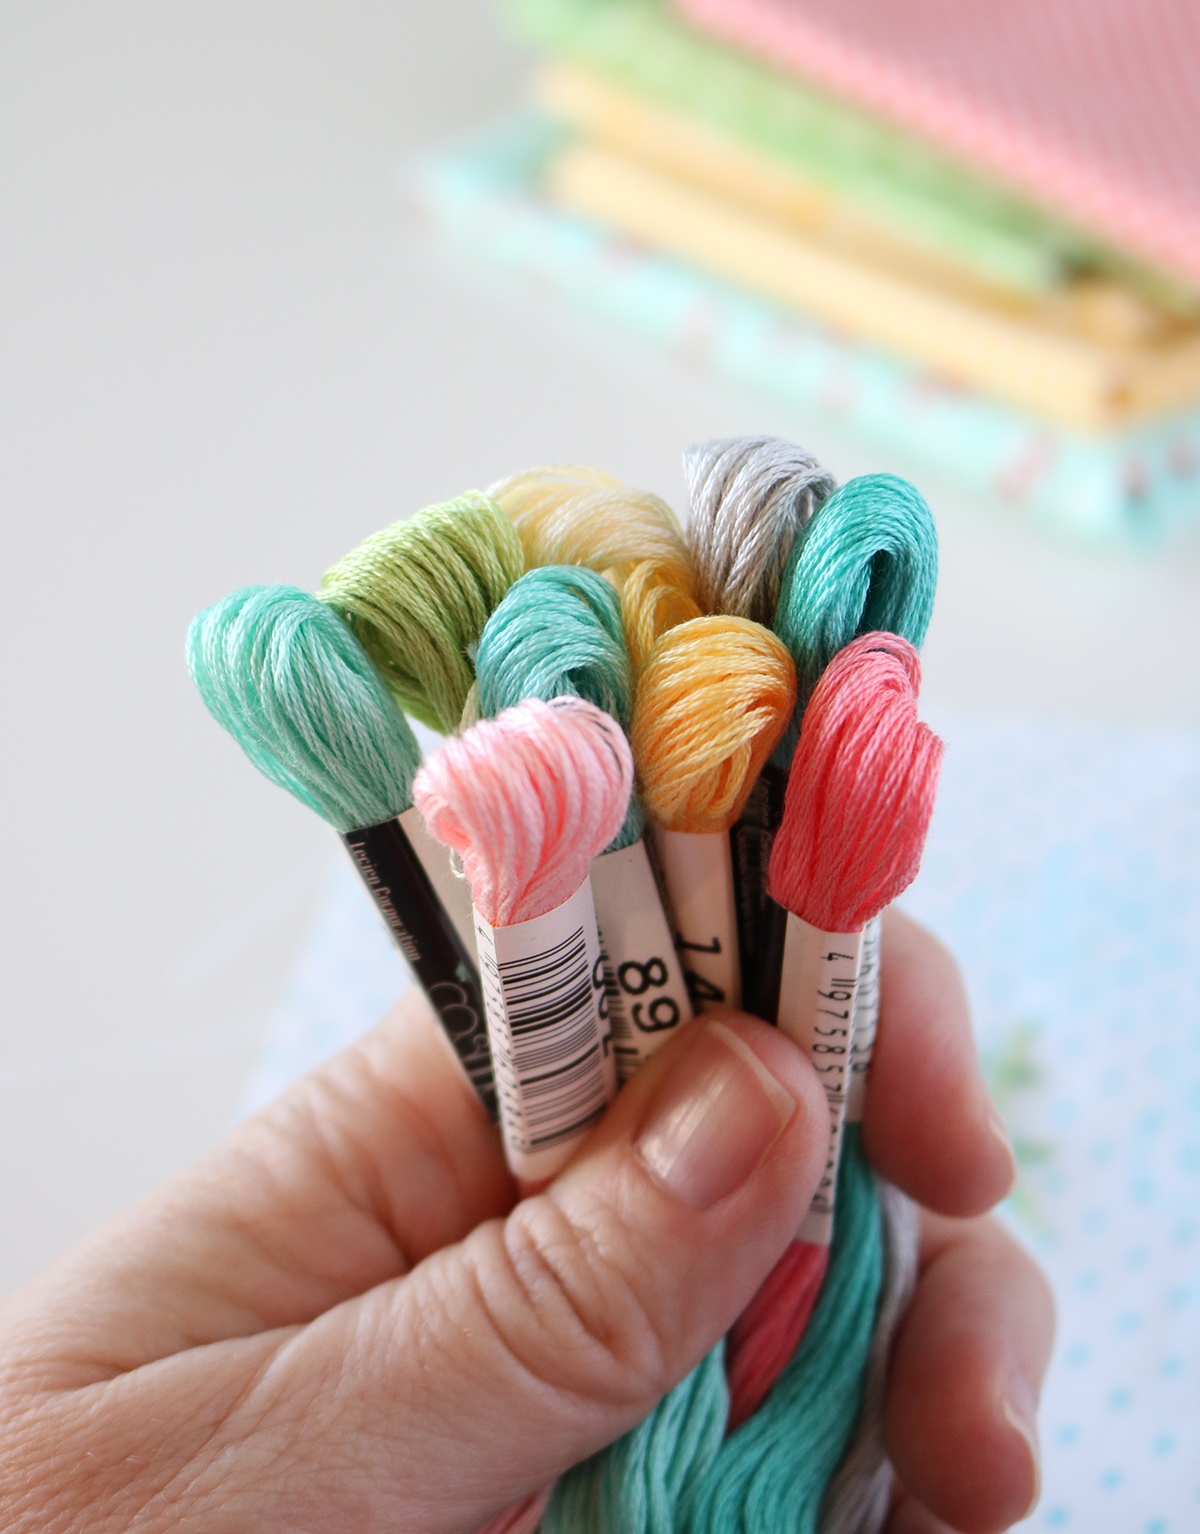
I didn't use a hoop, and I feel like it turned out alright. I'm pretty sure I used the wrong type of needle but since two strands of floss fit through the eye of the needle, I just kept going.
But my finished block isn't too shabby, right? I think that once I get more comfortable with the basic stitches (and find the right needle) embroidery might be quite relaxing!
Don't forget - find the free block pattern here, and join in the Splendid Sampler fun here on the blog, and here on the group Facebook page.
And I HAVE been working behind the scenes on some full quilts - I promise! I'll be sharing one here on Saturday!
Happy sewing,
--Andy
Subscribe to:
Posts (Atom)