Showing posts with label Bags. Show all posts

Thursday, April 12, 2018

Leather Handle Tote Bag

Happy Thursday everyone!  The kids are back in school after last week's spring break, and I'm looking forward to celebrating my birthday tomorrow with my family.  I'm turning the big four-five this year -yikes!

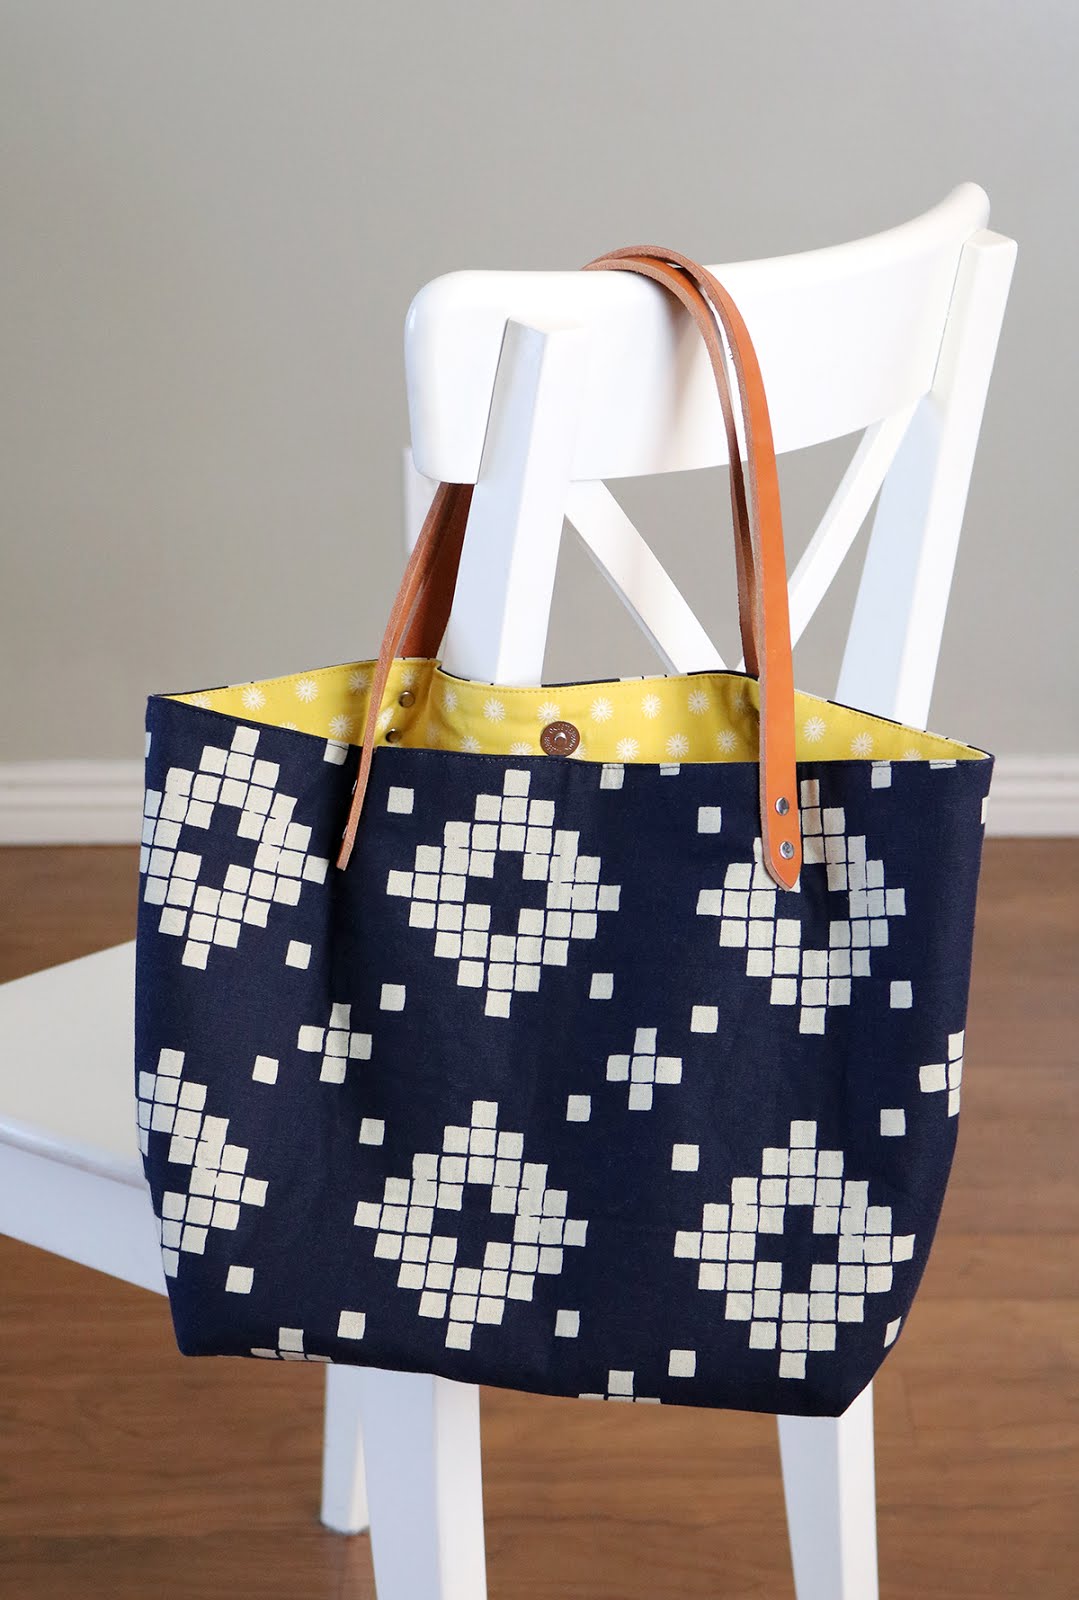
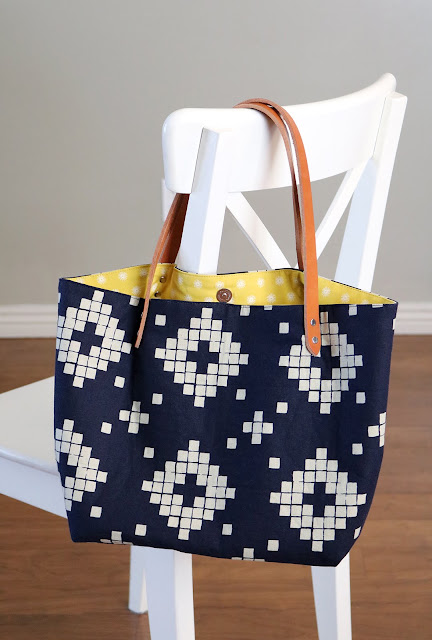
Last week I took a small step outside of my comfort zone and tried something new-- this leather handle tote bag!  


I got everything for the bag from Crosscut Sewing Co.  They sell a handy kit that has the straps, hardware, Peltex bag bottom and even the pattern! 

Thursday, January 19, 2017

One Hour Basket

 One of the first things I do each morning is walk around the house and open up all of the blinds and curtains.  And I mean ALL of them.  January and February are not my favorite months - mostly because the days are so short and the sunshine is fleeting.  To help with the lack of sunshine, I try to bring in plenty of bright colors to my home...and take a vitamin D pill ;)

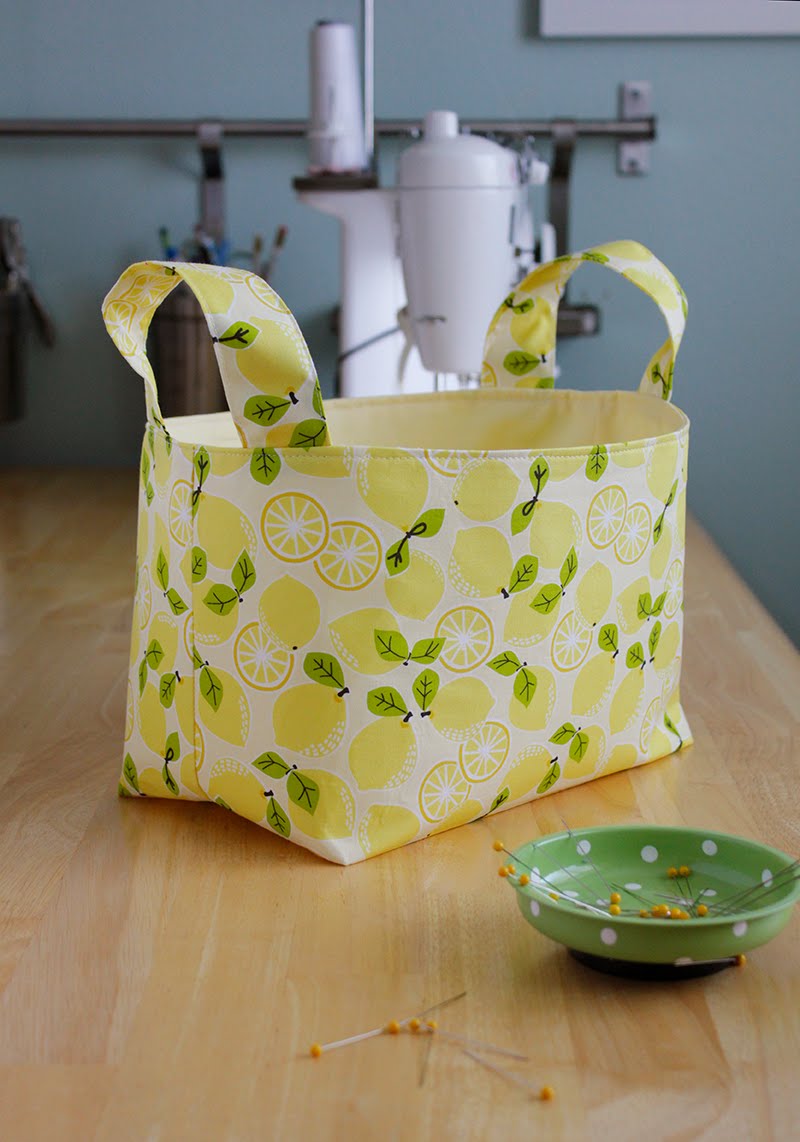
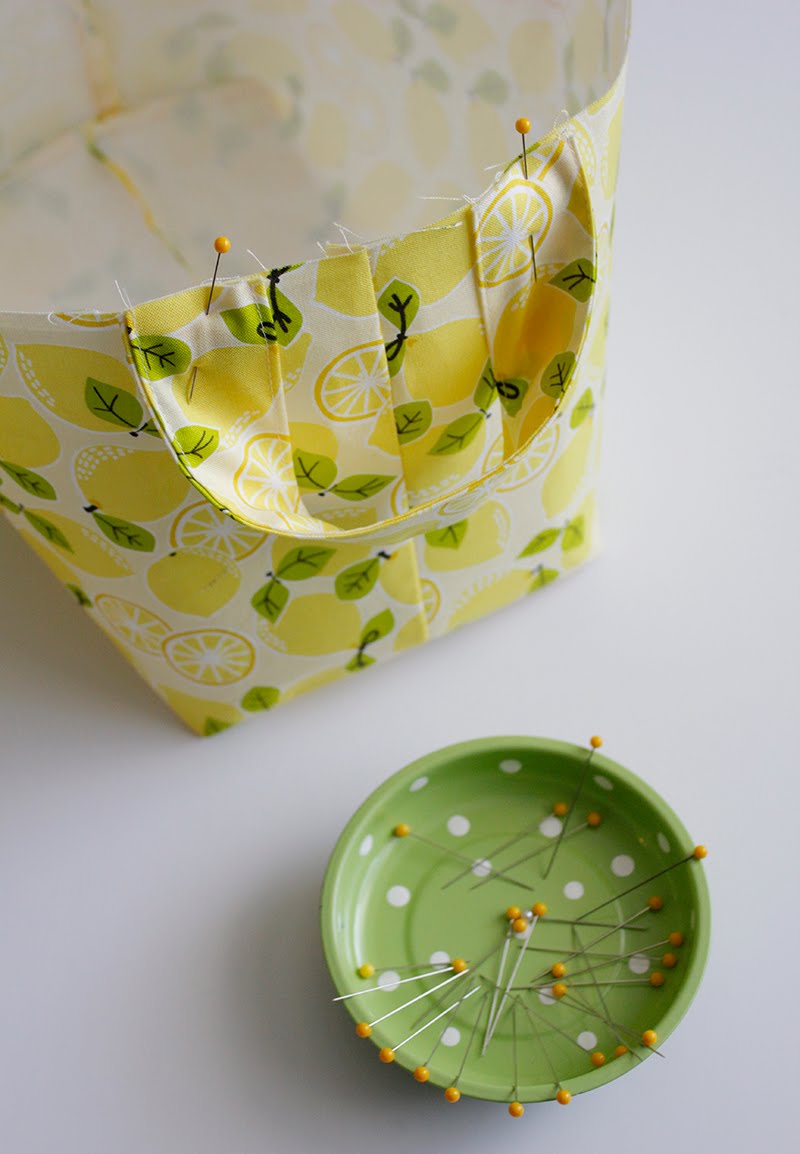
This week I made this fun and easy basket to use in my kitchen.  It didn't take me long at all and I love that yellow!

One Hour Basket tutorial

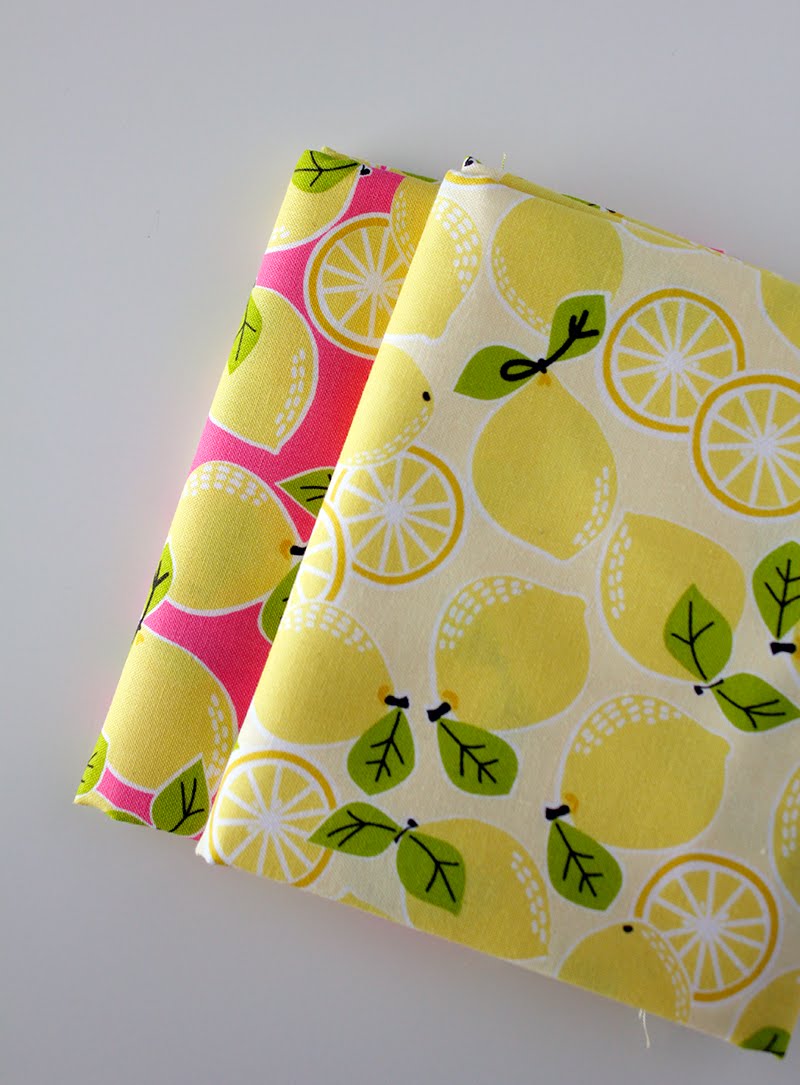
First of all, here's the link to the tutorial I followed: One Hour Basket tutorial.  But I really want to talk about this cheery, bright fabric that I used.  Our January has been so gray and loooong - and these fresh lemons are just what the doctor ordered.  Can't you almost smell the lemony scent?  

Tutti Fruitti fabric from Blend

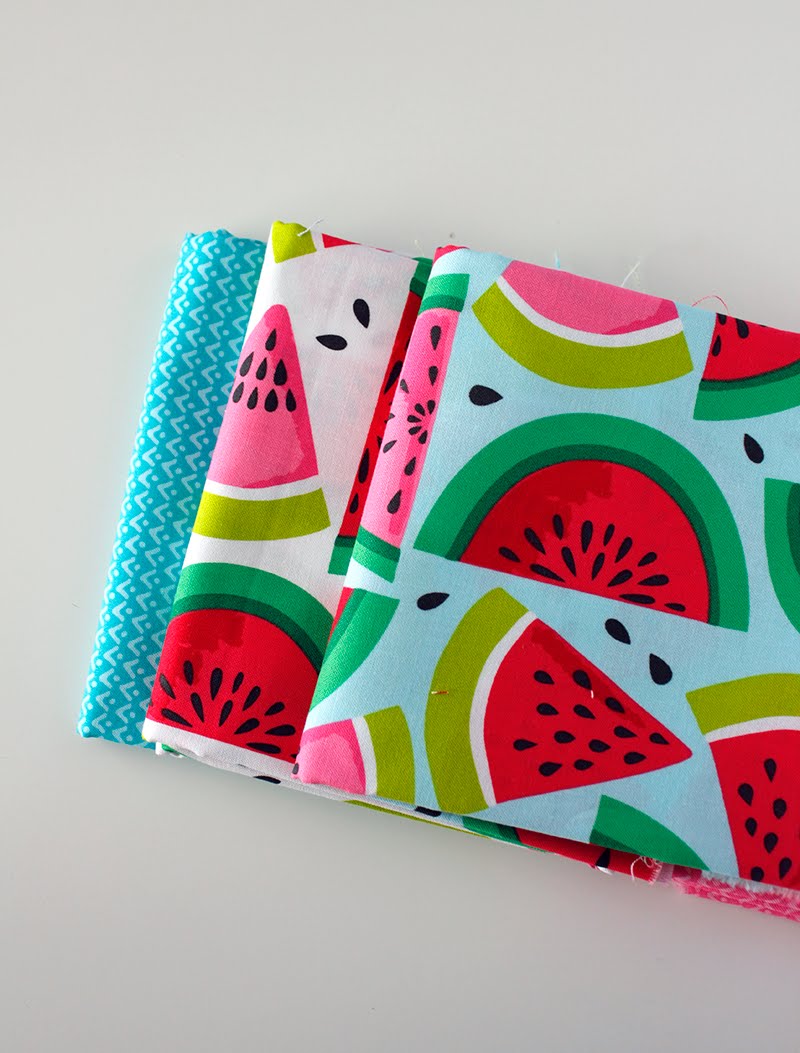
These are from a line called Tutti Fruitti designed by Maude Asbury for Blend Fabrics.  In the line there's also these fun watermelons...

Tutti Fruitti fabric from Blend

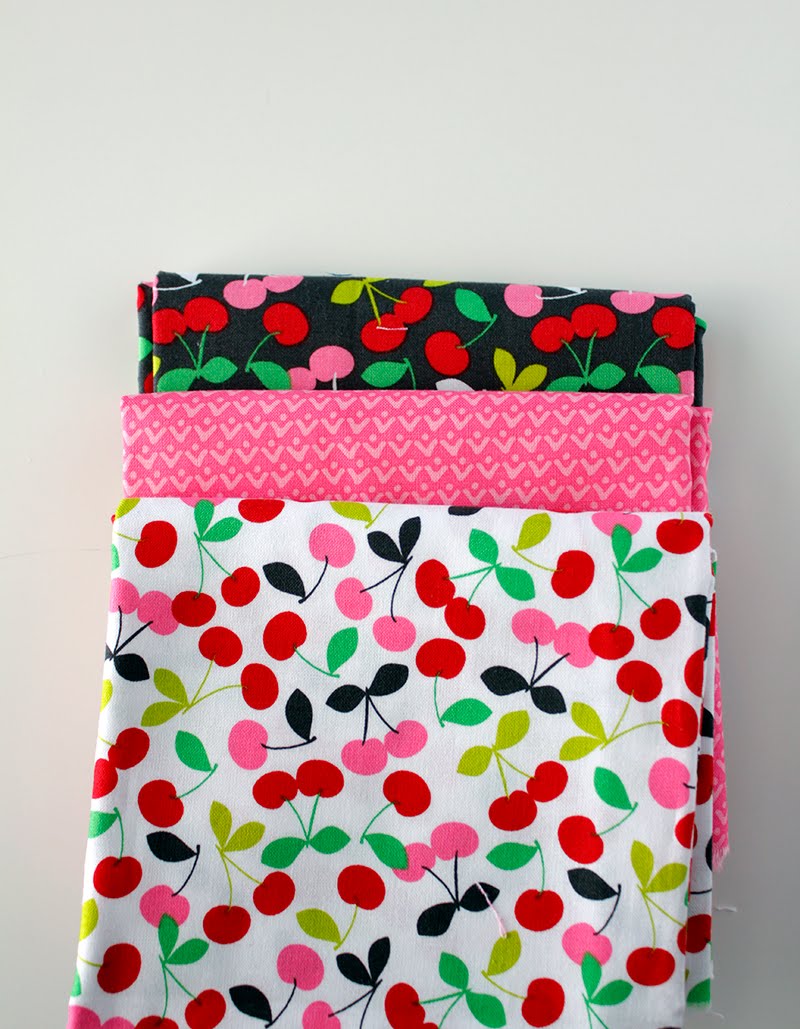
...and these cherries.  I have plans for these cherries!

Tutti Fruitti fabric from Blend

But it was the lemons that were calling to me the other day.  (You can find Tutti Fruitti fabrics online at Hawthorne Threads)

One Hour Basket tutorial

Now back to the One Hour Basket - I had seen plenty of them around instagram and I love that it's a free tutorial.  It's designed by Kelbysews and you can find her free downloadable tutorial here on Craftsy. It really did take me about an hour to make and I love the generous size.  Fabric baskets and bins like this are so handy for storing all sorts of things.  

Interested in more baskets, boxes and bags?  Check out these pinterest boards-

Pinterest board full of great bag ideas


Pinterest board full of great ideas for fabric baskets, boxes and bins

Monday, January 9, 2017

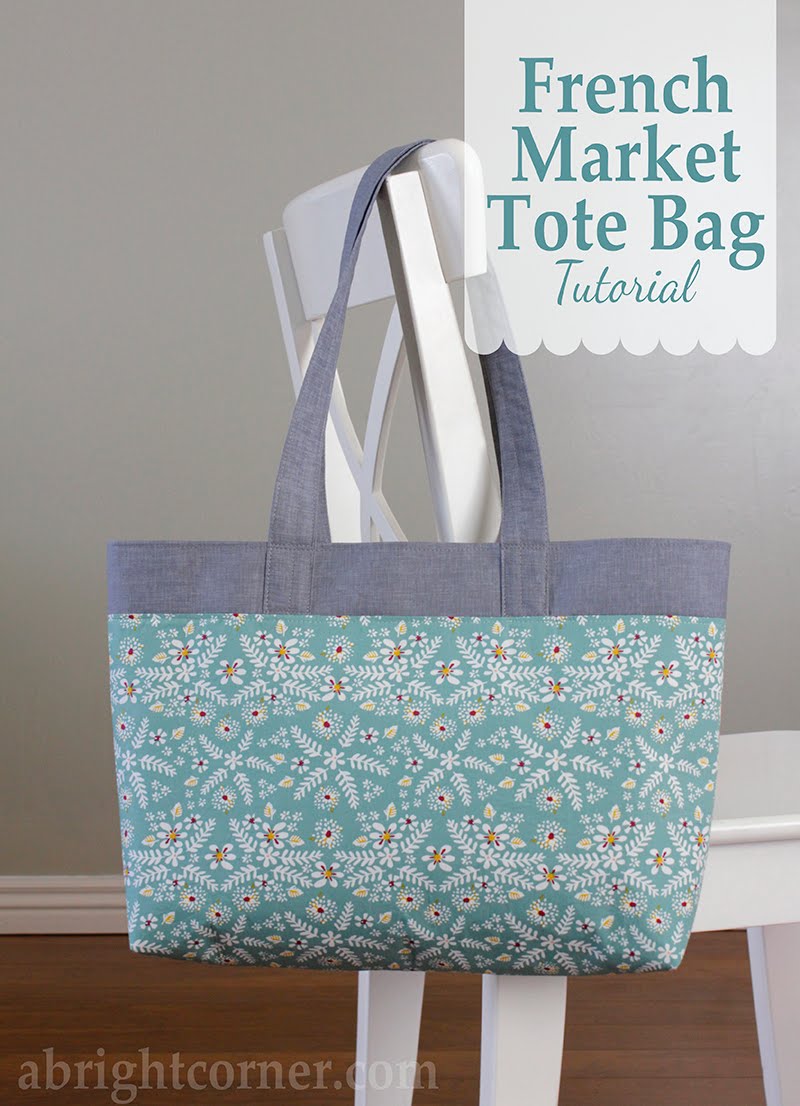
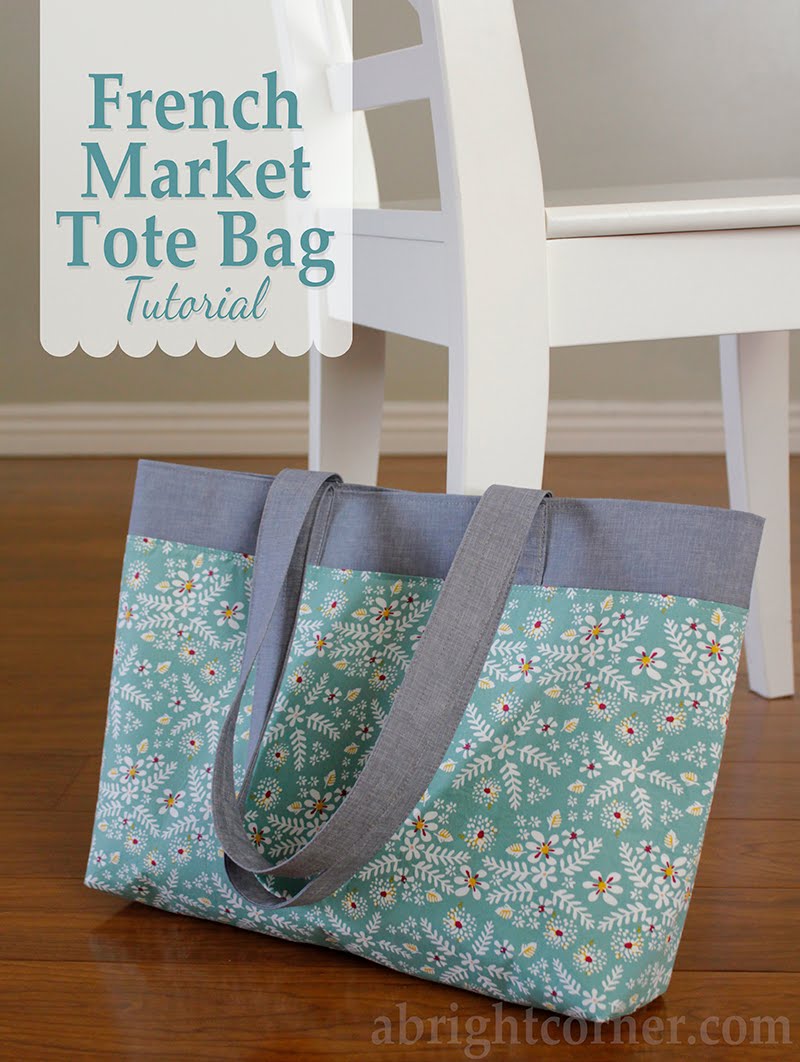
French Market Tote Bag Tutorial

We're finally getting back into the swing of things around here now that we're all healthy, the big snow storm is over and the kids are back in school.  We sure had a bumpy start to 2017!  

Back in November I shared a couple of tote bags with you and today I'm adding a step by step tutorial for the bags.  When I make tote bags I love to choose a complementary liner fabric - but with most tote bag patterns you don't get to appreciate the liner.  I designed this bag so that a strip of the liner peeks out at the top.  So go ahead and choose two of your favorite prints for this bag because you'll get to appreciate both!

 French Market Tote Bag tutorial from A Bright Corner

Supplies:  
1/3 yard main bag print
3/4 yard bag liner and handles
18" x 45" piece of interfacing (for this bag I like Pellon 809)

Cut:  
Main bag print:  Cut 2 @ 11" x 18"
Bag liner:  Cut 2 @ 15" x 18"
Bag handles:  Cut 2 @ 5" x 28"
Interfacing:  Cut 2 @ 10.5" x 17.5" and 2 @ 2" x 17.5" and 2 @ 1" x 27.5"

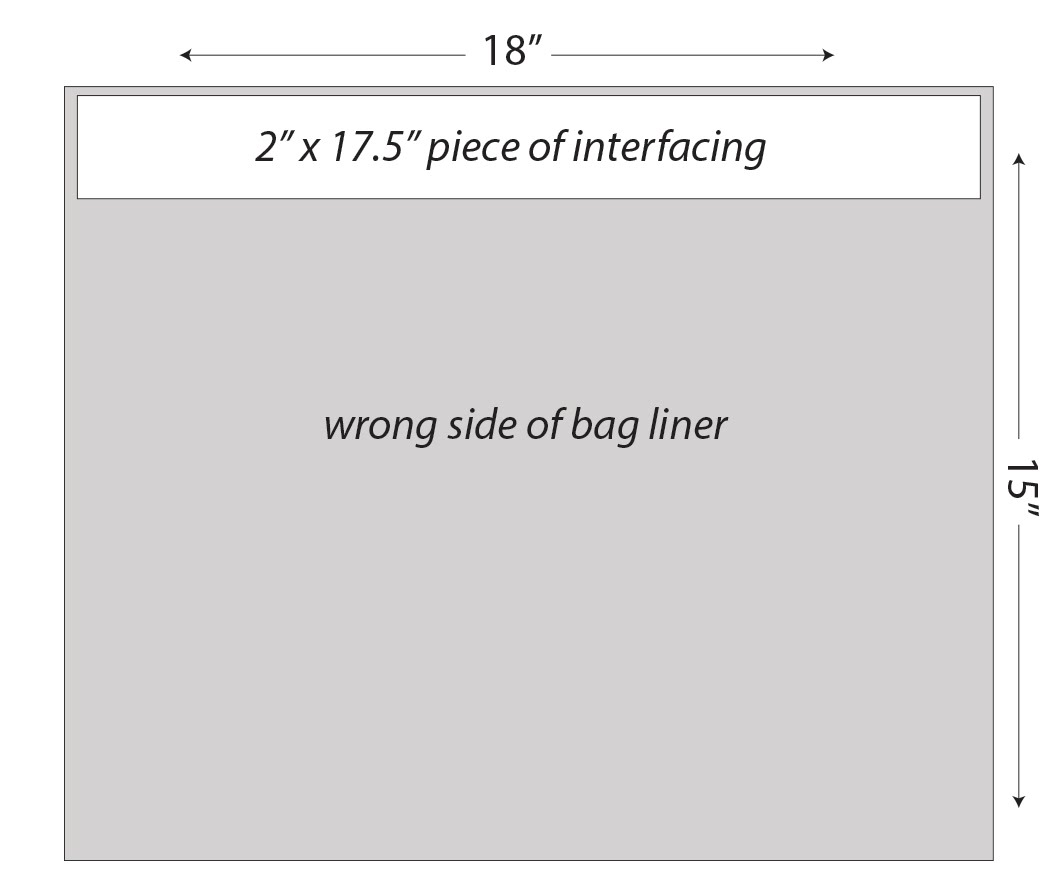
Step 1:  Apply the 10.5" x 17.5" piece of interfacing to the wrong side of the main bag print.  Interface the top 2" of the wrong side of the bag liner (see diagram).  Place the 2" x 17.5" piece of interfacing 1/4" down from the top and 1/4" away from each side of the liner as shown.  

French Market Tote Bag tutorial from A Bright Corner


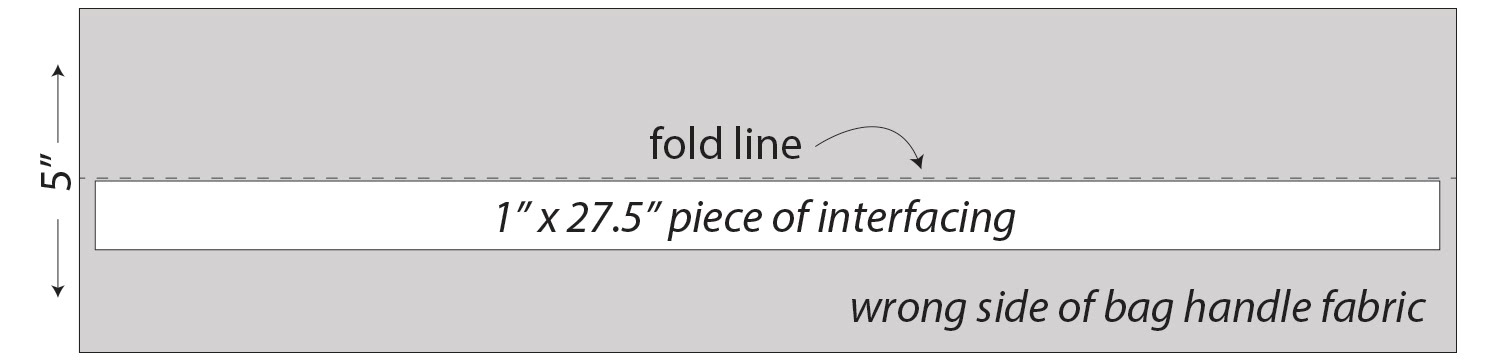
Step 2:  Make handles.  Fold each of the 5" x 28" handles in half lengthwise, with wrong sides together and press well.  Open and place one of the bag interfacing pieces (1" x 27.5") right along the folded line you just created.  Press interfacing in place.  

French Market Tote Bag tutorial from A Bright Corner

Next, fold long raw edges of handle in to the center, and press.  Fold strap along the first fold line and press.  Raw edges of the strap should be encased inside the strap now.  Top  stitch along both long edges, and once down the center of the strap.  Set straps aside for a later step. 


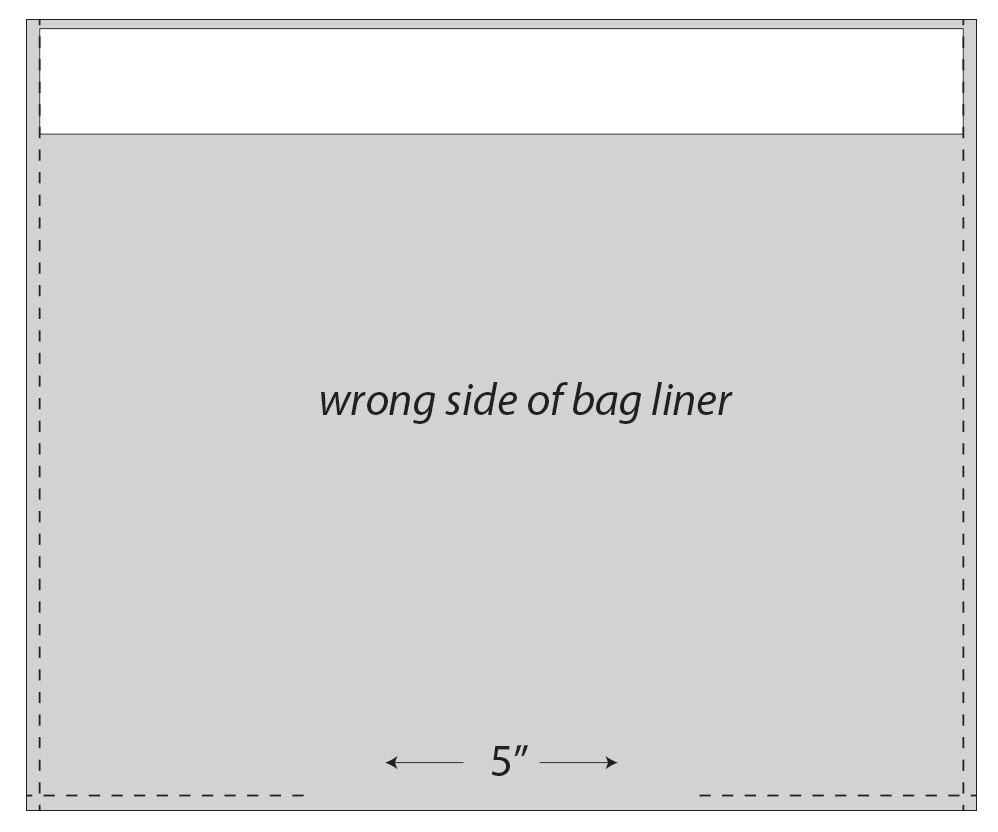
Step 3:  Place main bag sections right sides together.  Using a 1/4" seam, stitch along sides and bottom of bag.   Next, place bag liner sections right sides together.  Using a 1/4" seam stitch along sides and bottom, leaving about 5" open on the bottom to use for turning the bag in a later step.  


French Market Tote Bag tutorial from A Bright Corner

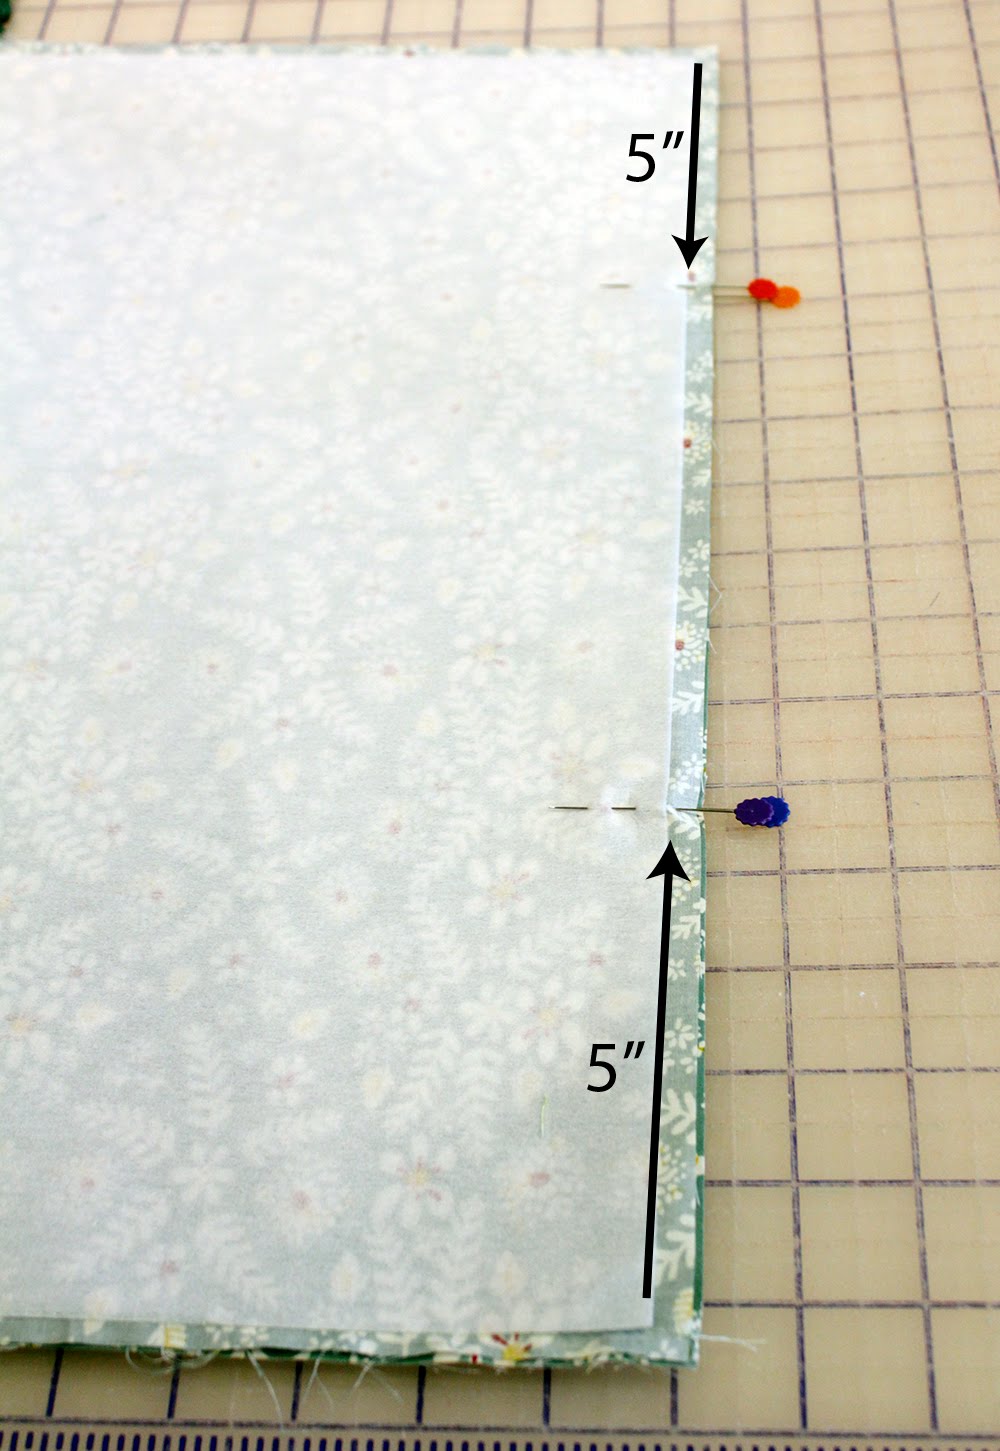
Step 4:  On the top edge of the main bag piece, measure in 5" from each side and mark with a pin.  

French Market Tote Bag tutorial from A Bright Corner

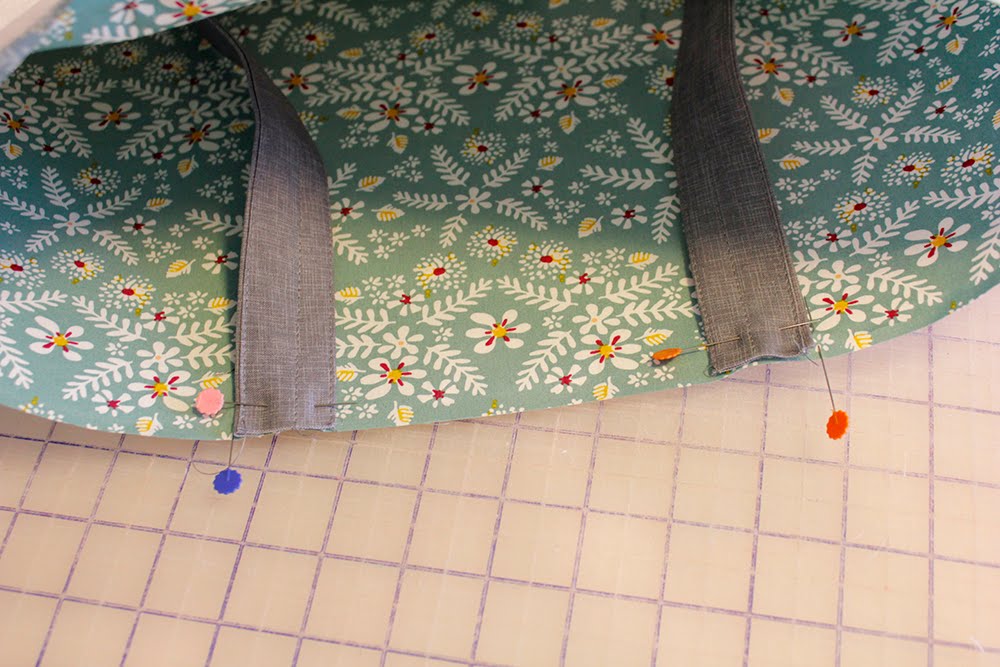
Open main bag section and pin handles in place, where you marked with a pin (5" from sides). 

French Market Tote Bag tutorial from A Bright Corner

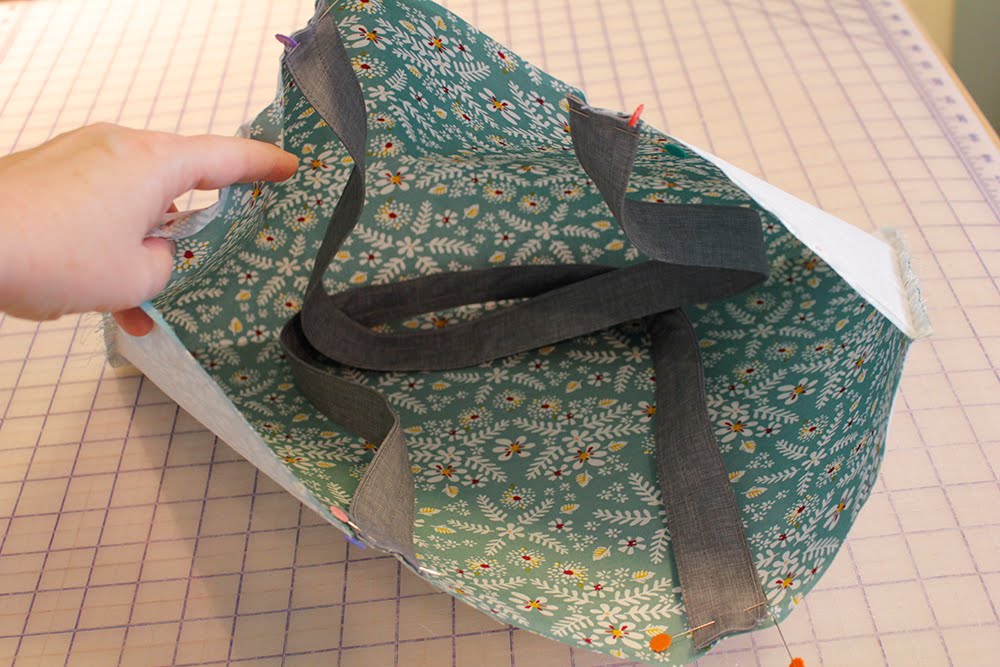
Handles should be pinned to the right side of the fabric, with handles hanging down into the bag.  Baste handles in place and remove pins.  

French Market Tote Bag tutorial from A Bright Corner

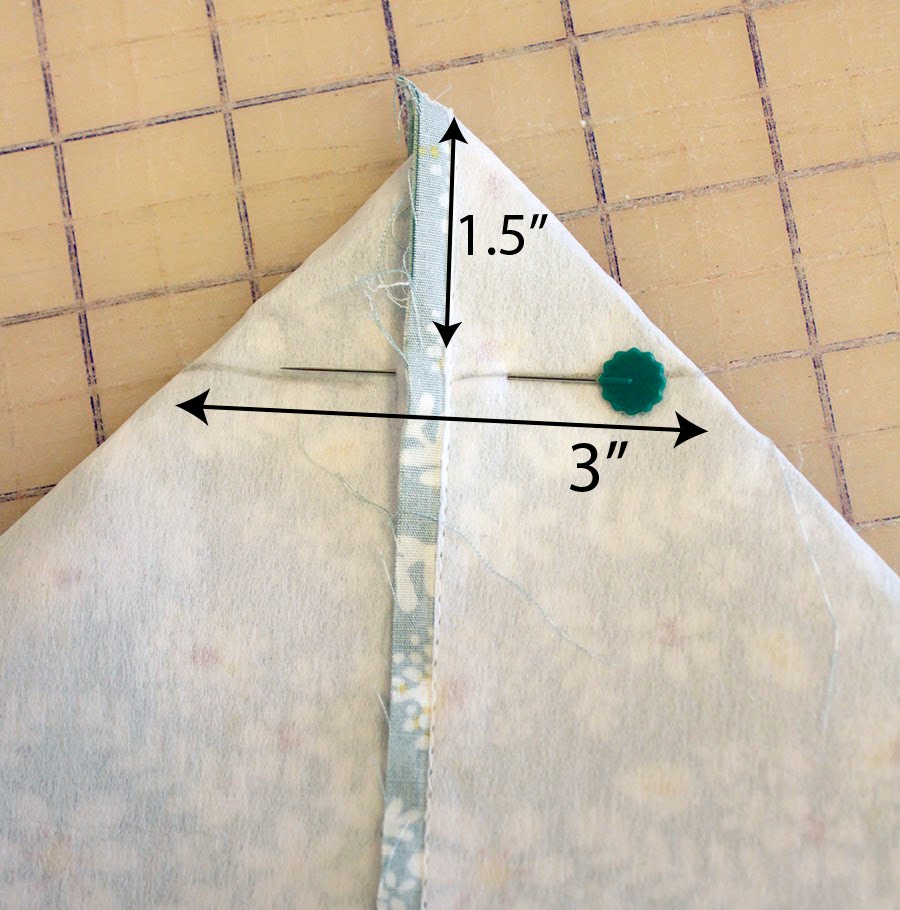
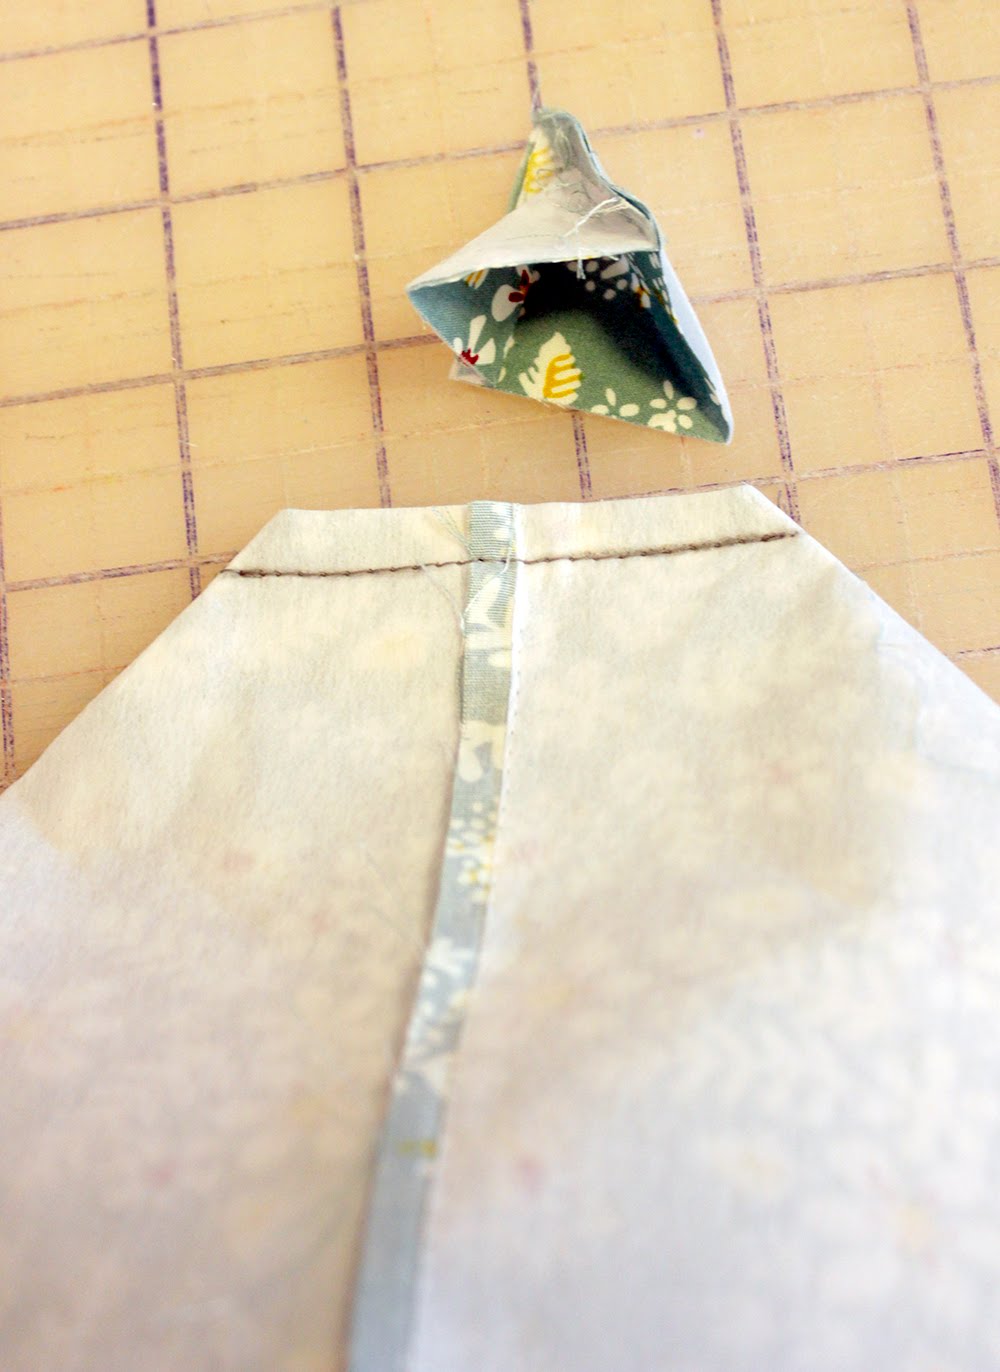
Step 5:  To box corners, with right sides together fold corners together so that the side and bottom seams line up.  Measure down 1.5" from the point and draw a line.  Line should be 3" long from edge to edge.  


French Market Tote Bag tutorial from A Bright Corner

Sew along drawn line, and trim to about a 1/4" seam allowance.  

Repeat to box the corners of both the liner and the main bag section.

French Market Tote Bag tutorial from A Bright Corner

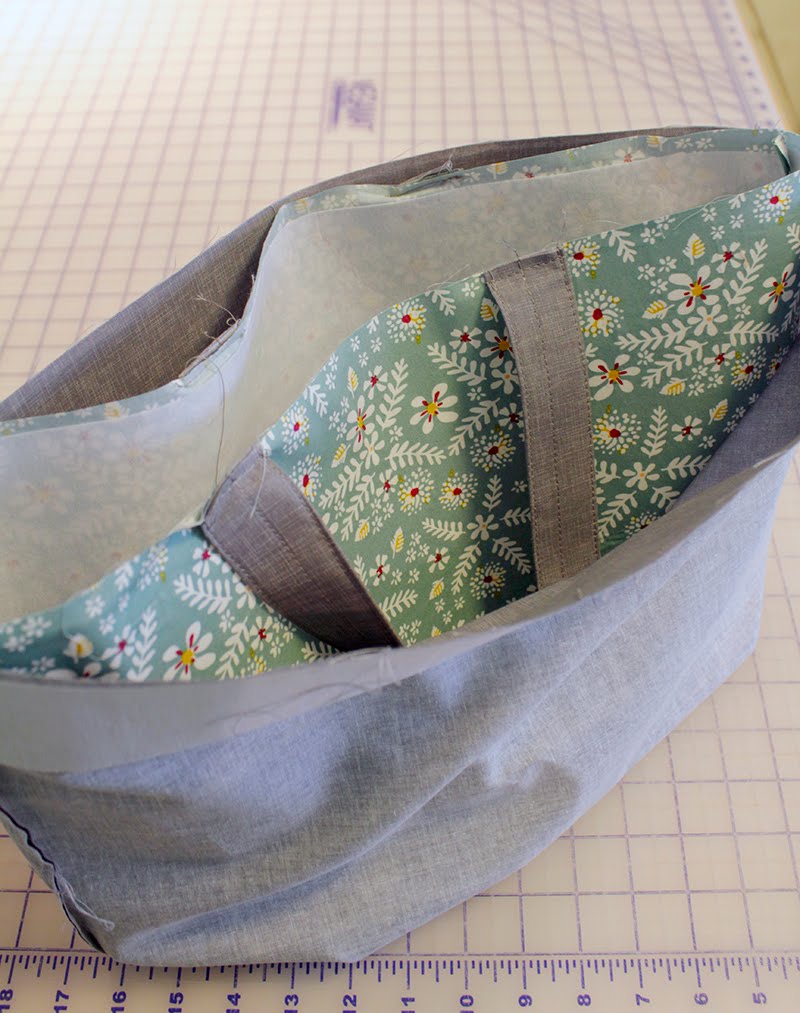
Step 6:  Turn main bag section right sides out.  Place main bag section inside bag liner with right sides together.  Align raw edges and side seams and pin.  Be sure that bag handles are hanging down and will not be caught in the seam.   

French Market Tote Bag tutorial from A Bright Corner

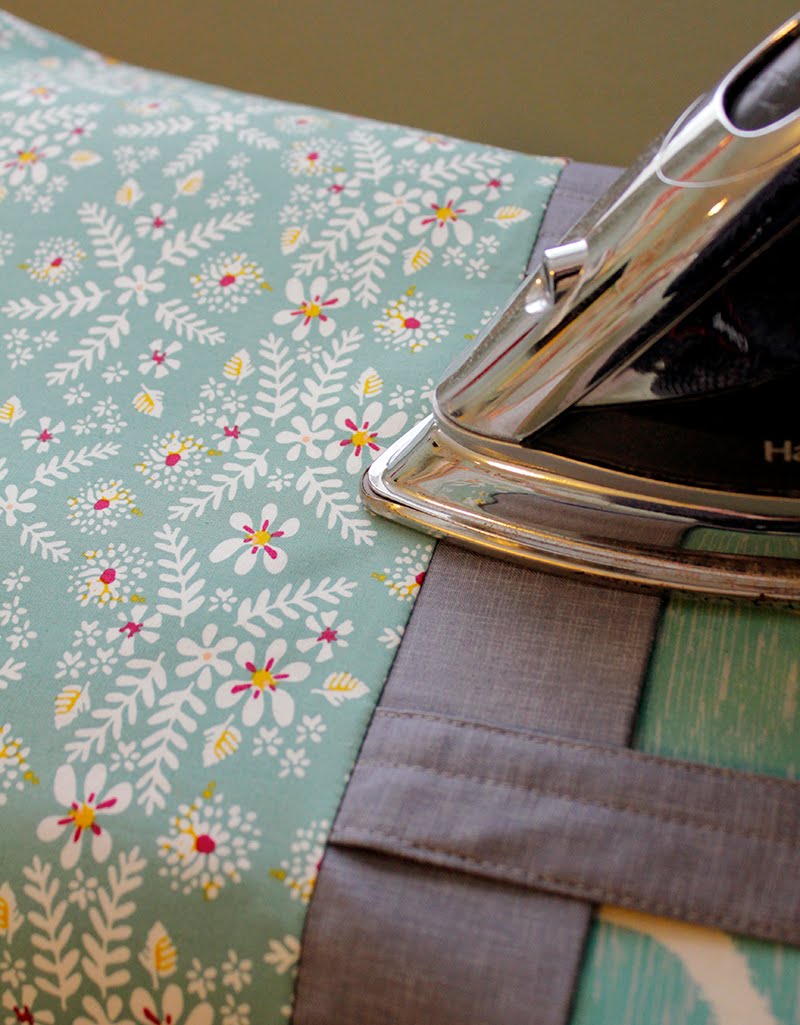
Using a 1/4" seam, sew all the way around the top edge of bag.  Using the 5" opening in the bag liner, turn bag right sides out.  Top stitch the 5" opening in the liner closed.  Push bag liner down inside of bag, leaving a 2' section of liner (where the interfacing is) showing on the outside of bag.  Press well.  

French Market Tote Bag tutorial from A Bright Corner

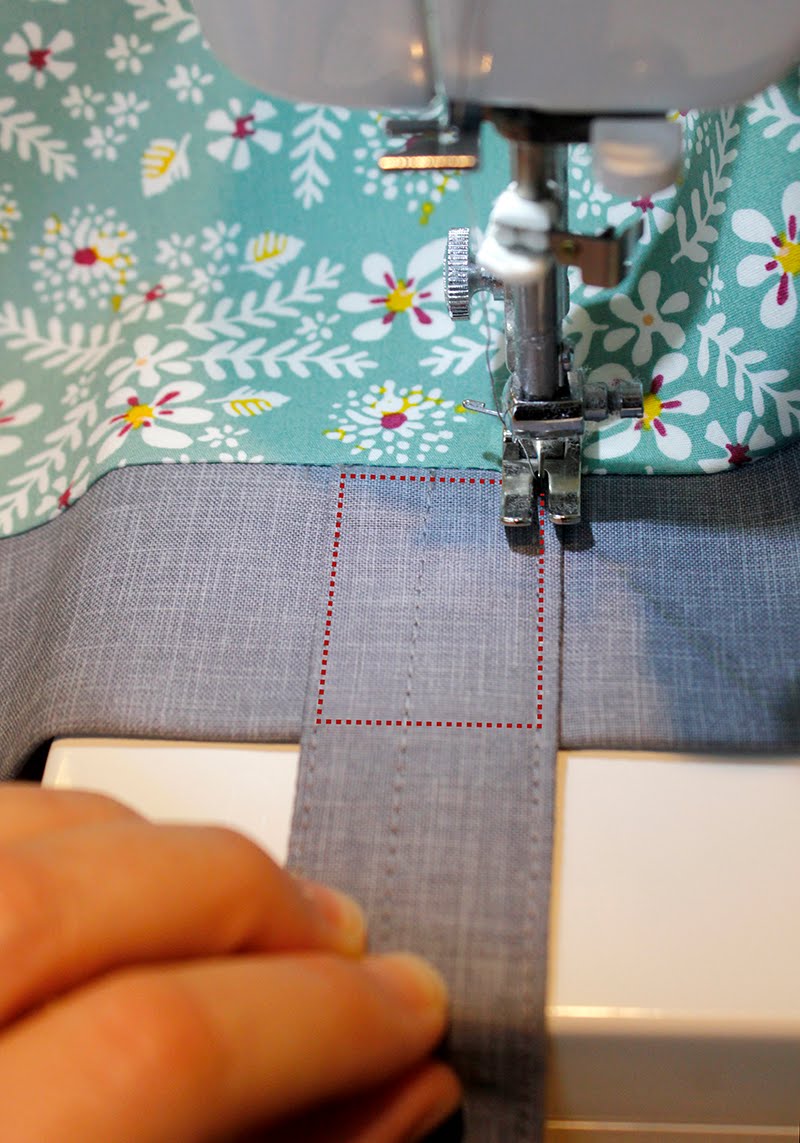
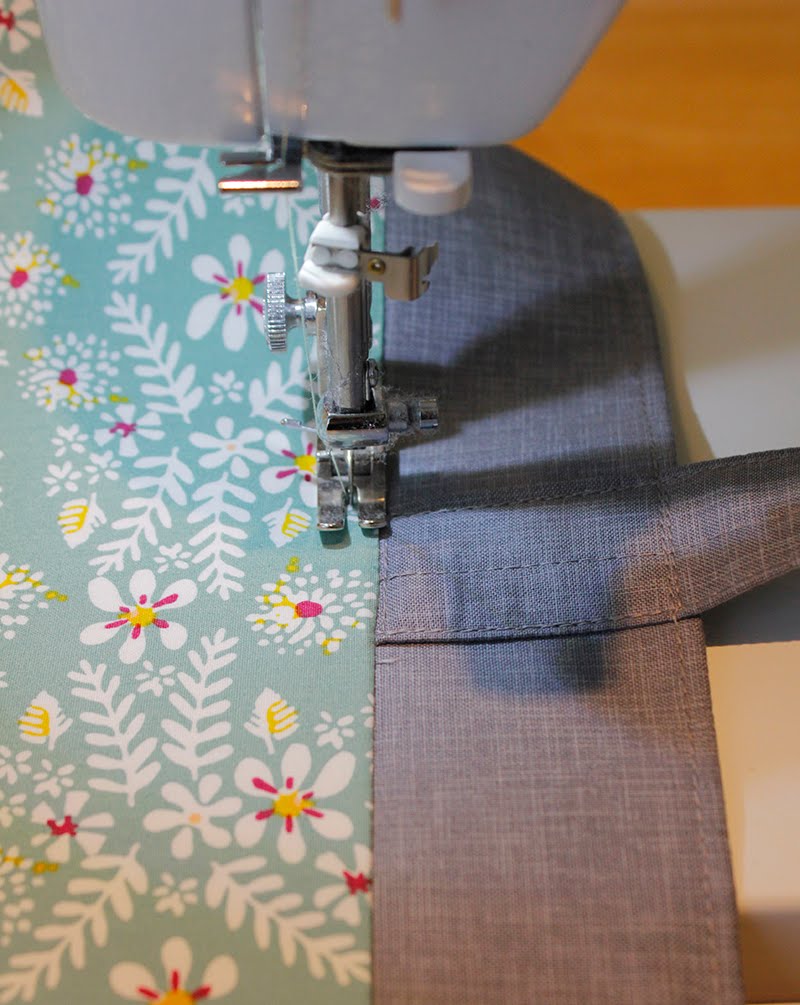
Step 7:  Top stitch handles down to the liner section as shown in the photo below.  

French Market Tote Bag tutorial from A Bright Corner

Top stitch along top edge of liner (now the top edge of bag) and along the line where the liner meets the main bag section (see photo below)

French Market Tote Bag tutorial from A Bright Corner


Your French Market Tote Bag is done!  


French Market Tote Bag tutorial from A Bright Corner


Looking for other bag tutorials?  Check these out:
Easy Pencil Case Tutorial 

Lined Drawstring Bag

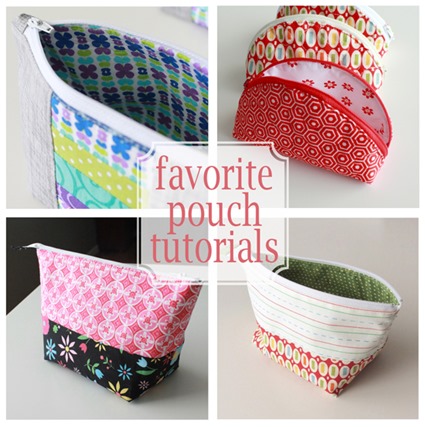
Favorite Pouch Tutorials

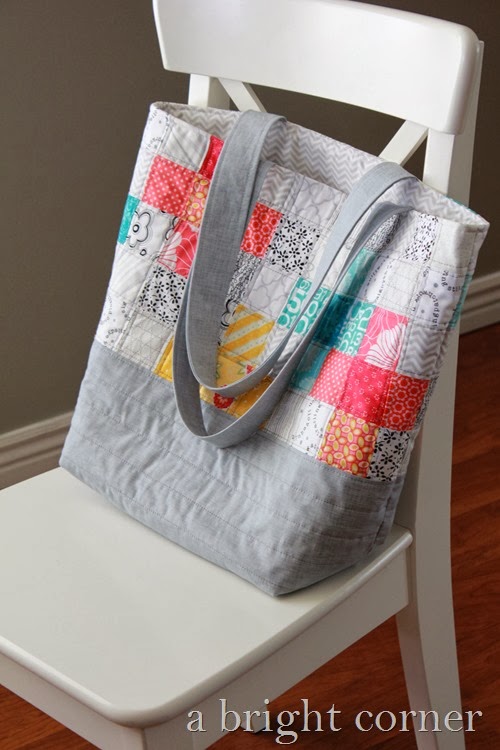
Scrappy Quilted Tote Bag


Monday, November 21, 2016

French Market Tote Bags


Last week I pulled out one of my many tote bags to use on an errand.  I had grabbed one of the larger bags, and my youngest (who is 8) stopped and exclaimed "I LOVE that bag!"  His enthusiasm was a little startling - especially for something as mundane as a tote bag.  But then he began to tell me about the memories he had from when he was little, of the two of us going to the library and using that bag to carry our books home.  How sweet is that?  I had no idea.  A tote bag is just a tote bag.  But maybe it's not. 

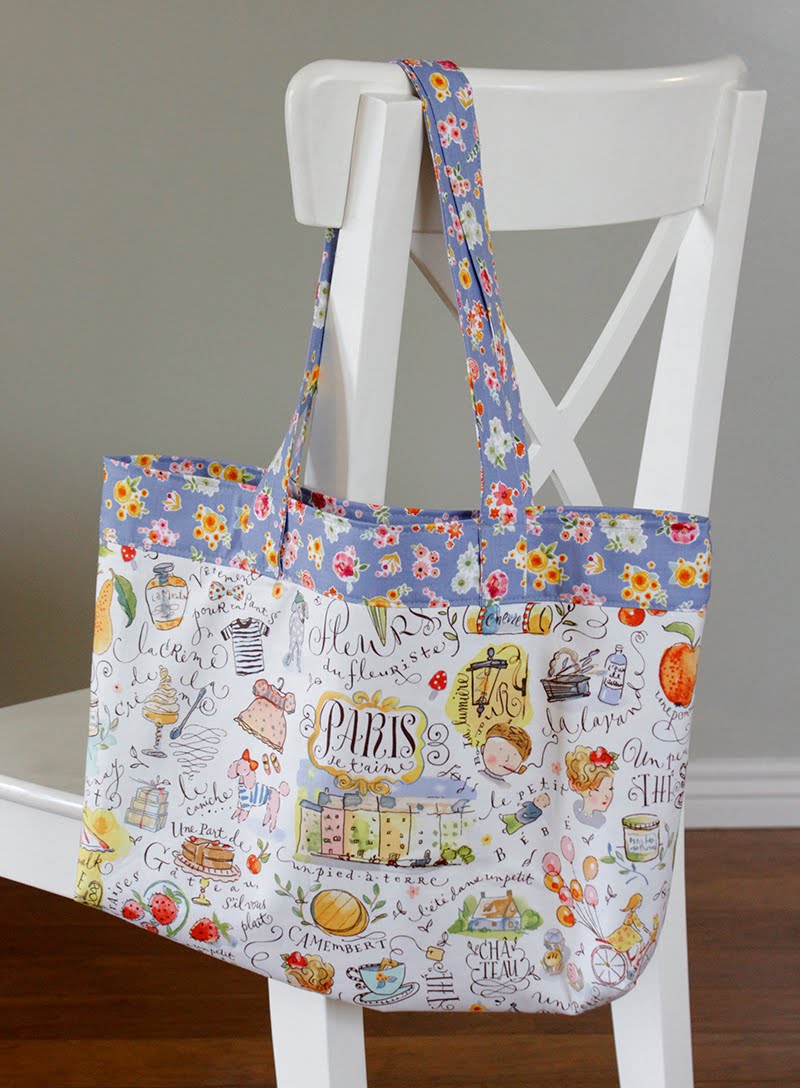
French Market Tote Bag


I do love to make tote bags.  I just think they're fun to make.  They are a pretty quick project, and sure are handy to have around!  I use mine for all sorts of things - from carrying hand stitching projects, to sneaking treats into a movie theater.  

I also love to give tote bags as a gift.  In fact, these bags in the photos are headed to my Francophile MIL who recently traveled to Paris with her husband to celebrate their 50th wedding anniversary.  I'm hoping that these will remind them of their anniversary trip, but I'm absolutely positive that they'll also be used to sneak extra treats into the movie theater.  

French Market Tote bag - made with Colette fabric


When I make tote bags, I really love when the lining fabric is just as pretty as the outer bag fabric.  So I designed this tote bag so that the liner fabric peeks out along the top edge of the bag, and matches with the handles.  It's not as tricky as it may look -- I'll be sharing my tutorial for these bags in a few days.    

All of the prints I used for the bags are from a line called Colette, designed by Brenda Walton for Blend Fabrics.

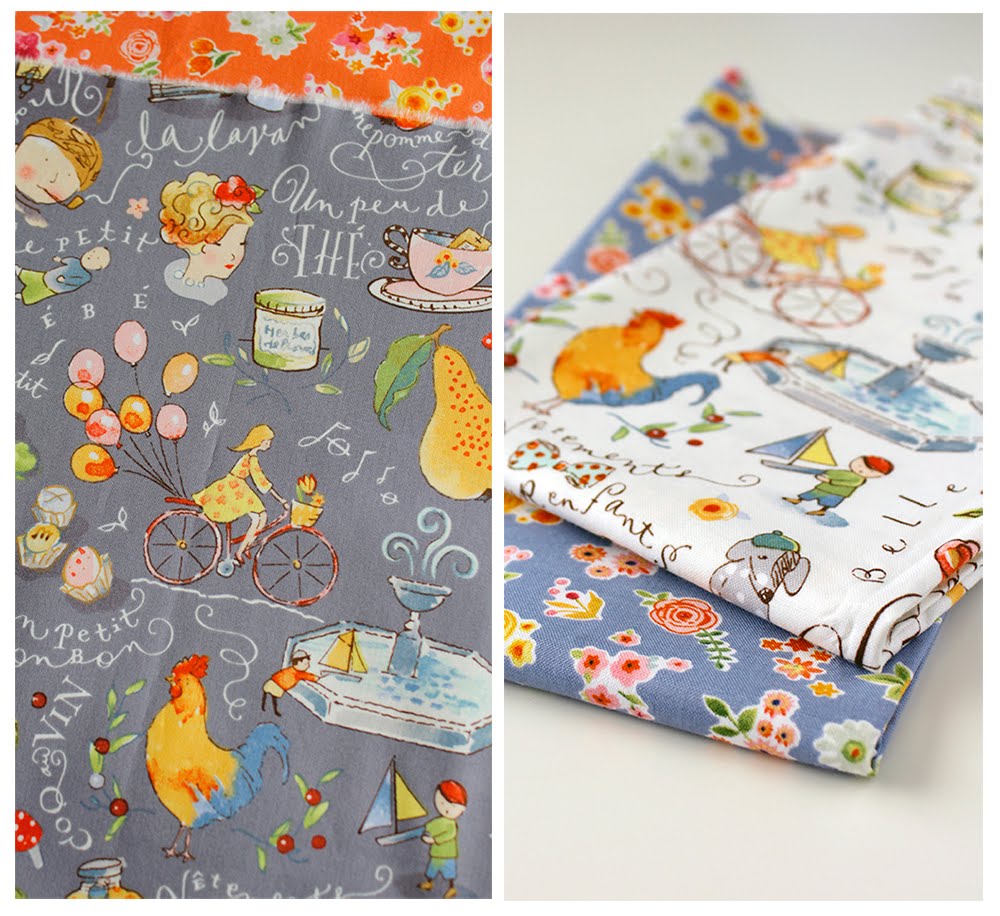
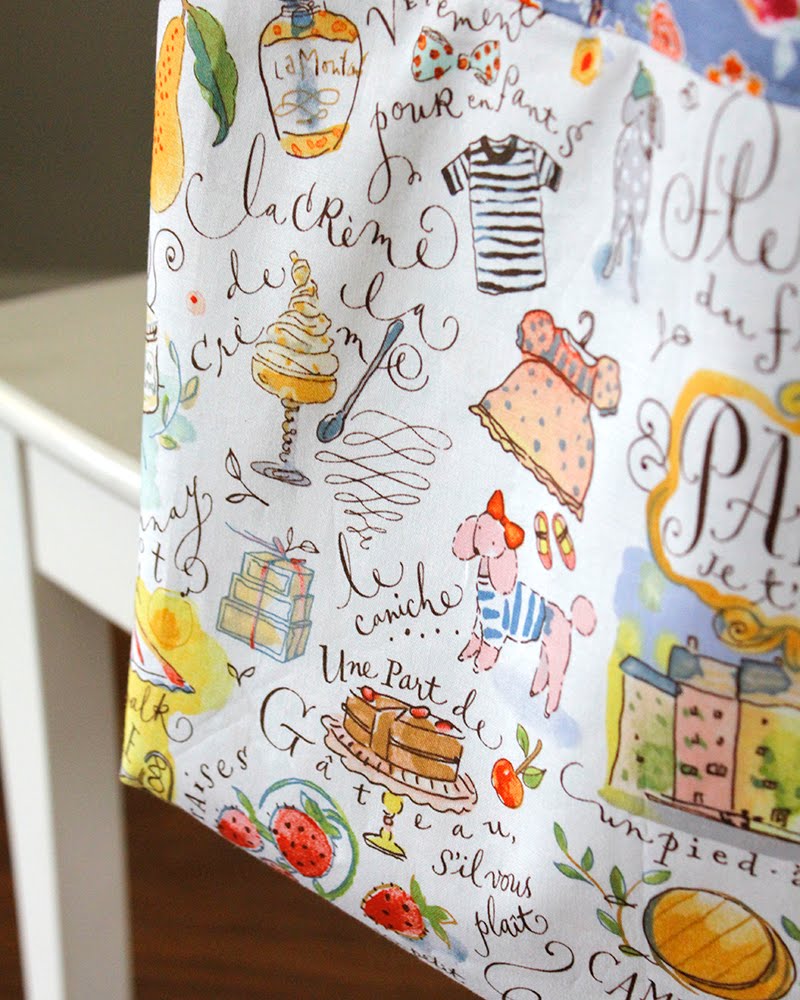
It has these two prints that are full of charming drawings and phrases in French-- 

Colette fabrics designed by Brenda Walton for Blend Fabrics

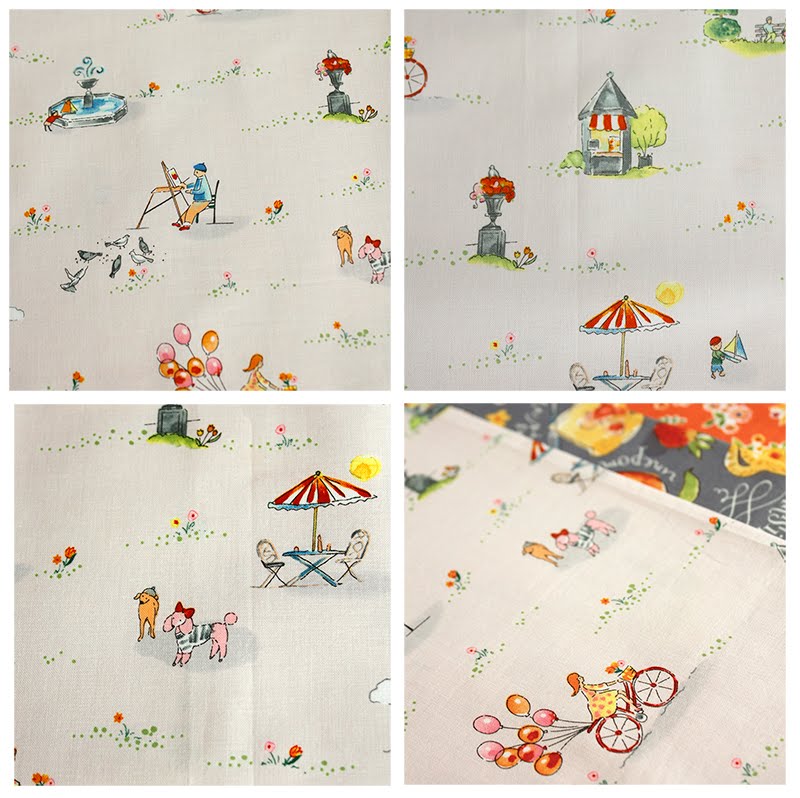
And there's also this print with adorable hand drawn scenes of Paris.  I'll be using these in a fussy-cut project for sure!

Colette fabrics designed by Brenda Walton for Blend Fabrics

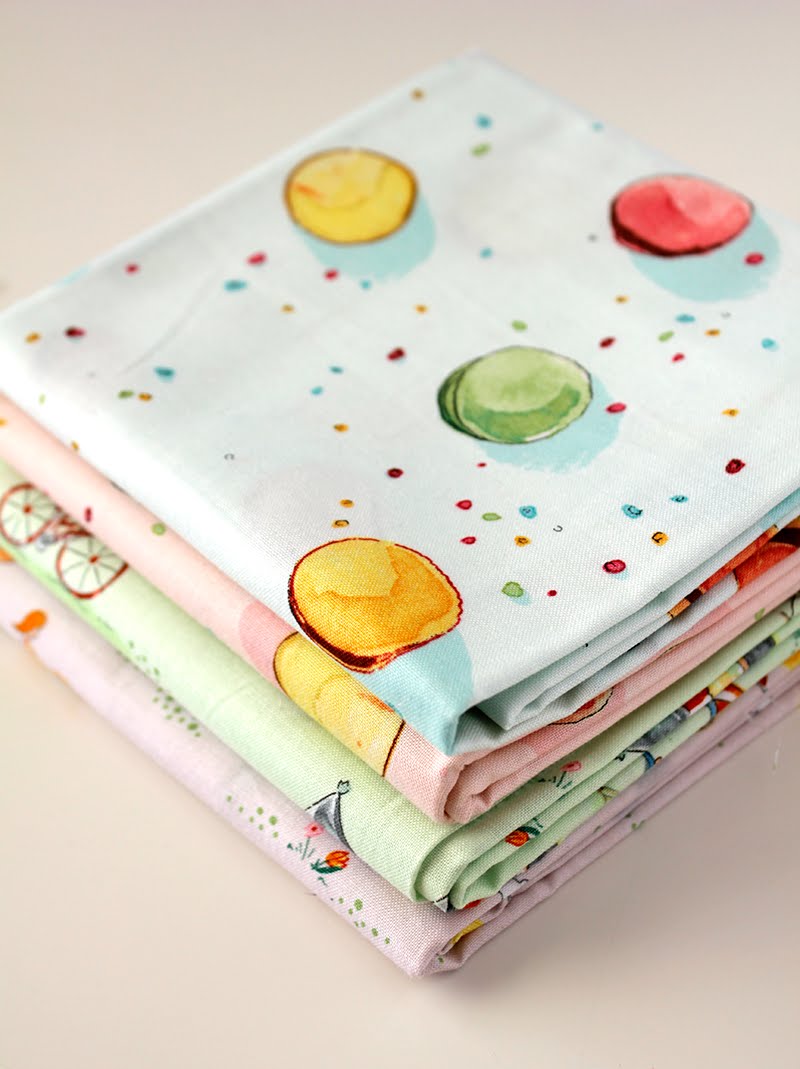
There are also a couple of sweet macaroon prints to round out the line:
Colette fabrics designed by Brenda Walton for Blend Fabrics


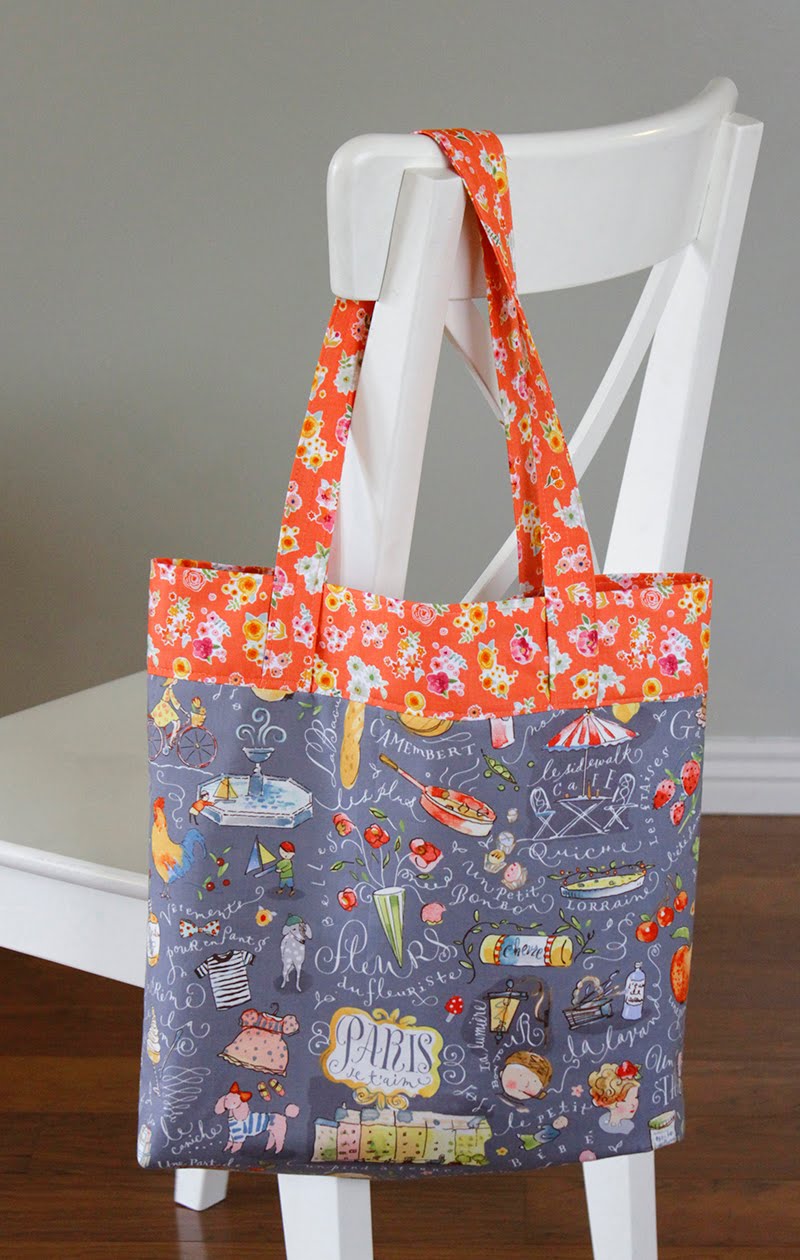
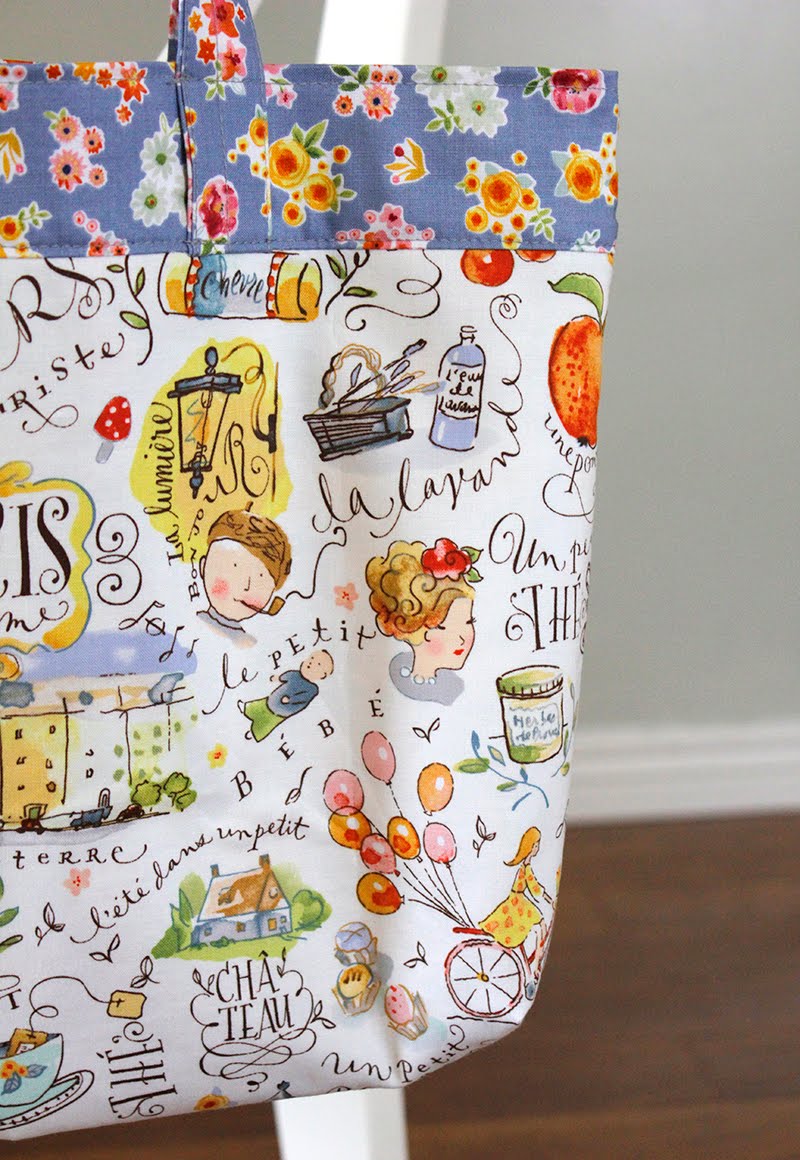
But these two prints are my favorite!  And see that little girl on the bicycle with the balloons - down in the bottom right corner of the bag?  She's adorable.  And she's the one that gave me the idea to make these bags!  


French Market Tote Bag from A Bright Corner blog


French Market Tote Bag from A Bright Corner blog

See more of the Colette prints here.  They'll be arriving in stores later this month  -  you can purchase them here from Hawthorne Threads.


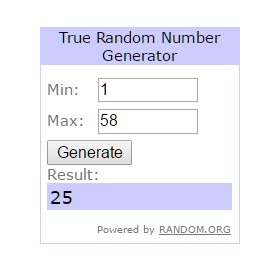
And now to announce the giveaway winner from last week's blog post.  Congrats to comment #25:  OhioLori!  Your copy of Quiltmaker's 100 Blocks vol 14 will soon be on it's way to you.  
random number generator


Monday, June 20, 2016

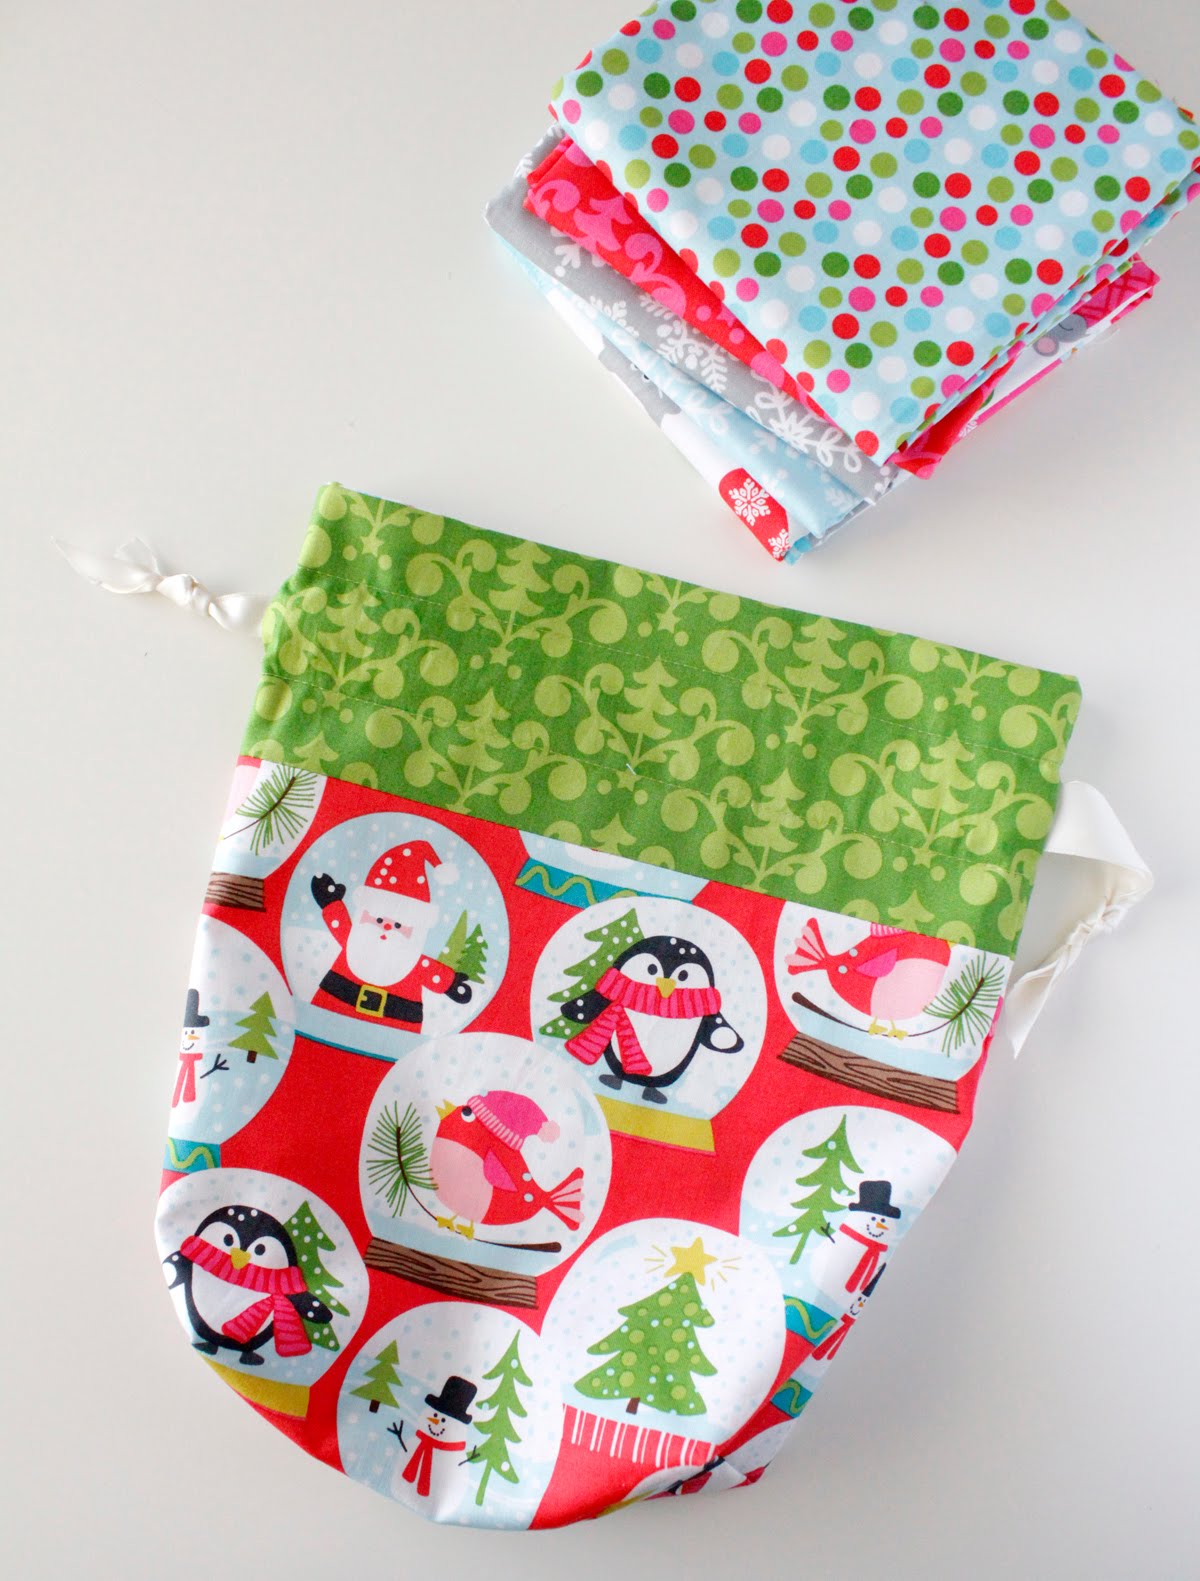
Even a Mouse +Lined Drawstring Bag

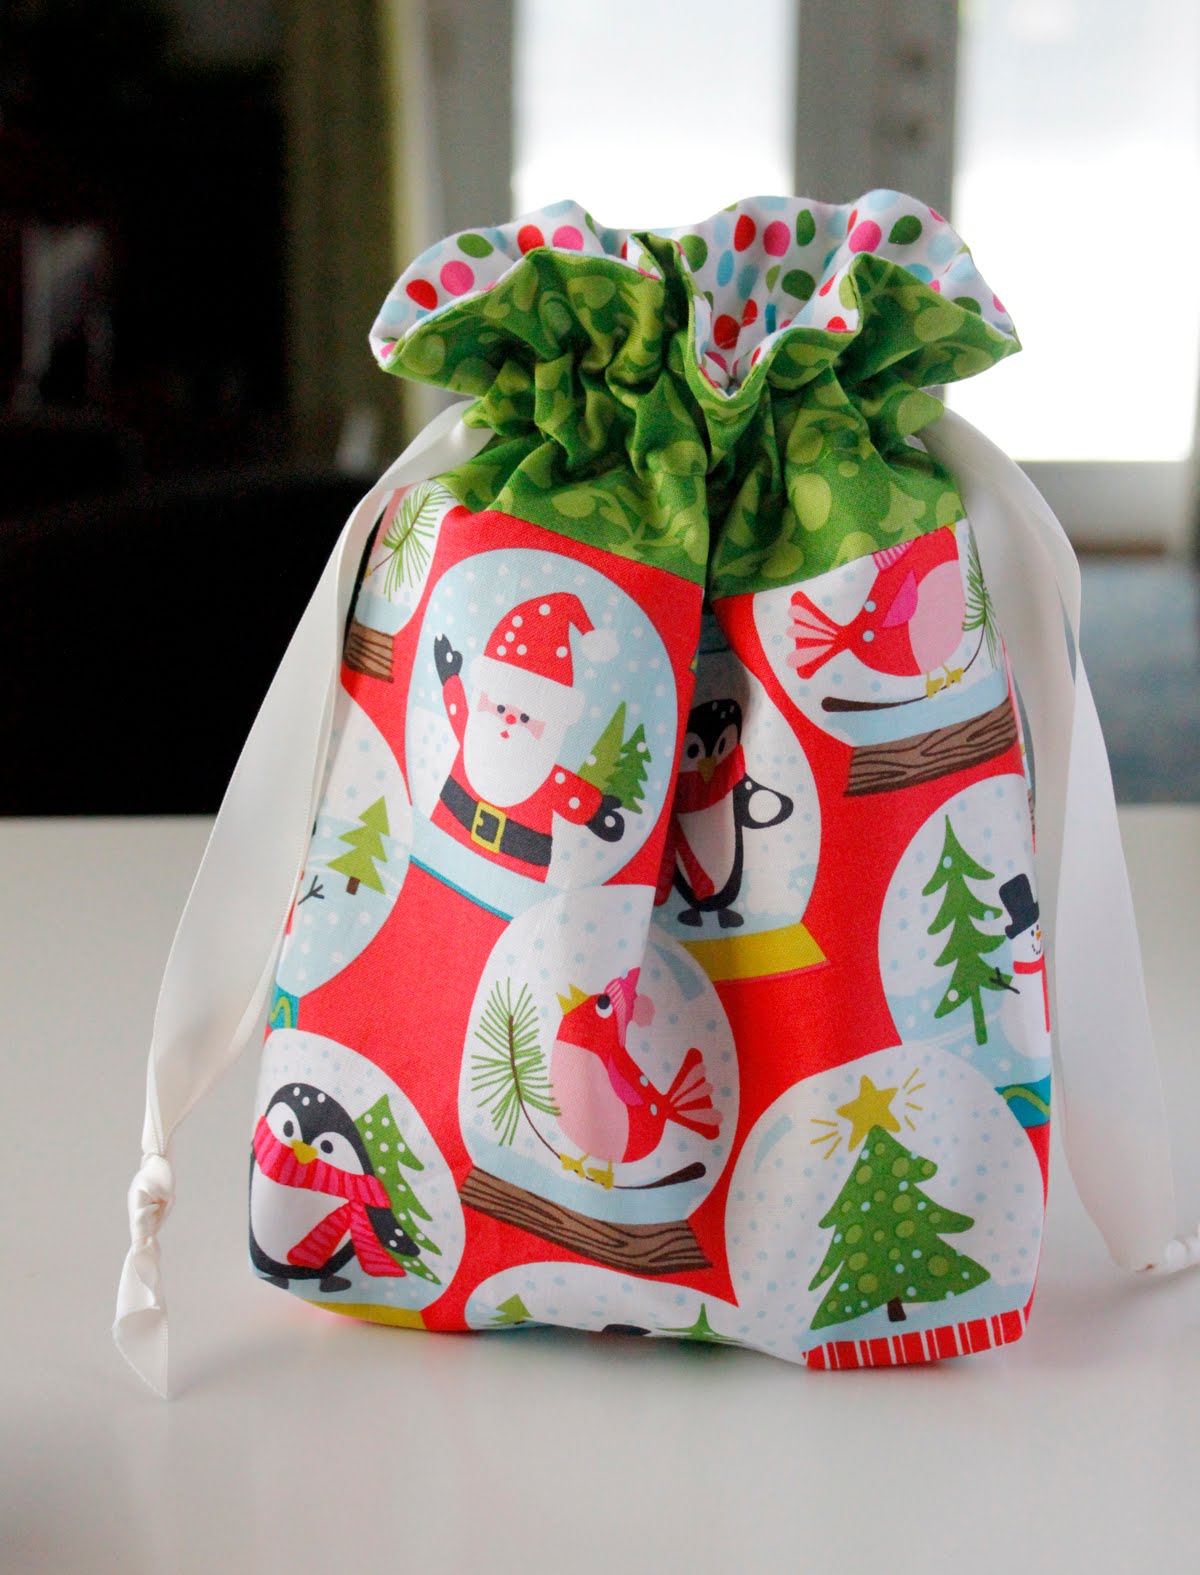
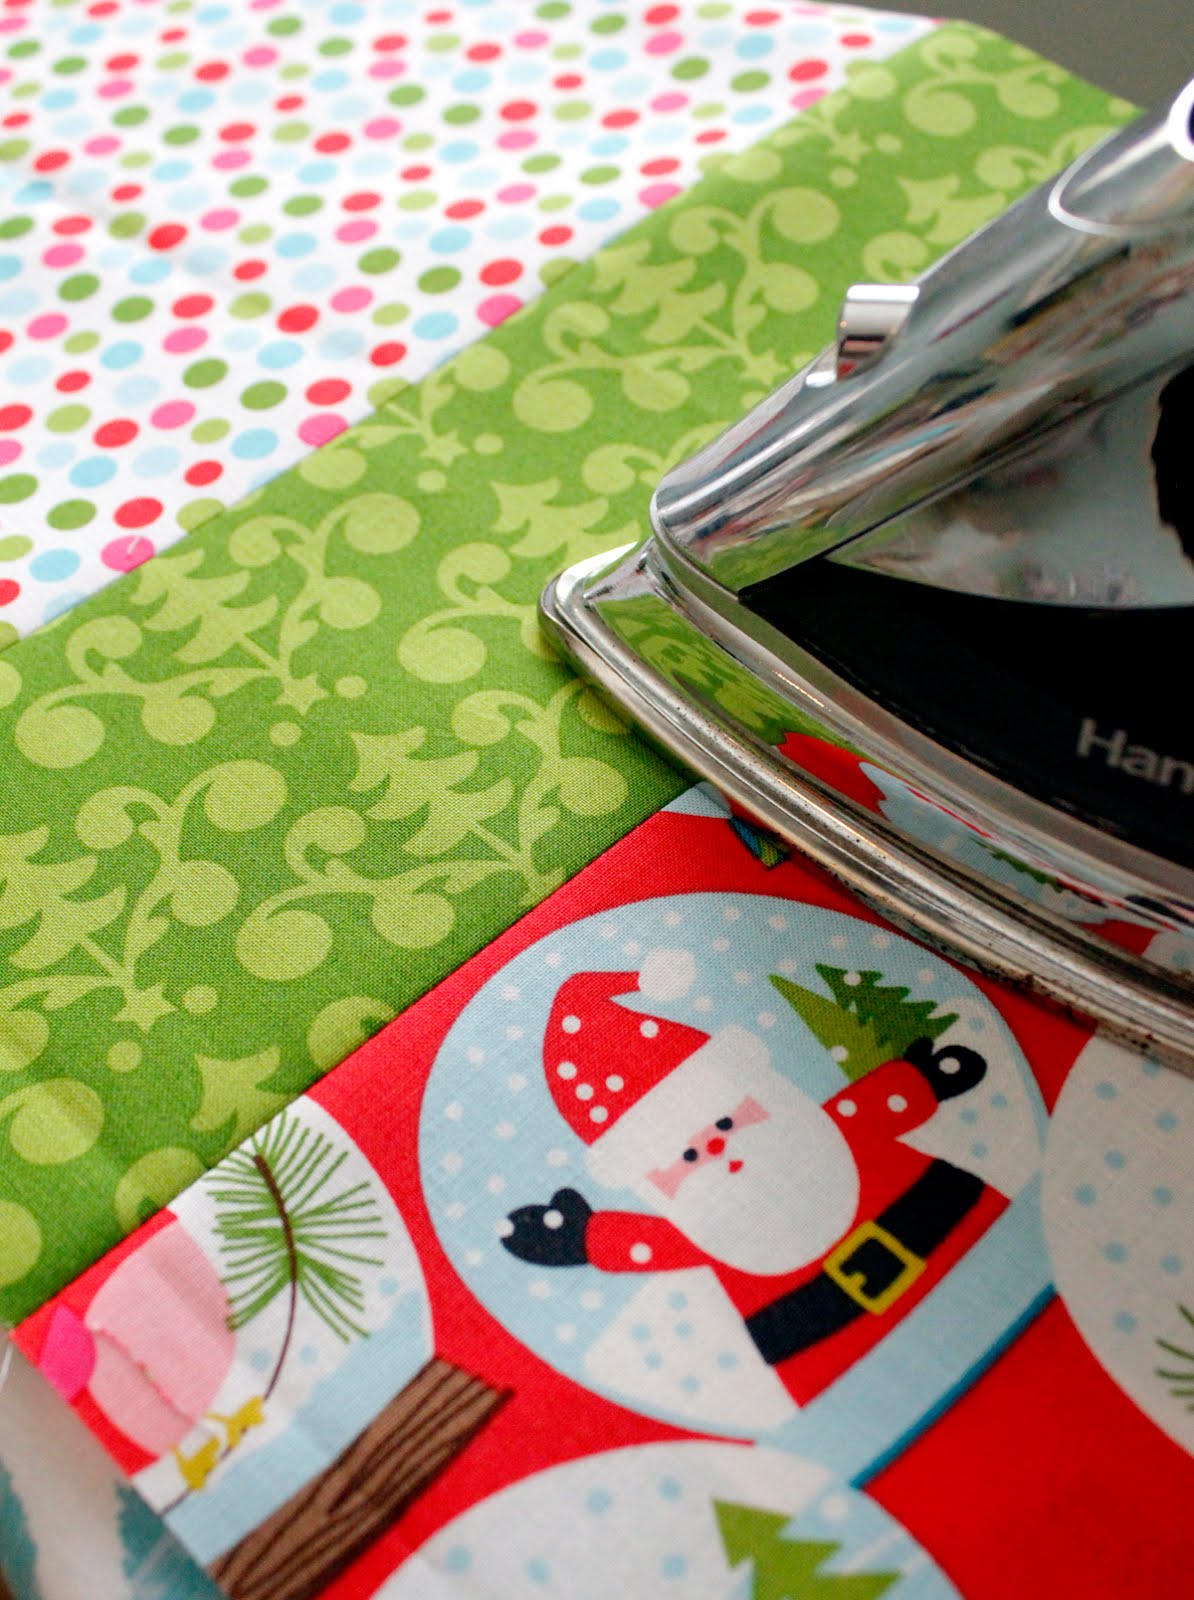
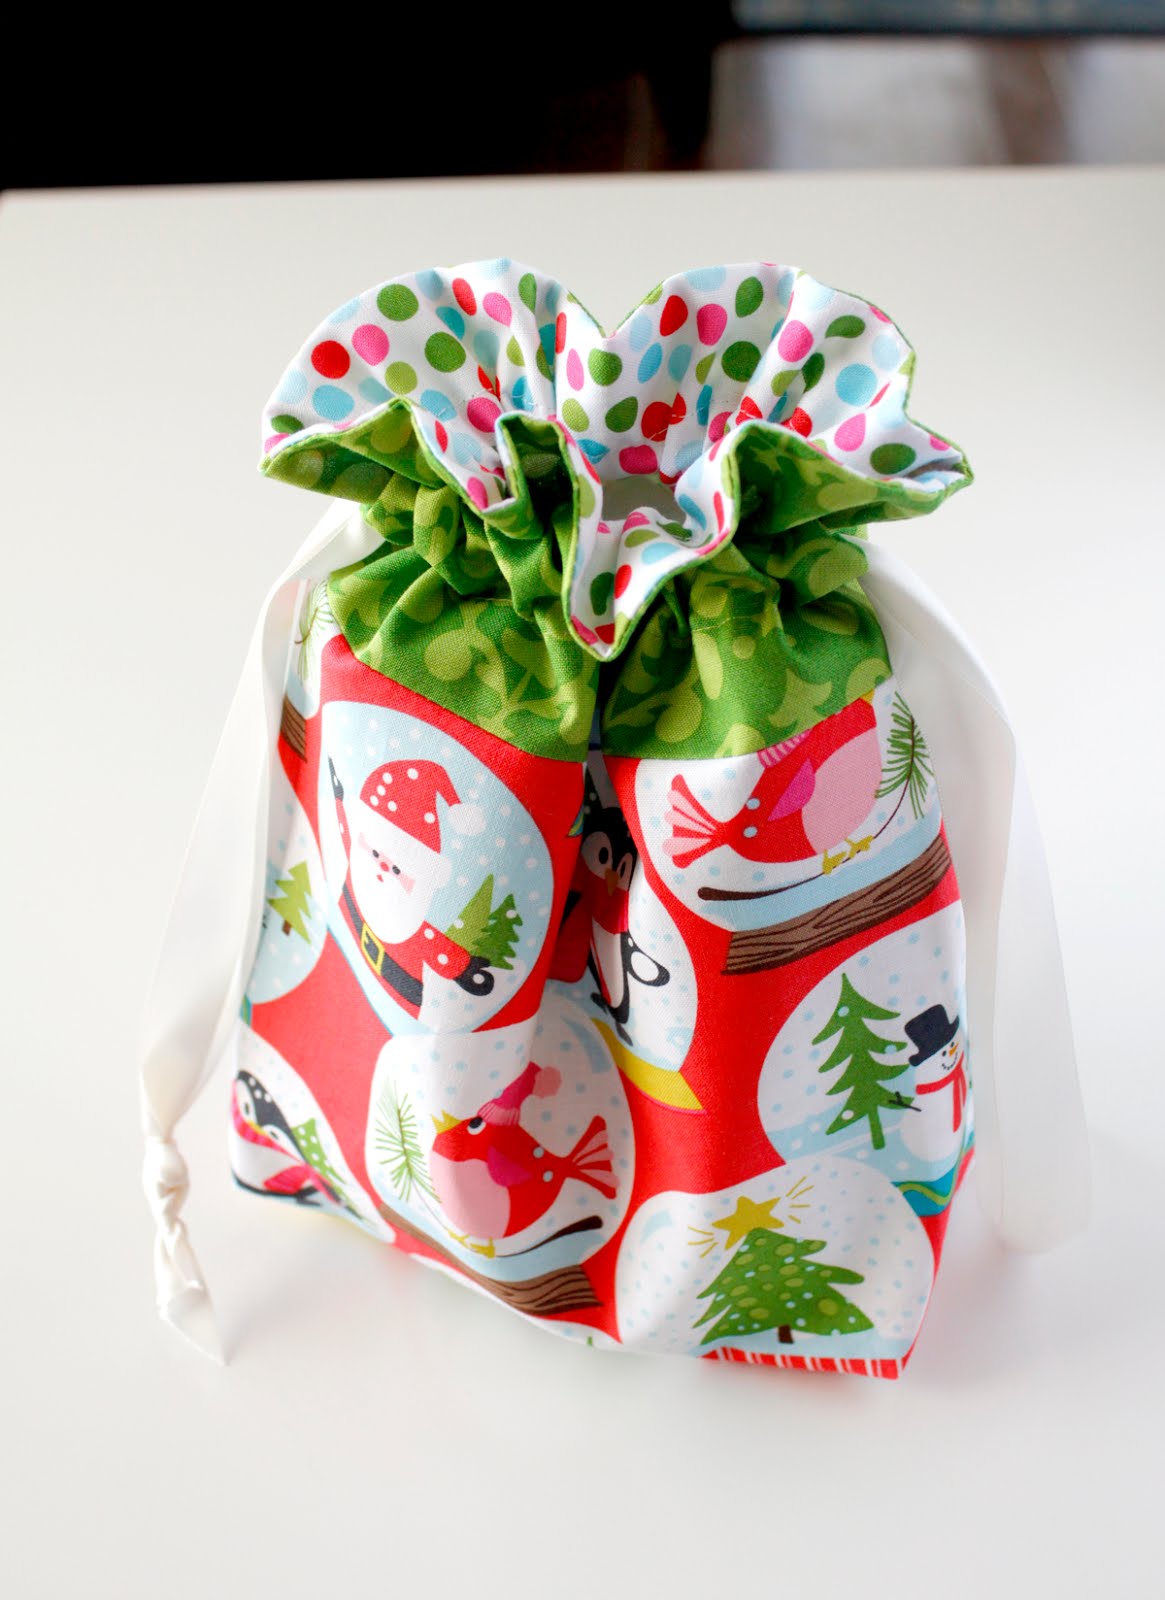
This week I've been making these fun lined drawstring bags.  They're quick to whip up, perfect for gift-giving, and addicting to make.

Lined drawstring bag

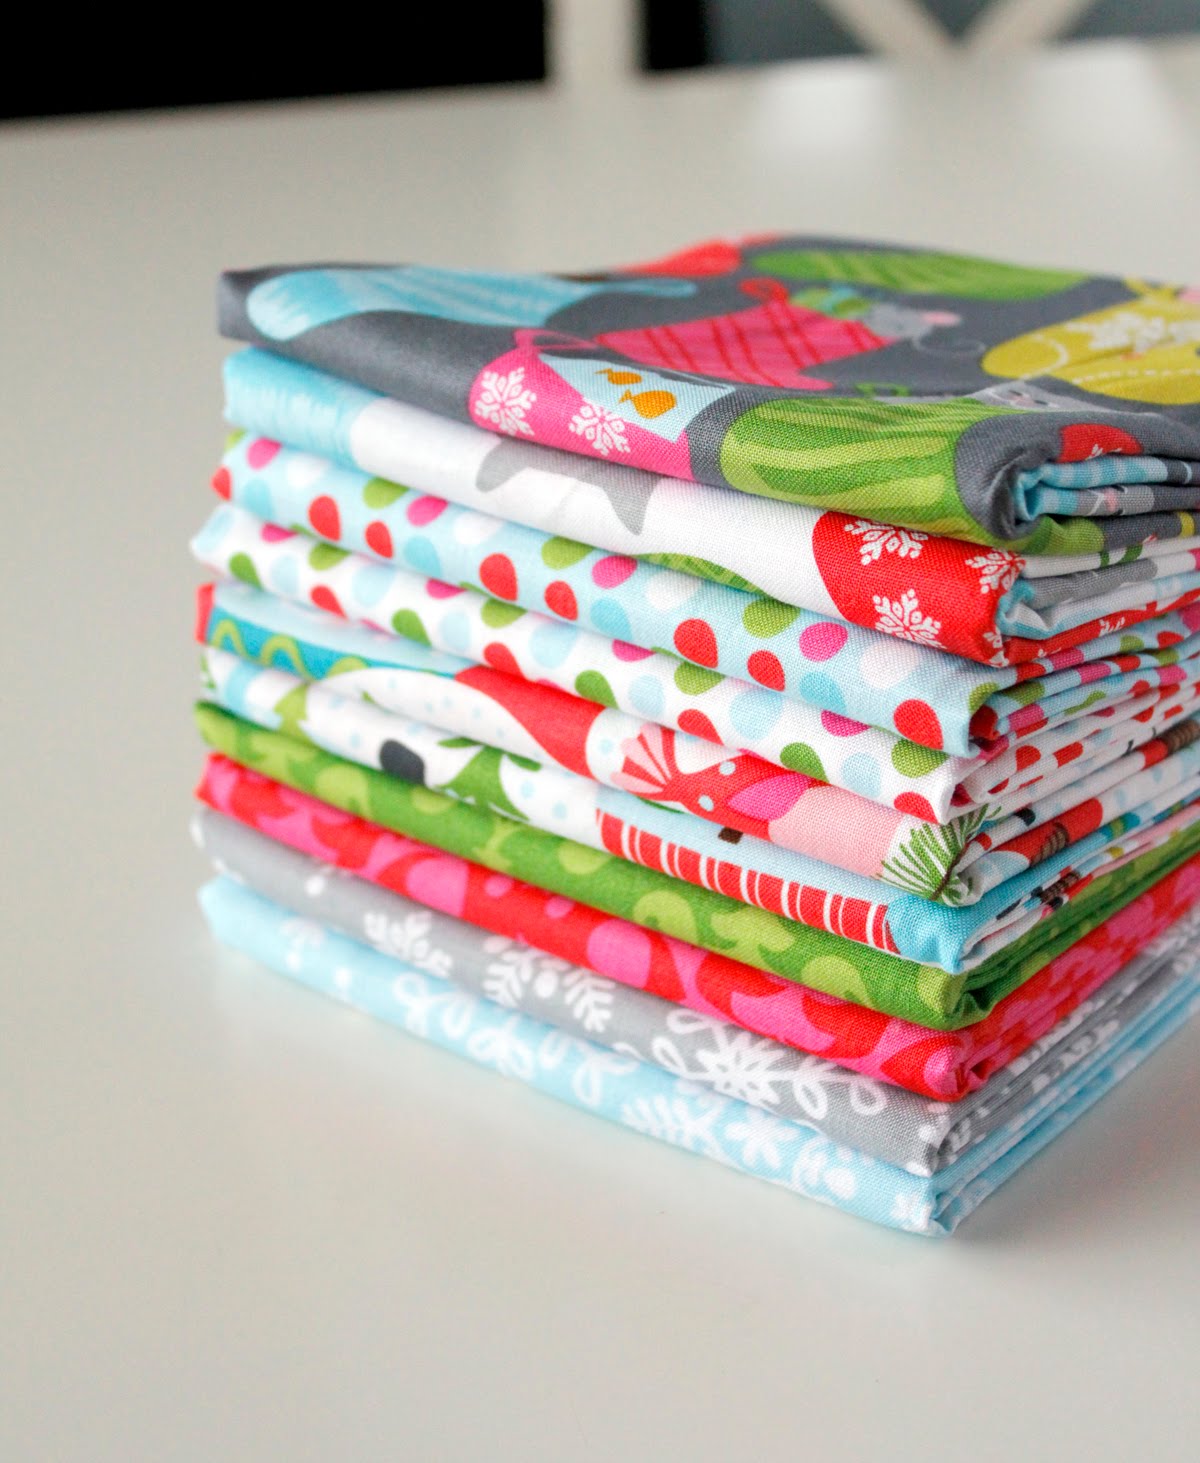
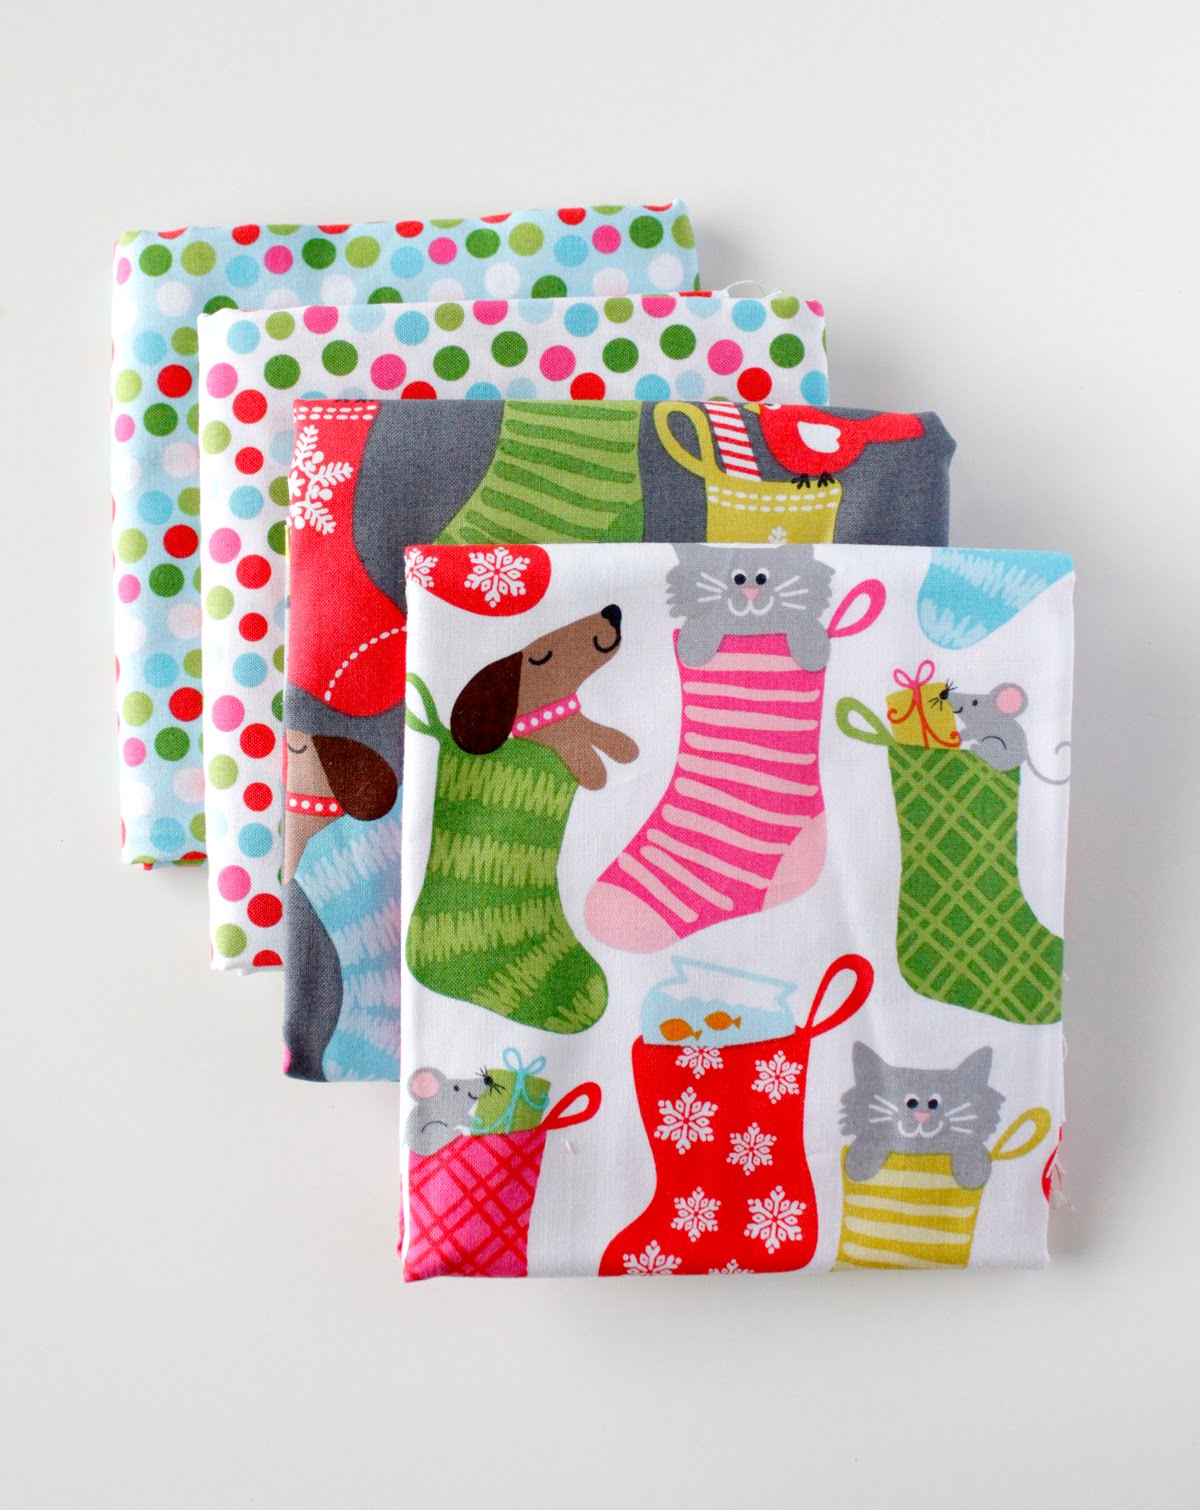
I love getting my first peek at the new Christmas fabrics each year, and then thinking up all the fun projects I want to make.  (Sometimes they get done before Christmas, and sometimes not.)  This stack is from Blend fabrics - it's a line called Even a Mouse, designed by Maude Asbury.


Even a Mouse fabric from Blend

I'm a sucker for fun, bright colors when it comes to Christmas, and I thought this snow globe print (shown below) was perfect for the outside of the bag.  

Even a Mouse fabric from Blend


Even a Mouse fabric from Blend

The tutorial makes this one size bag, but if you'd like instructions for a variety of sizes, Jeni also sells a pattern for the Lined Drawstring Bag here and the pattern includes 8 different bag sizes that range from 4" tall to 26" tall!  

lined drawstring bag

I love the details she adds to the bag - like how the lining peeks through at the top, and the use of the double drawstring.  I know I'll be making more of these fun bags!


Even a Mouse fabric from Blend


You can see more of the Even a Mouse fabric line here on the Blend Fabrics website.  They should be shipping to stores this month!


Monday, June 6, 2016

Zipped Case


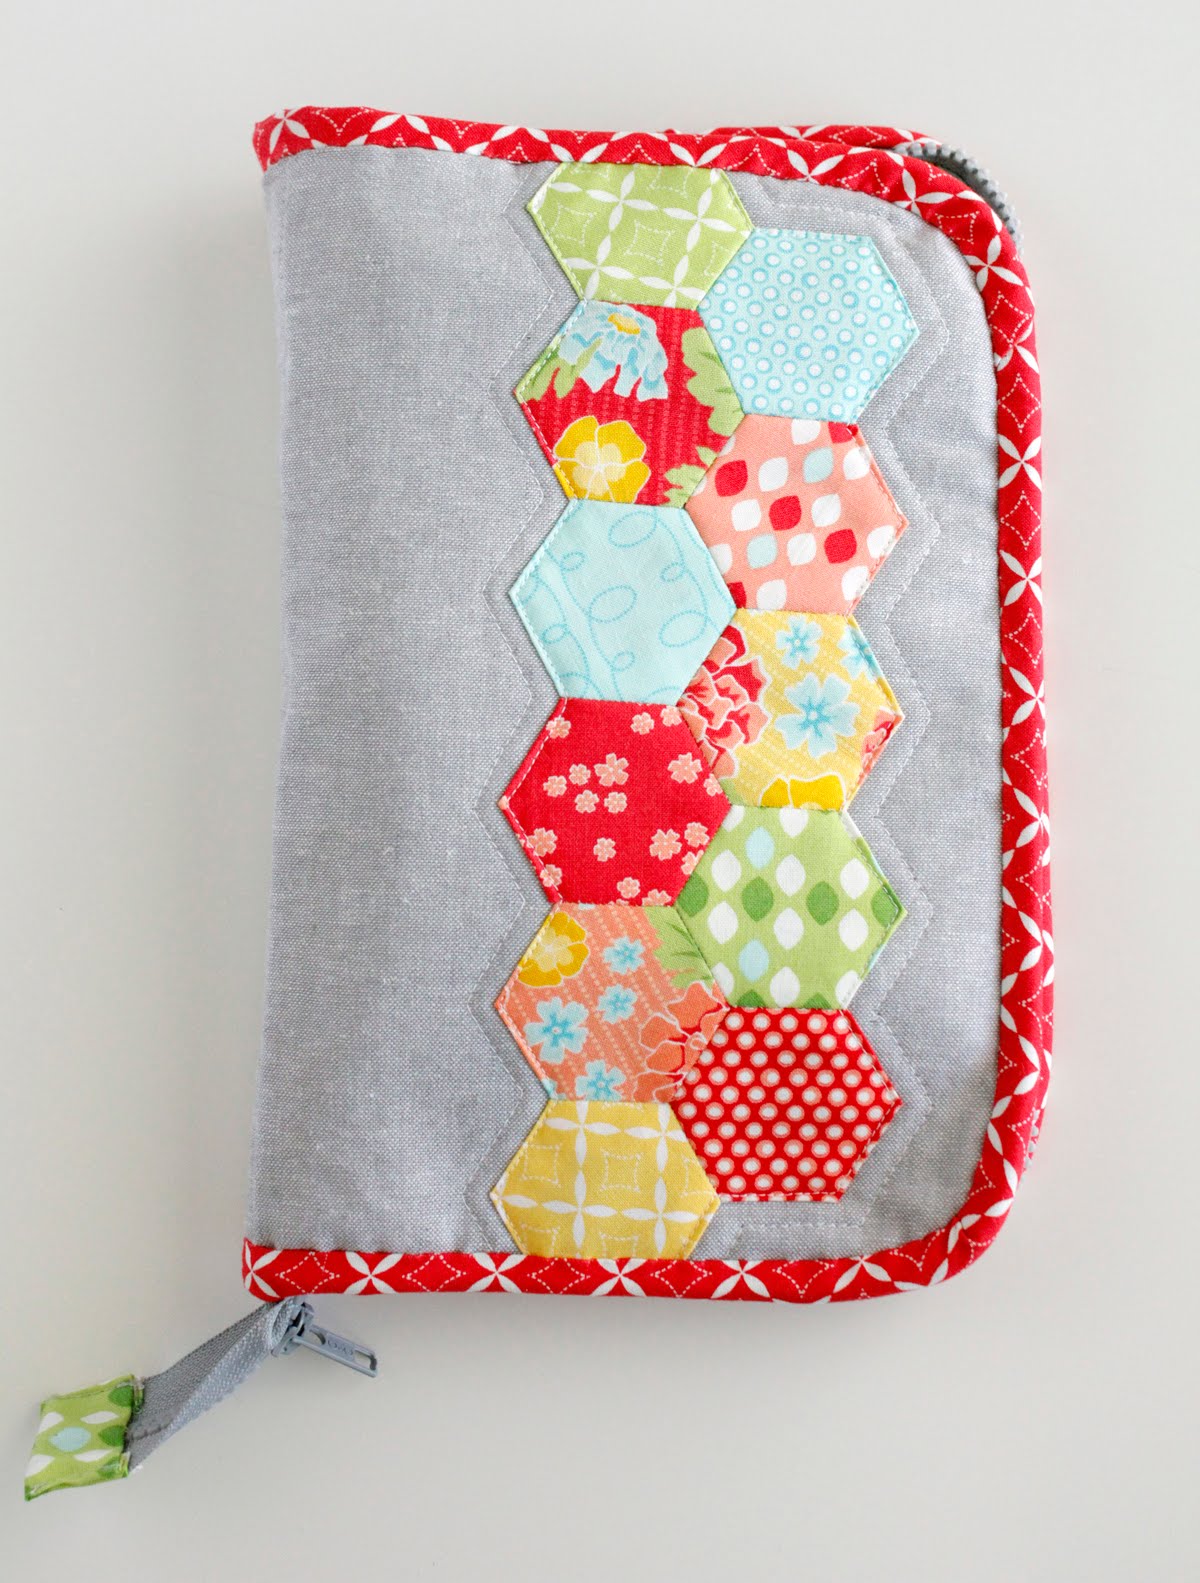
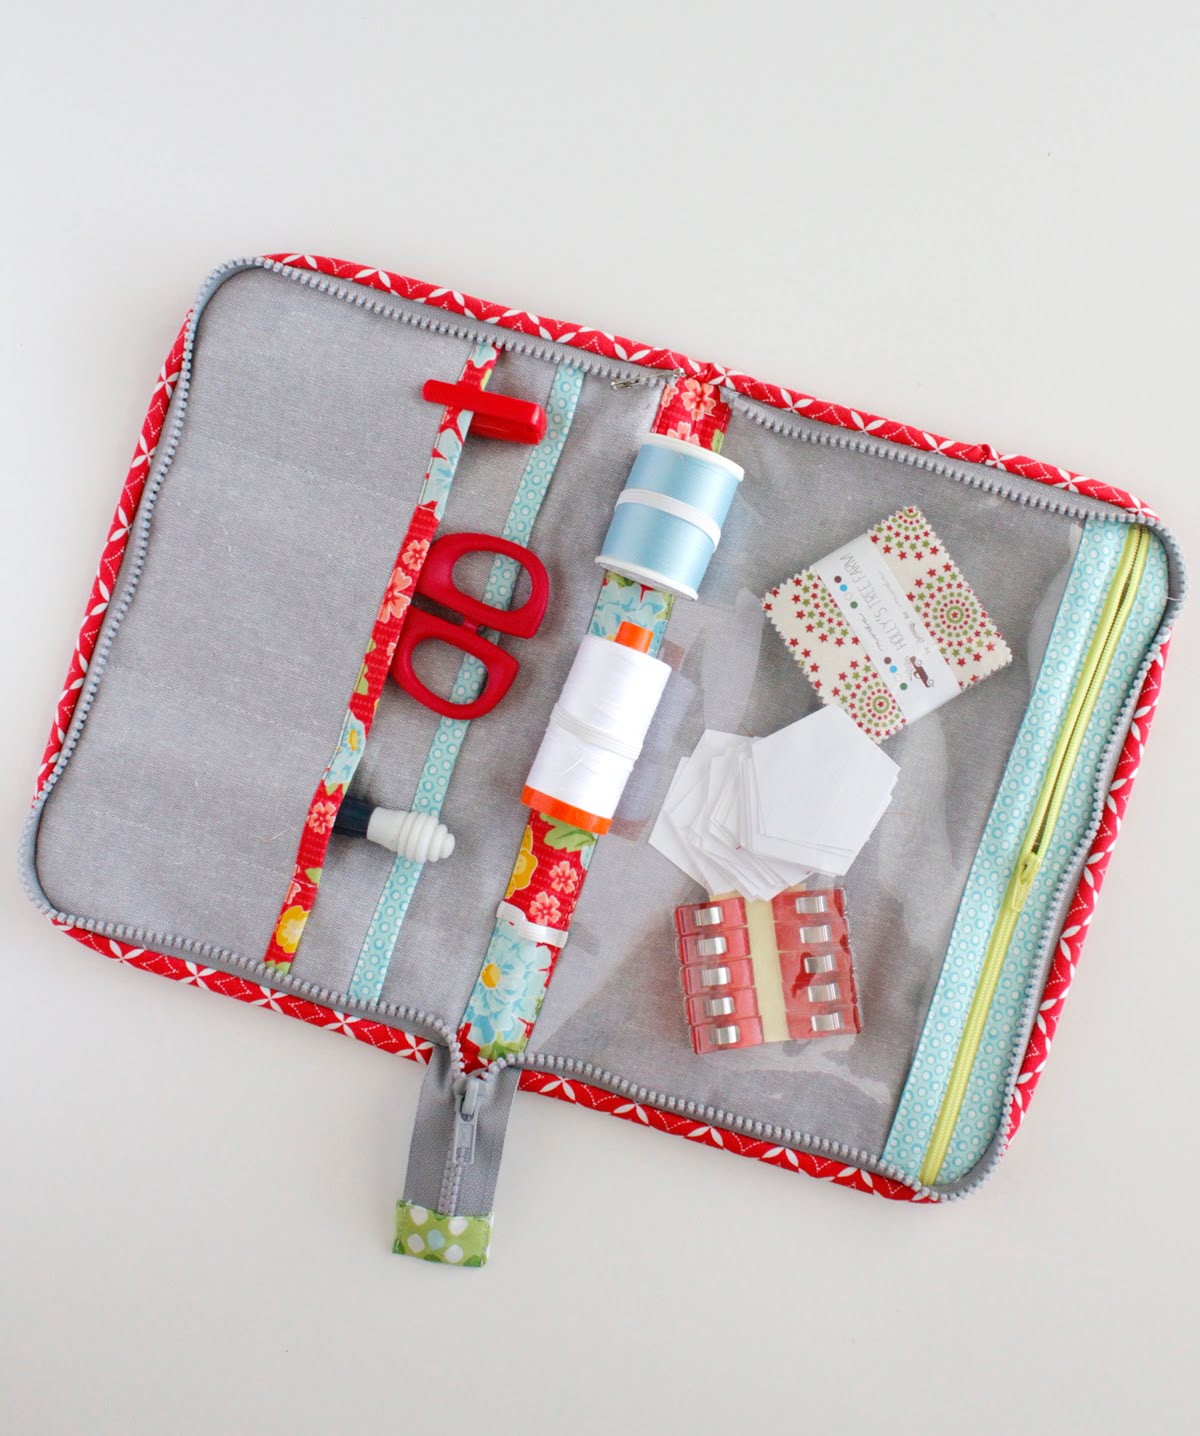
A few weeks ago I stumbled across this hashtag on Instagram (#ohszippedcase) and it led me to a fun (and free!) PDF tutorial for this great zipped case.   (April 2024 edited to add: the PDF tutorial can now be found on the Mx Domestic blog here!)


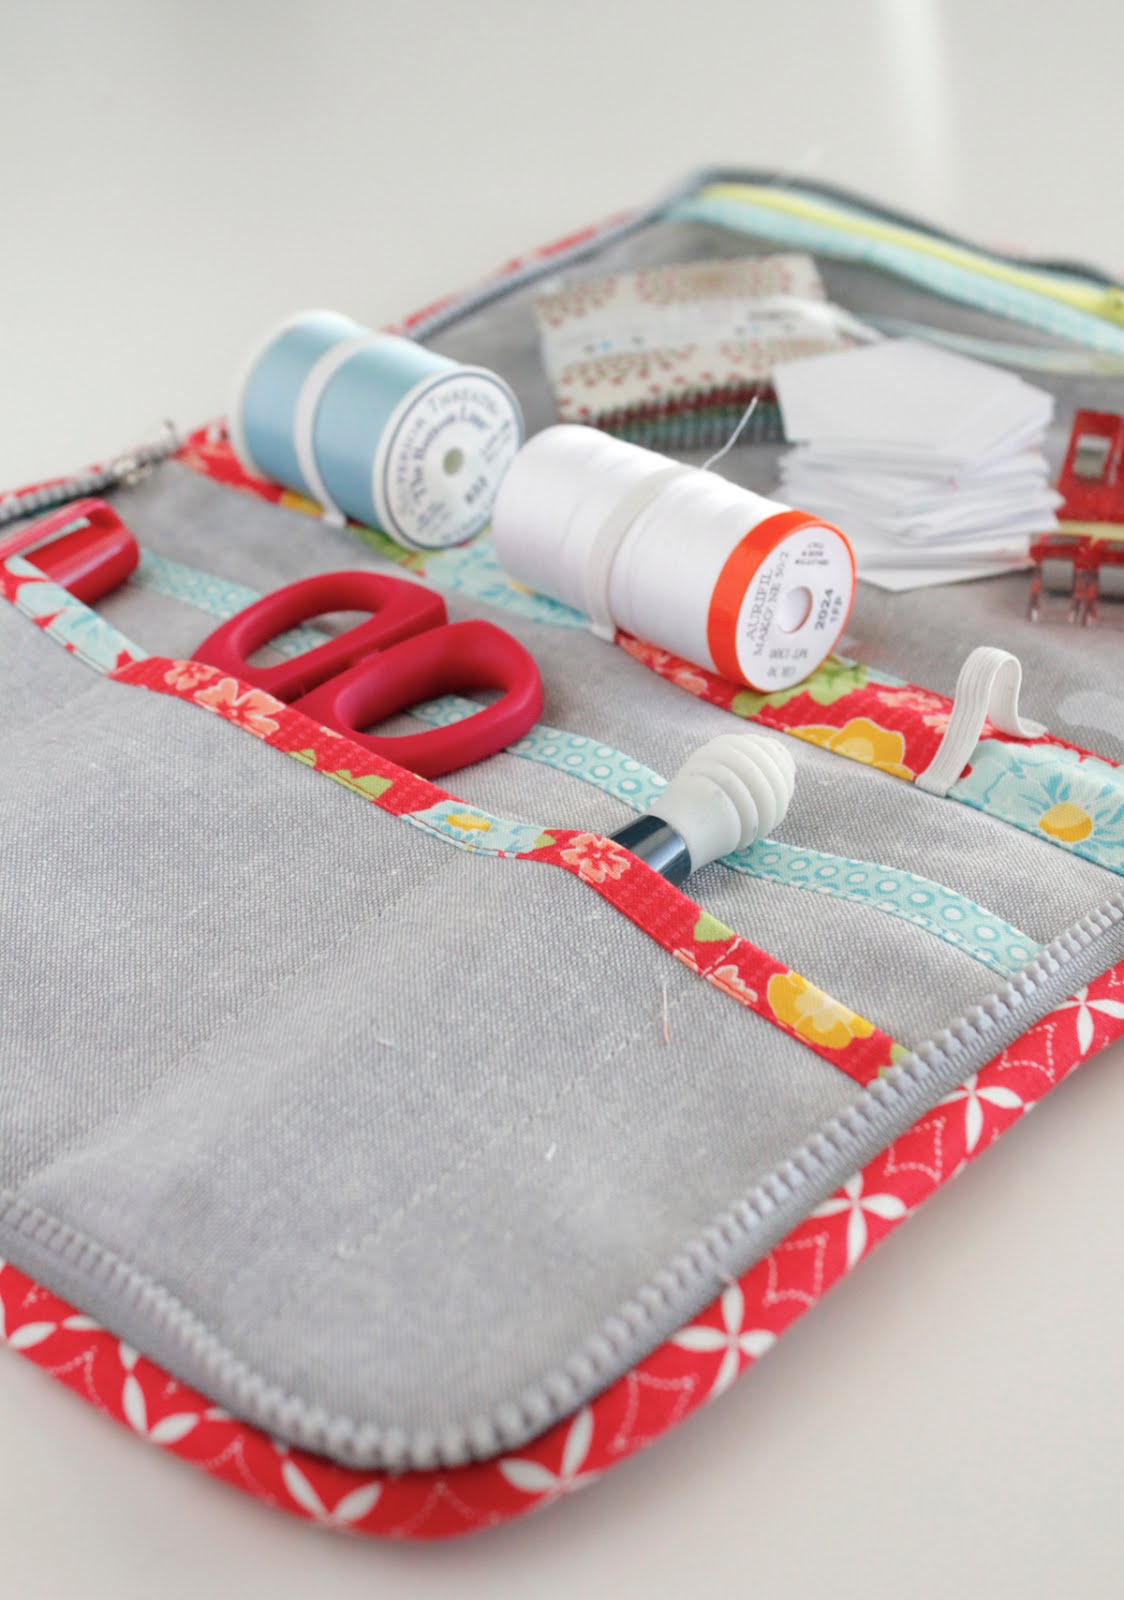
The case is designed by Melissa LeRay who blogs over at Oh How Sweet.  It's perfect for my EPP projects - but it'd be handy for all sorts of things (like a secret chocolate stash!)  I love the vinyl pocket on the right, and the elastic down the center for holding thread. 


Confession time:  when I first read through the tutorial I was completely intimidated by it, and I actually procrastinated working on it because I was so SURE I'd mess it up.  But I did just fine!  This is a well-written tutorial and I found it easy to follow.  Even for an inexperienced bag maker like me!


I had some scraps of Summerfest fabric hanging around and I wanted to use every. last. bit. of those pretty scraps.  This case was a great way to do it. 

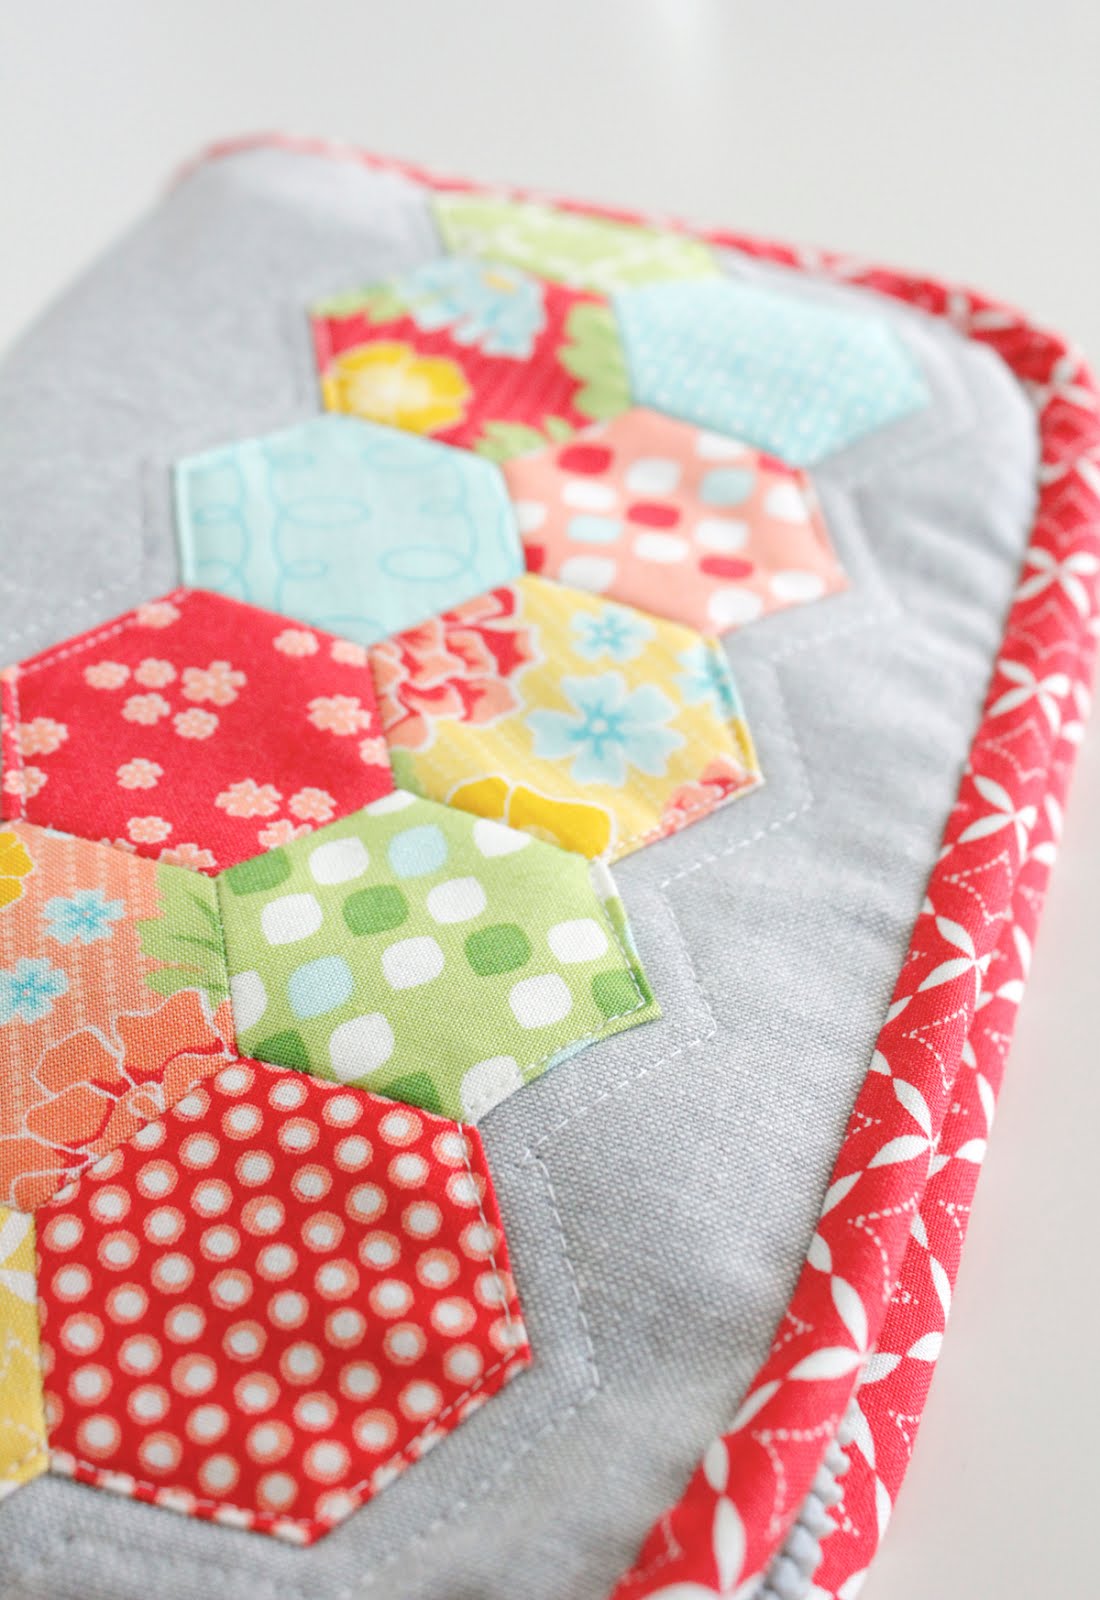
Before starting, I took some time to customize the outside of my case.  I made these hexies and then glued them in place with some applique glue.  I then top stitched around them and did one line of echo quilting on the sides.  Then I followed the rest of the tutorial as written.  

Now that I've made one, I feel much more comfortable customizing my next one even more!  And next time I won't use a "sport" zipper - I'm finding this one difficult to close around the curves.  


You can find the printable PDF tutorial here.  And if you make an Oh How Sweet Zipped Case, be sure to tag it on instagram (#ohszippedcase) so we can all see it too!


Monday, February 9, 2015

A Little Needle Book

After tackling some larger projects lately, I just felt like doing a little bit of small sewing.  So this weekend I made myself a little needle book.  I used the tutorial written by Amy Sinibaldi (Nana Company) – it’s a great one!

needle book

For the front cover I did a simple single hexagon that’s been topstitched in place.  It’s just okay.  It works.  But the back of the needle book is what I’m in love with!

needle book

The back is made of 12 (1.5”) little squares.  They’re sewed together into a tiny patchwork piece.

needle book

I don’t do a lot of small sewing but when I do I’m completely smitten by it.  Small things are just adorable. 

Needle book

Inside the book I have four “pages” to hold needles and pins.  I’ll add the rest of my needles when I get around to it, but for now I have just my favorites in there.  

needle book

That one needle on the right?  That’s my favorite binding needle.  She’s helped me bind countless quilts.  She’s fast and just the right size.  She and I work really well together.  I should give her a nickname.  What’s that you say?  It’s weird to name needles?  Ok never mind then. 
  needle book

This was a fun little project for me.  It was nice to do something different than my usual quilt tops.  I think I'll be making a few more needle books in the near future.  These would make such a nice little gift!


Related Posts Plugin for WordPress, Blogger...